
Tips for Dry Transfers
1. When applying a dry transfer, use Tamiya tape to hold the transfer film firmly in place while applying it.
2. Using a pencil to rub it on is better than using a burnishing tool. The pencil marks show where you have applied pressure and where you haven't.
3. If you need to make a dry transfer conform to detail on the model, rub it on to a piece of decal paper and apply it just like a decal.
4. Old dry transfers can go bad. Sometimes they will just fall apart when application is attempted. Make sure to test an unneeded marking out on a piece of scrap.
5. Protect your transfers after application! Always spray some varnish over them before staring the weathering process.
Tips for Decals
1. Prep your surface. I like the old standby: Pledge Floor Polish. This is a no brainer. You can find this product in any supermarket, Walmart or Target. It's best to spray it over the entire model in thin, even coats. Use as many thin coats as is needed to achieve a smooth surface, especially in the areas where the markings are applied. Clean up any runs right away with a corner of a paper towel. Let it dry thoroughly before continuing. Vallejo also makes a satin varnish that seems to work well with their paints.
Lacquer varnishes like Testors Glosscote can do weird things to both acrylic and enamel paint so stay away from those.

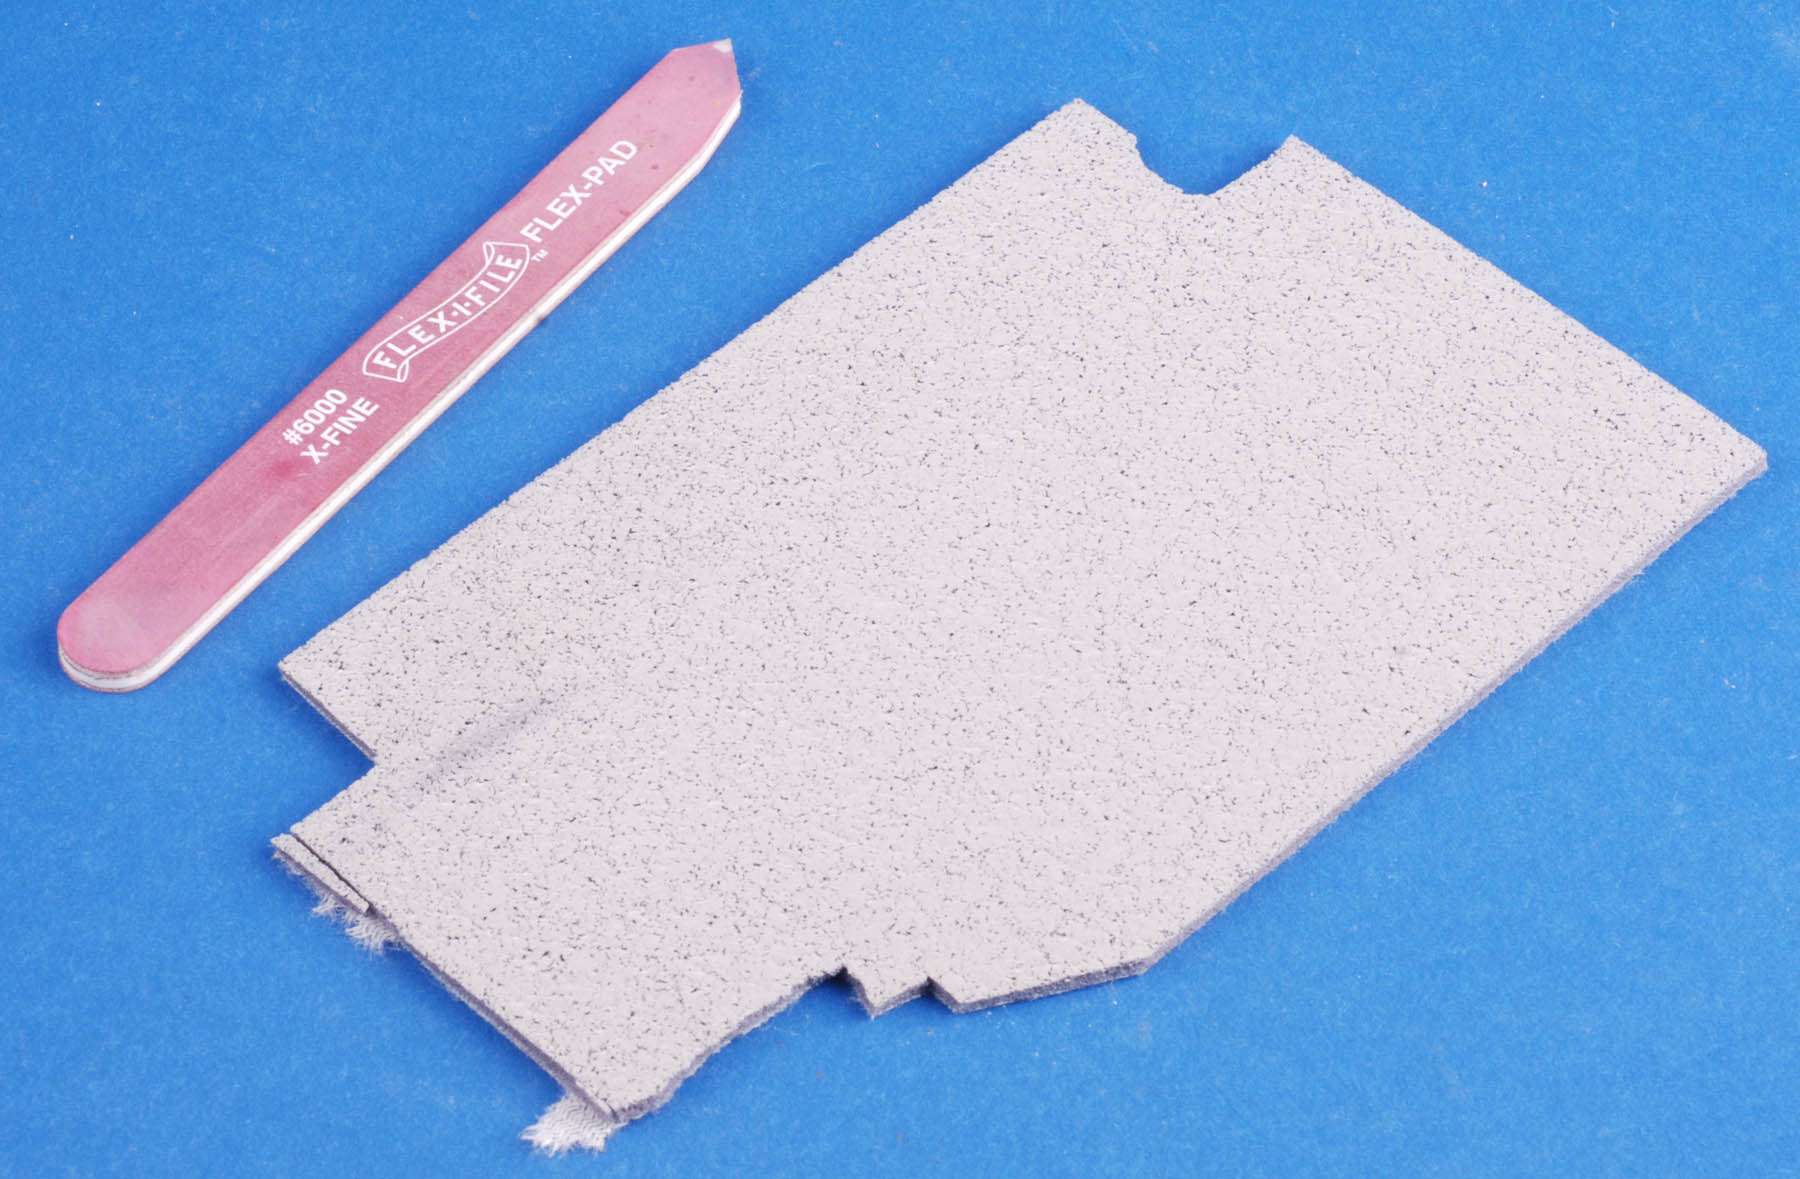
2. Make sure your surface is smooth. Here in South Florida, the high humidity can sometimes cause flat paint to dry a bit gritty. Any paint splatters can show up later as tiny bumps in the surface of your decals. It's pretty easy to get rid of these imperfections without damaging the paint by using a super fine sanding stick or foam sanding pad. Foam sanding pads can be found at any auto parts store with body work supplies. Mine is 3000 grit. Wet sanding with very light pressure works best. Clean up residue with water only! Re-apply Pledge to get things shiny again.
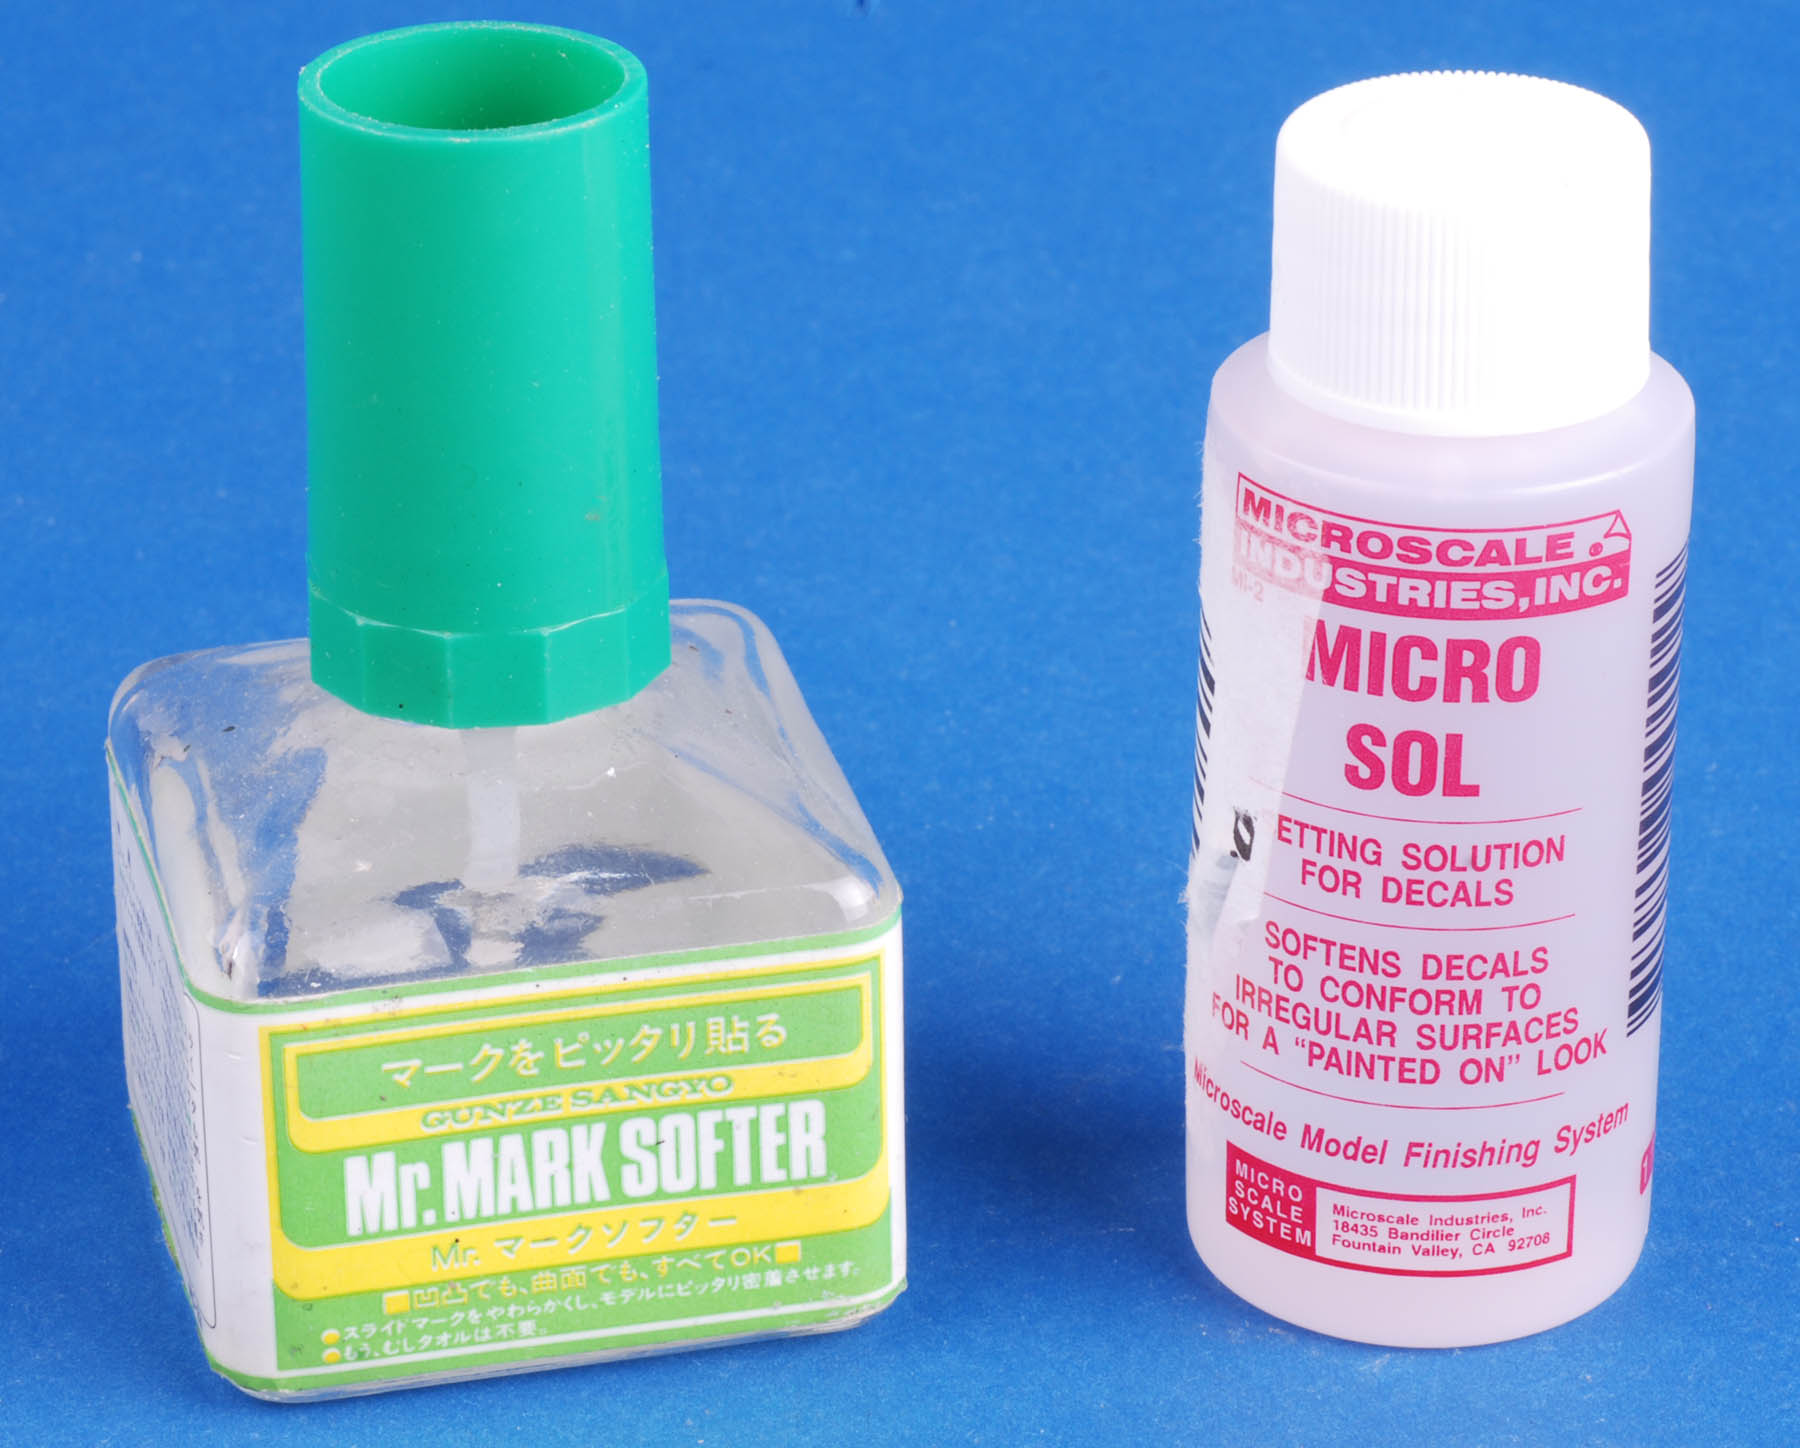
3. Mr. Mark Softer is my favorite decal softener. I do not use the brush in the cap any more. It applies too much softener at one time. Micro Sol is another good one for stubborn decals. I dilute this with water before applying though as this product can sometimes make decals crinkle up permanently. Patience is the key at this point. Multiple, light applications of softener are more effective than flooding the decal with softener.
If a decal does not want to conform, do not be afraid to cut it. Make sure you use a fresh blade and the decal is totally dry before doing this!
If the decal softener starts to melt your layer of Pledge, don't panic. Let every thing dry out overnight. Sometimes the Pledge polish will dry with a little white deposit. This goes away when you apply another layer of Pledge.
4. Protect your markings with another smooth, even application of Pledge floor polish once you are satisfied.
5. Apply your washes and filters at this stage.
6. Before applying any dirt effects, apply a flat varnish. My favorite is Vallejo Matte Varnish diluted with water. The water prevents clogging in the airbrush. Apply thin coats as needed to get rid of any shine on the model.

Any questions, comments or cut downs can be sent to jeff@ampersandpubco.com