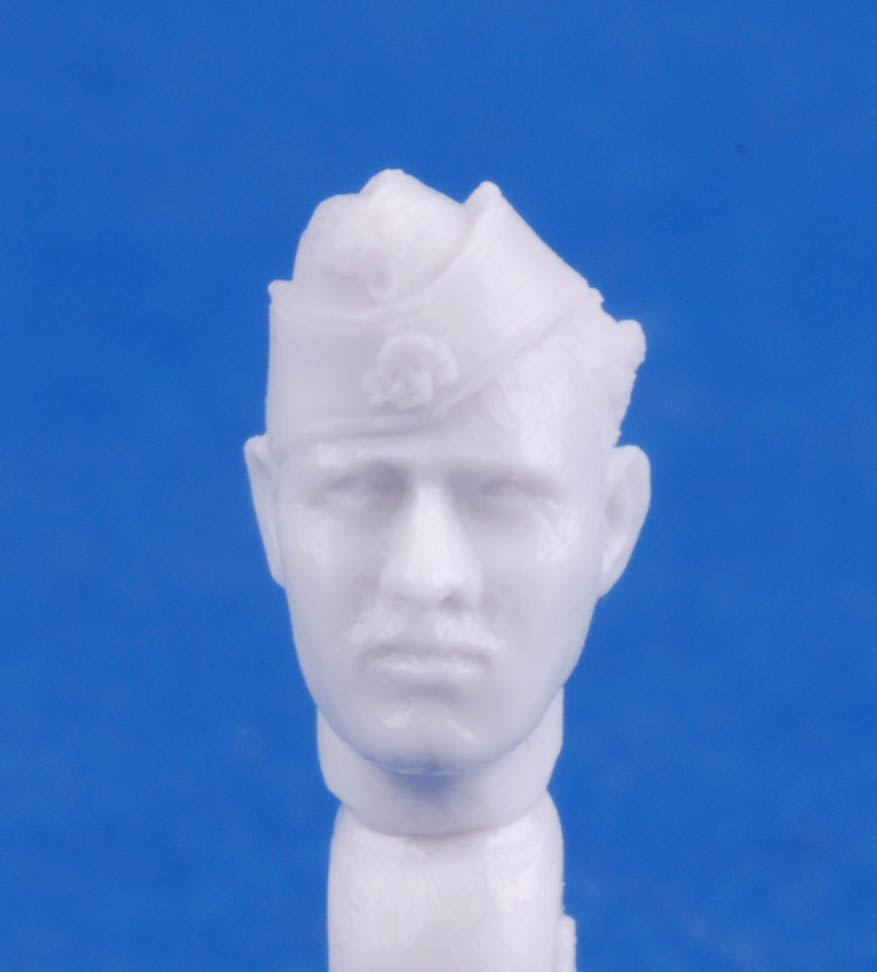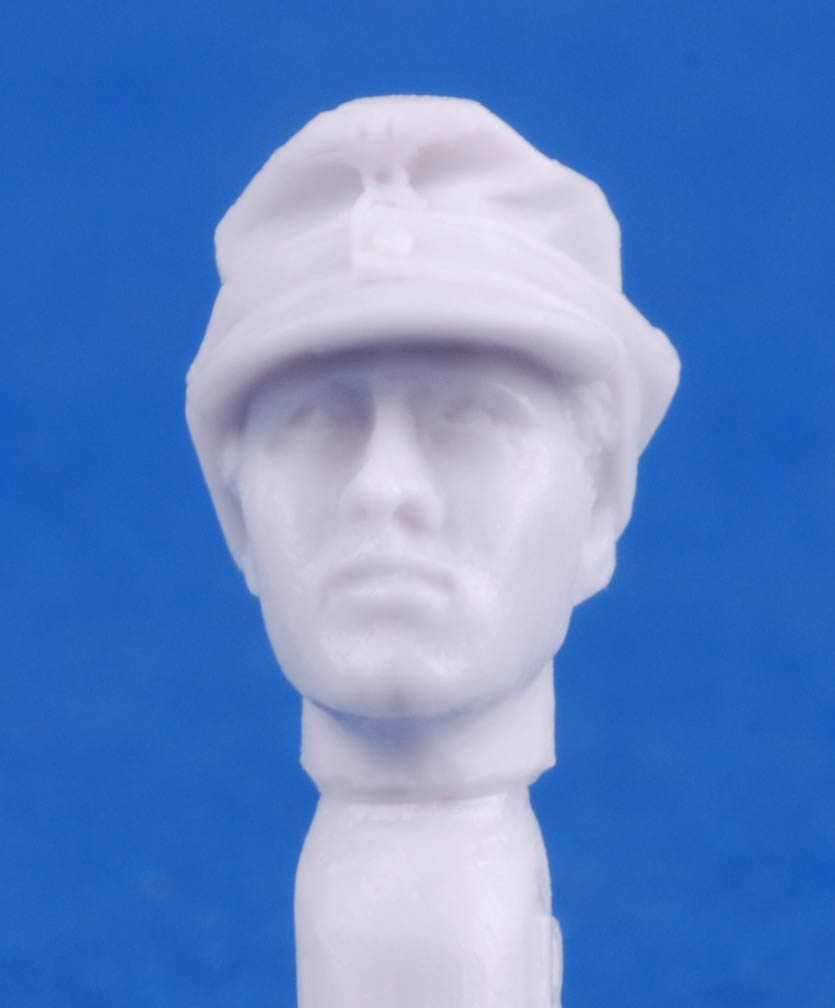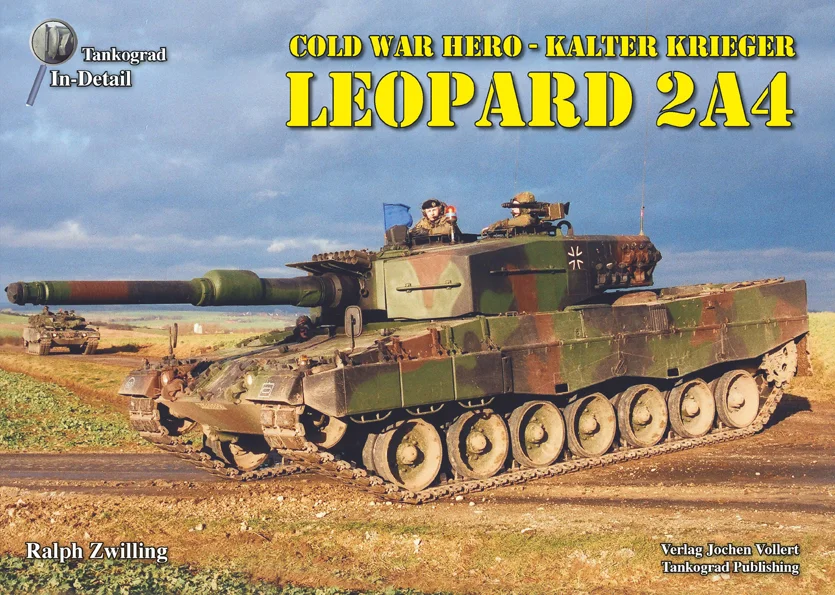
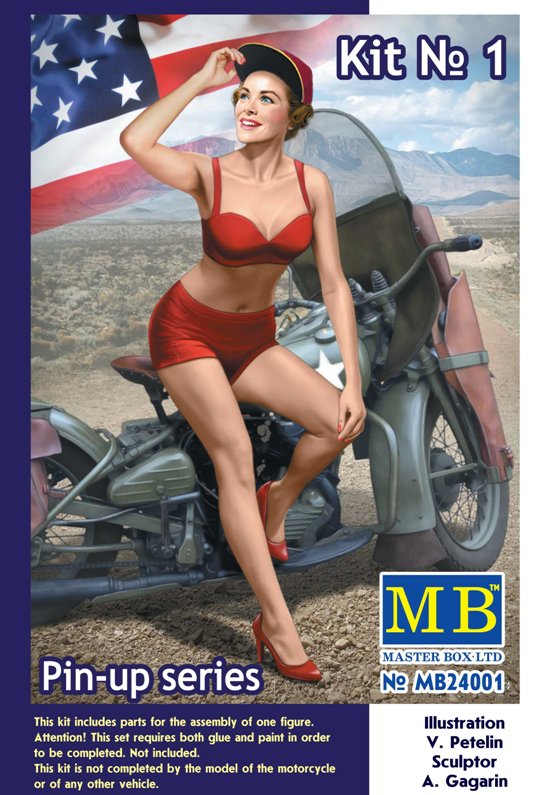
Coming Soon From Dragon USA: IBG, Master Box and Takom
www.dragonusaonline.com
IBG35036, Chevrolet C60S Petrol Tanker (No.13 Cab & No. 12 Cab Version)
Available September 2015

All Below Available October 2015


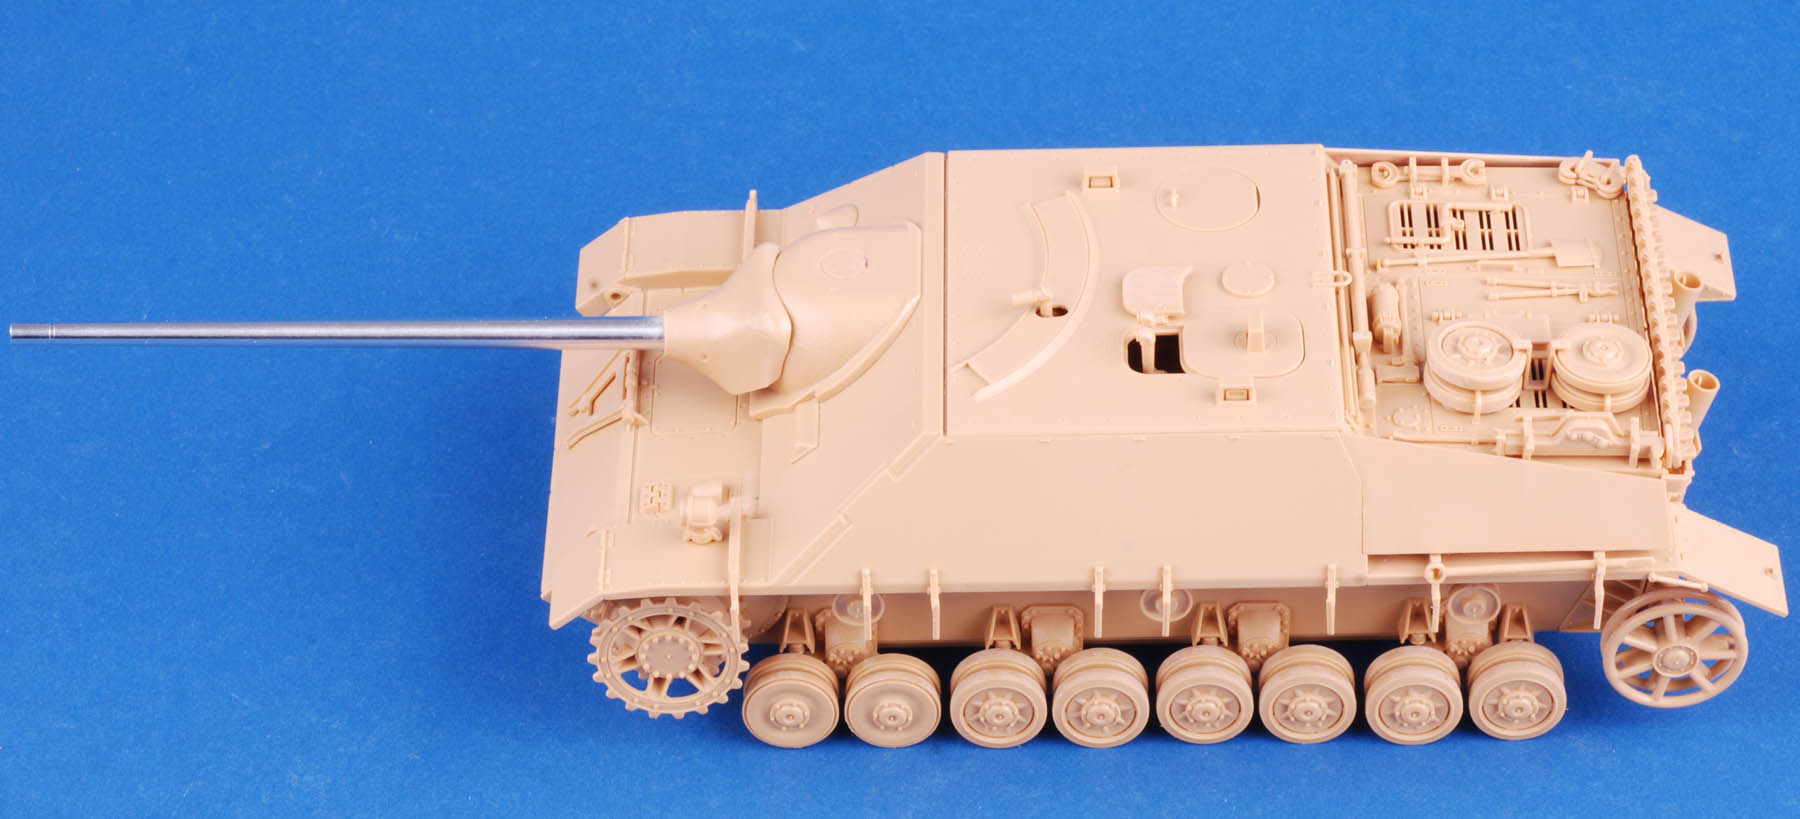
Fun in a Box- The Tamiya Jagdpanzer IV
We bought our copy super cheap at HobbyLink Japan: www.hlj.com
You can order one here
Kit no 35340
It took just a few short hours to get this puppy ready for paint. Assembly was flawless.
The Panther D is just as sweet.
New Resin Details from Archer Fine Transfers!
Factory Window Panes in two patterns:
Raised resin square factory window muntins (dividers between panes) on clear decal film in the following scales.
Click for more information regarding O-SCALE muntins
Click for more information regarding S-SCALE muntins
Click for more information regarding HO-SCALE muntins
Click for more information regarding N-SCALE muntins

Factory Window Muntins
Available in O-Scale (1/48), S-Scale, HO-Scale and N-Scale
Raised resin rectangular factory window muntins (dividers between panes) on clear decal film in the following scales.
Click for more information regarding O-SCALE muntins
Click for more information regarding S-SCALE muntins
Click for more information regarding HO-SCALE muntins
Click for more information regarding N-SCALE muntins

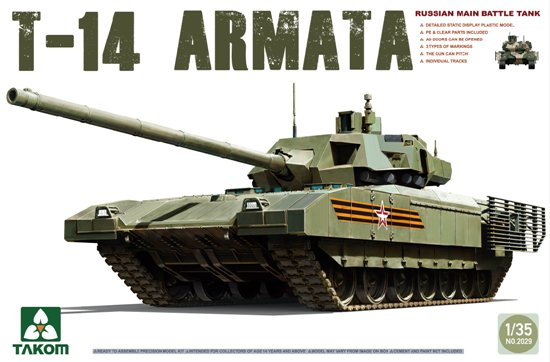
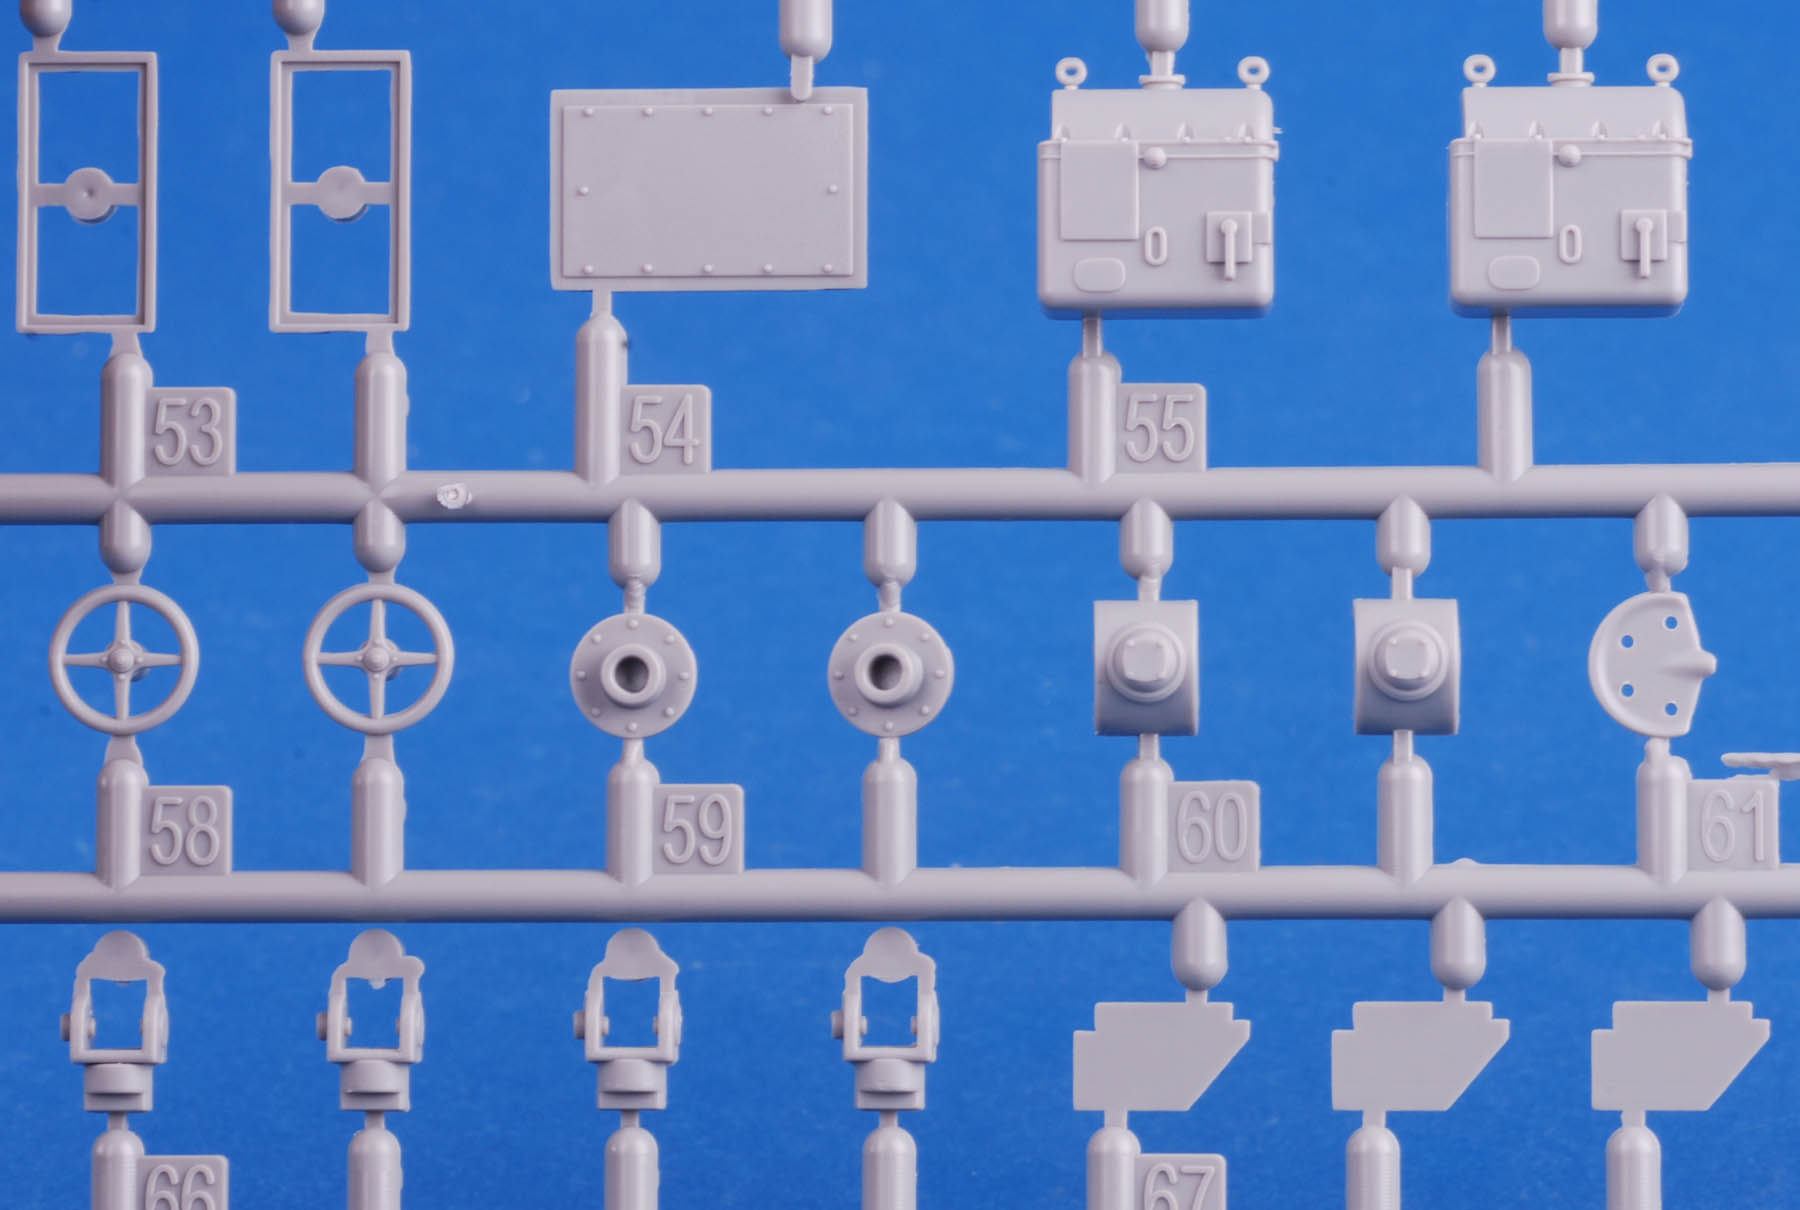
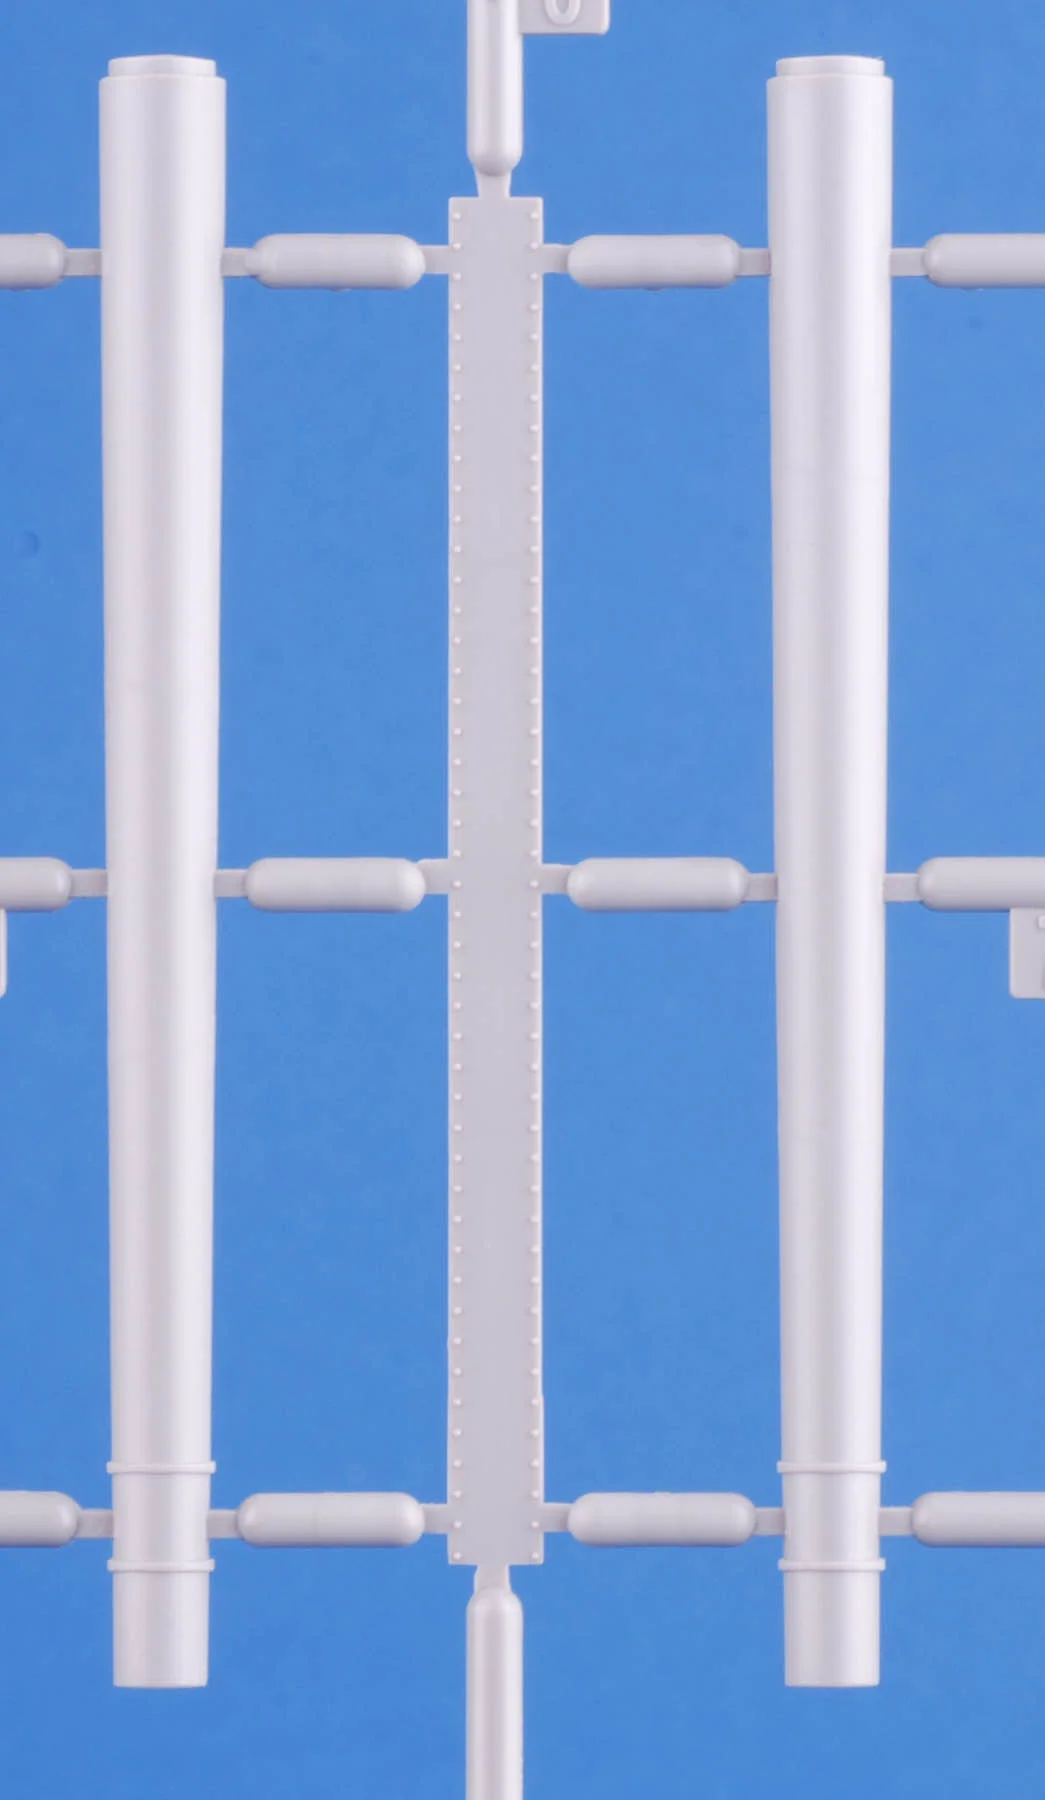
A Closer Look: Takom 12.8cm Flak!
We got our copy from Hobbylink Japan: www.hlj.com





A Closer Look: Meng Leopard 2A4
We bough our copy from Hobbylink Japan
www.hlj.com


Big News from Black Dog!
blackdog.cz
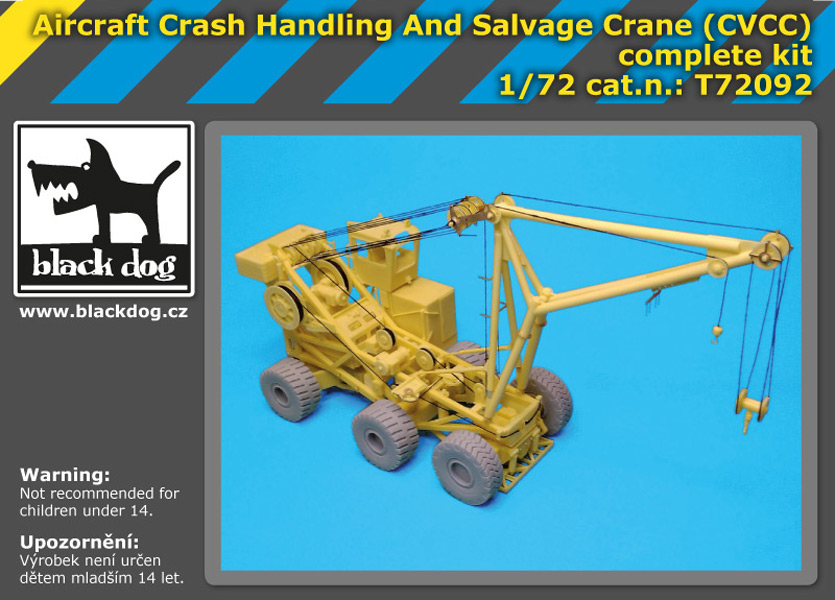
T72092, Aircraft crash handling and salvage crane compl.kit
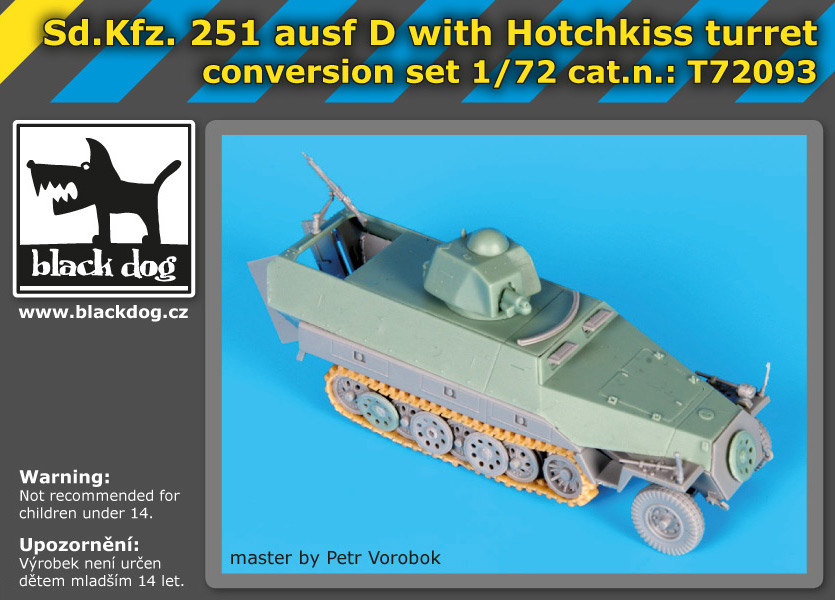
T72092, Sd.Kfz.251 ausf D with Hotchkiss turret conv.set for Dragon
T35139, CV9035NL hessian tape for Hobby Boss

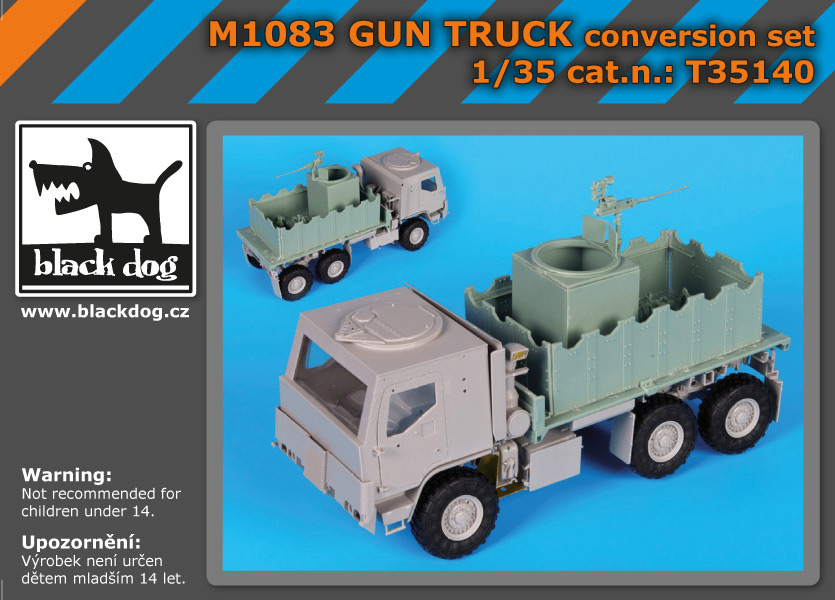
T35140, M1083 GUN TRUCK conversion set for Trumpeter
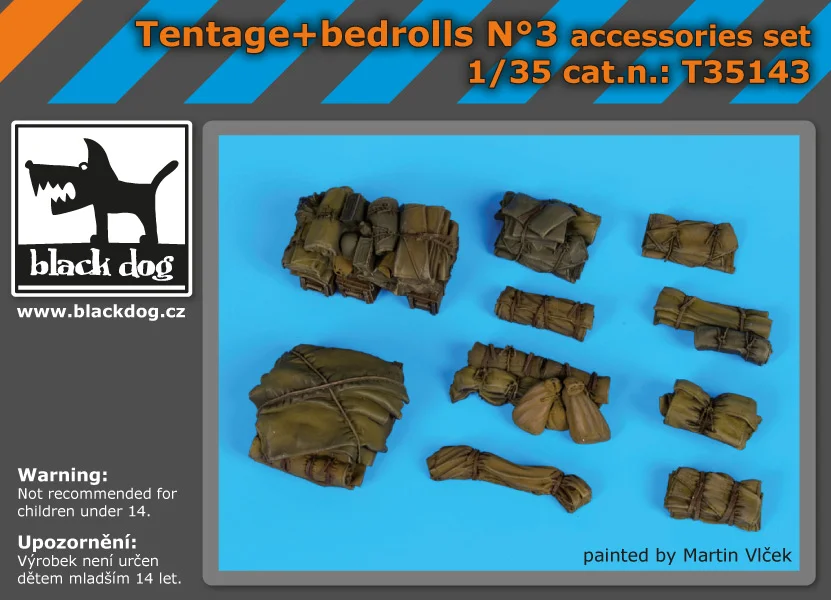
T35141, Tentage+bedrolls N°1

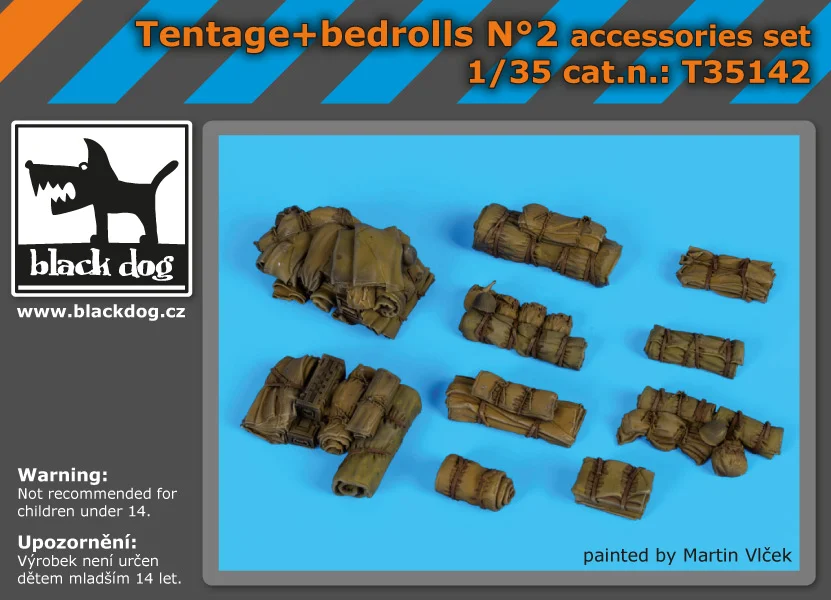
T35142, Tentage+bedrolls N°2
T3514,3 Tentage+bedrolls N°3
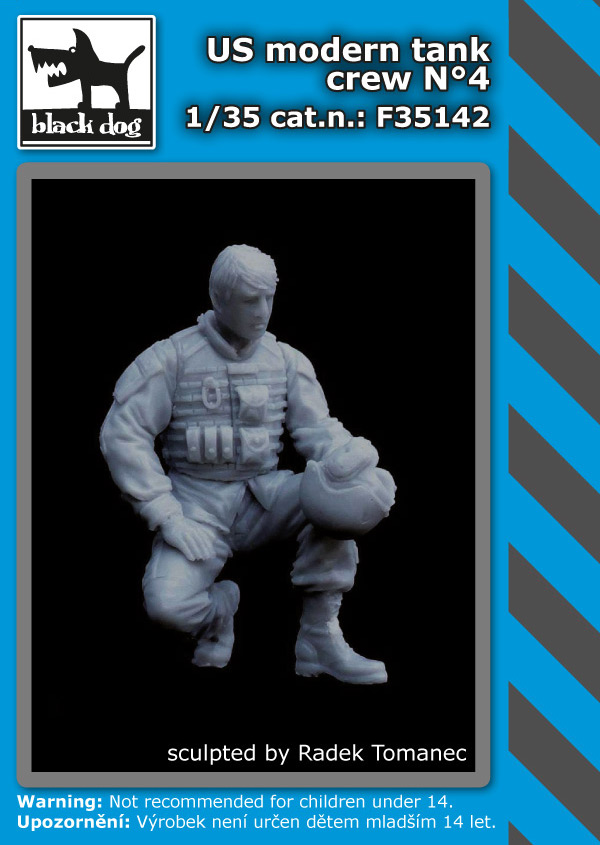
F35141, US modern tank crew N°3

F35142, US modern tank crew N°4
B10014, Viking

D35066, Ruined house base

D35067, House window base

D35068, Niche with Saint base

More Trumpeter Releases for December!
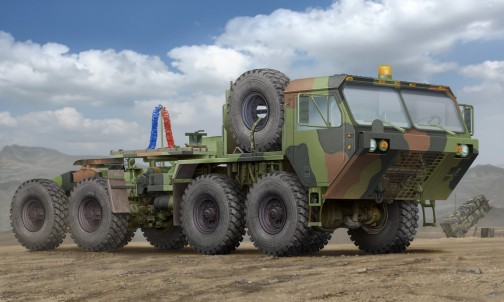
1021, HEMTT M983 Tractor
Kit consists of over 380 parts including full drive train and suspension, photo-etched parts and rubber tires with tread pattern.
1022, M901 Patriot Surface-to-Air Missile Launching Station and AN/MPQ-53 Radar Set of MIM-104 Patriot SAM System
Kit consists of over 900 parts including several photo-etched parts

Dragon Panzer III Ausf. N Re-release.

Another Closeup Look at Stuff from HLJ
www.hlj.com
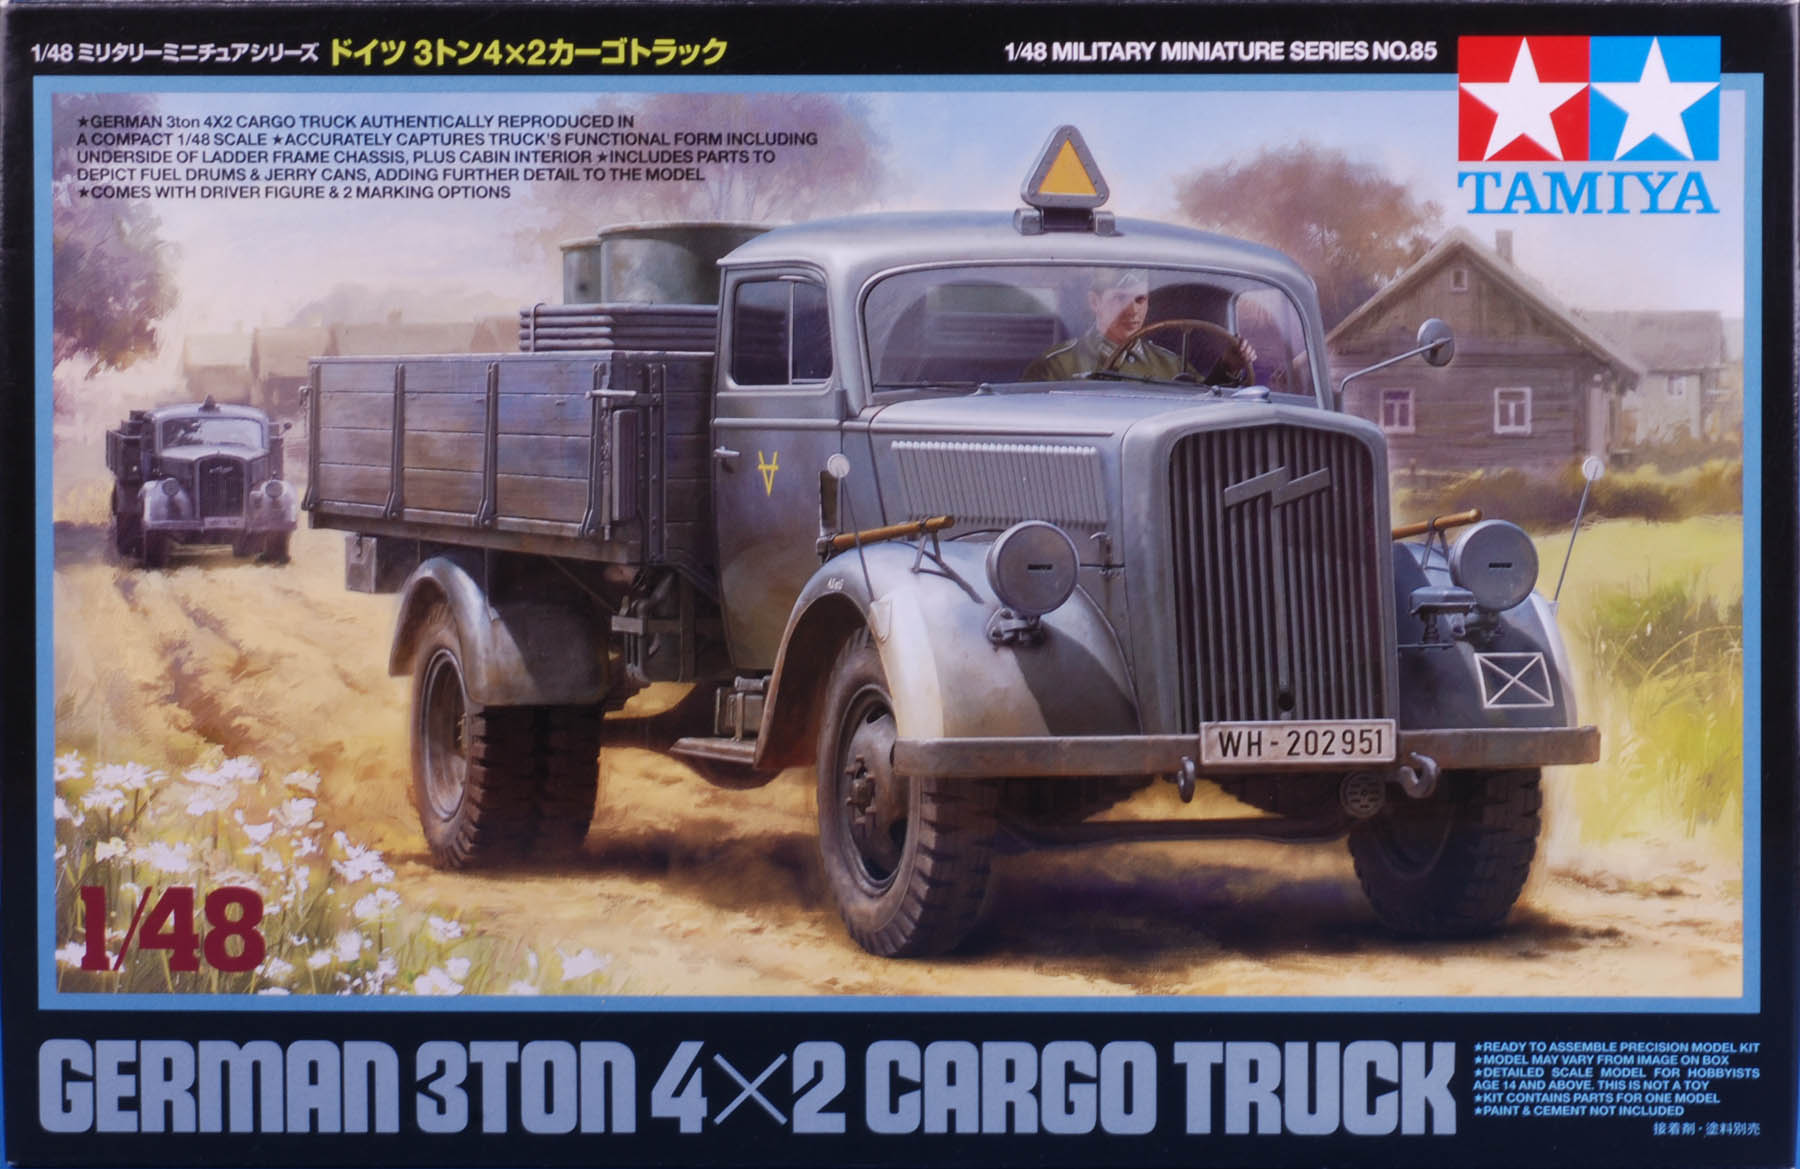
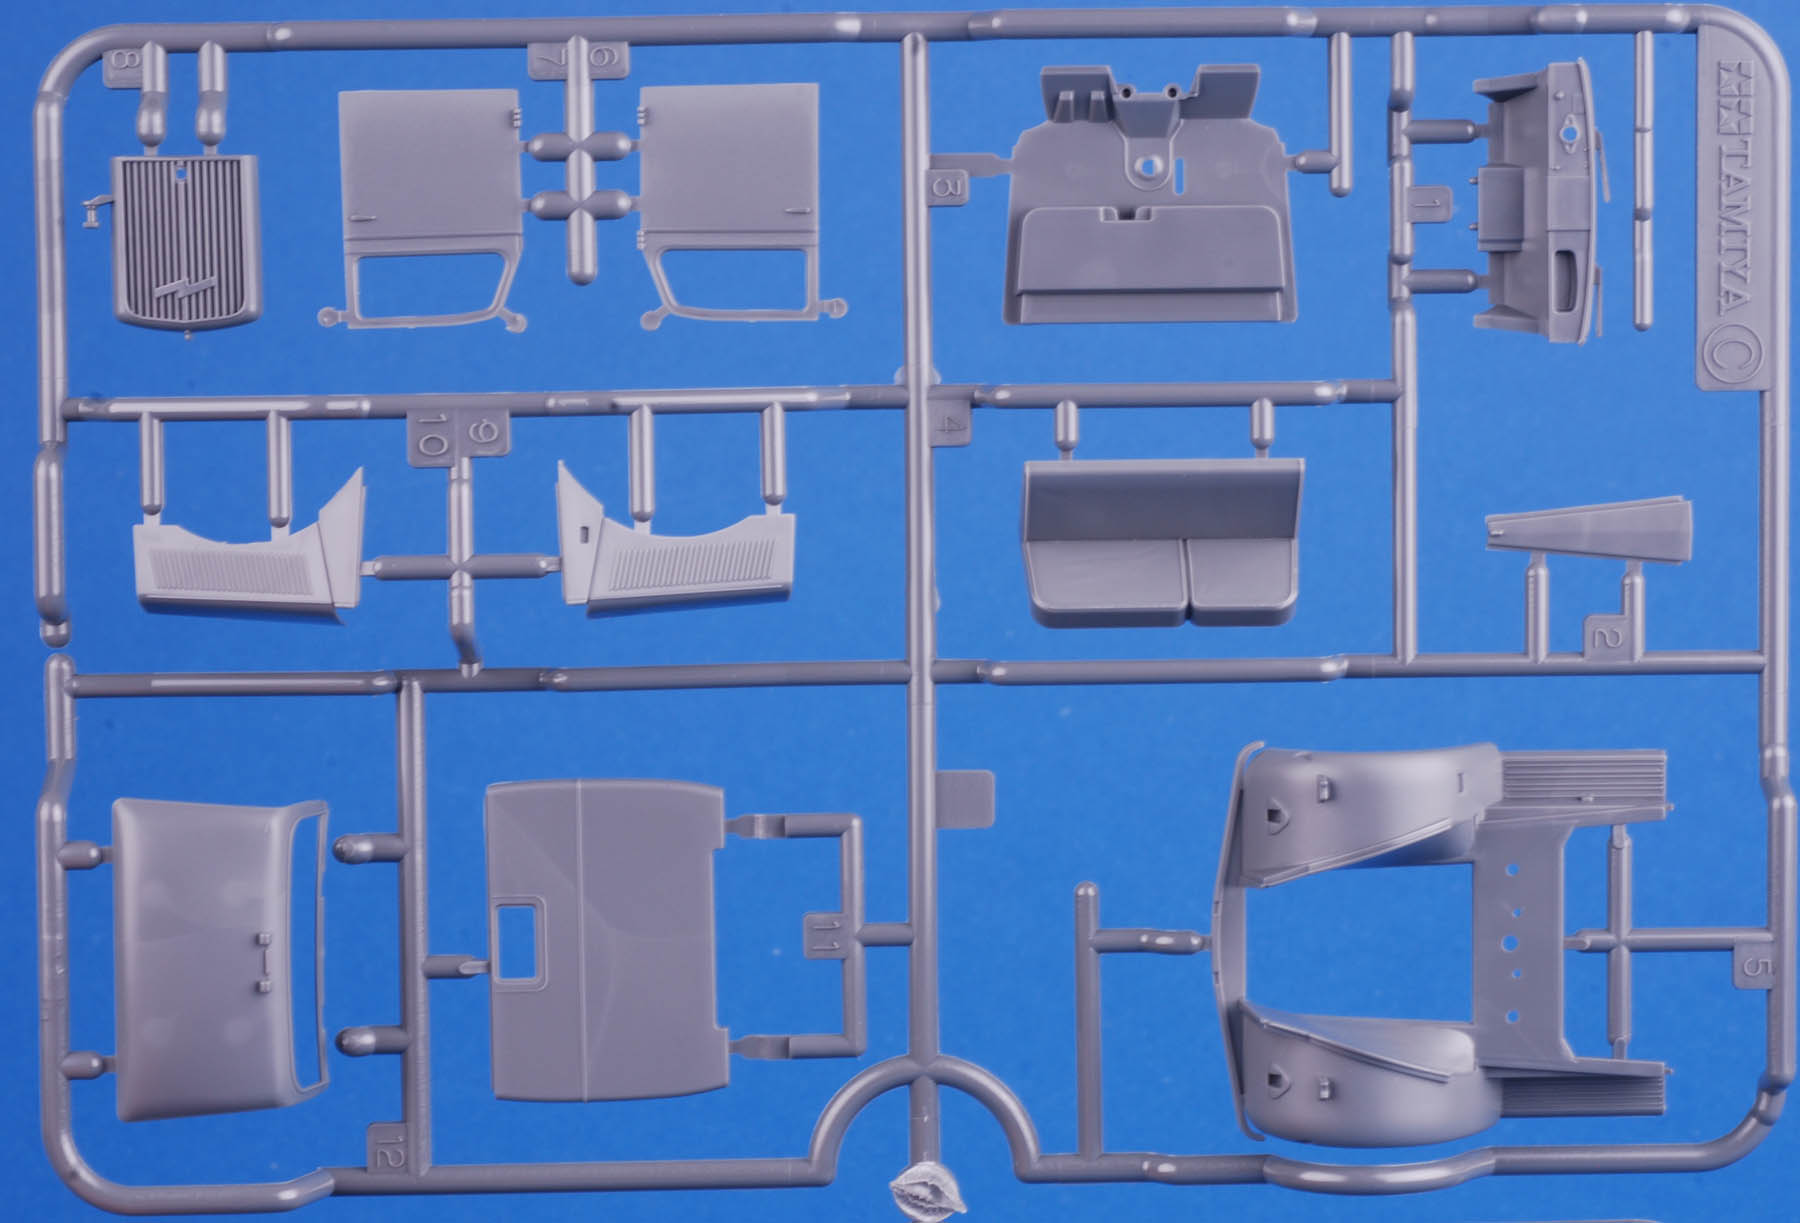
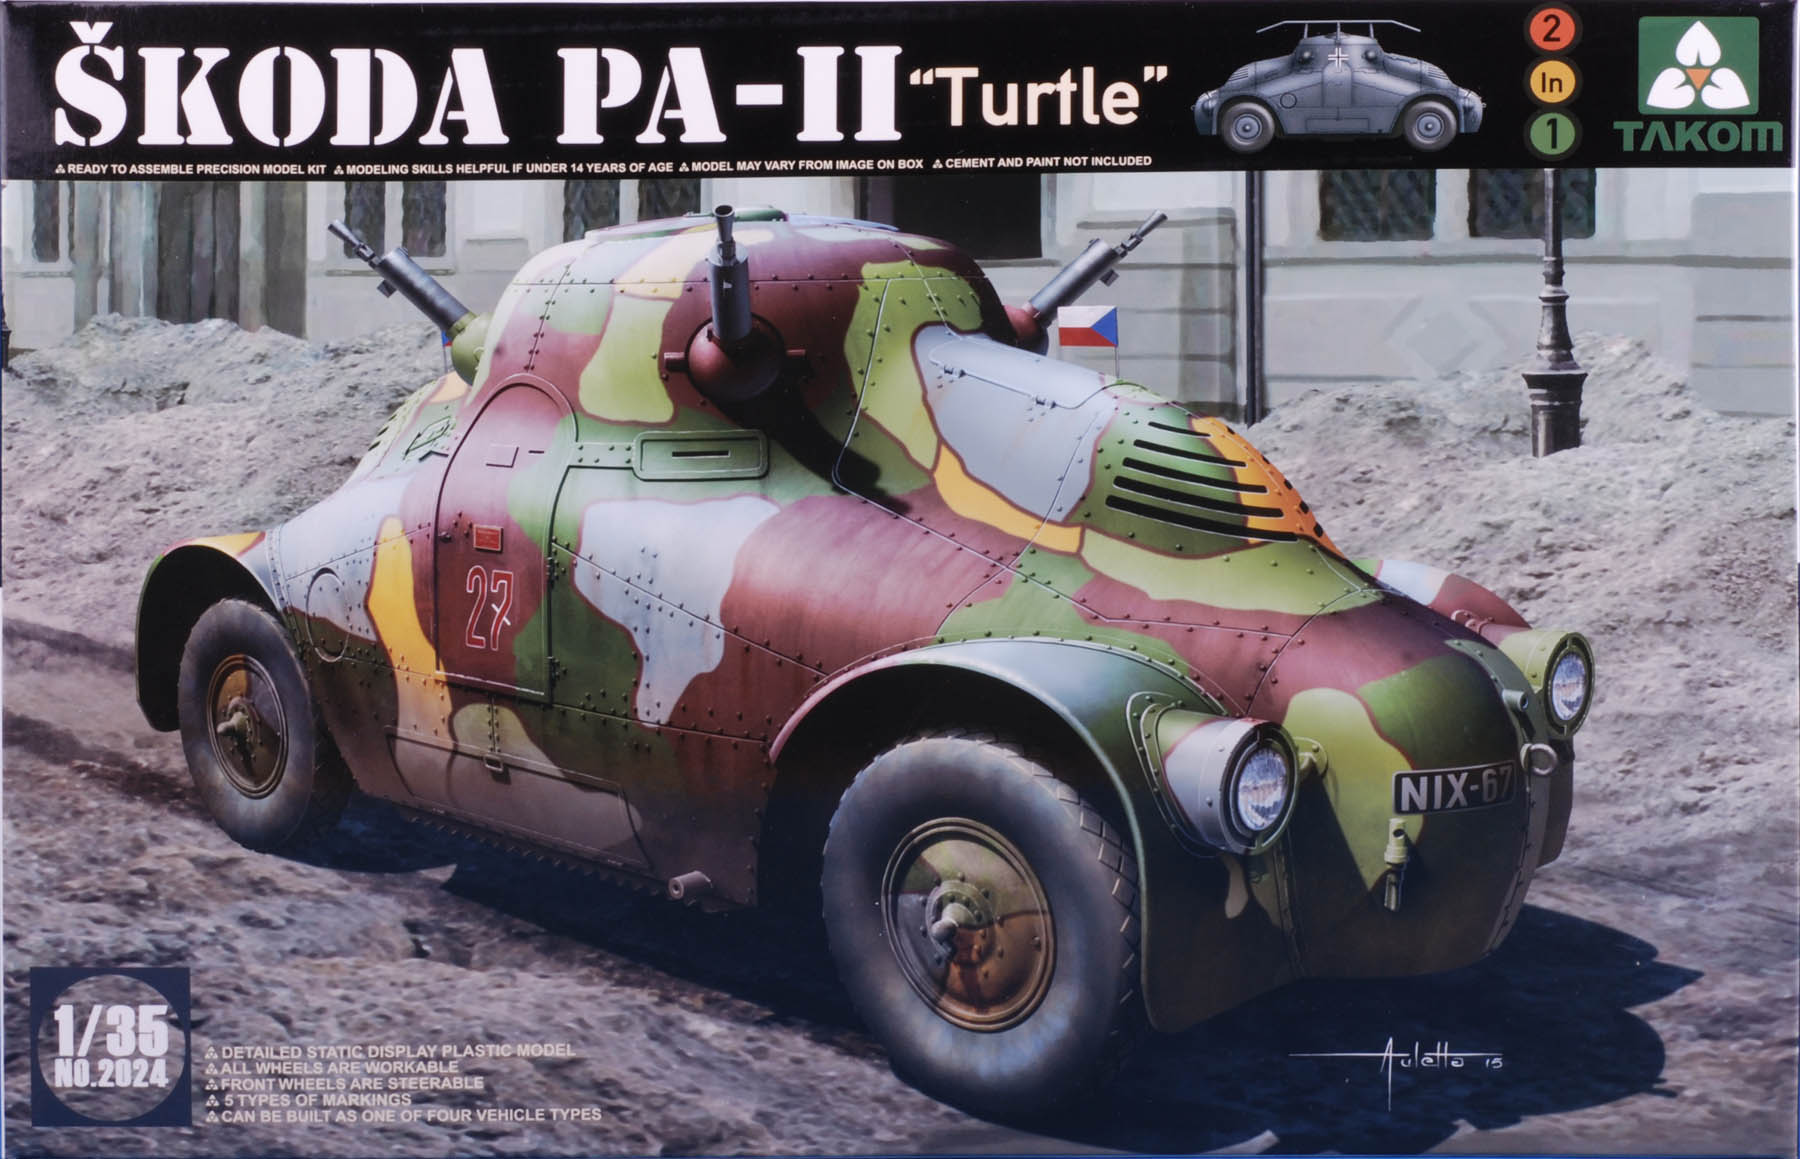
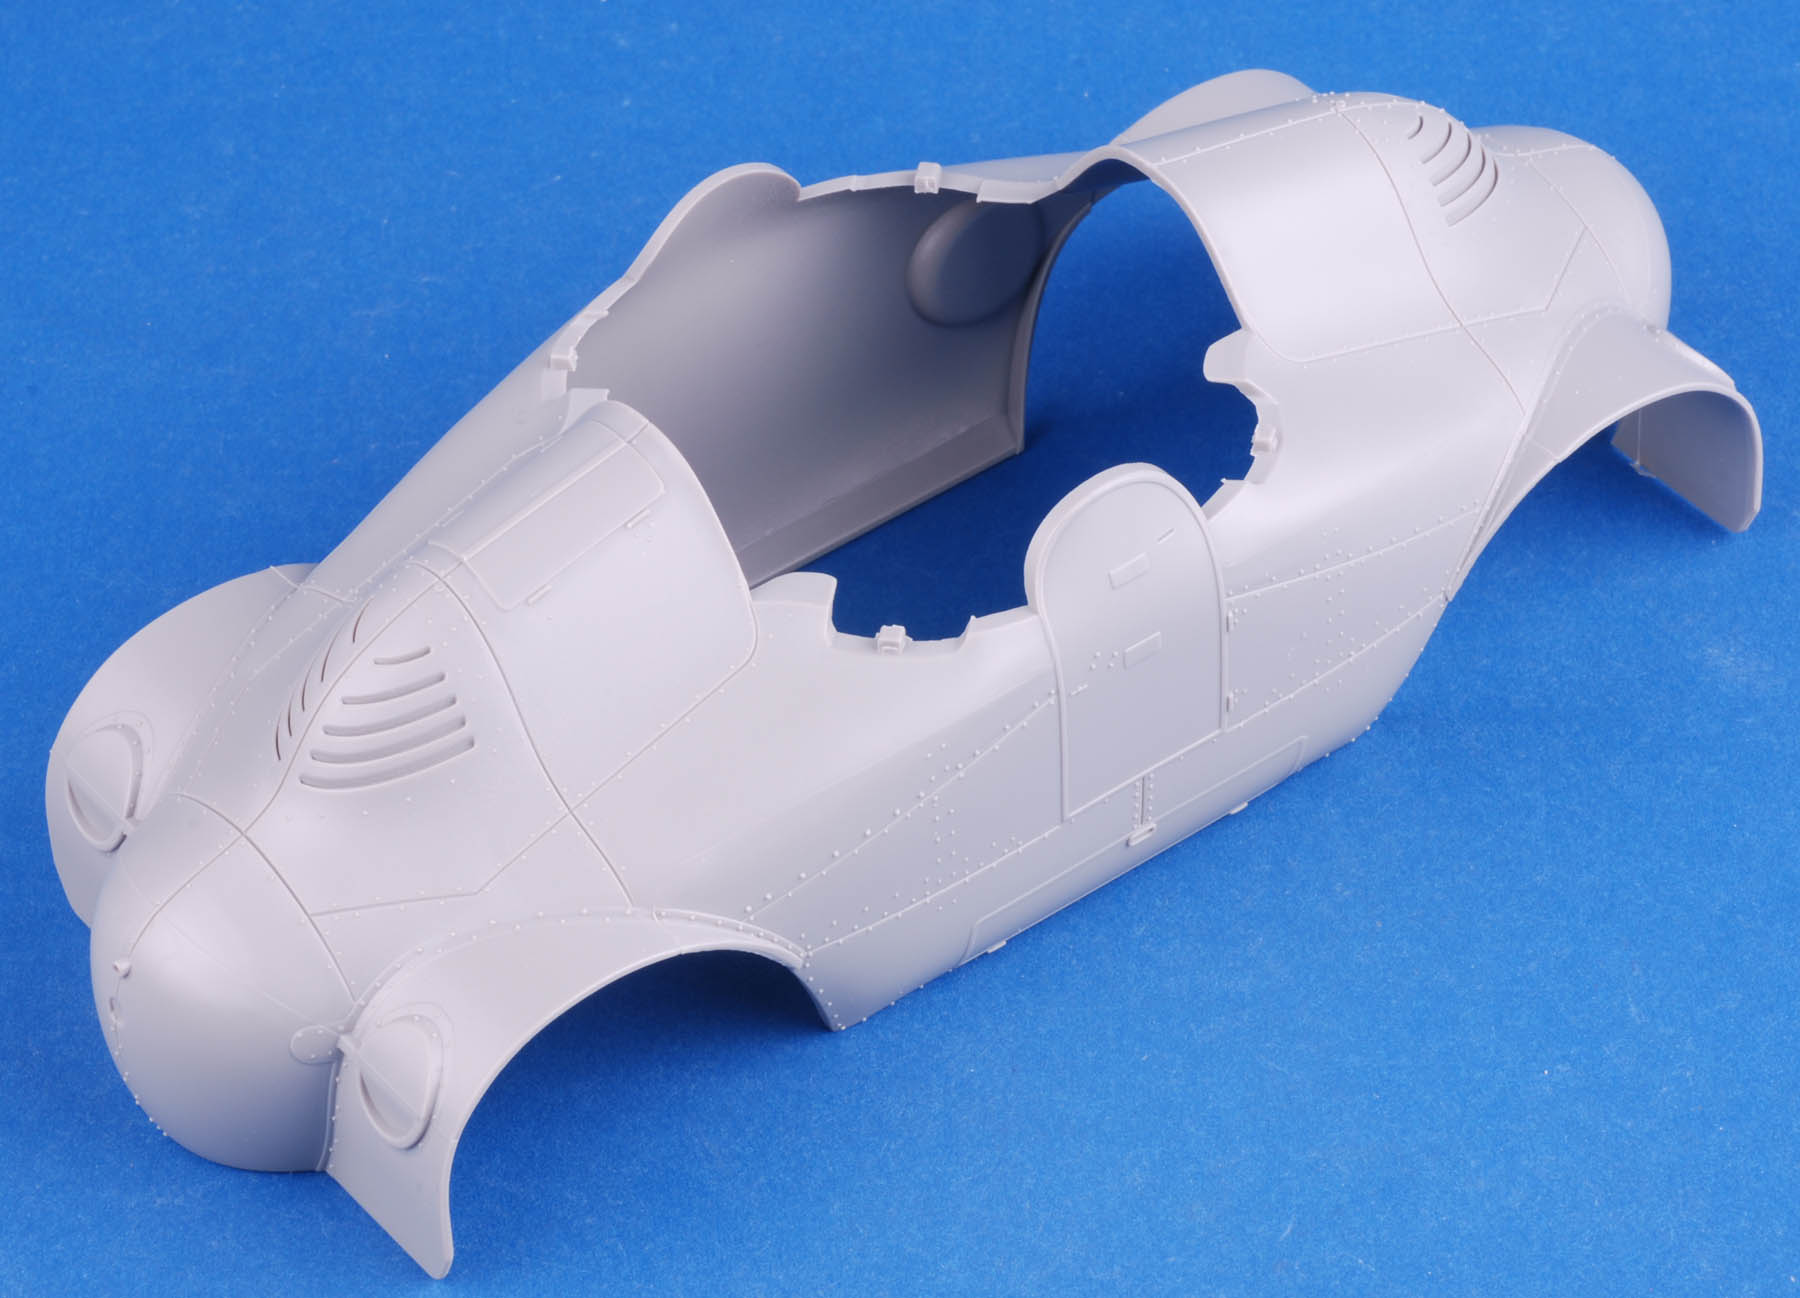
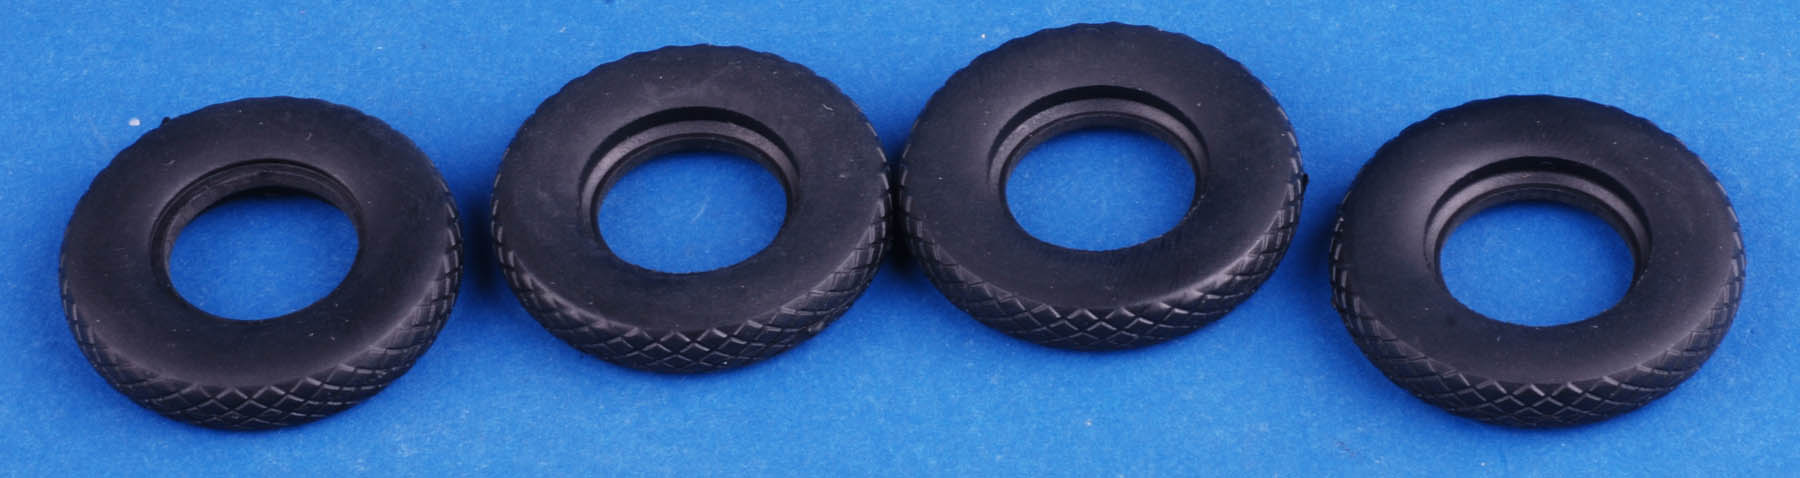
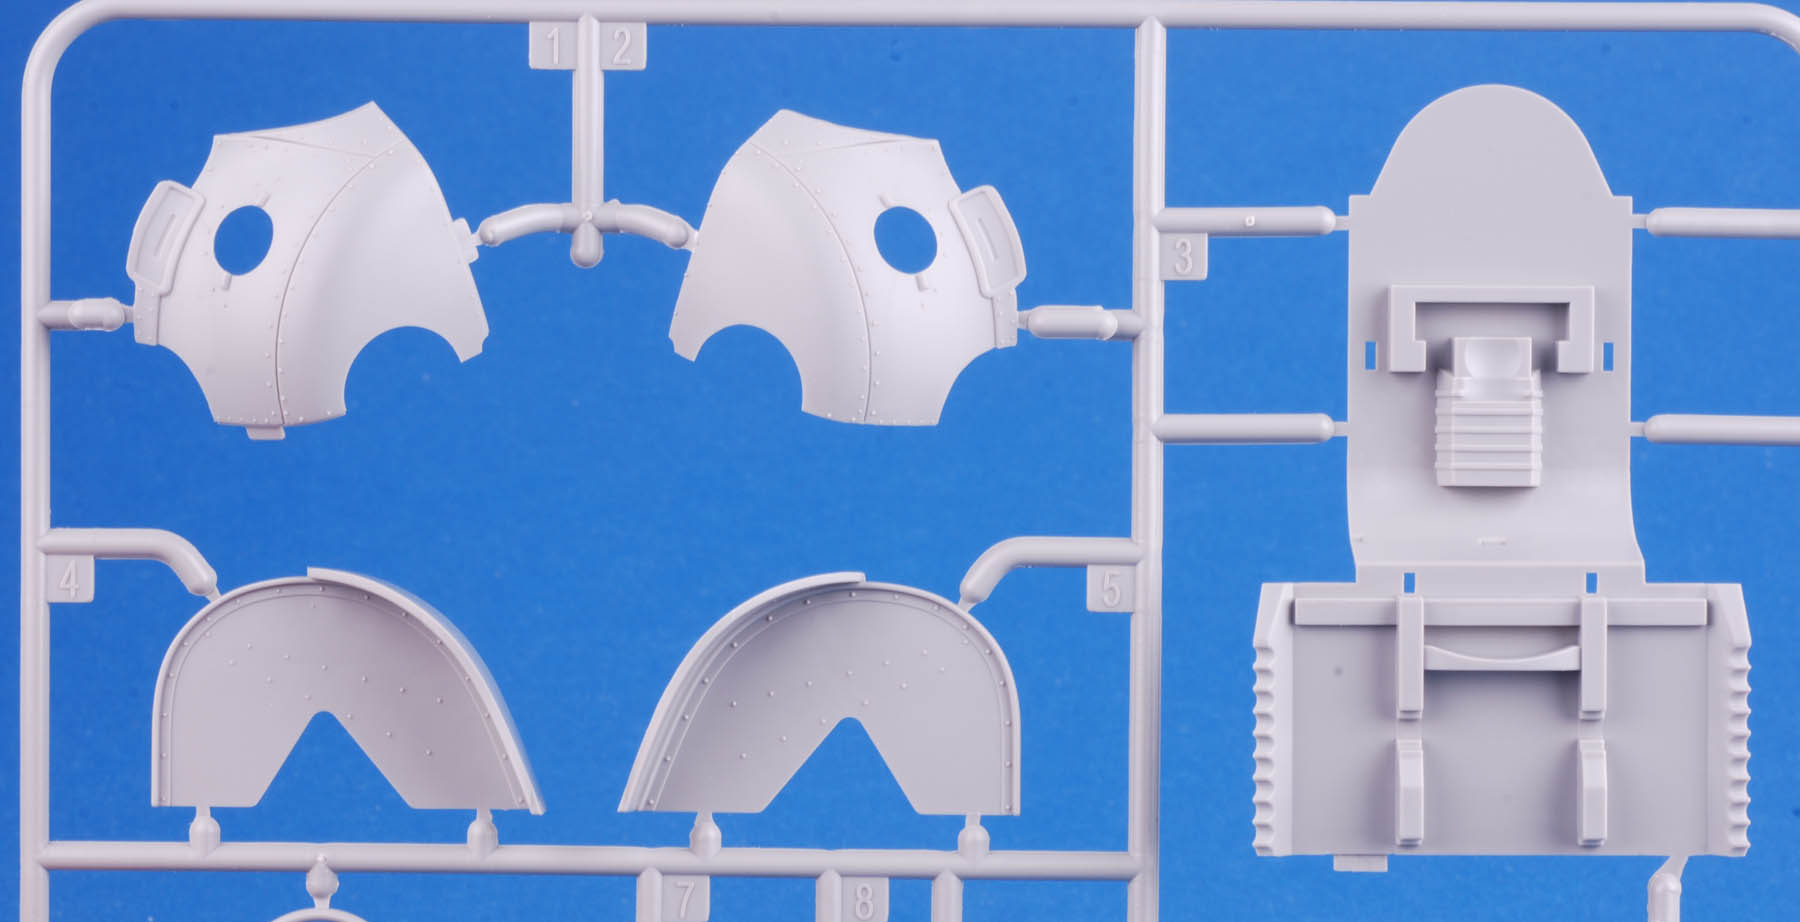
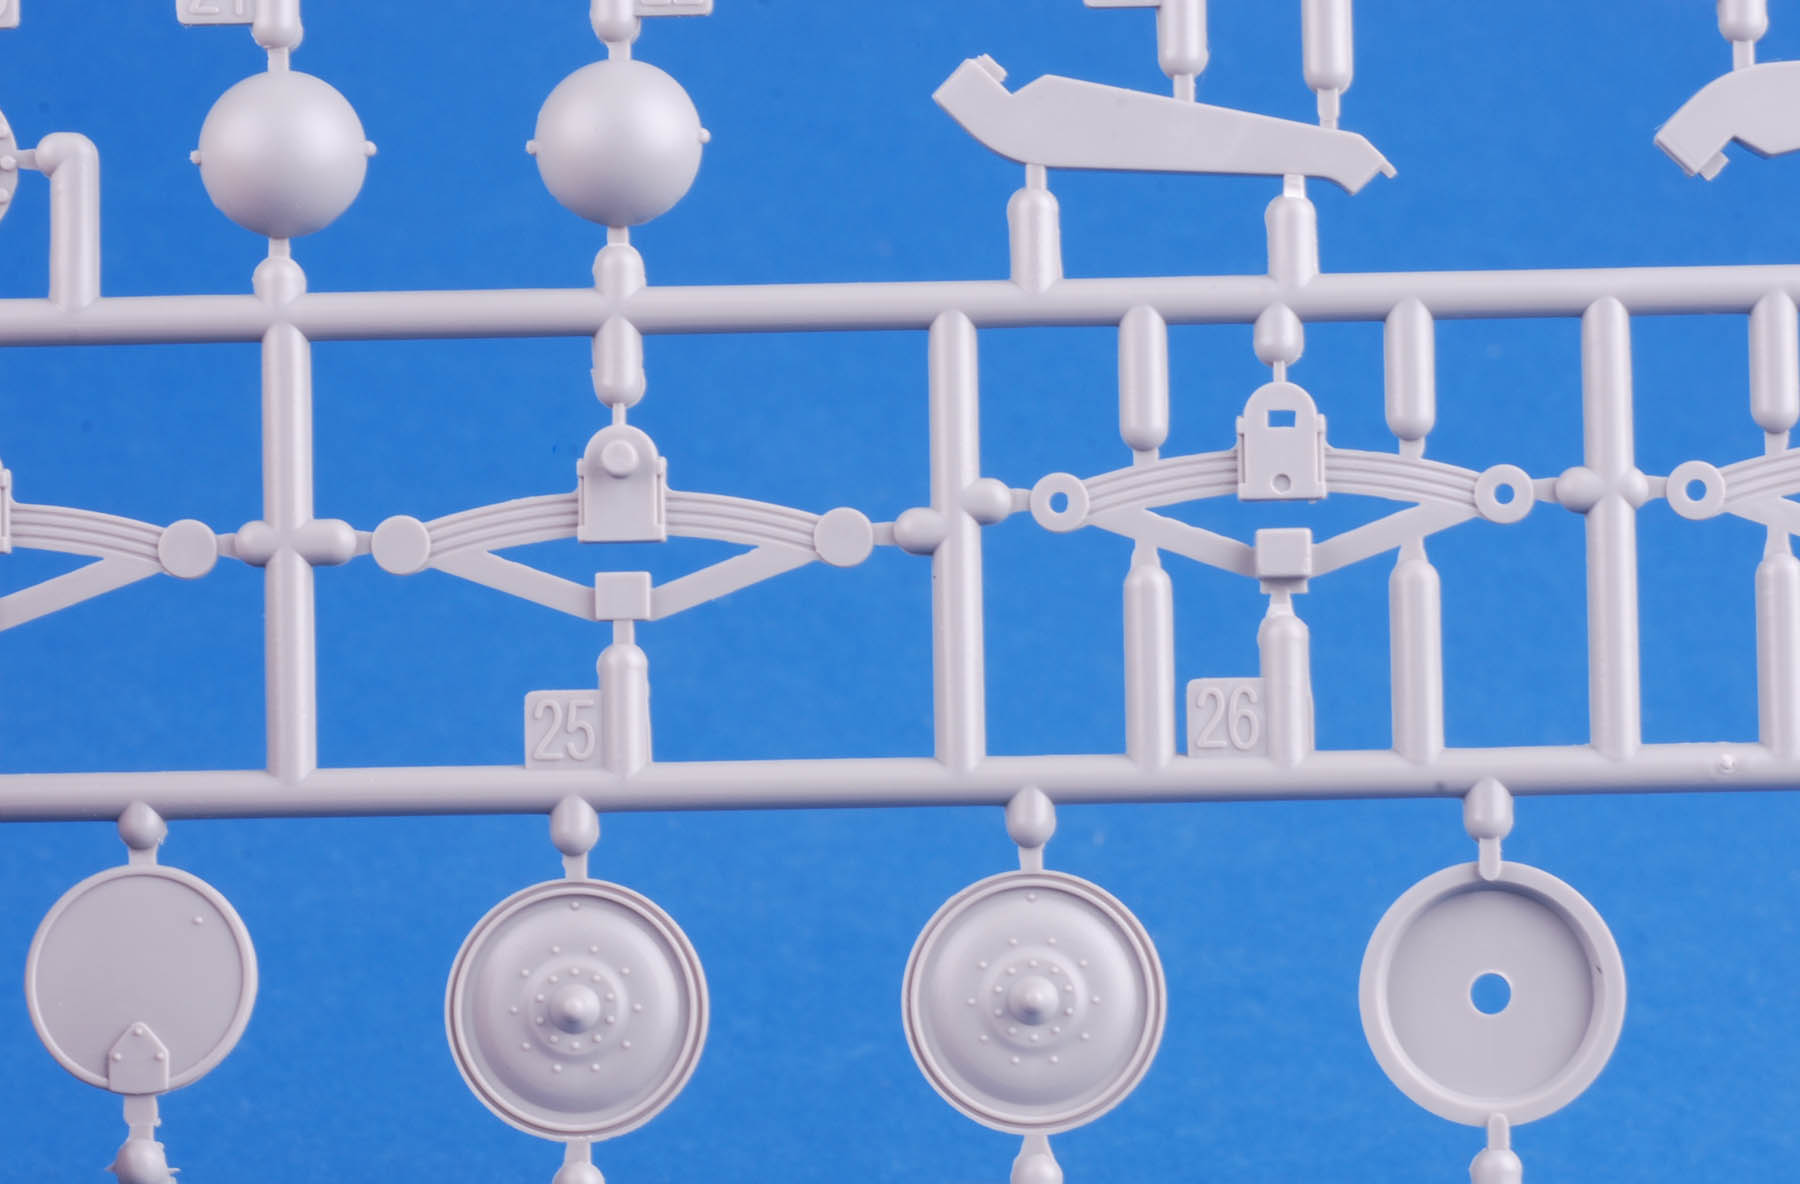
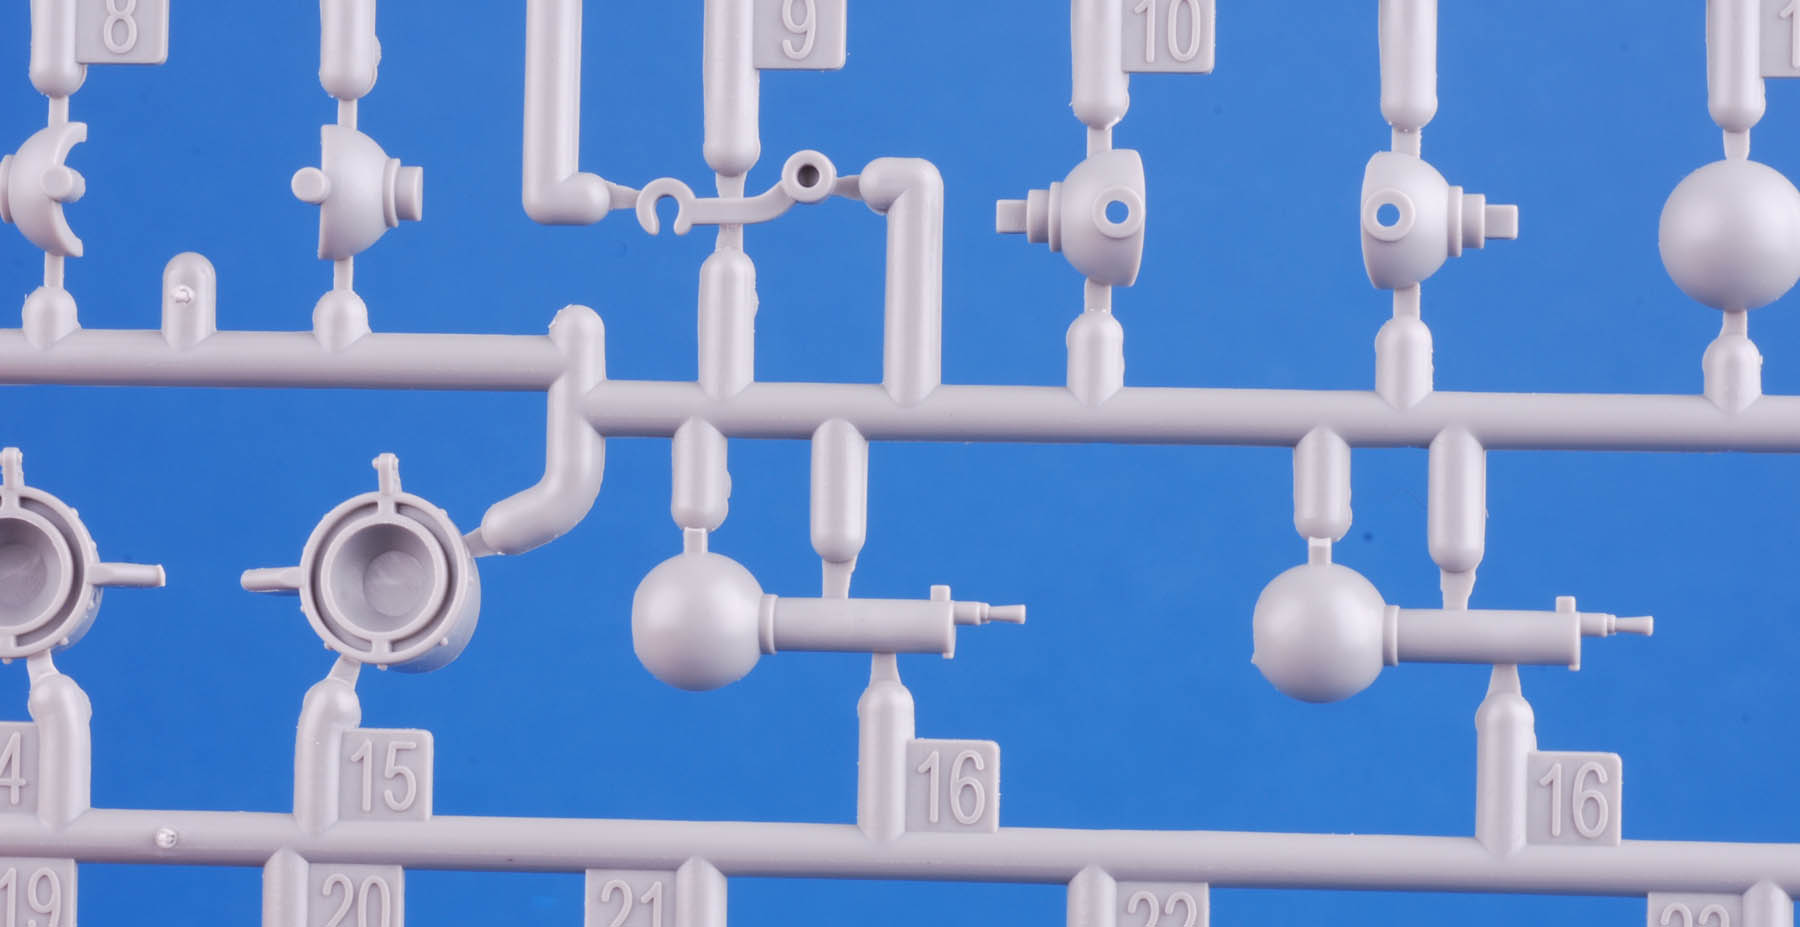
Tamiya's New 1:48 Opel and the Takom Skoda Turtle

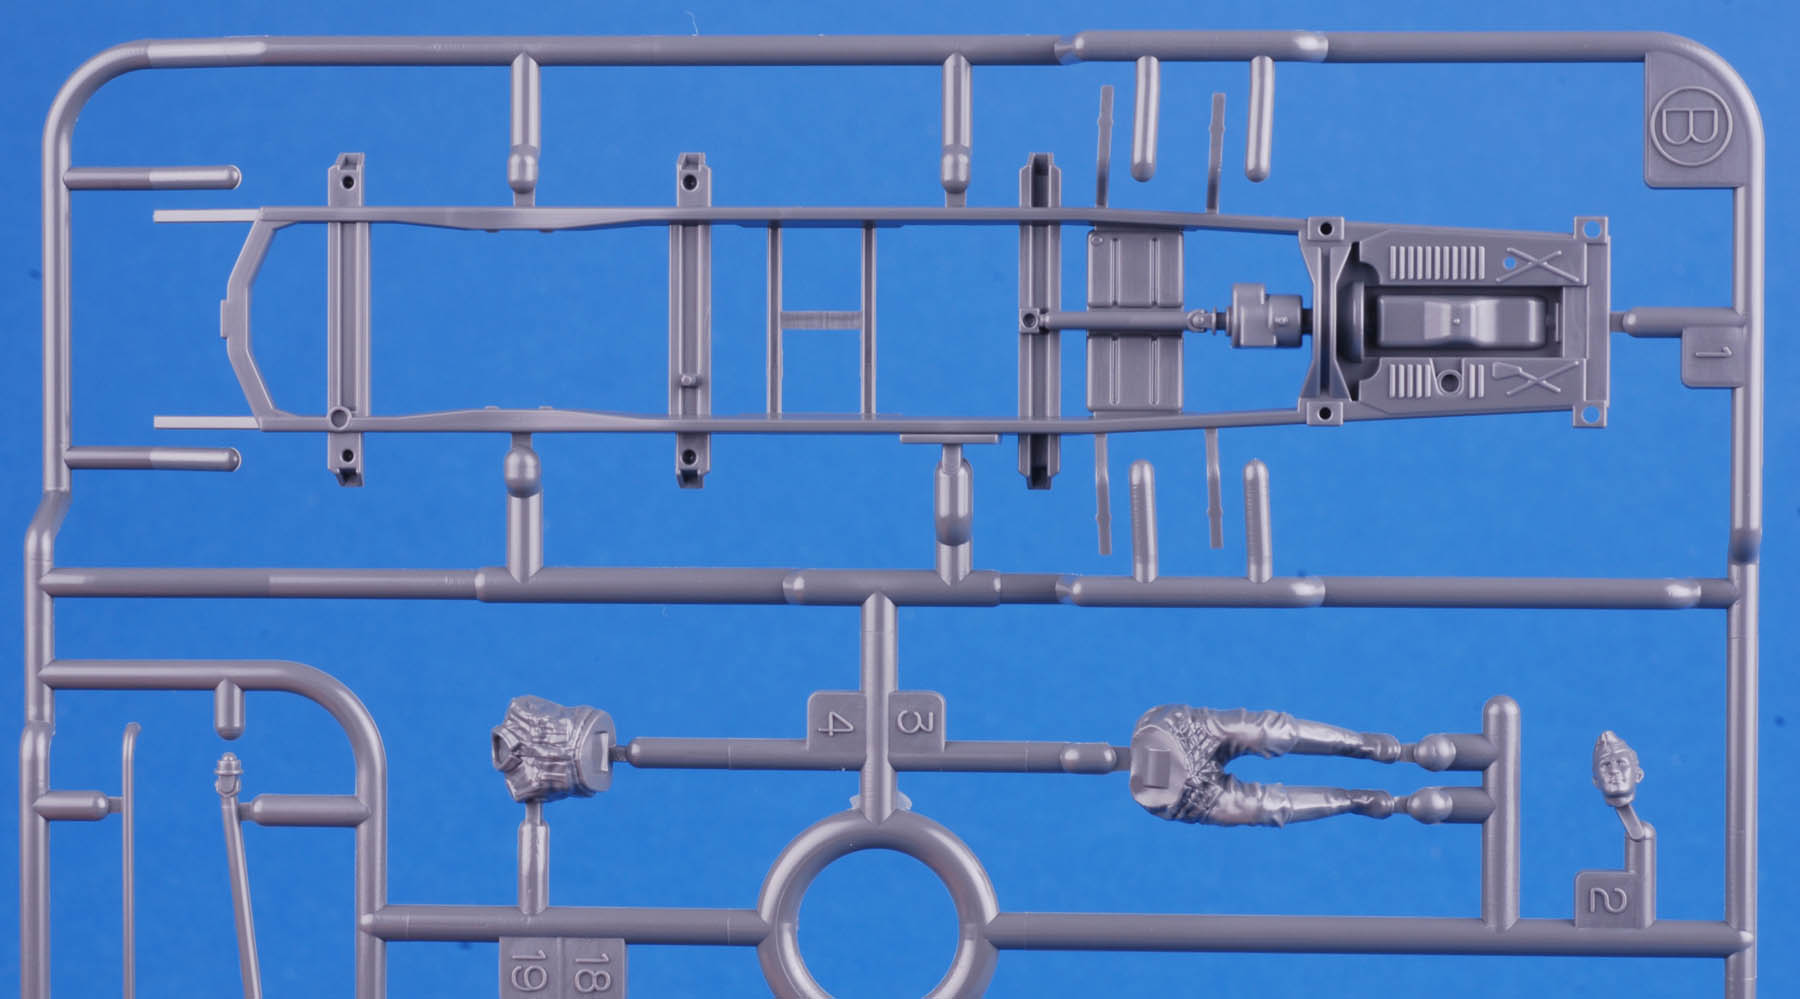
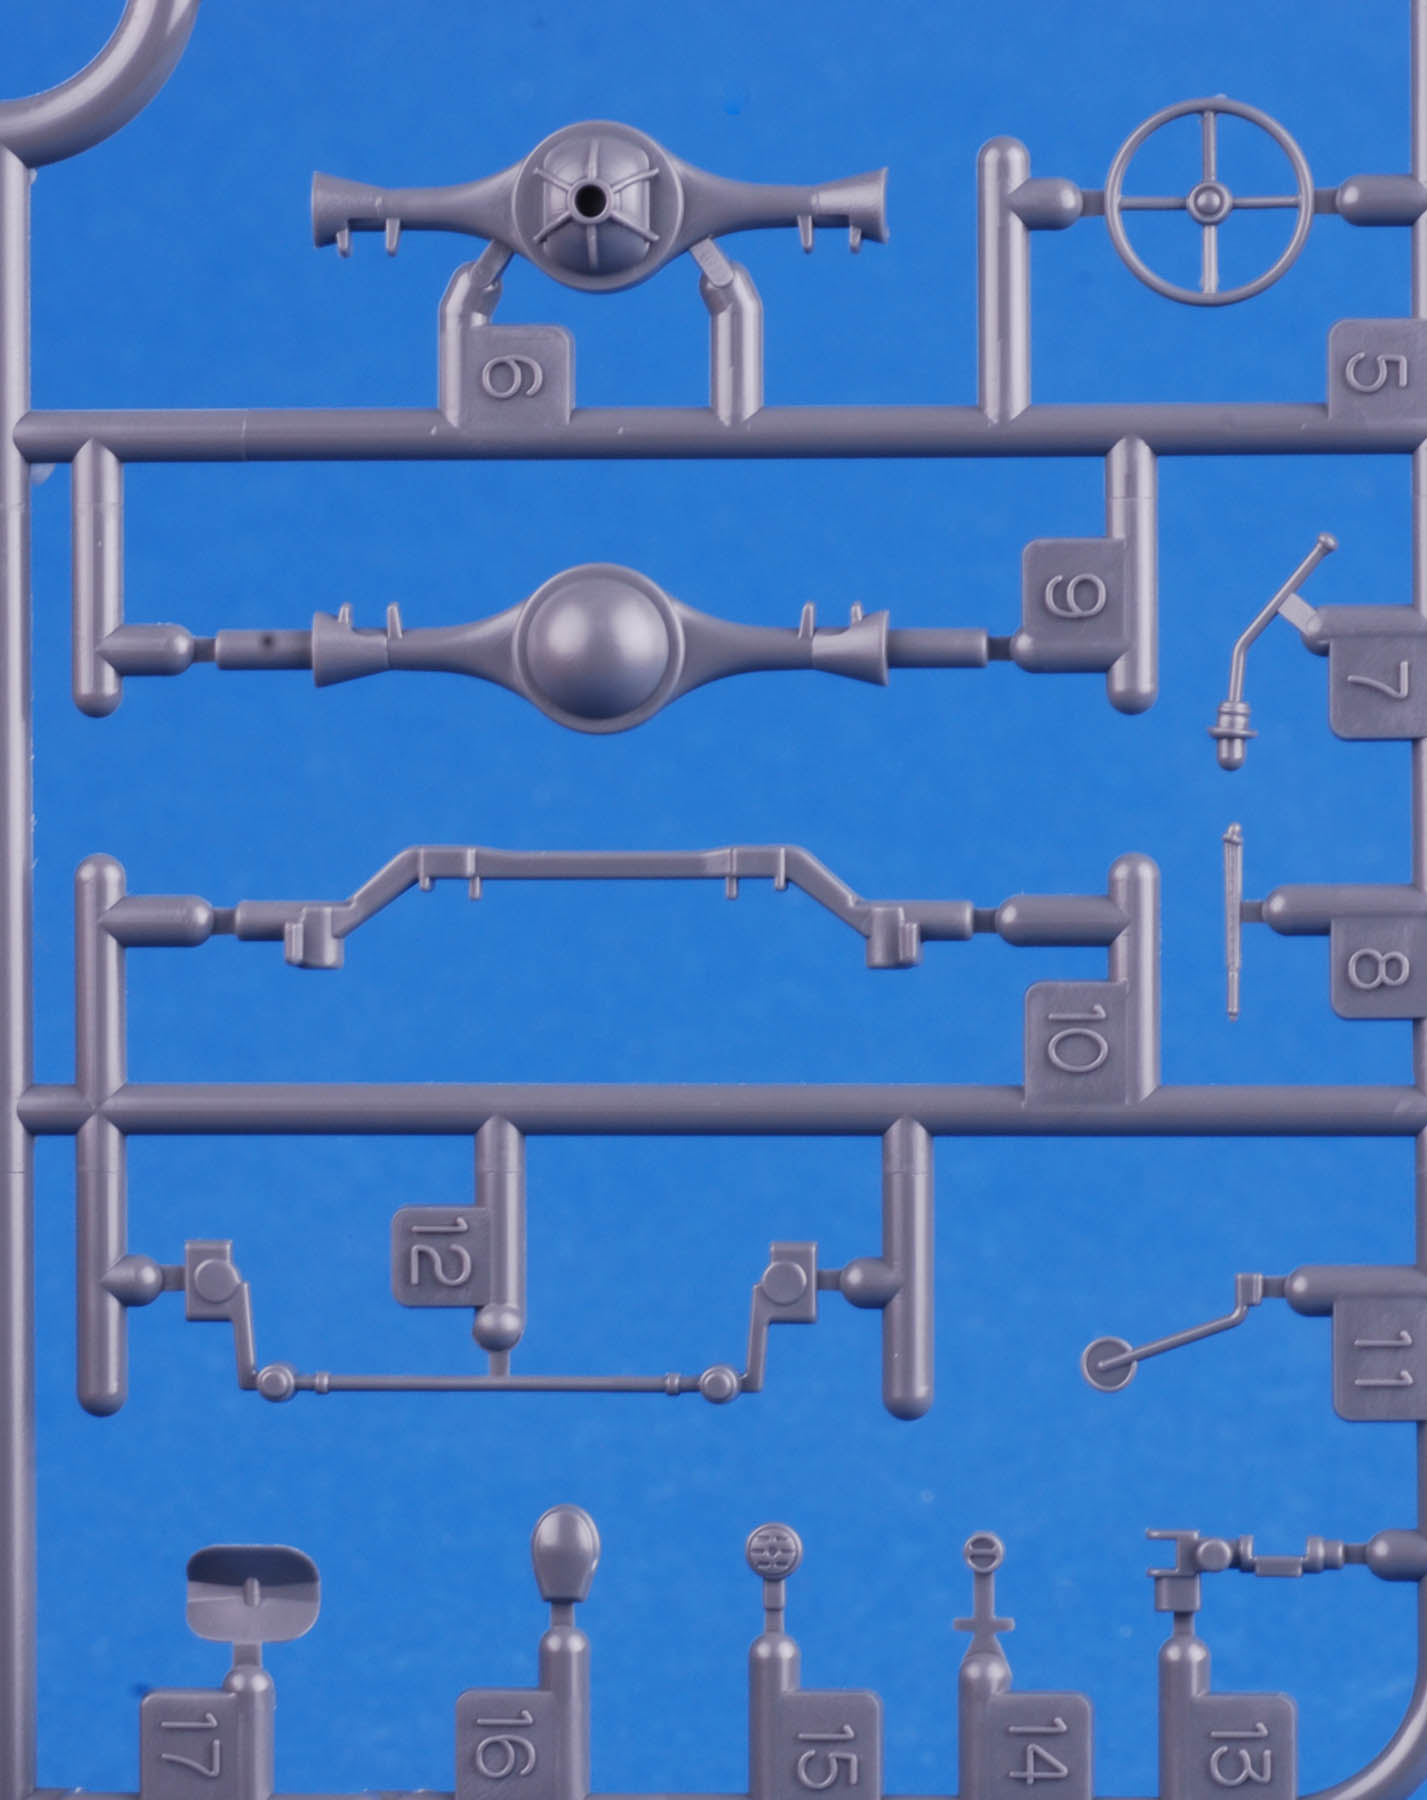
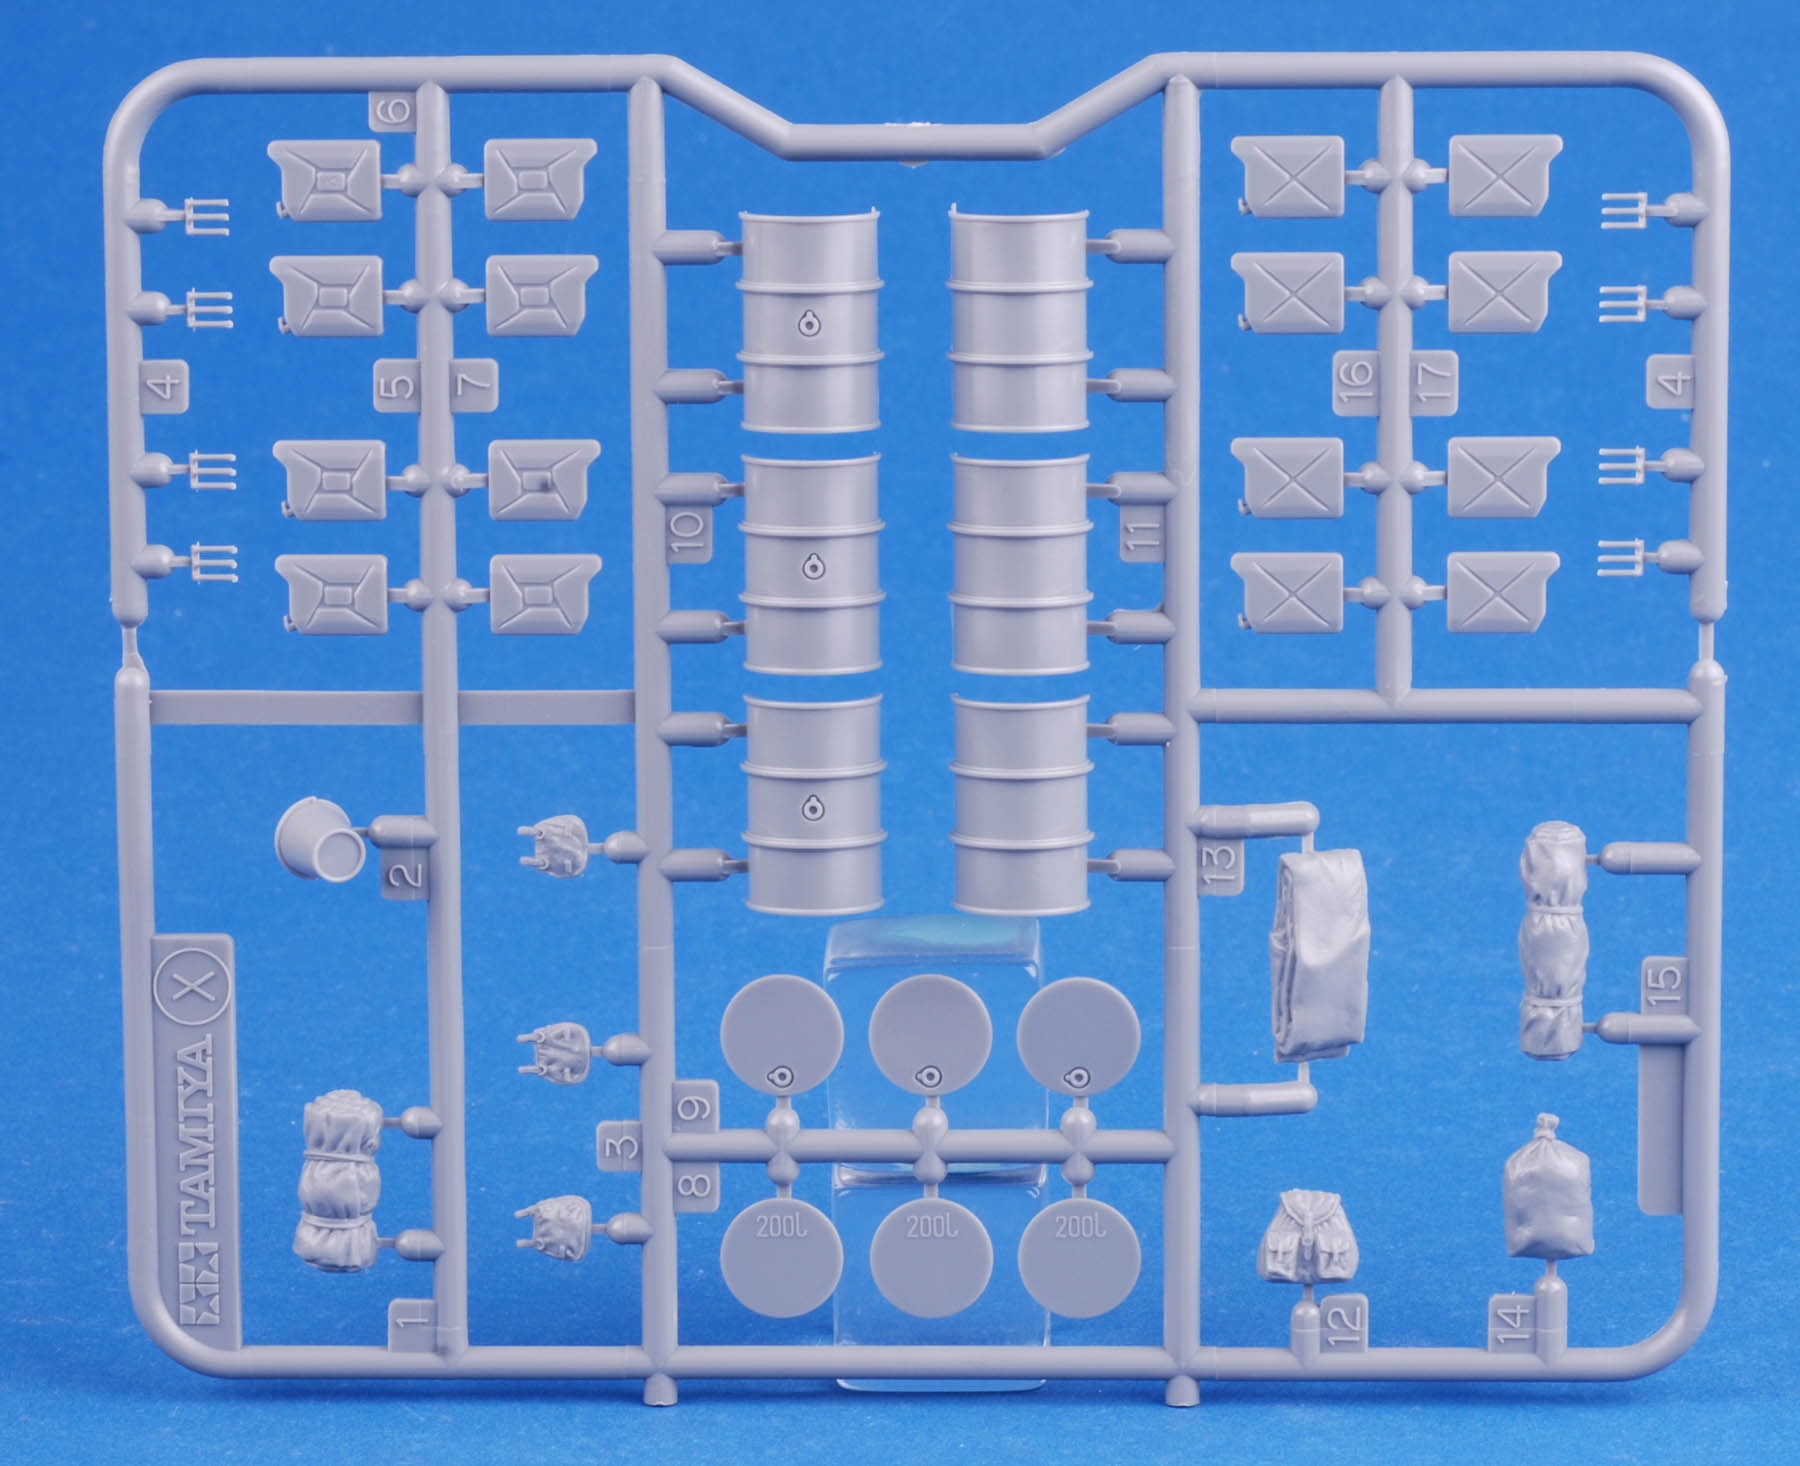
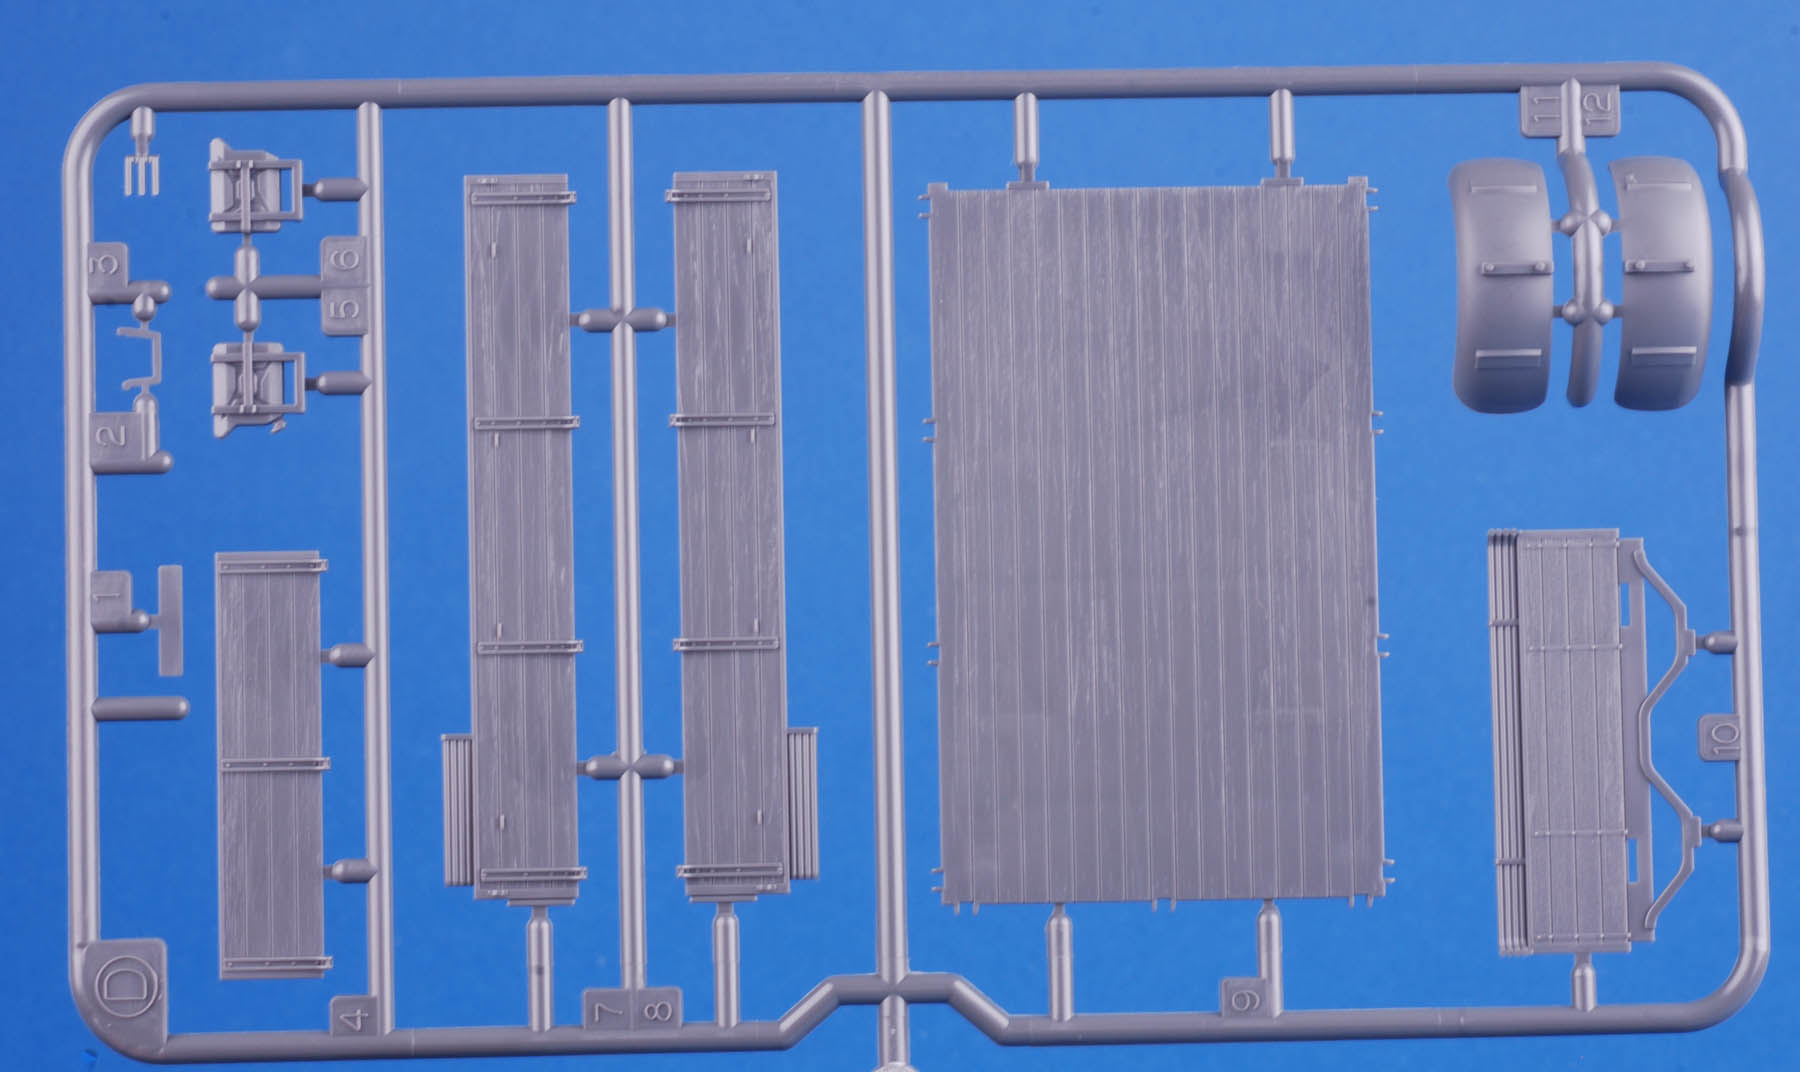
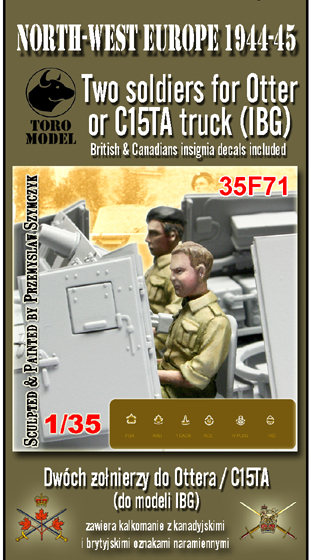
New from Toro of Poland!
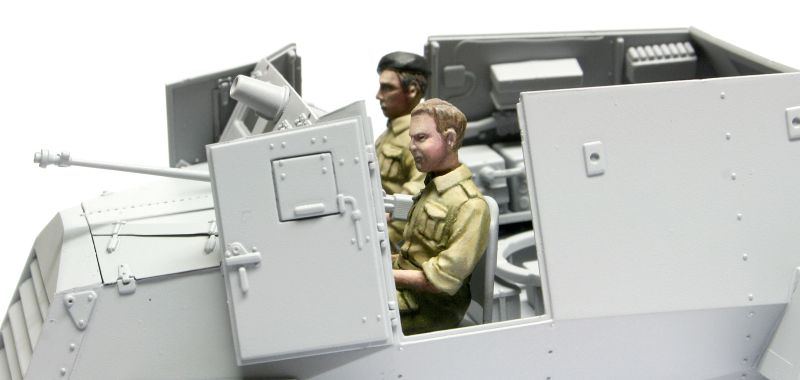
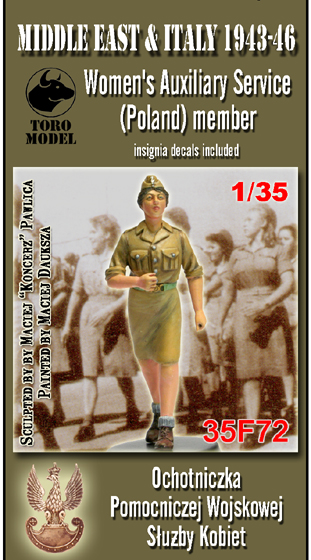


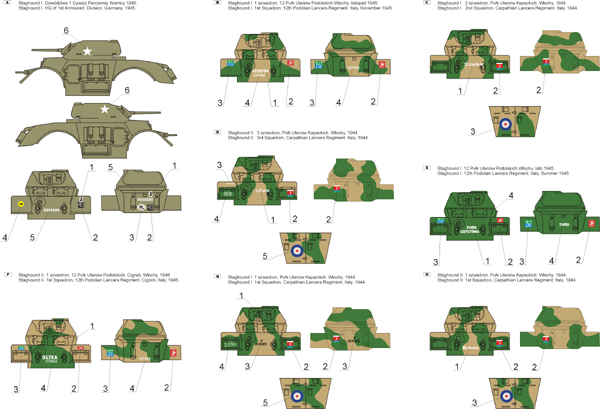
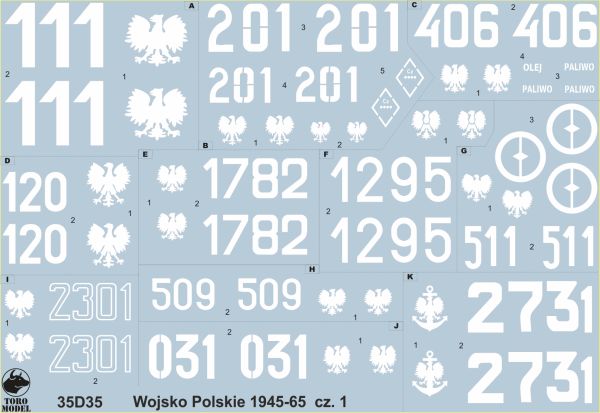

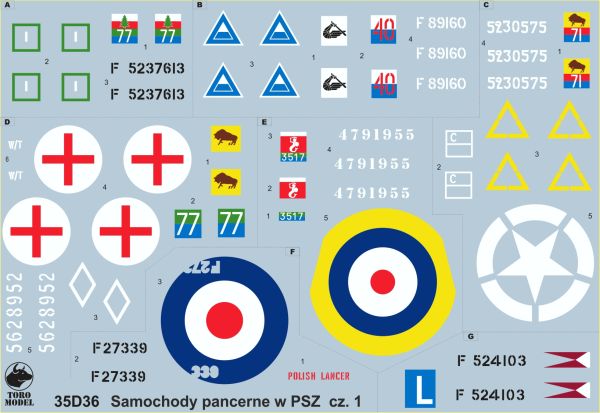
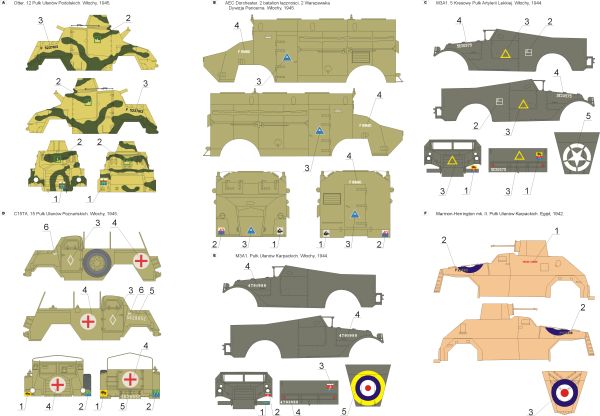

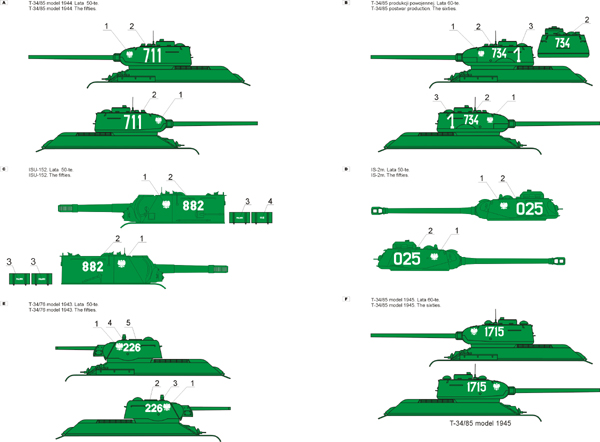

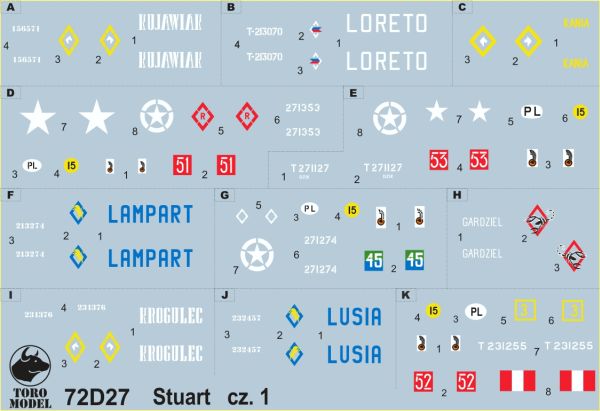

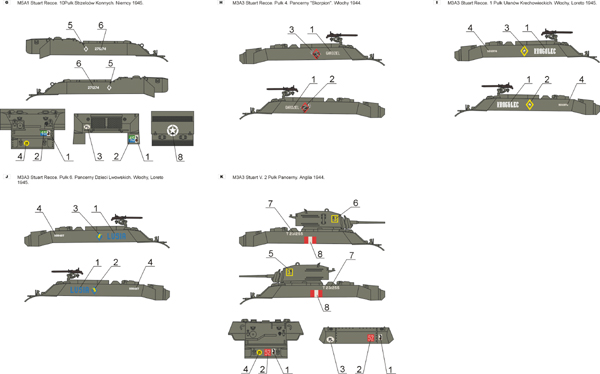
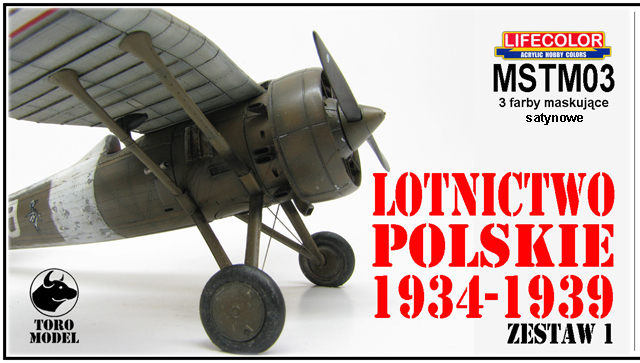
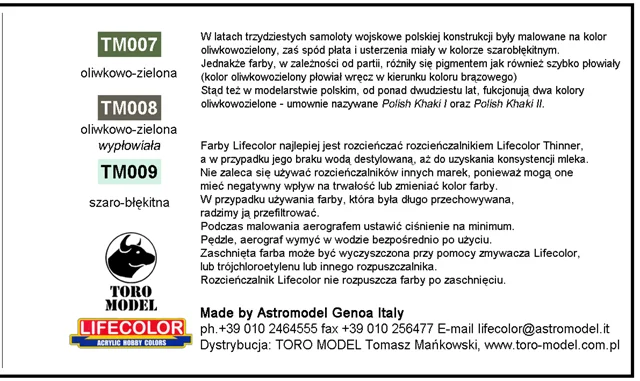
New Lifecolor paints – special sets for Polish vehicles & planes
MSTM01 - Polska Broń Pancerna 1936-1939 – Polish AFV’s 1936-1939, 3 colors set


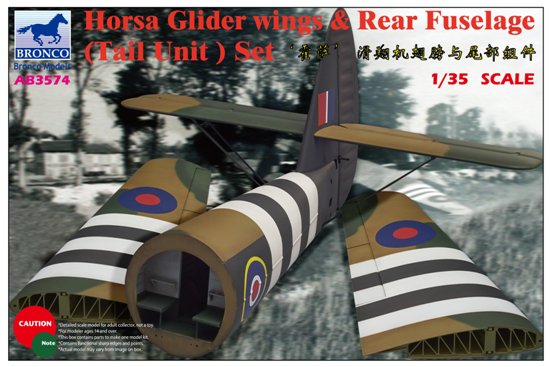
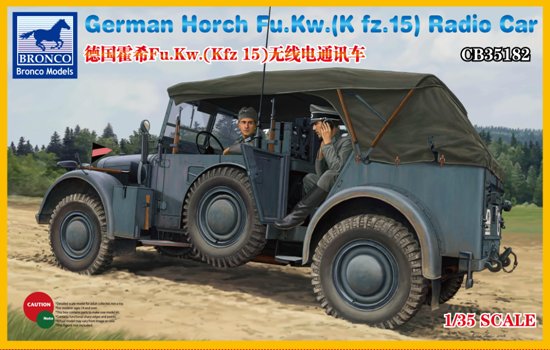
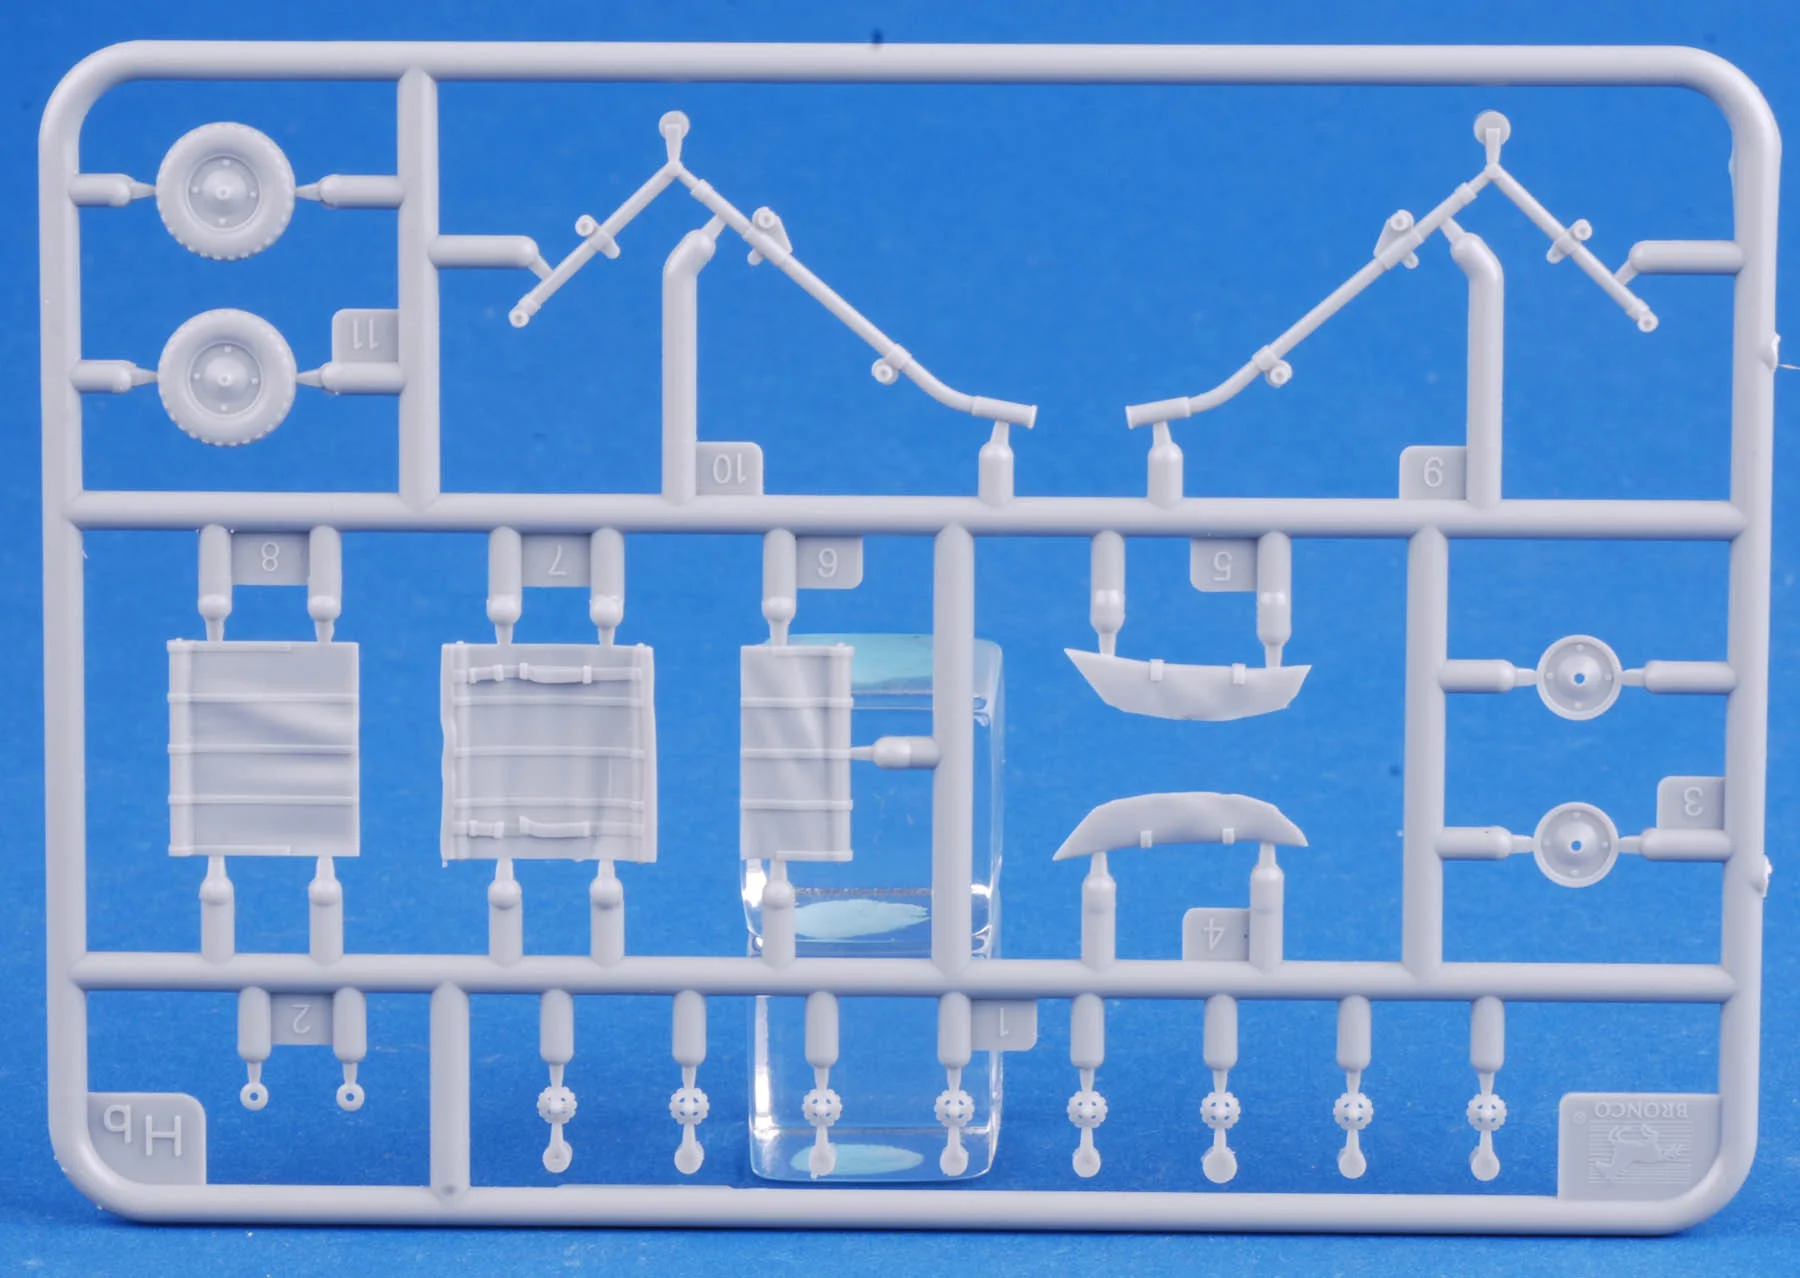
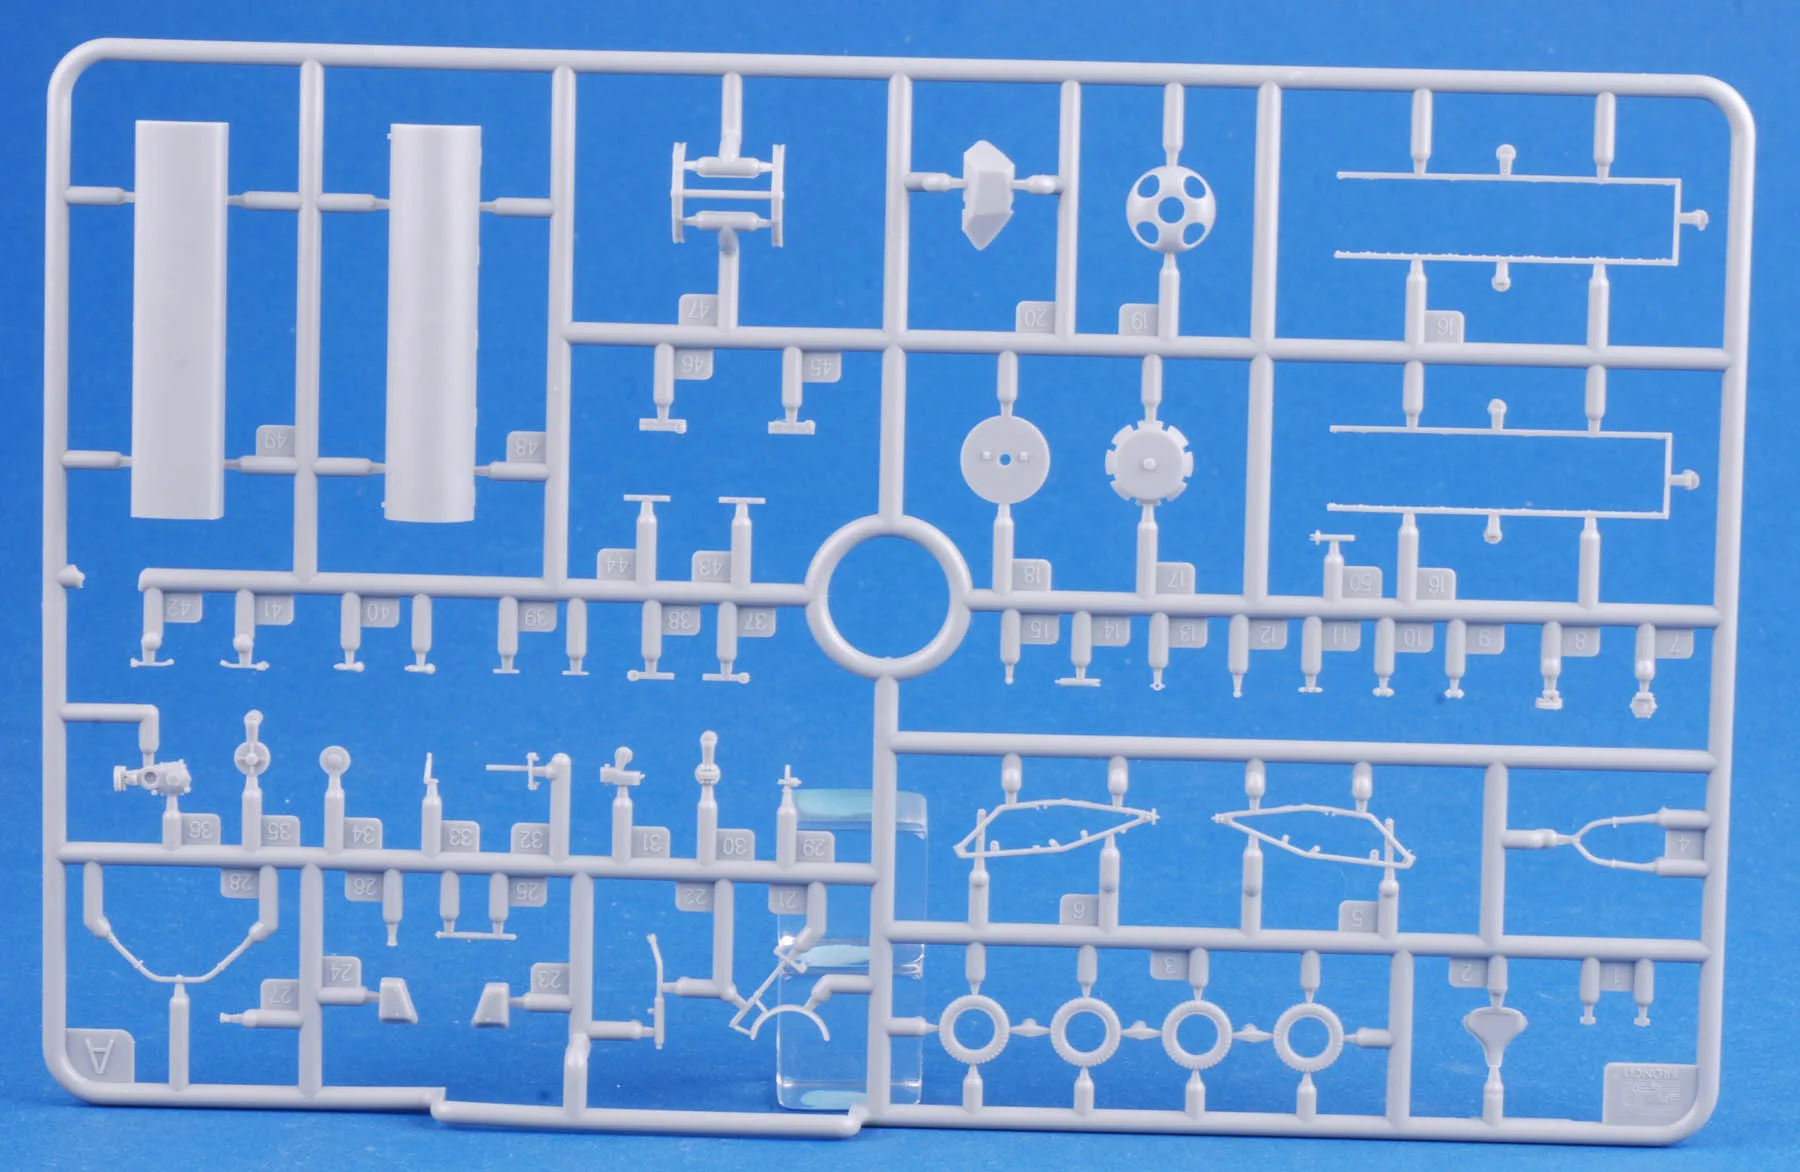
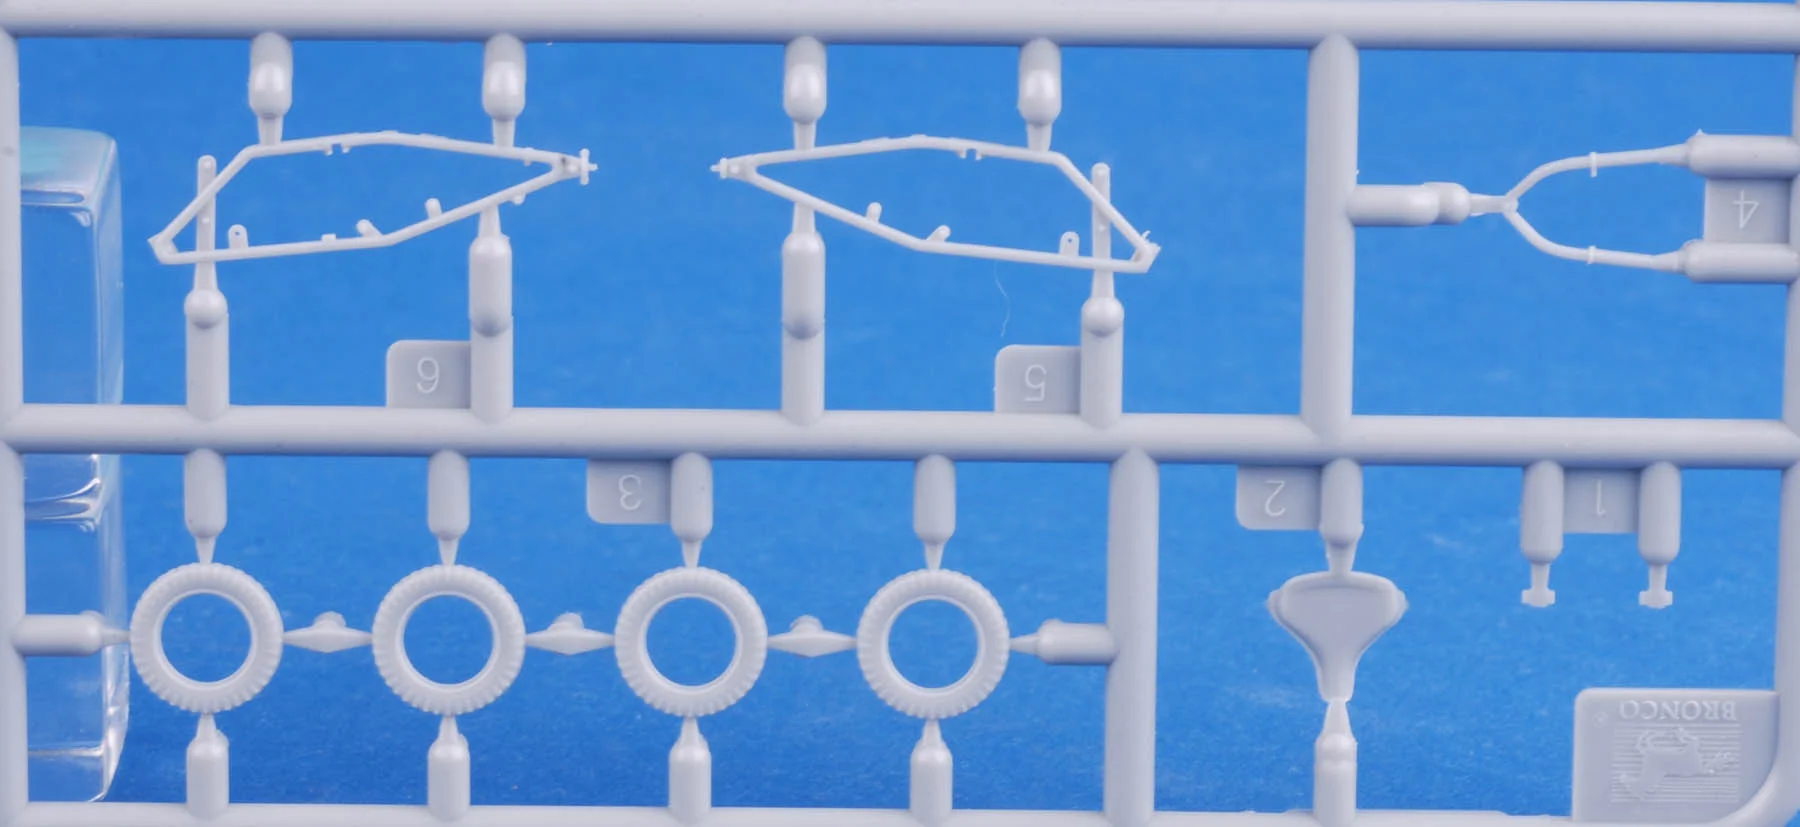
New Bronco Stuff from Dragon USA!
www.dragonusaonline.com




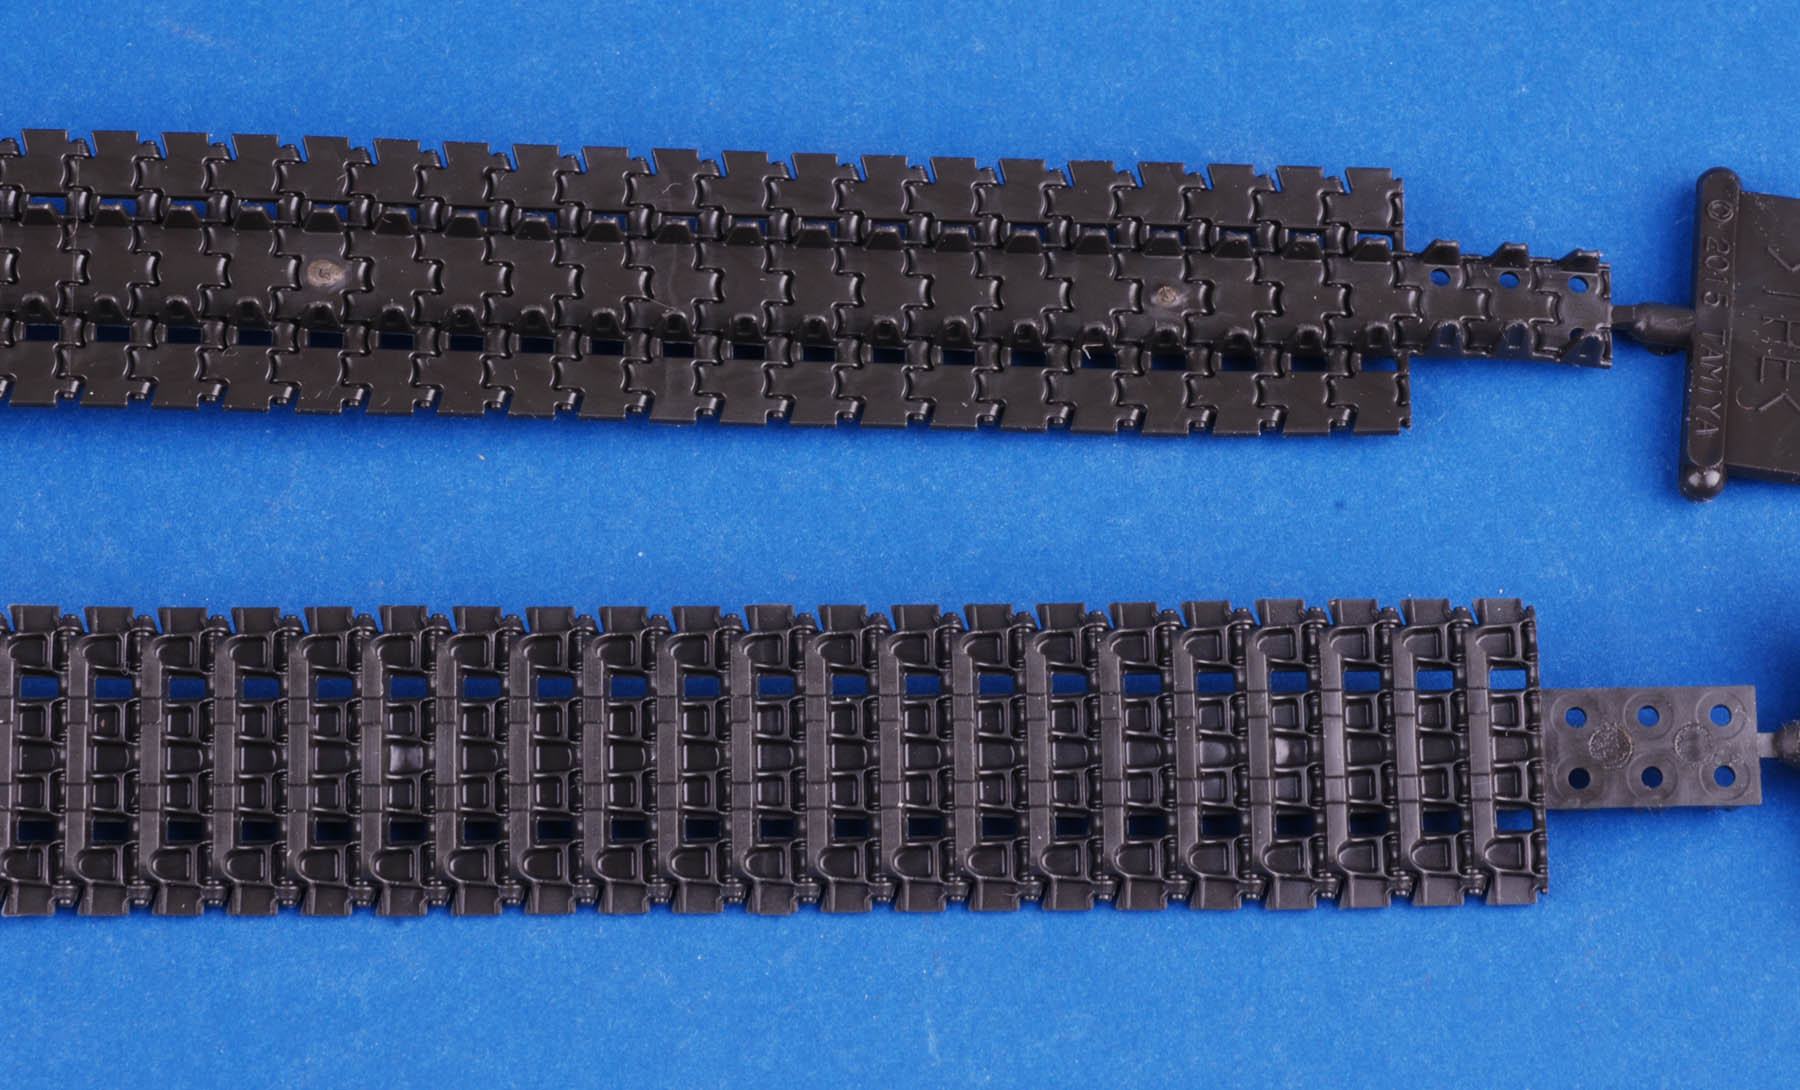
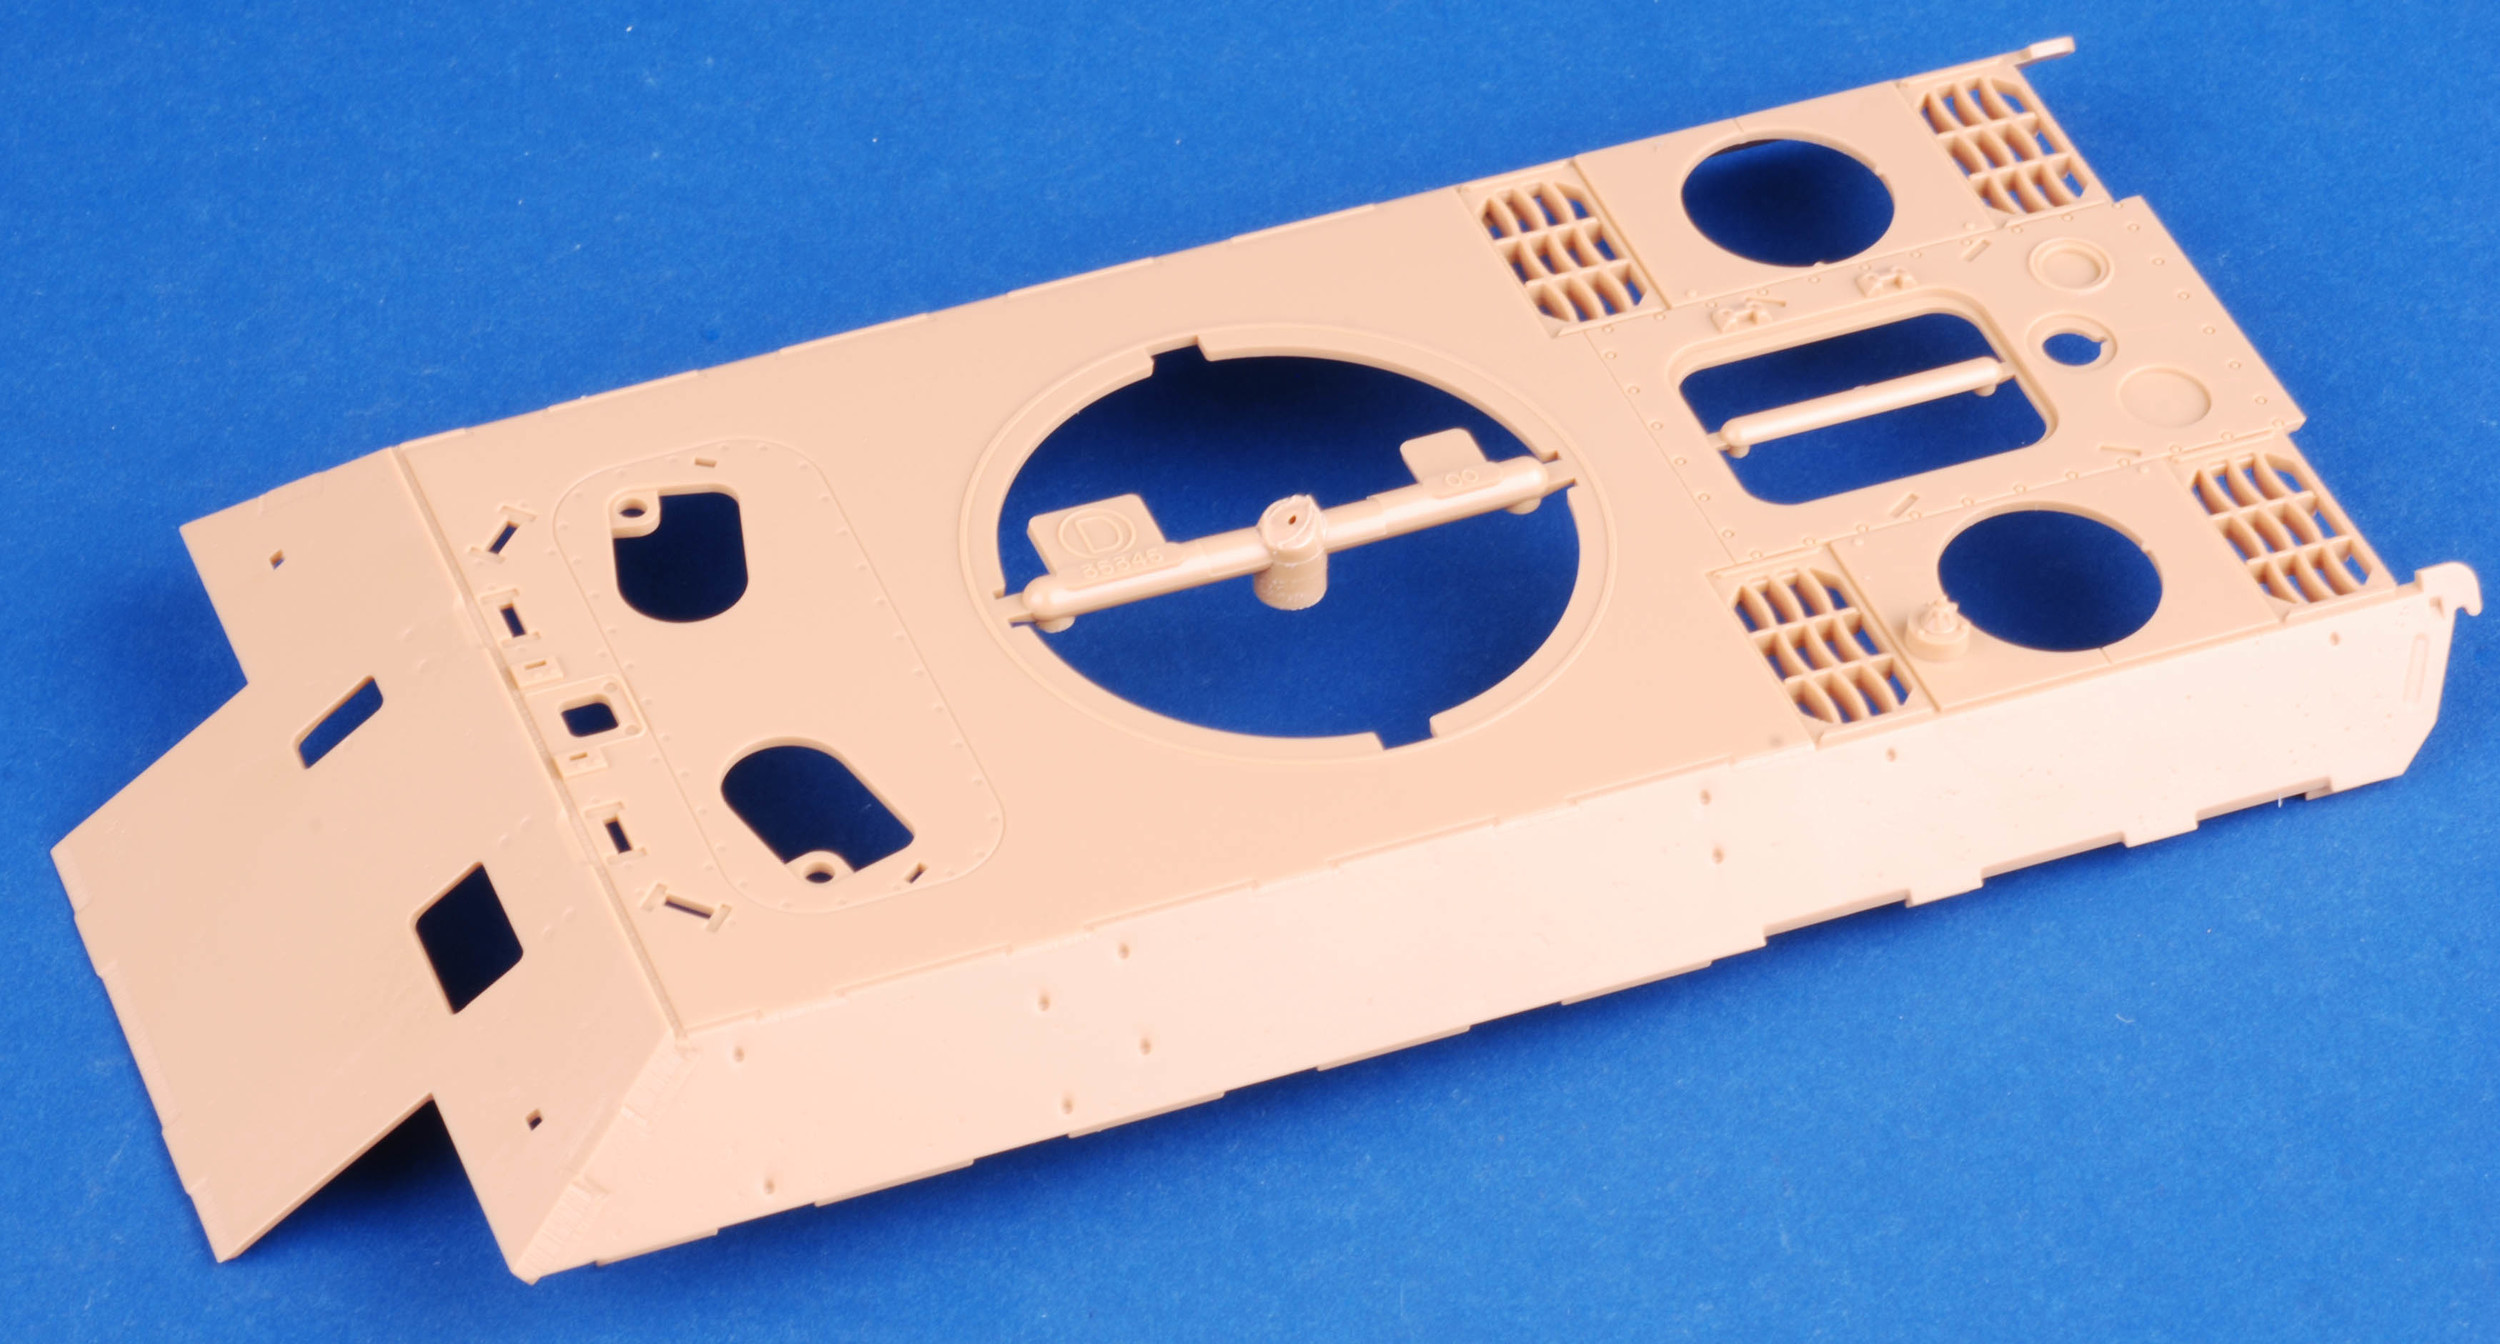
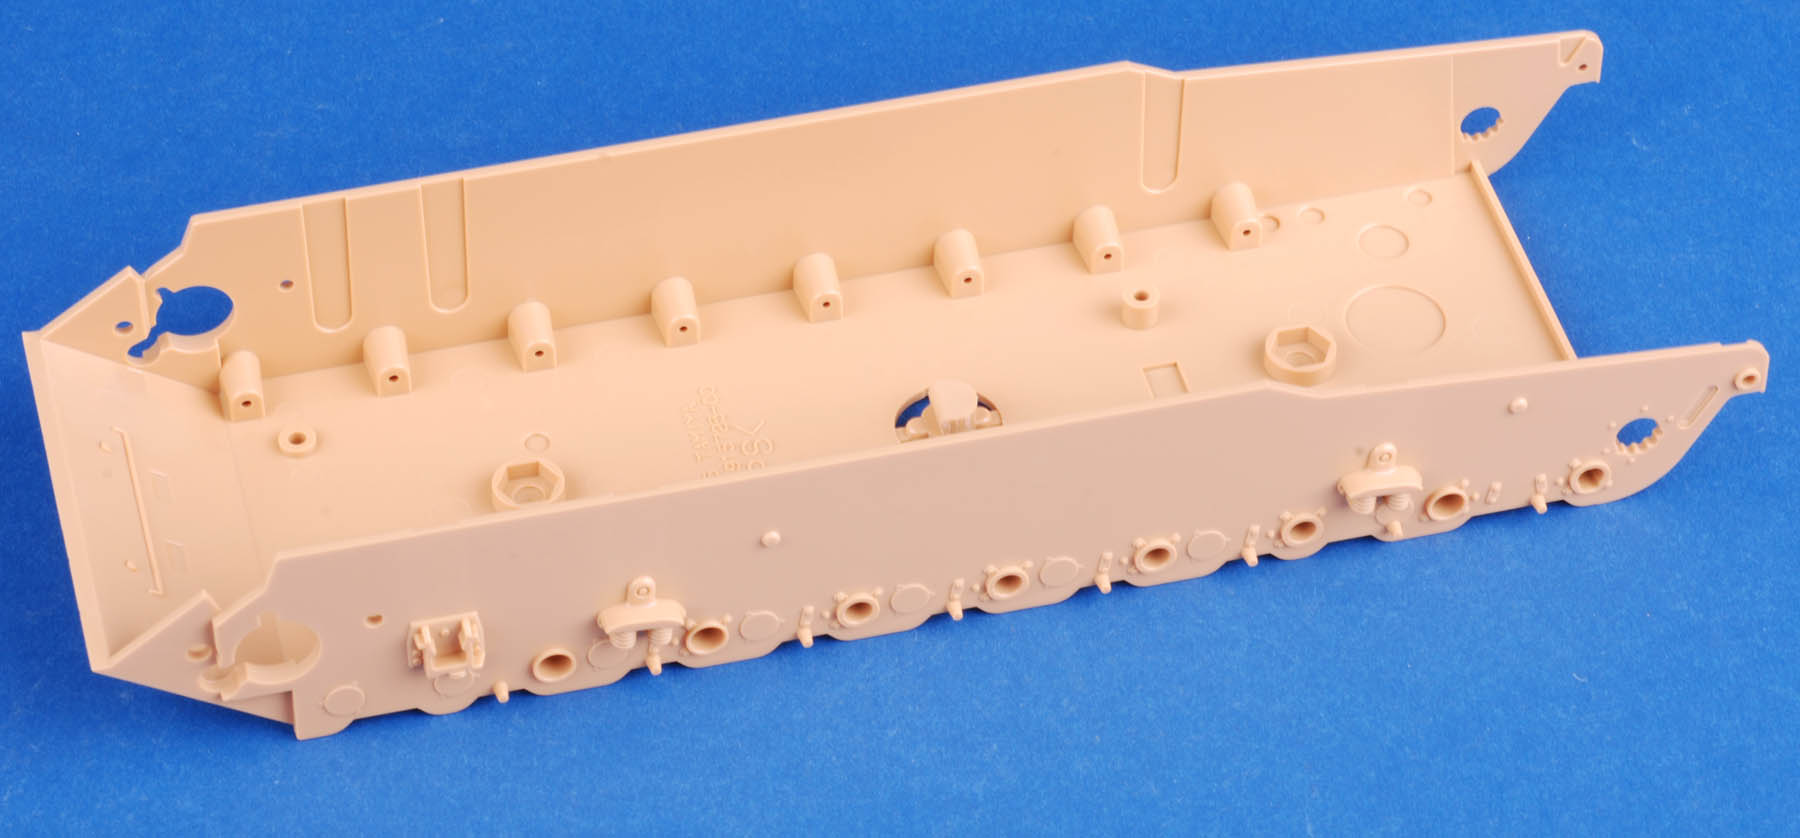
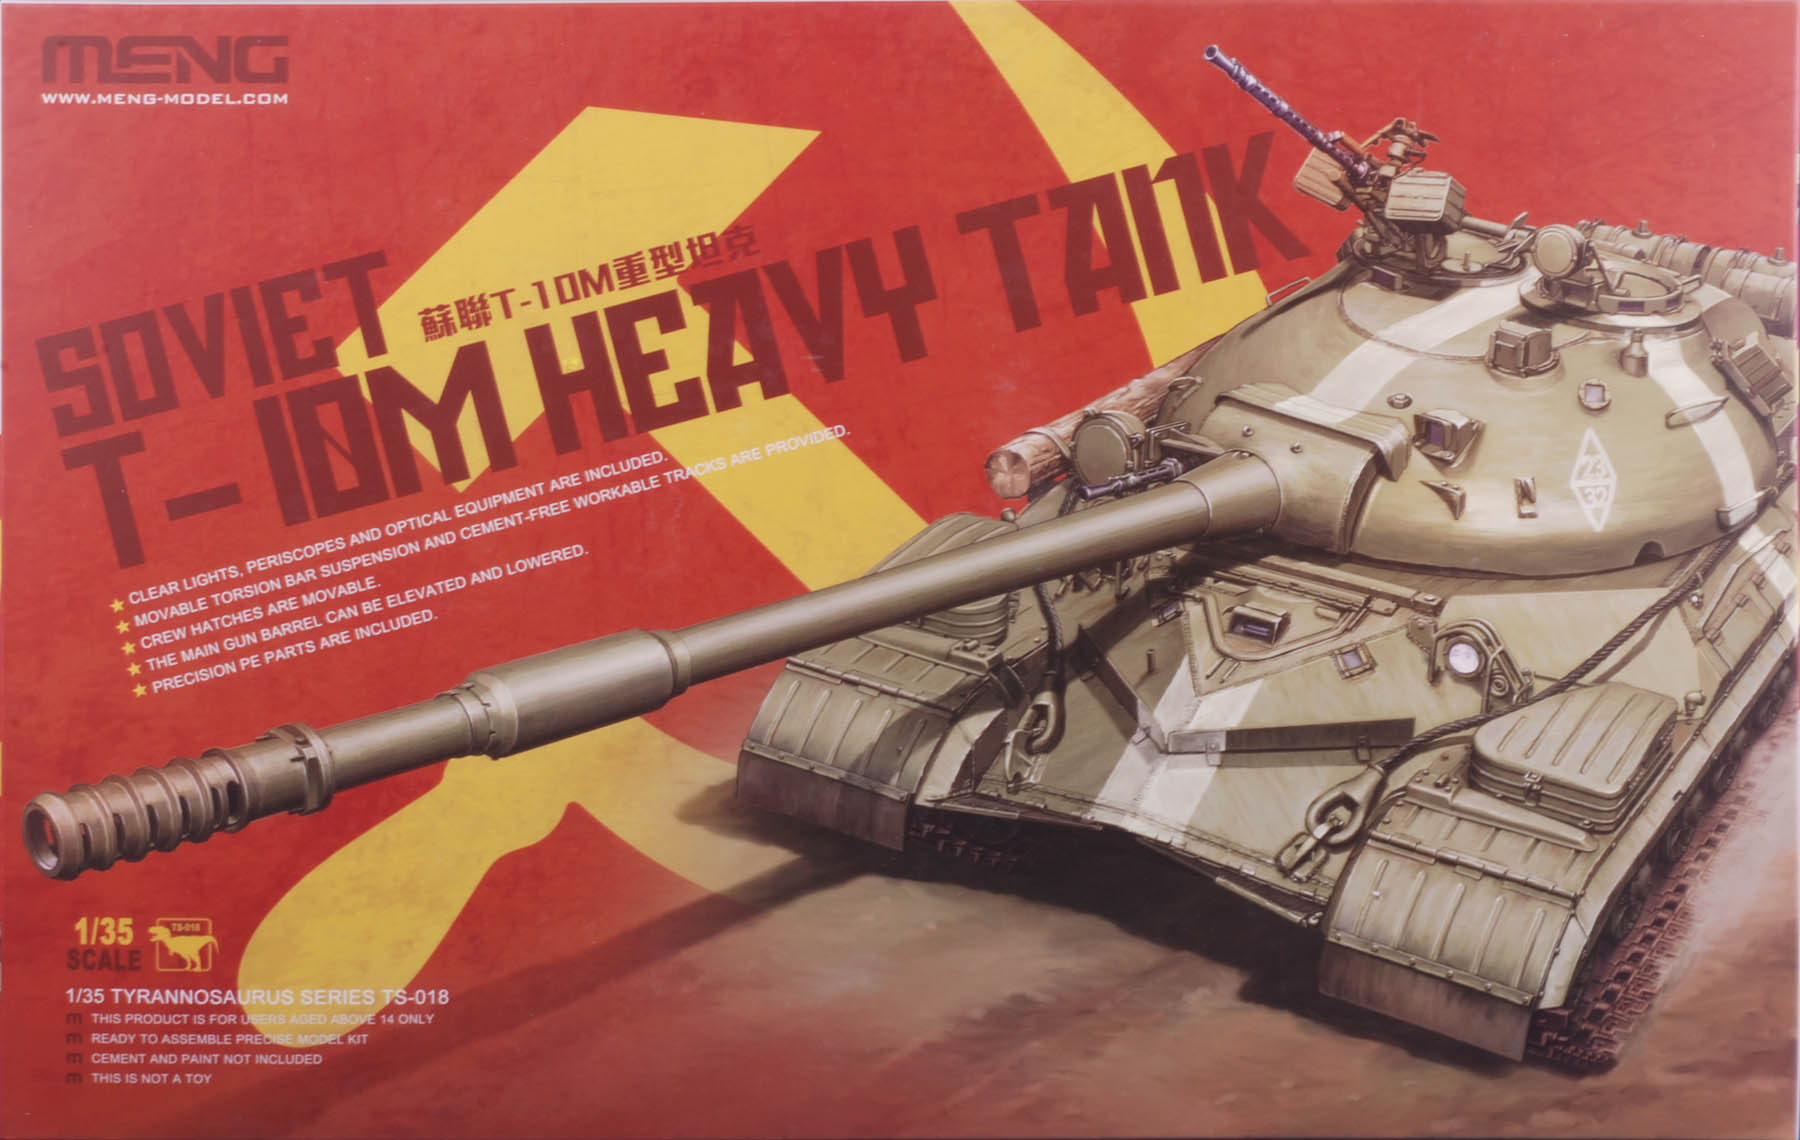
A Closer look at the Tamiya Panther D and the Meng T-10M kits!
We bought our review copies from www.hlj.com

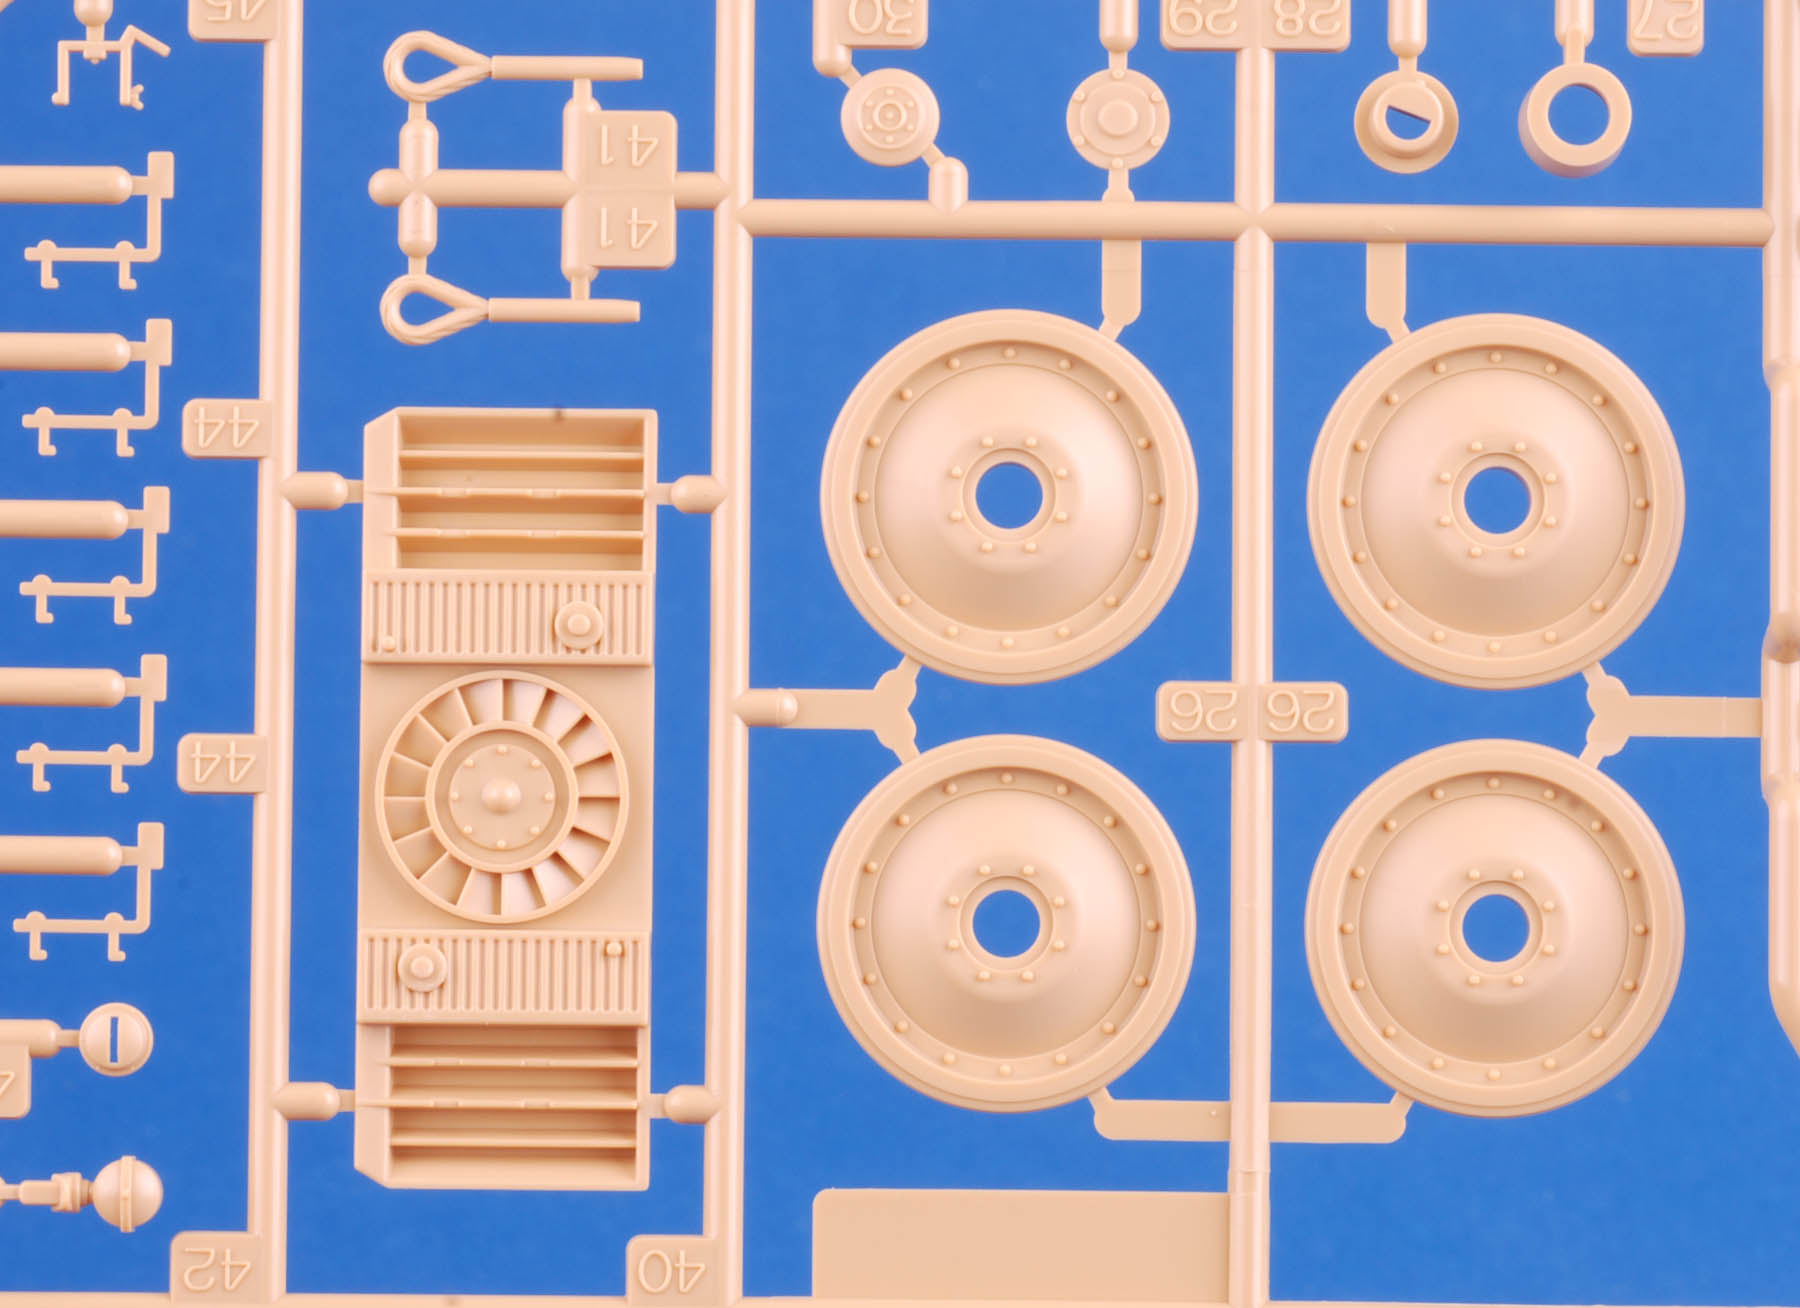
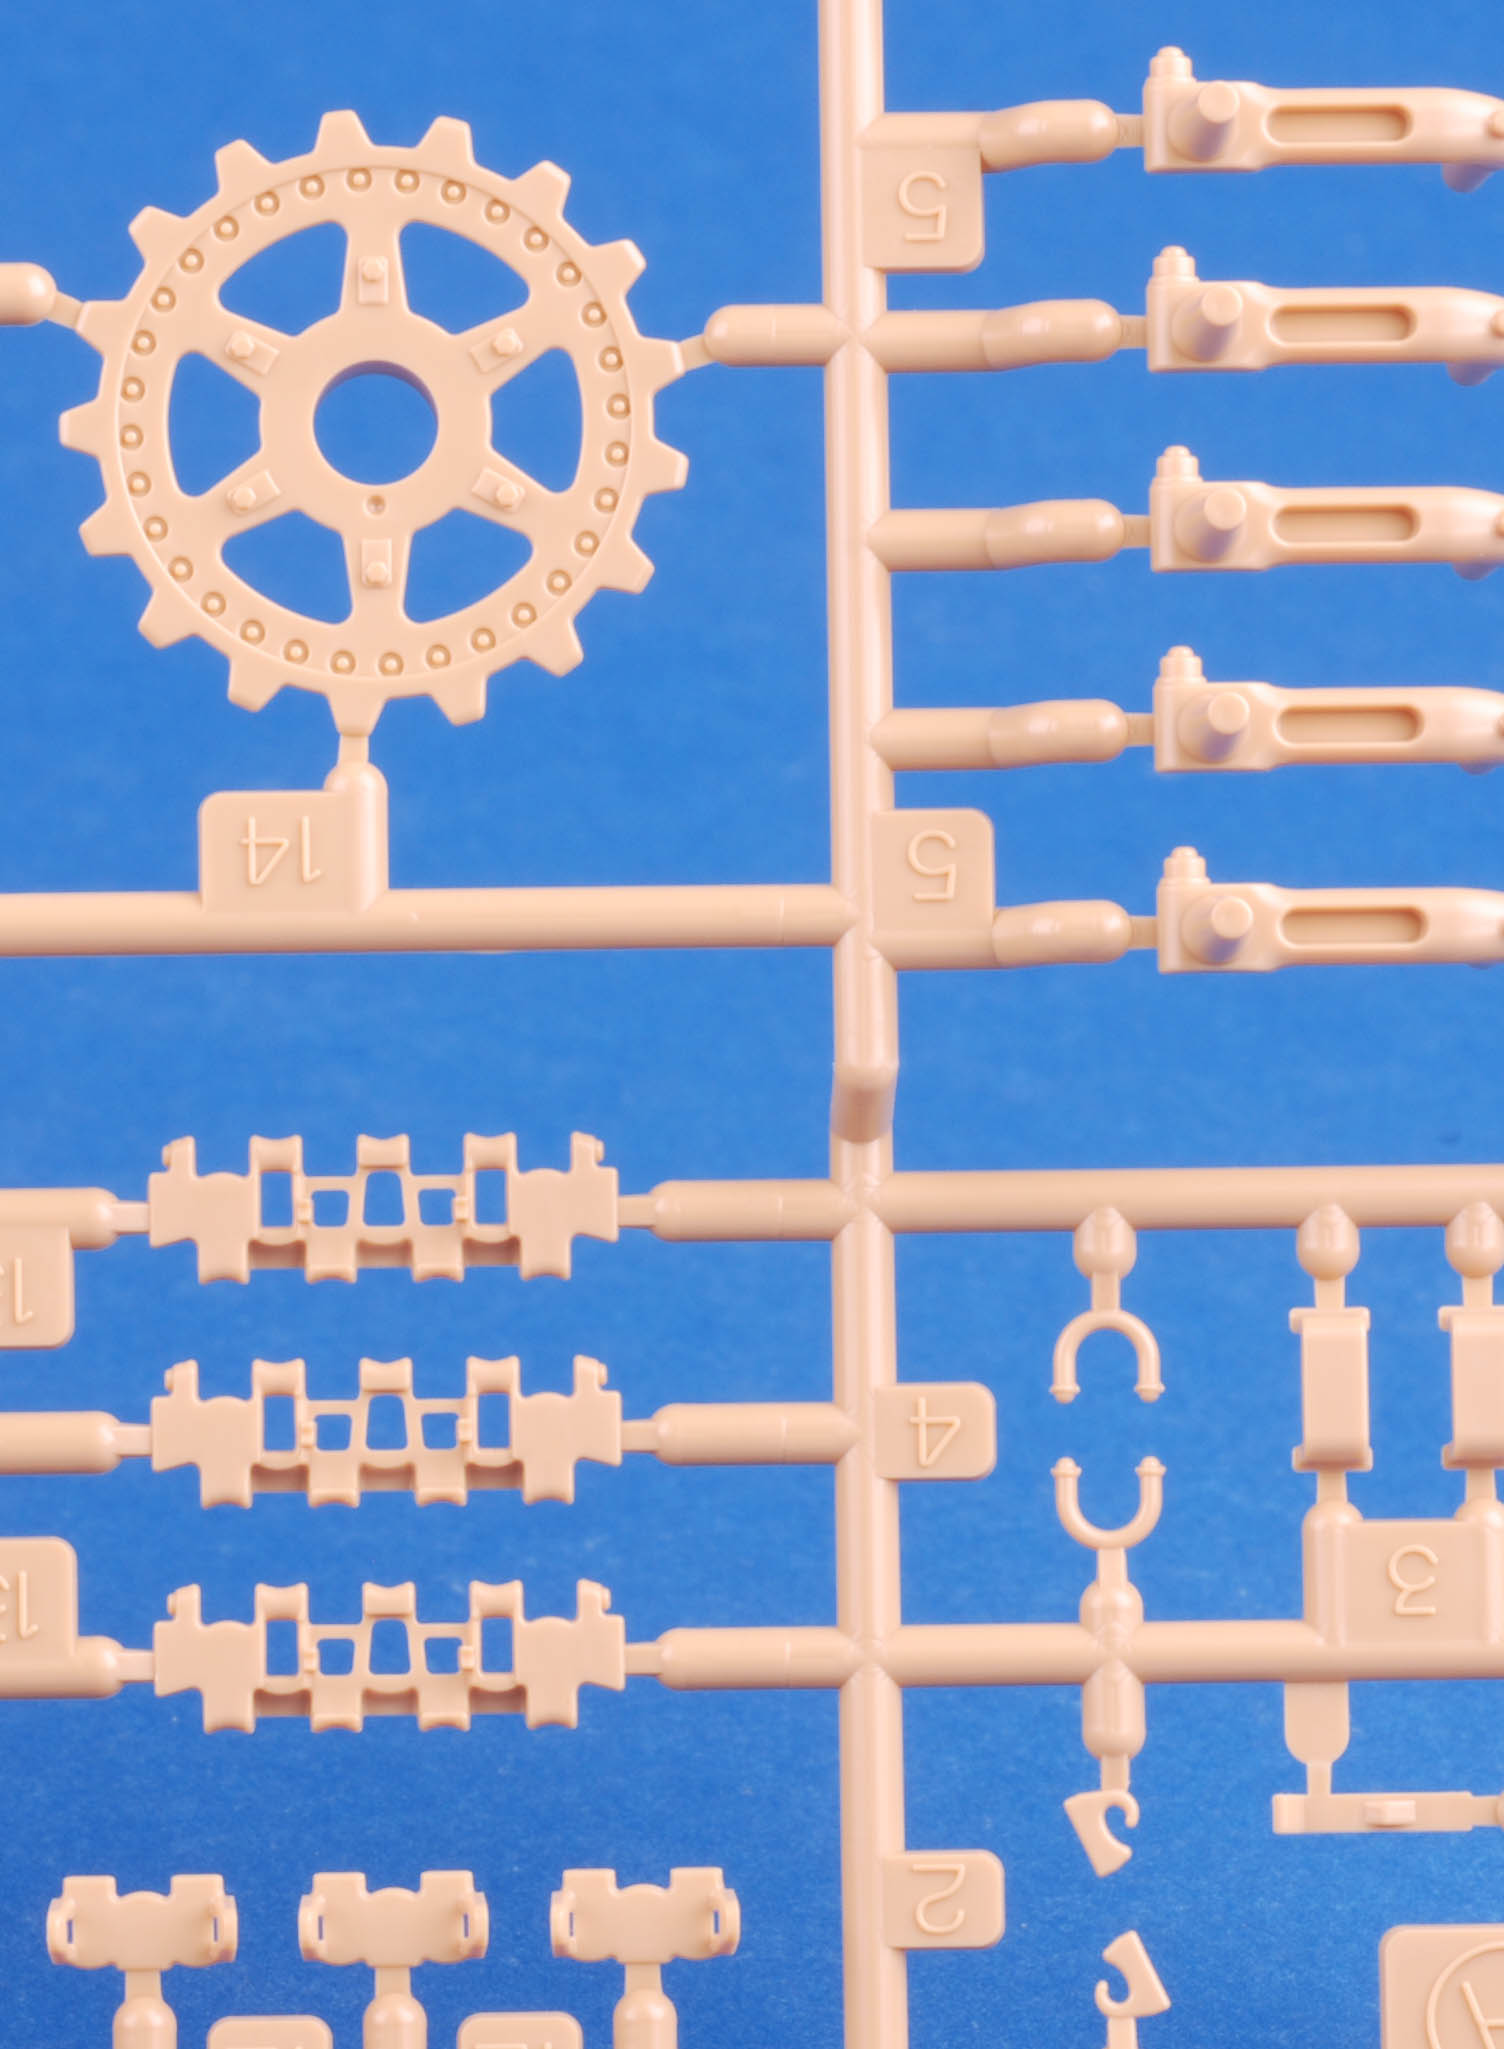
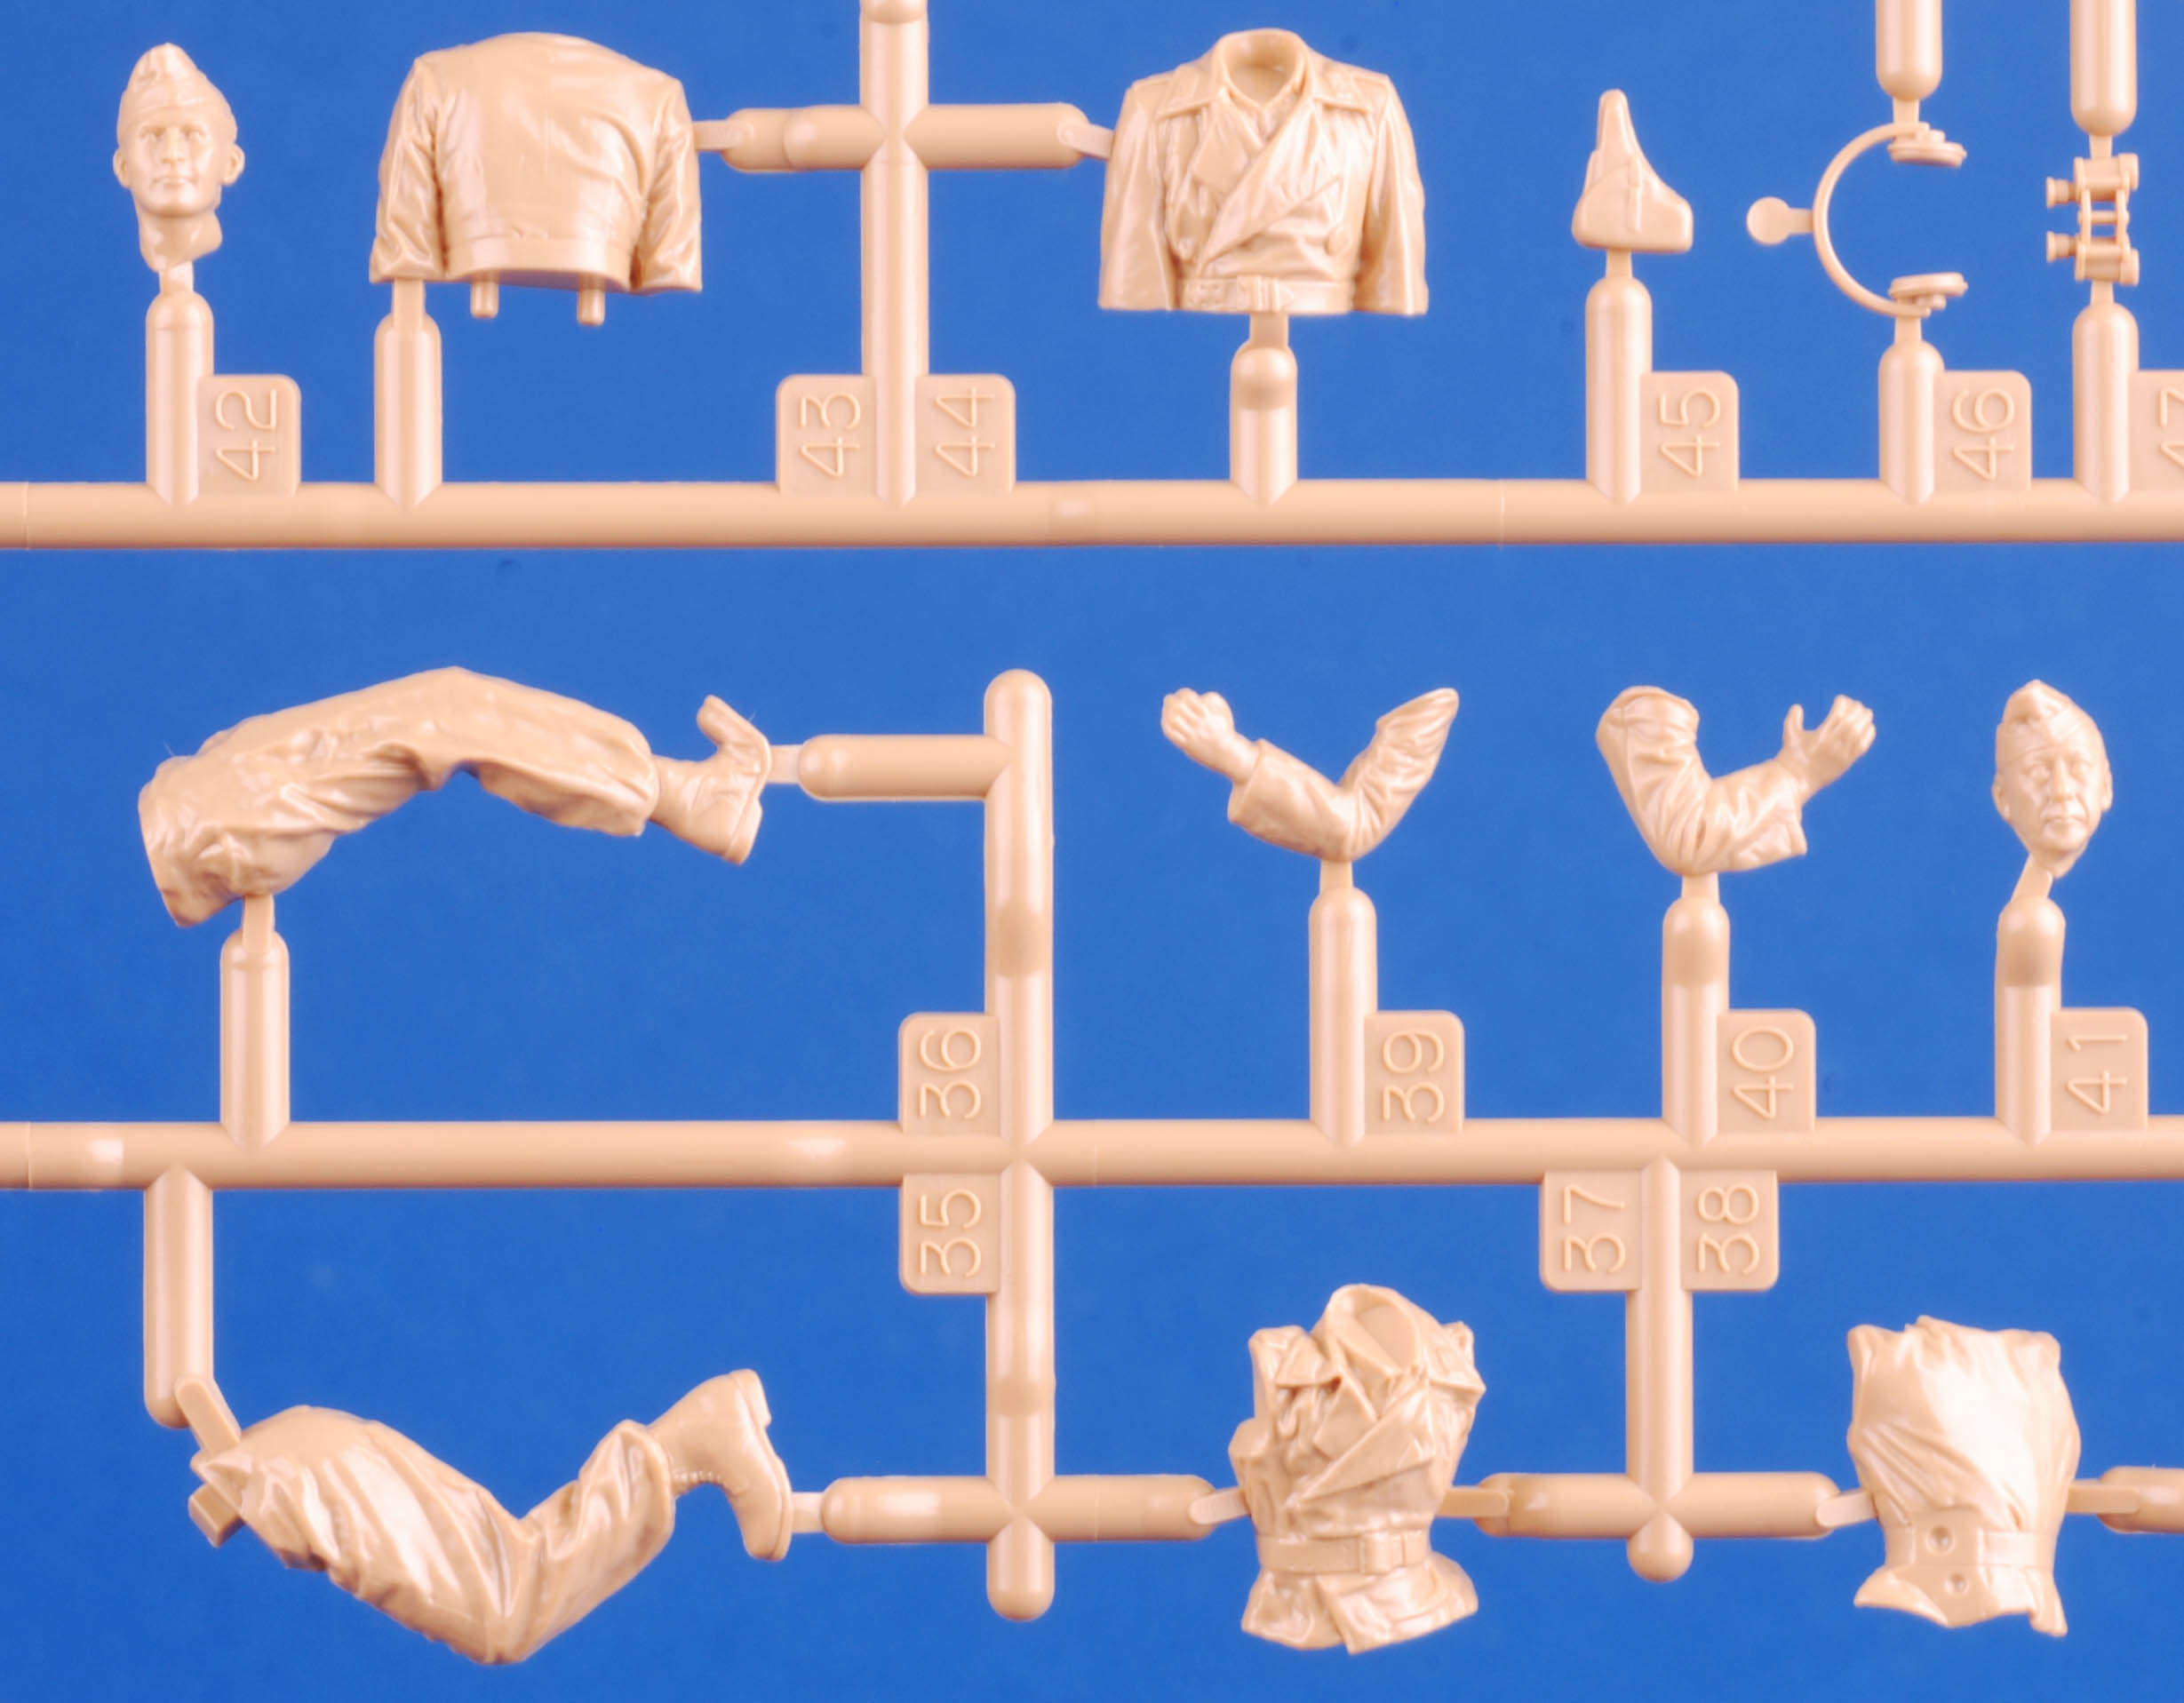
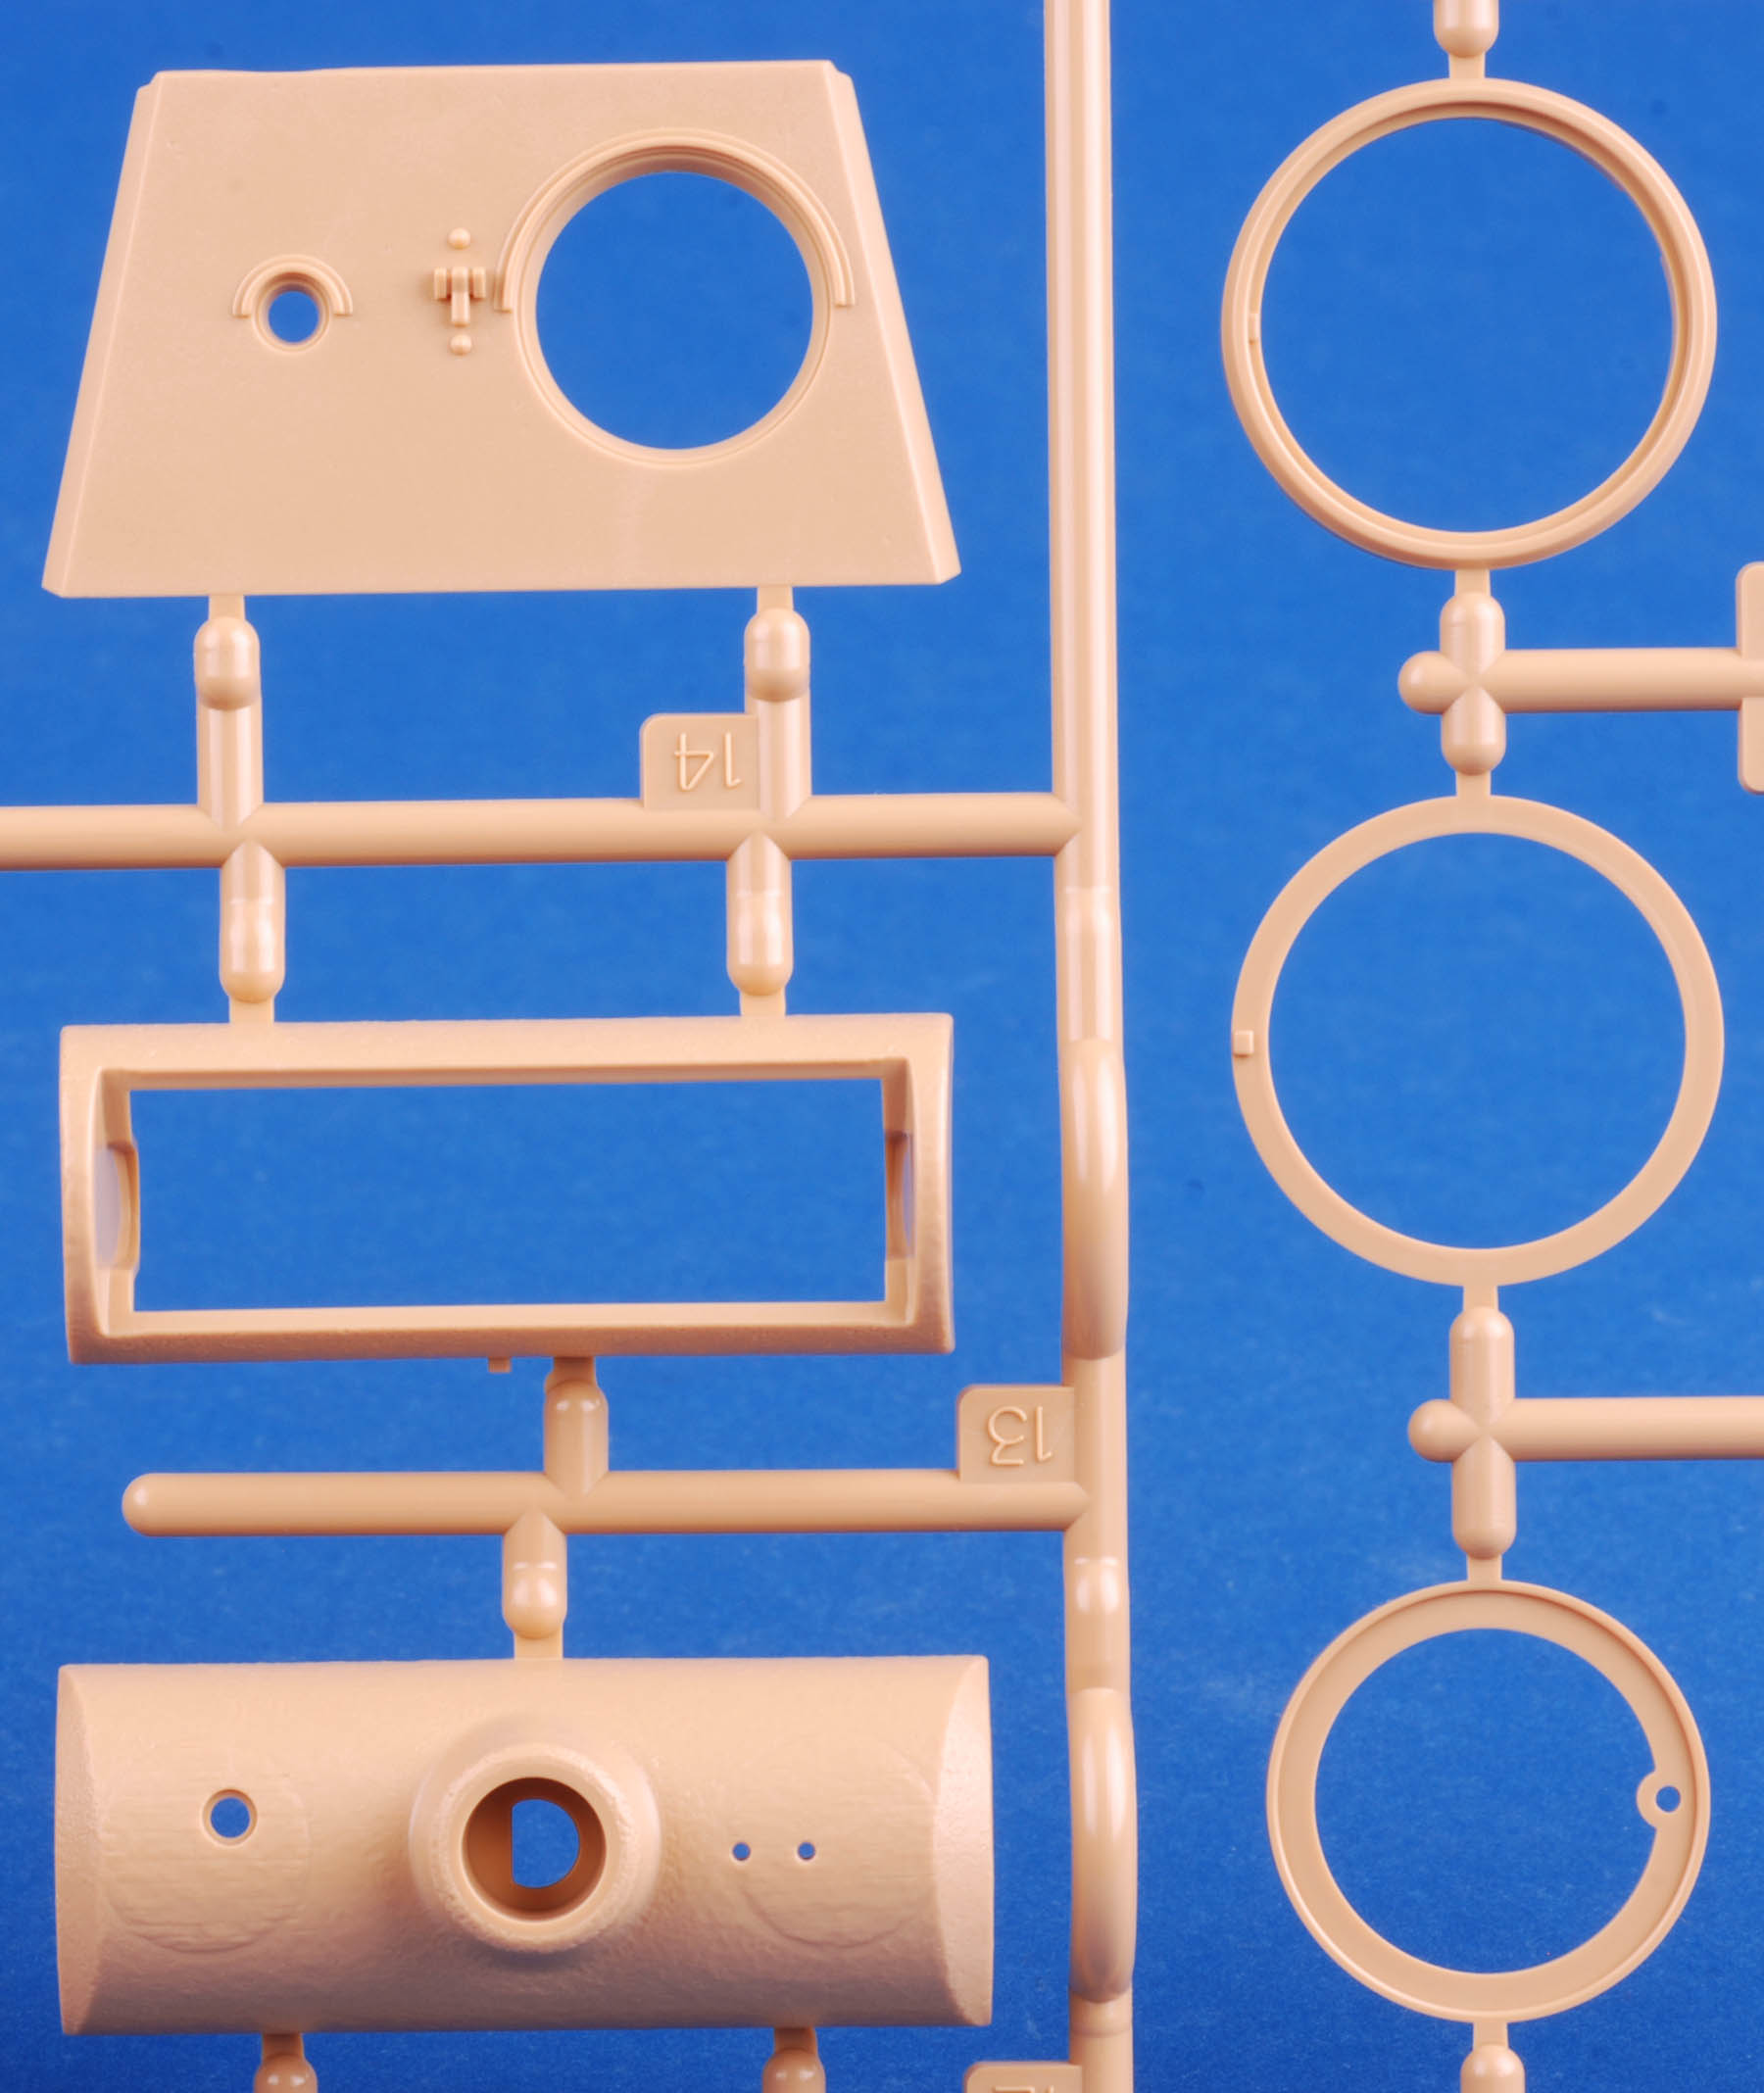
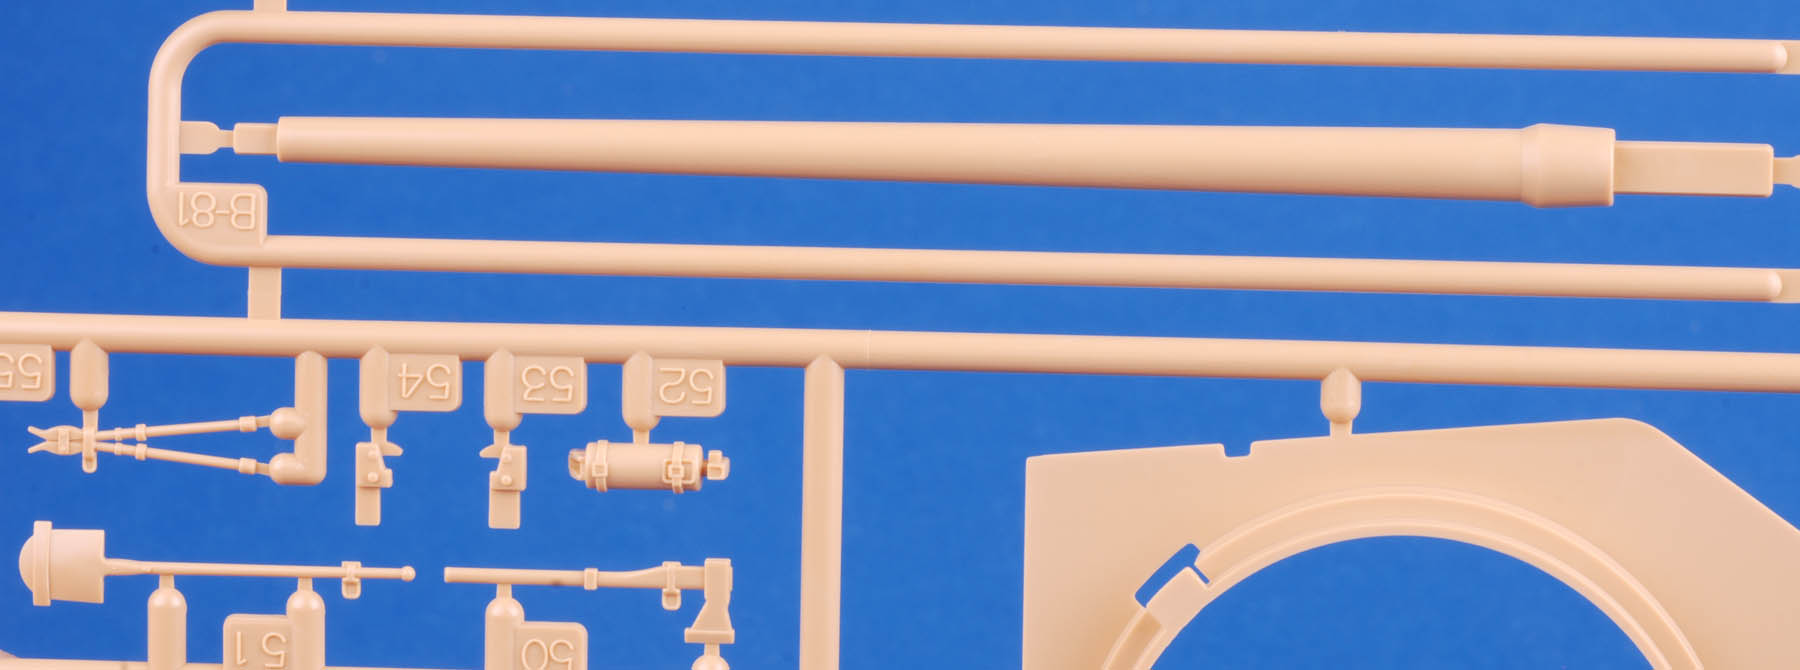
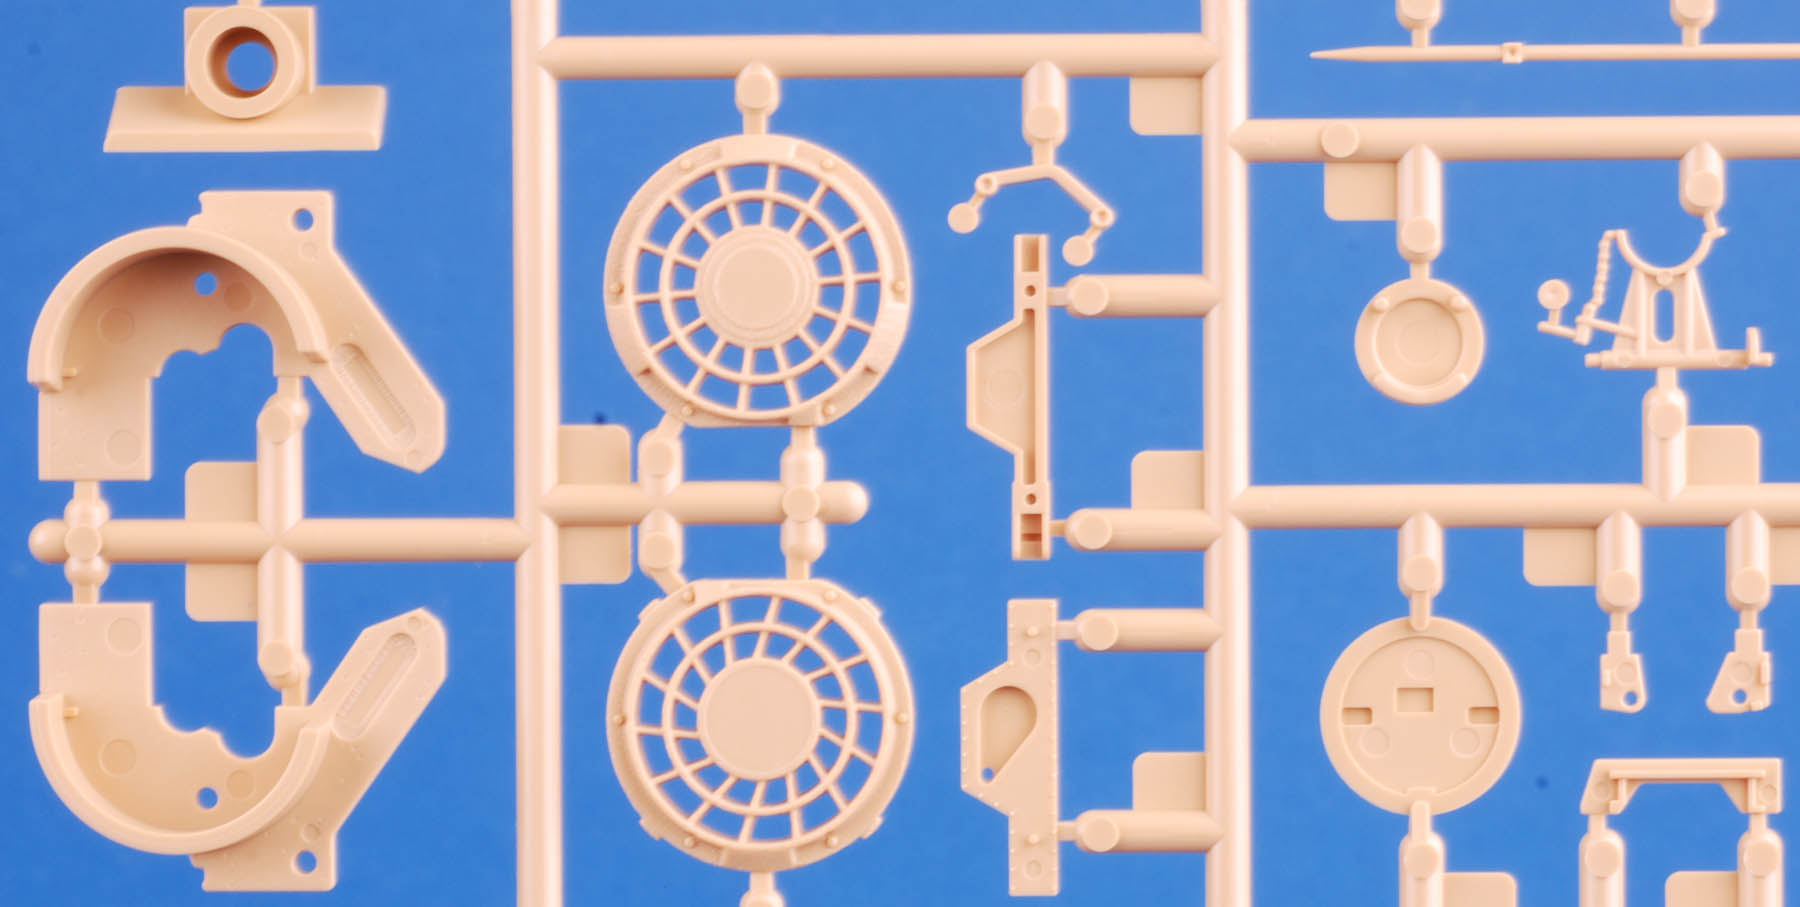
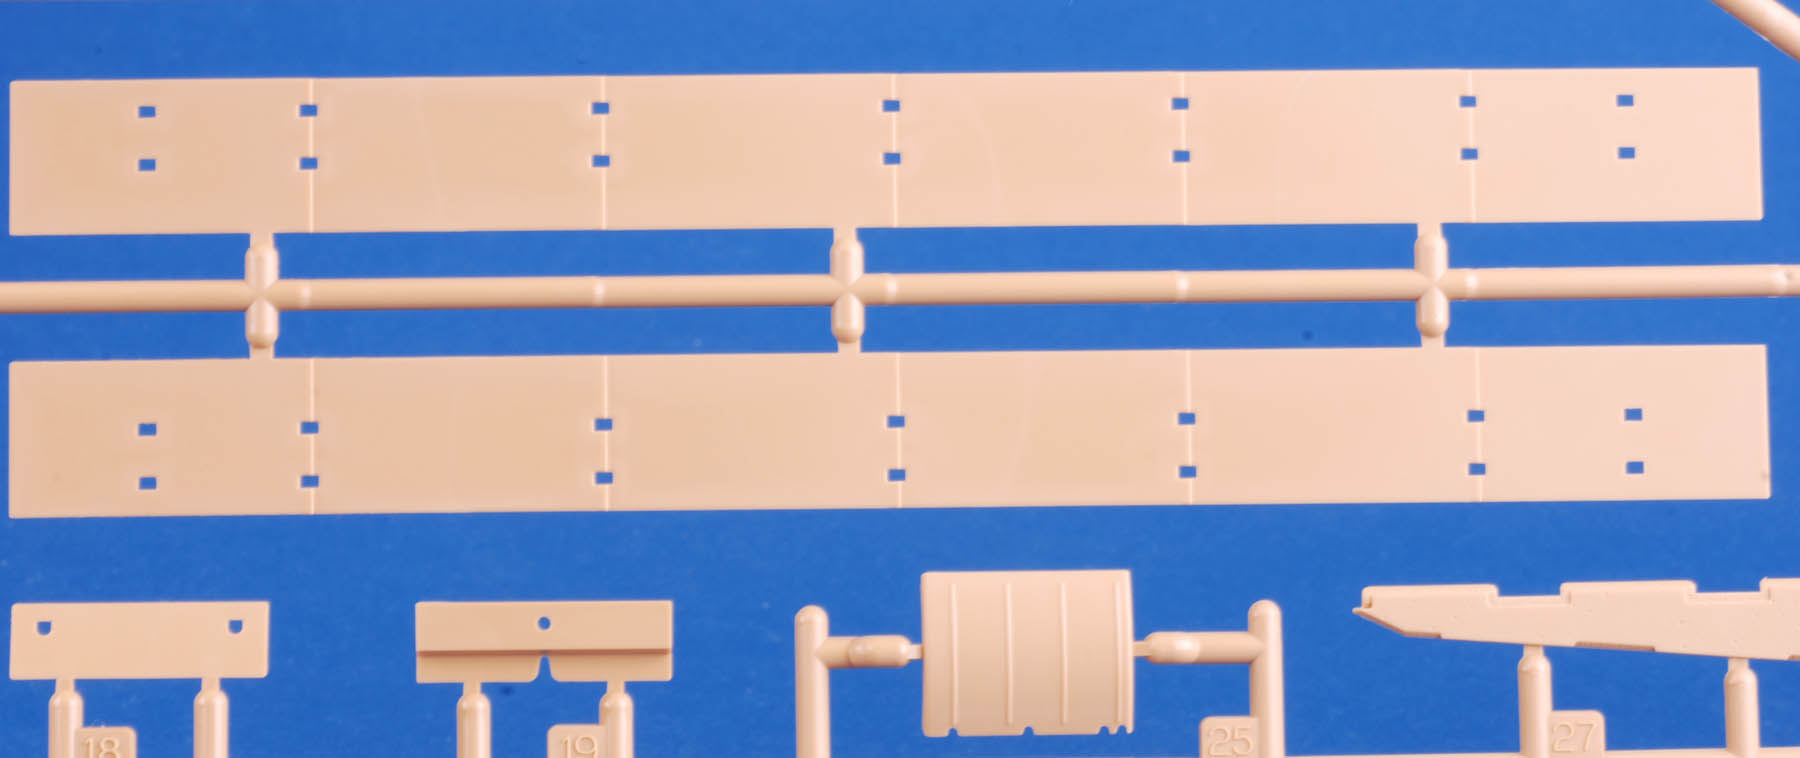

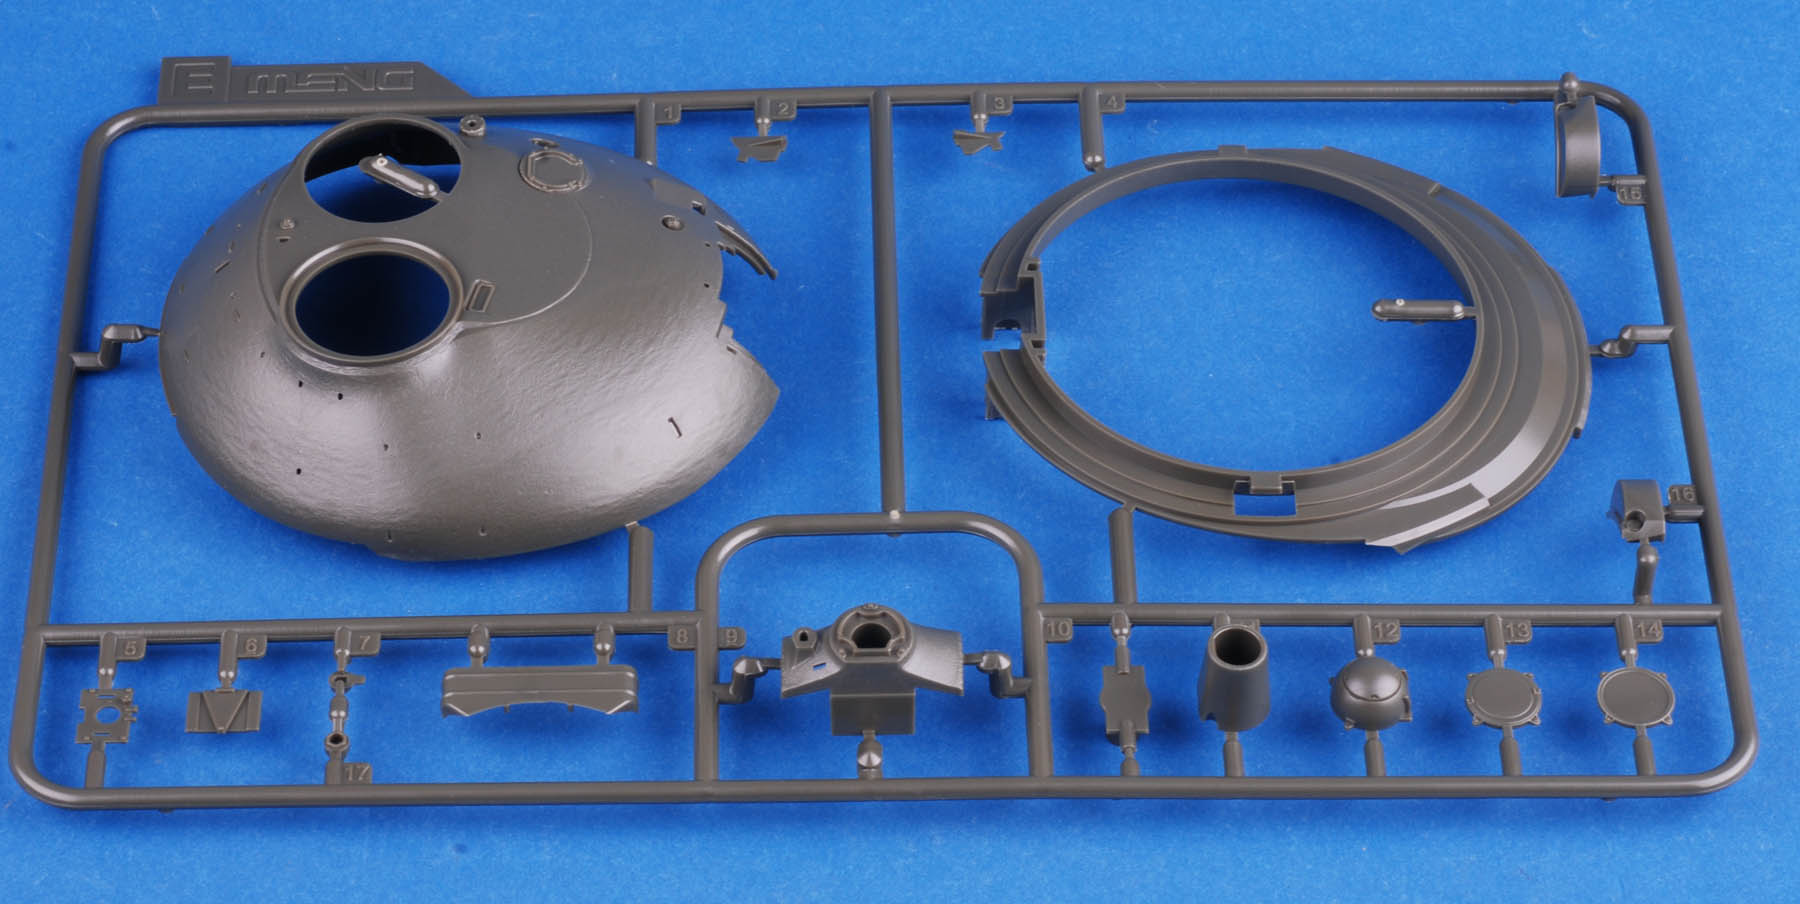
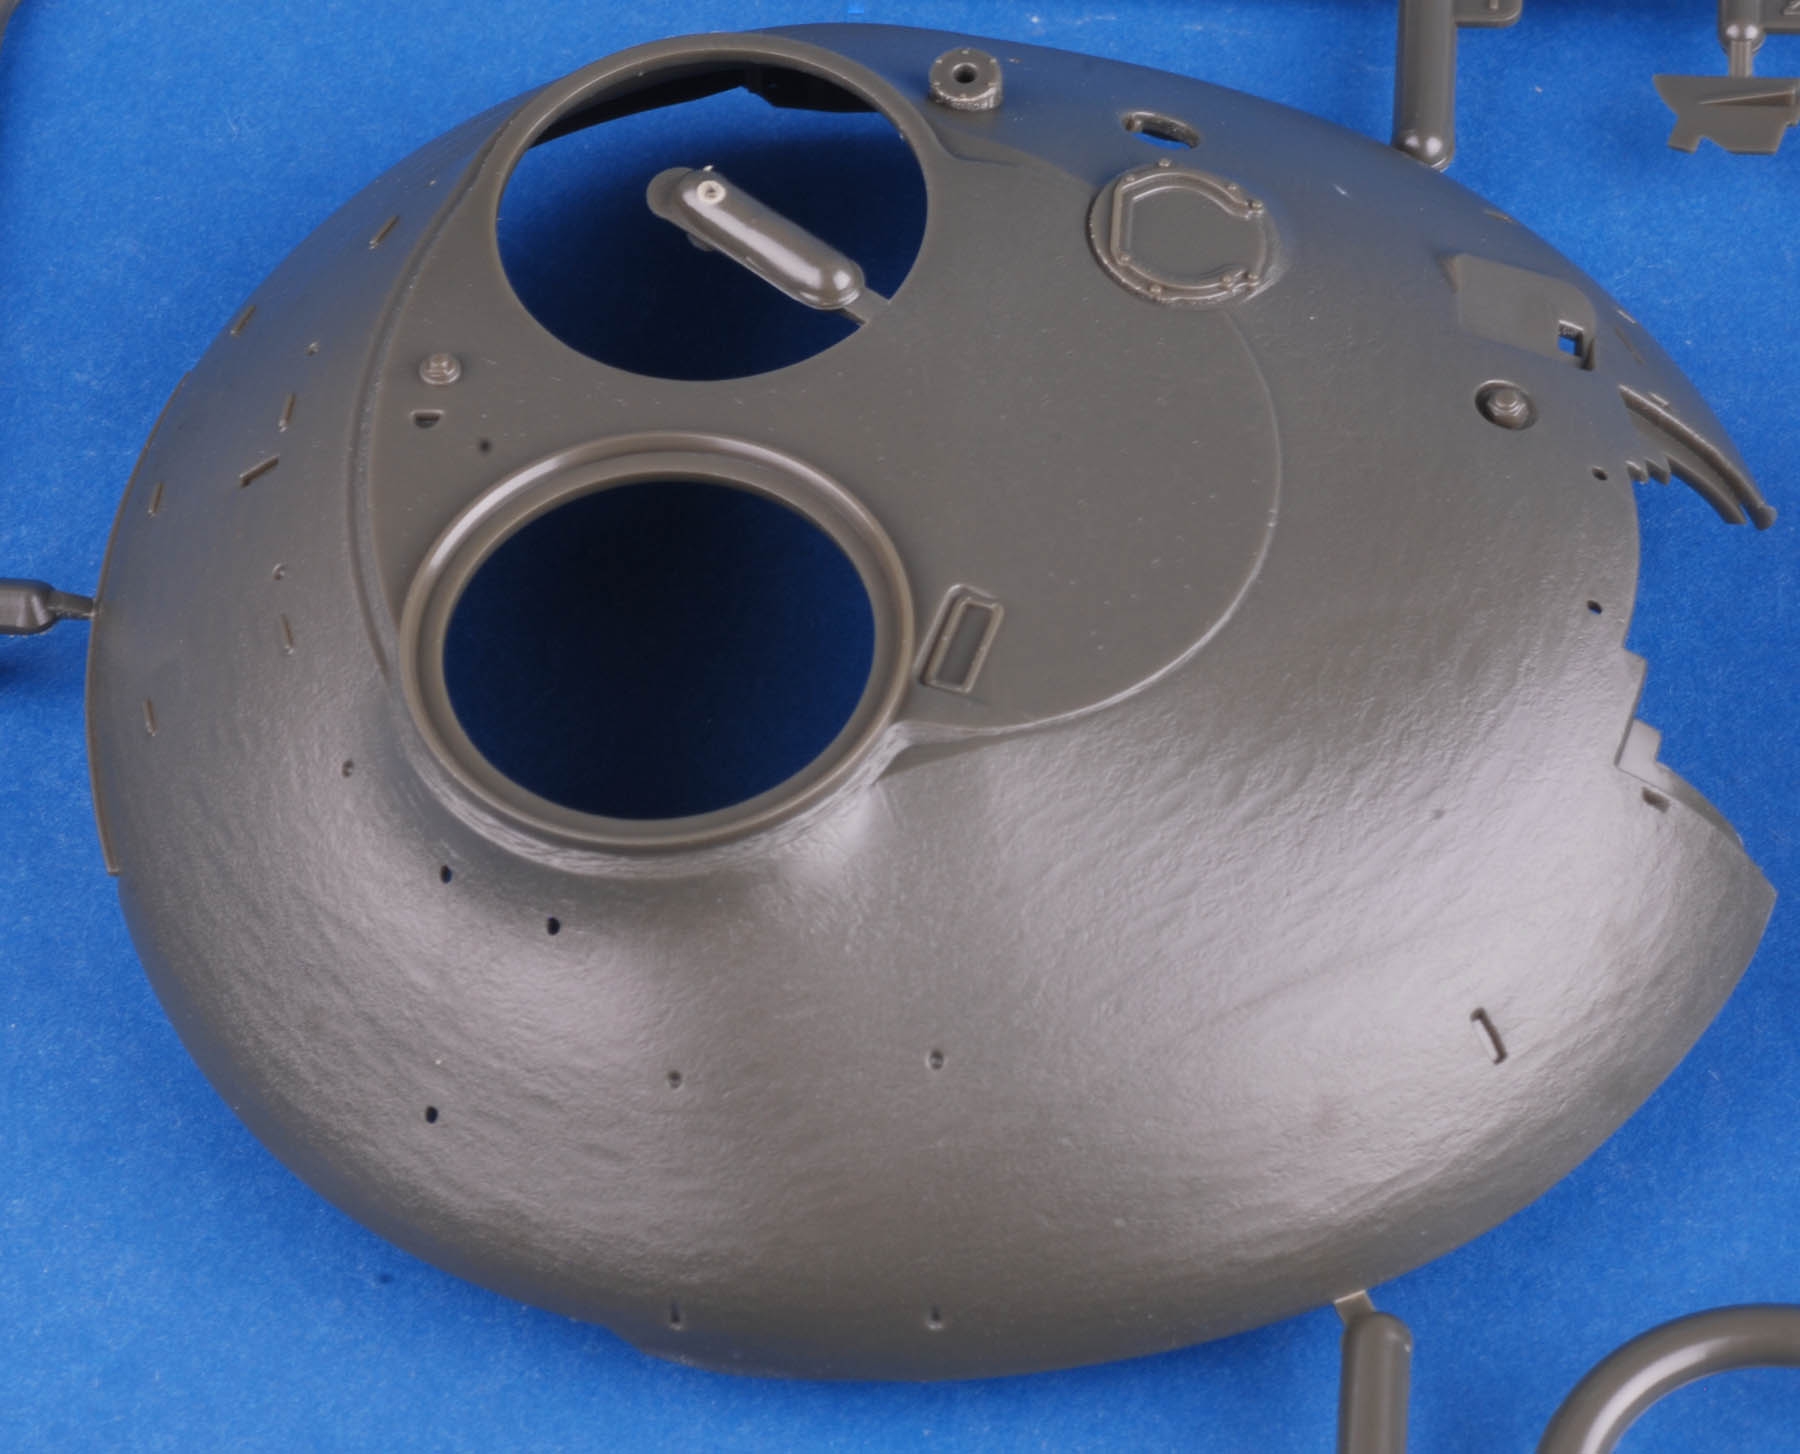
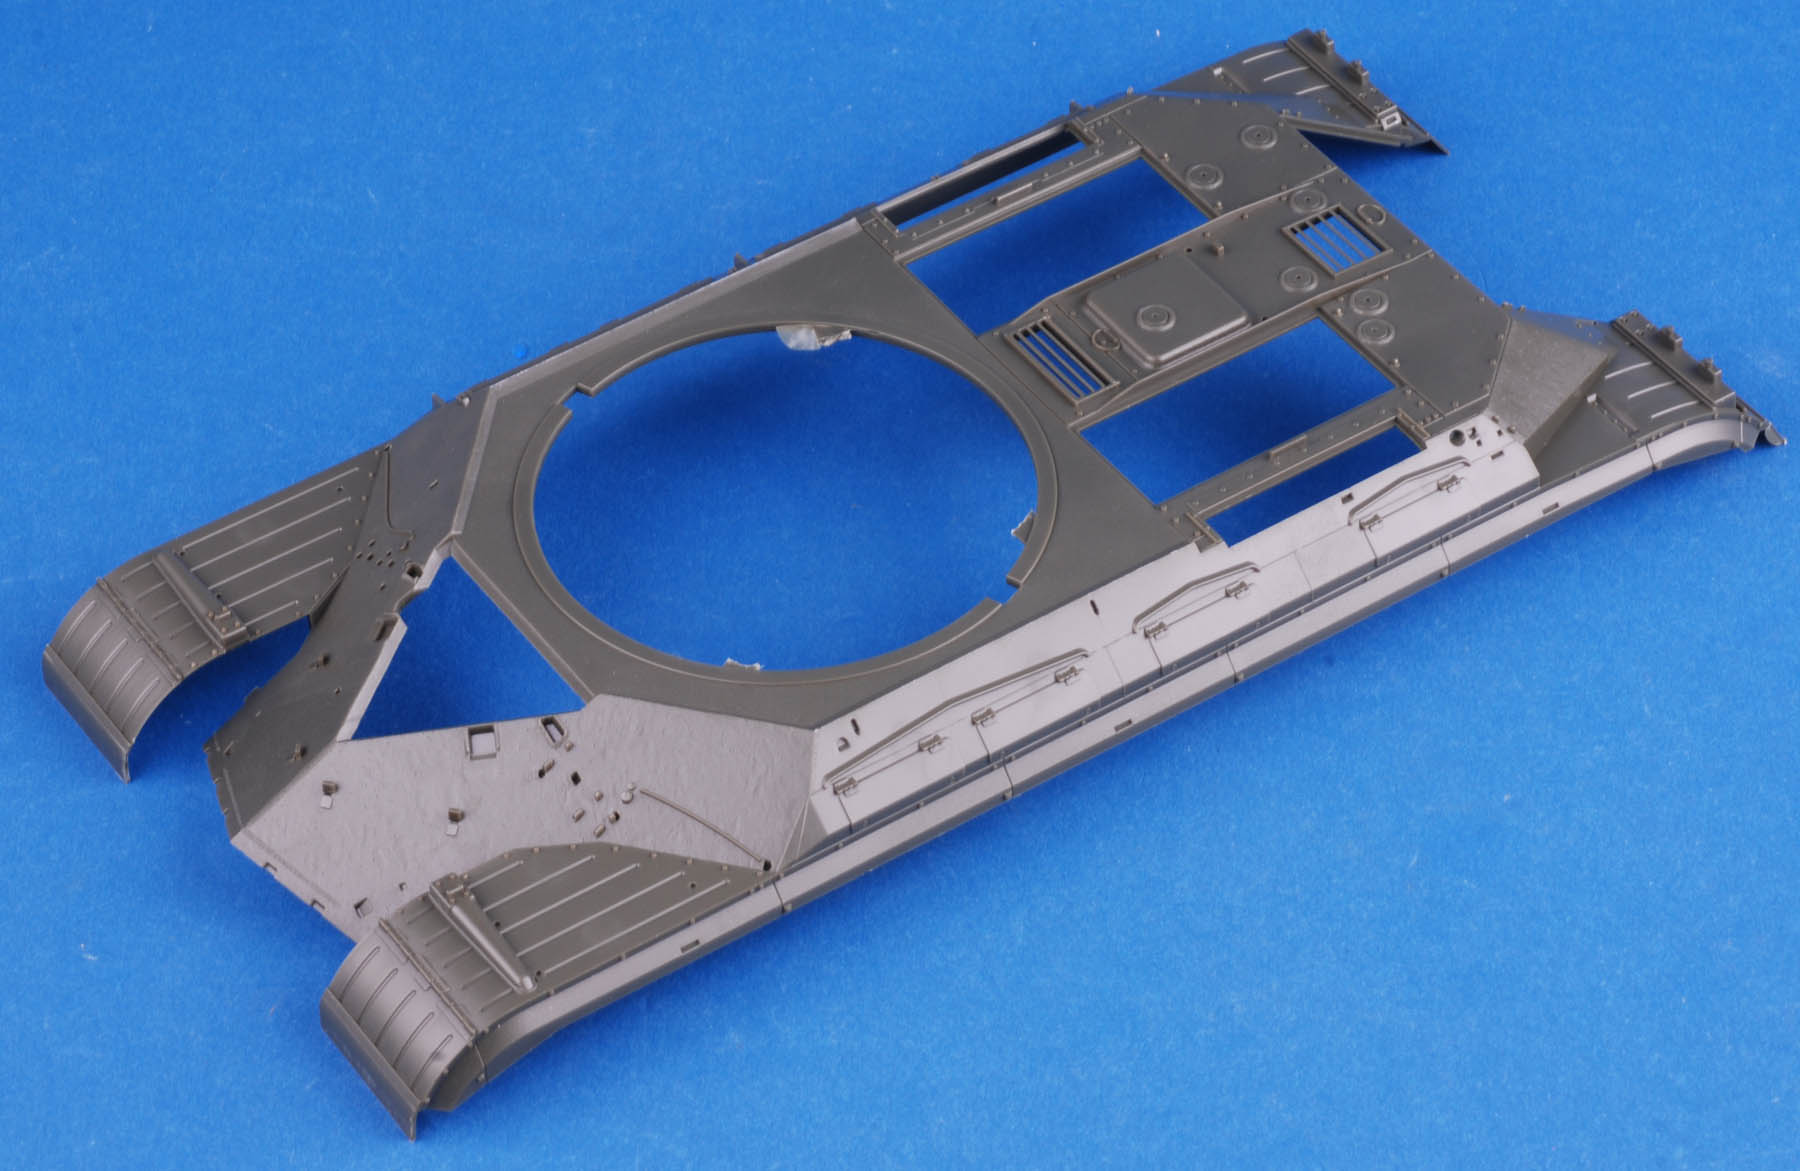
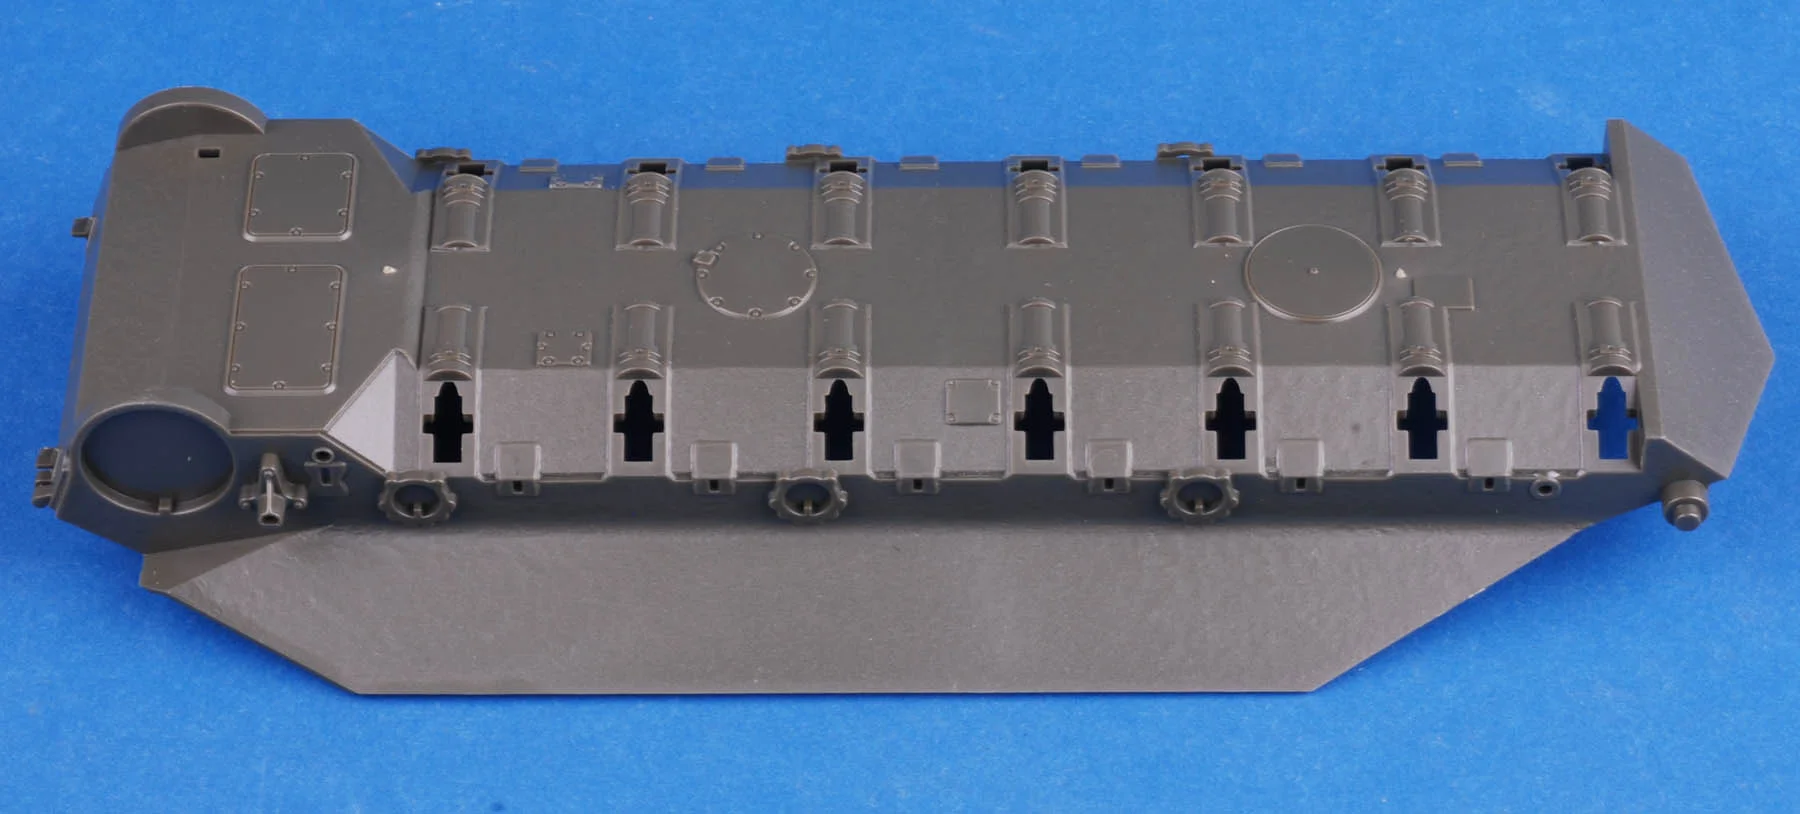
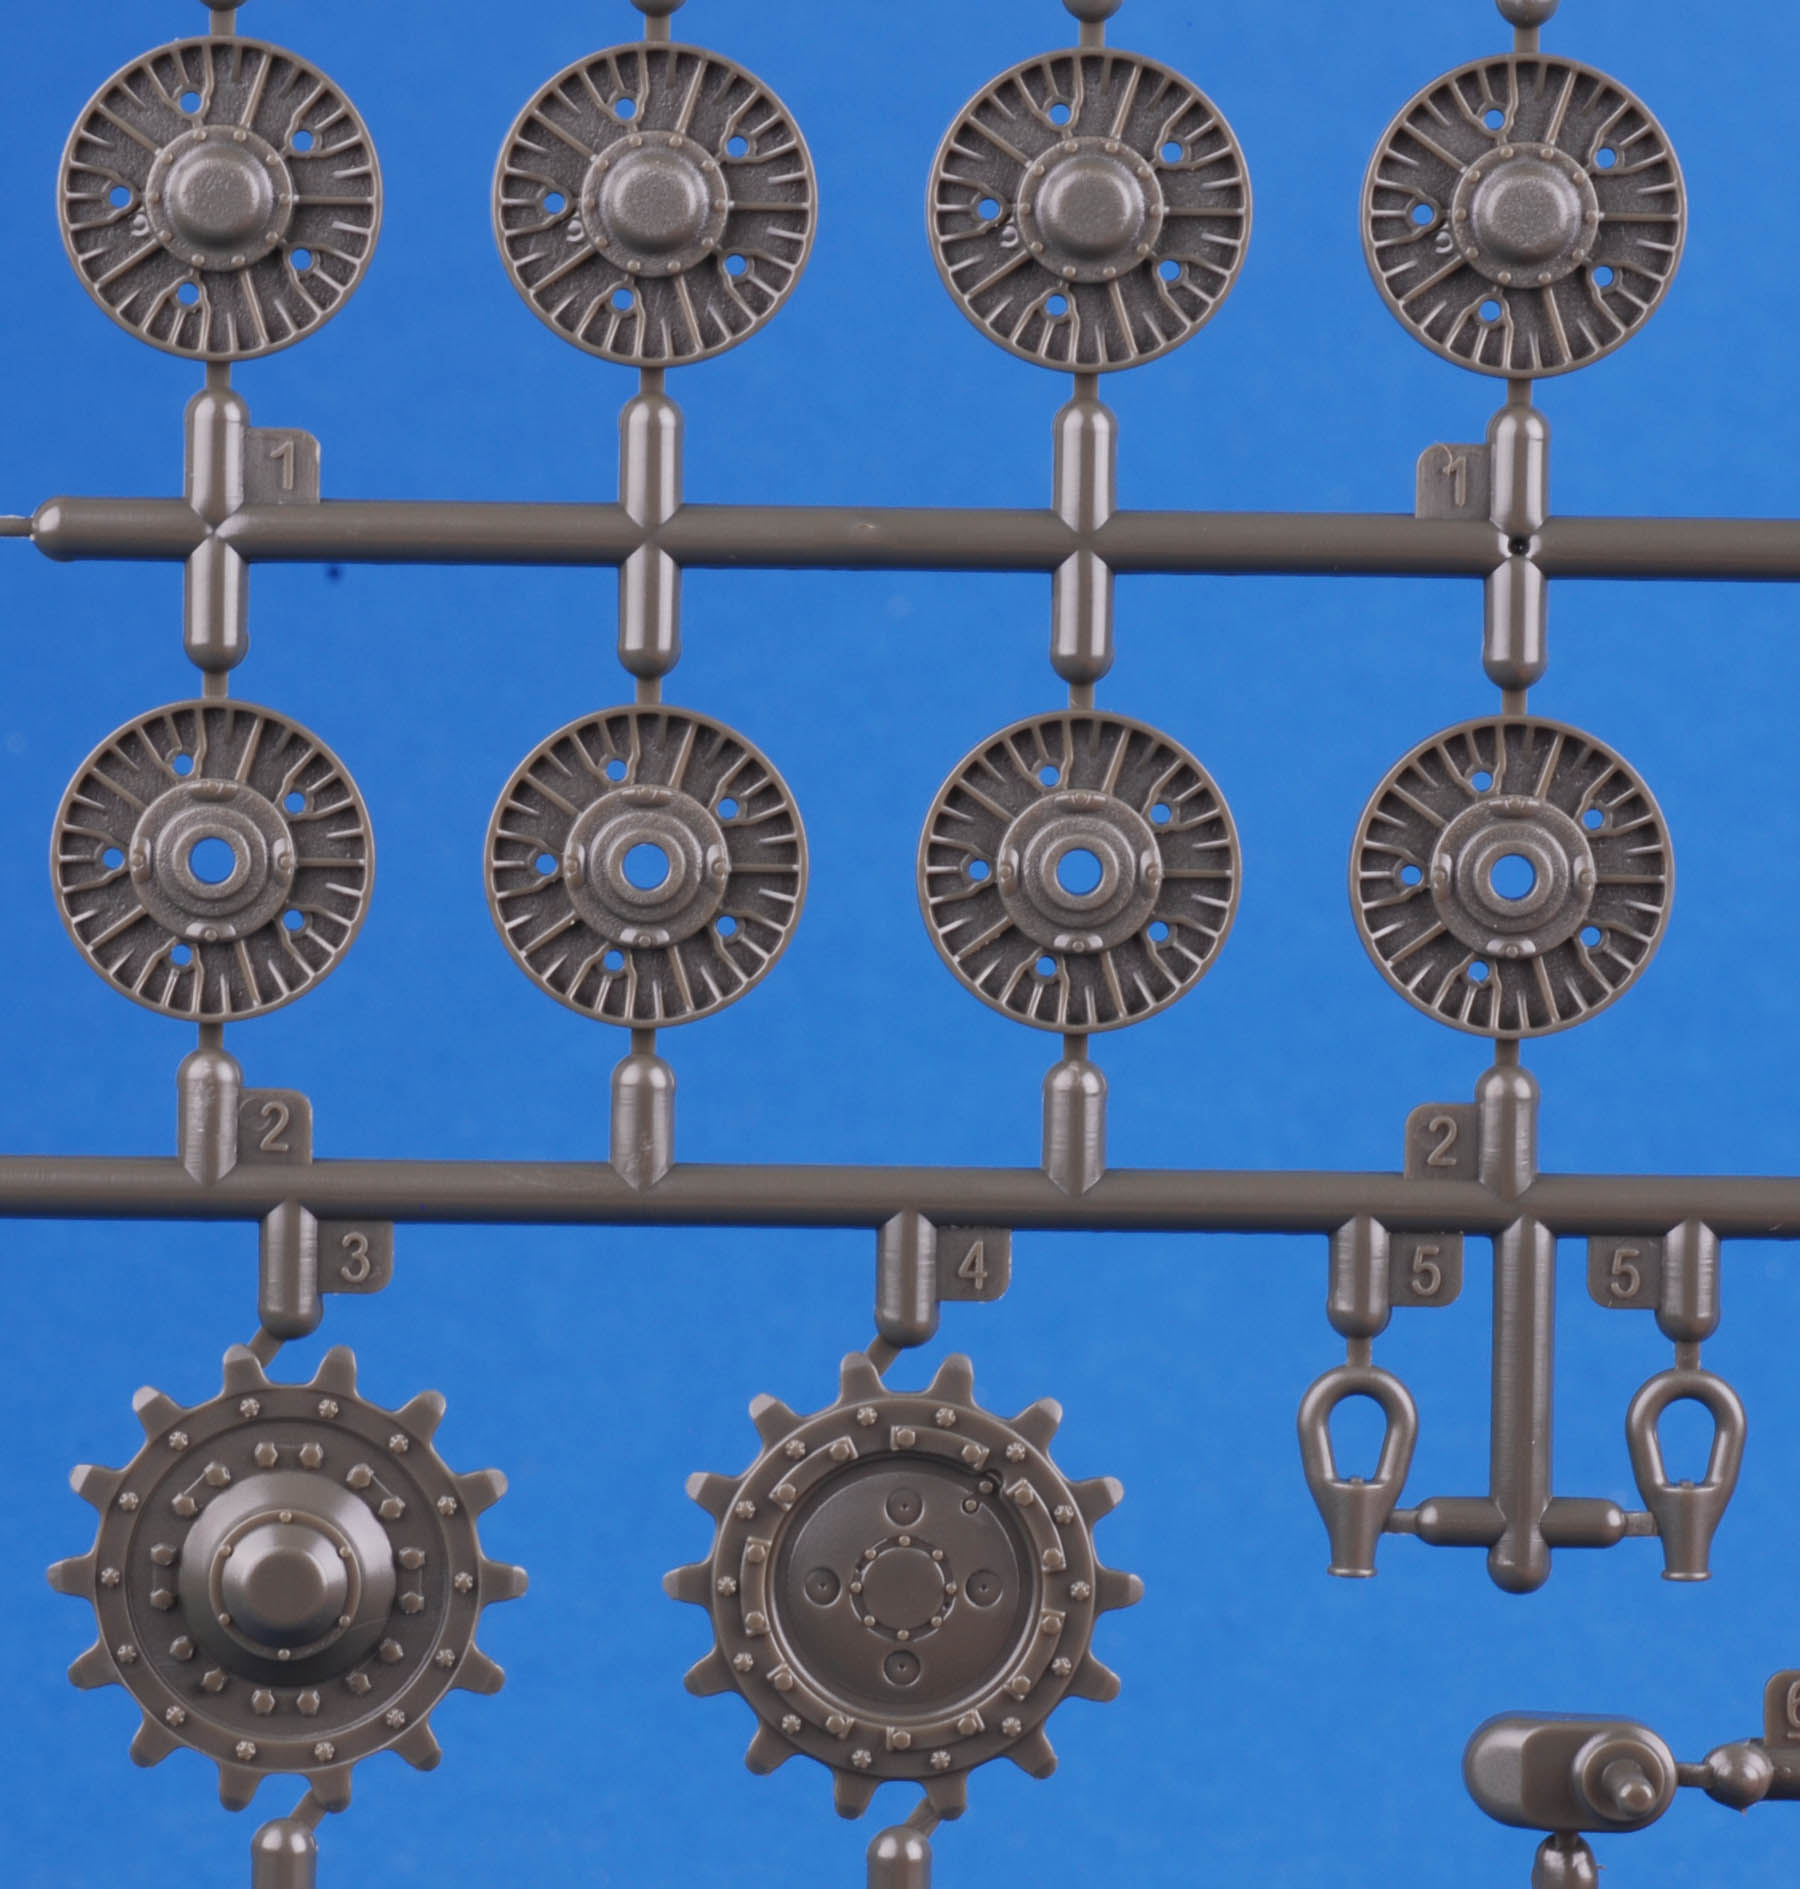
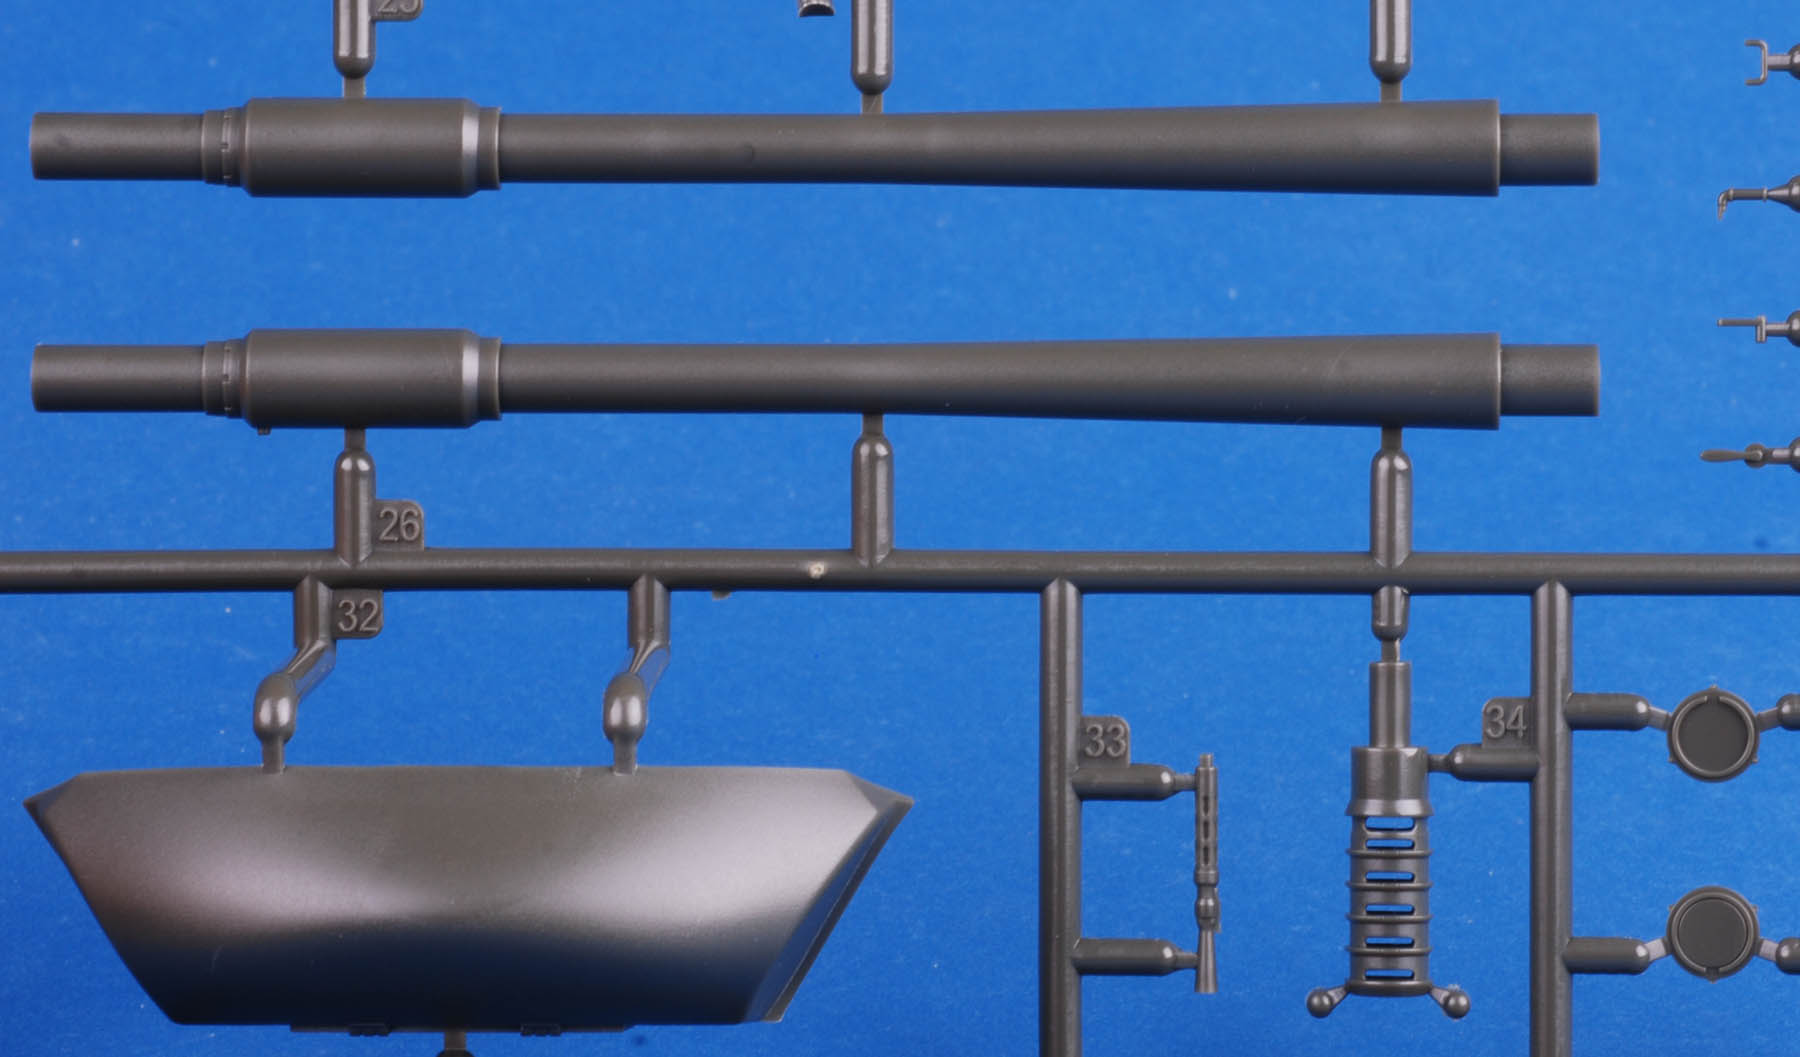
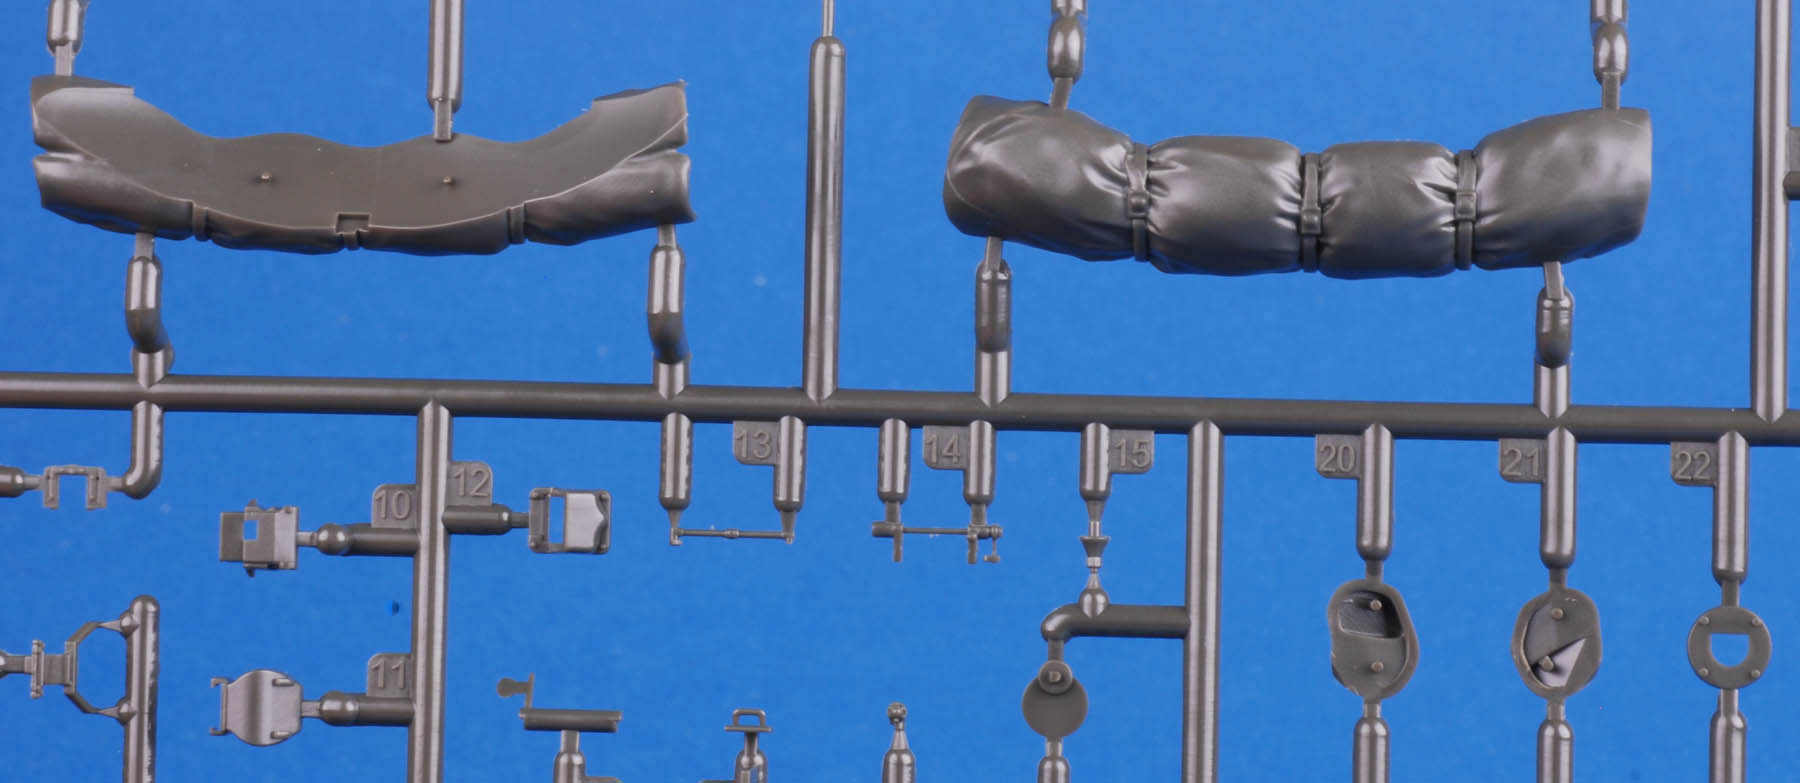
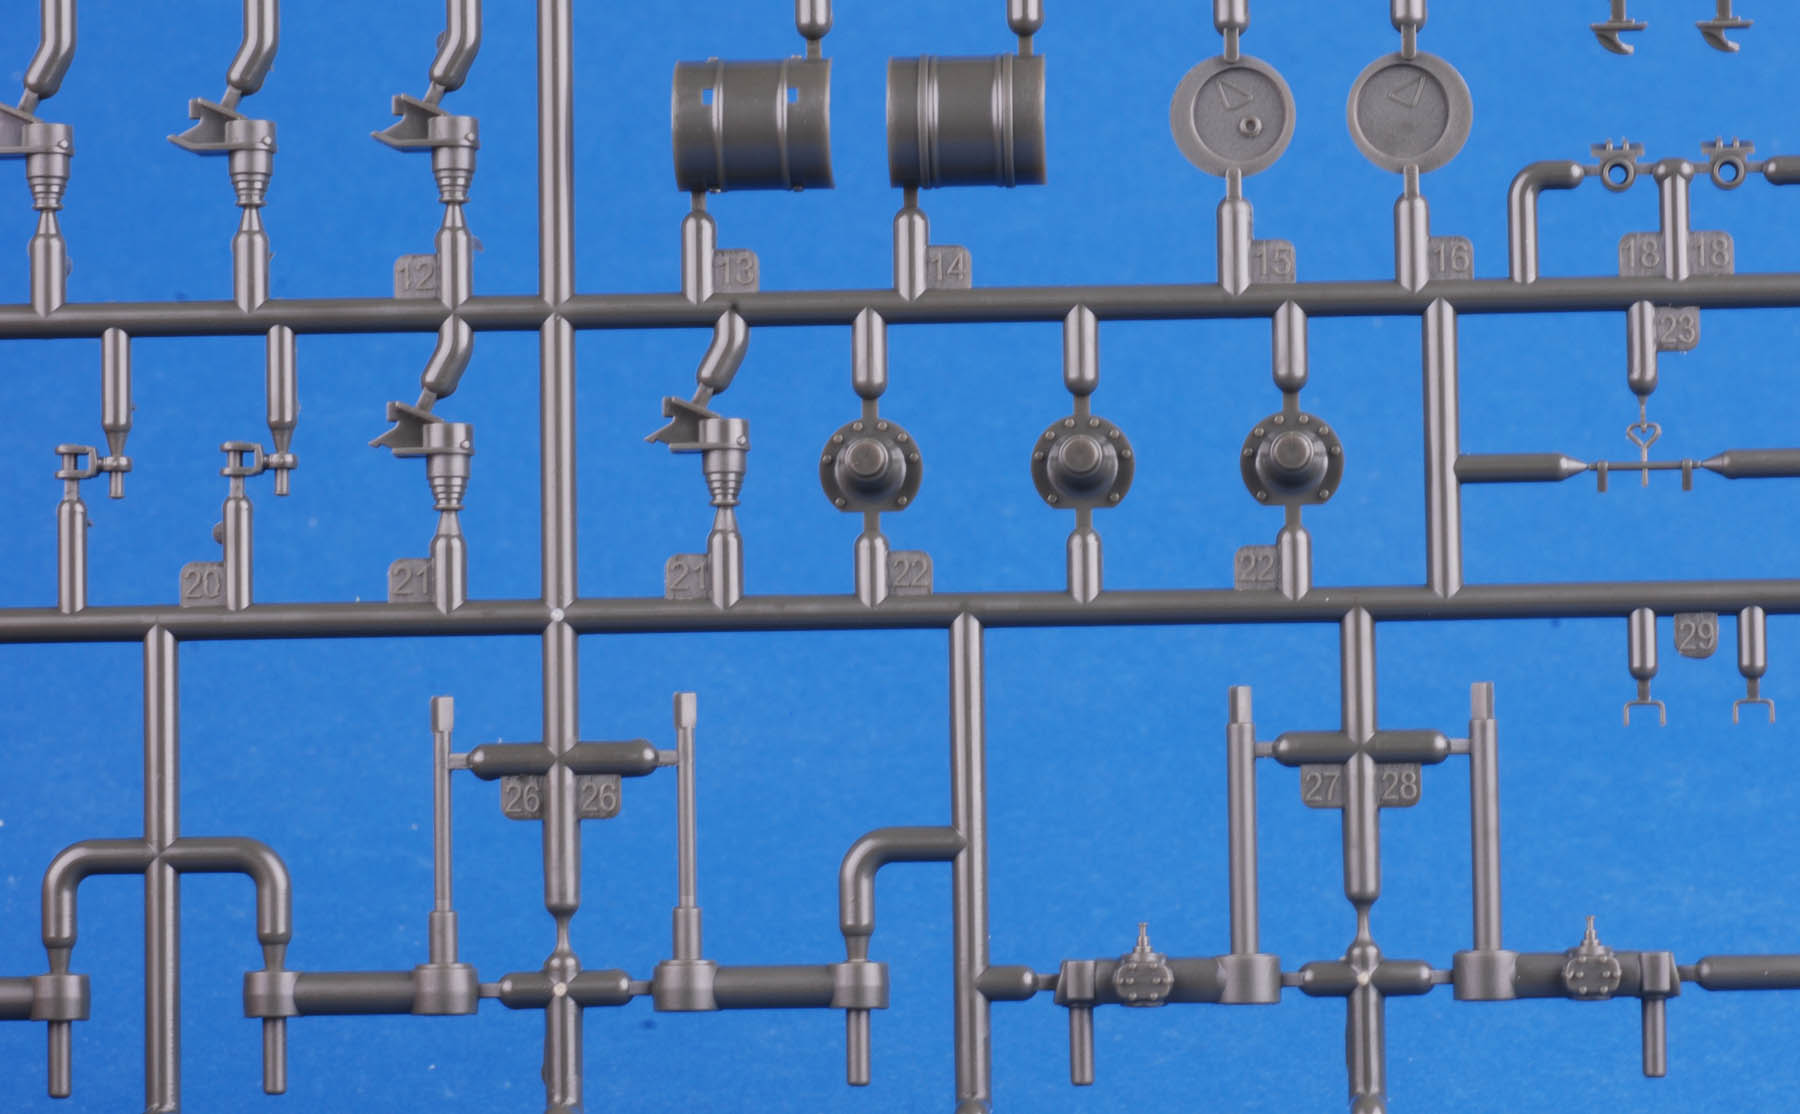
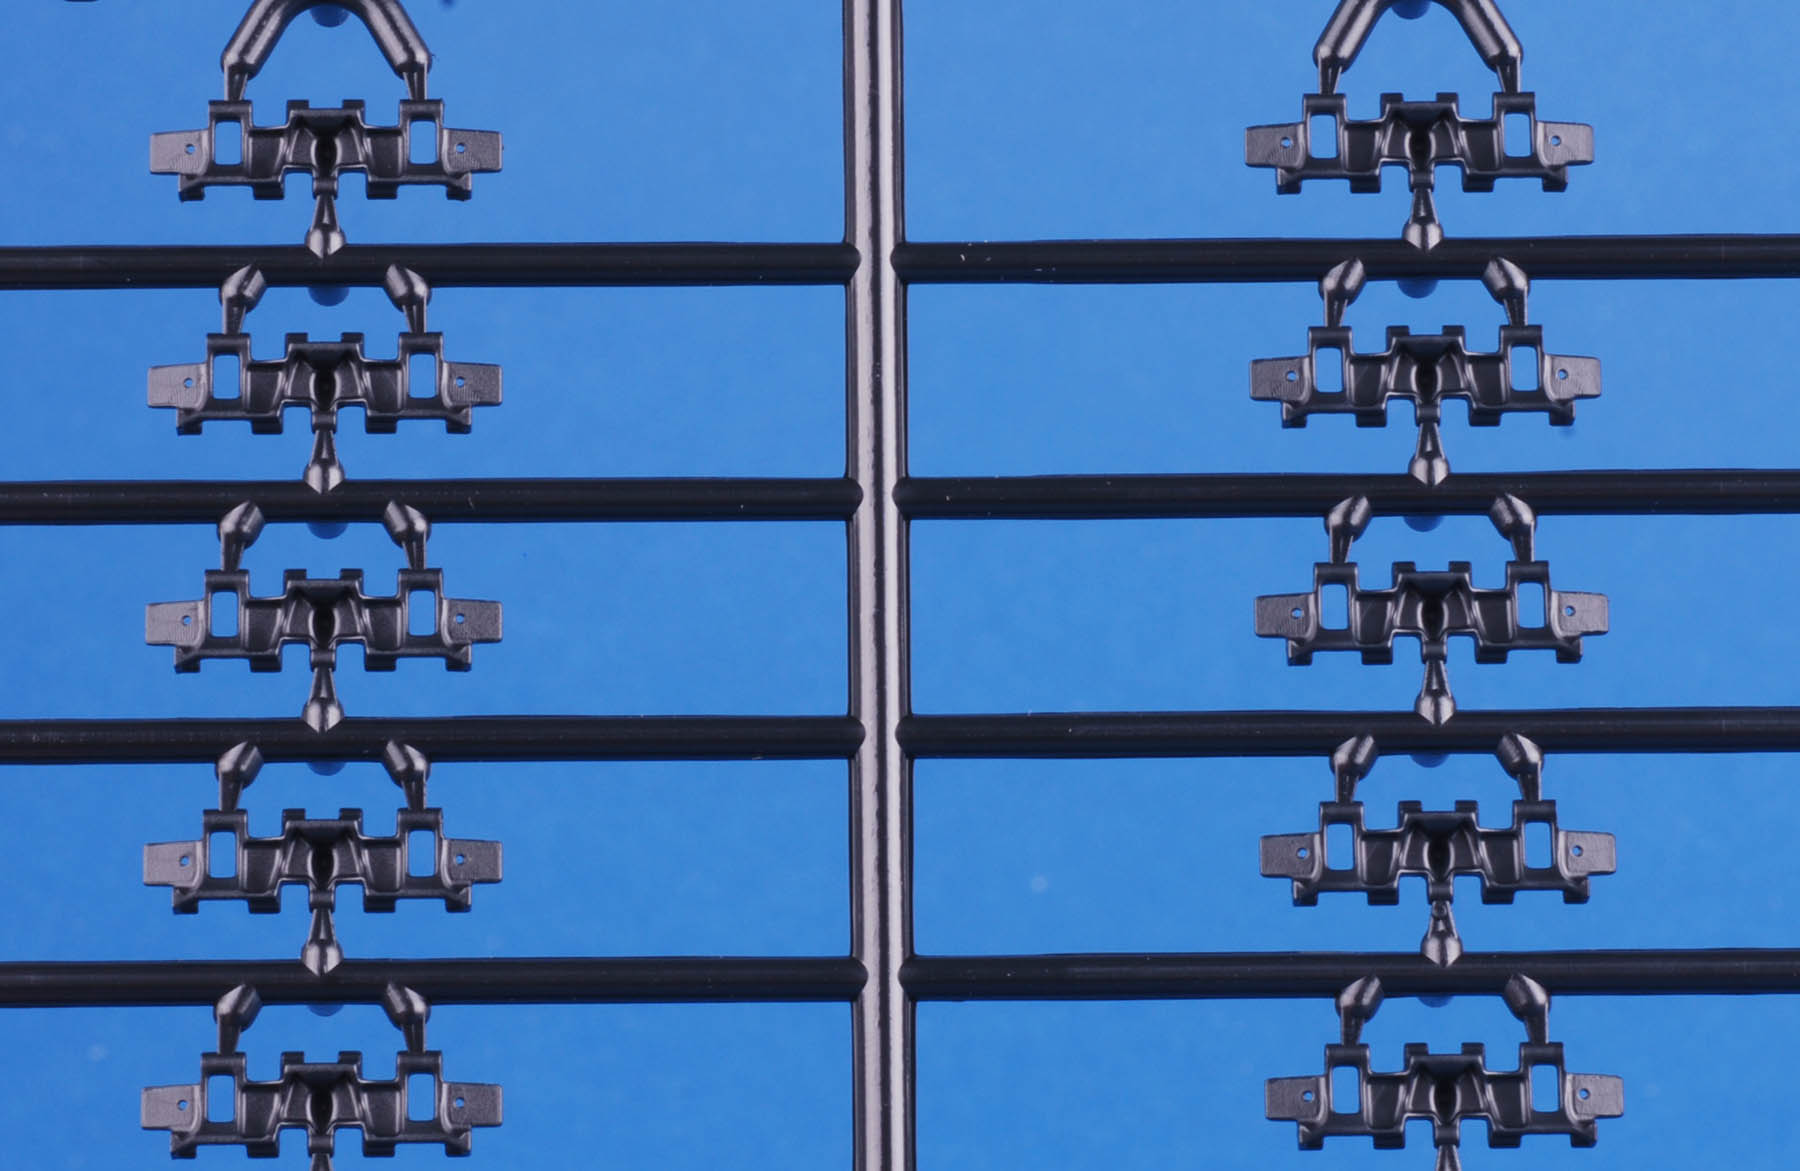
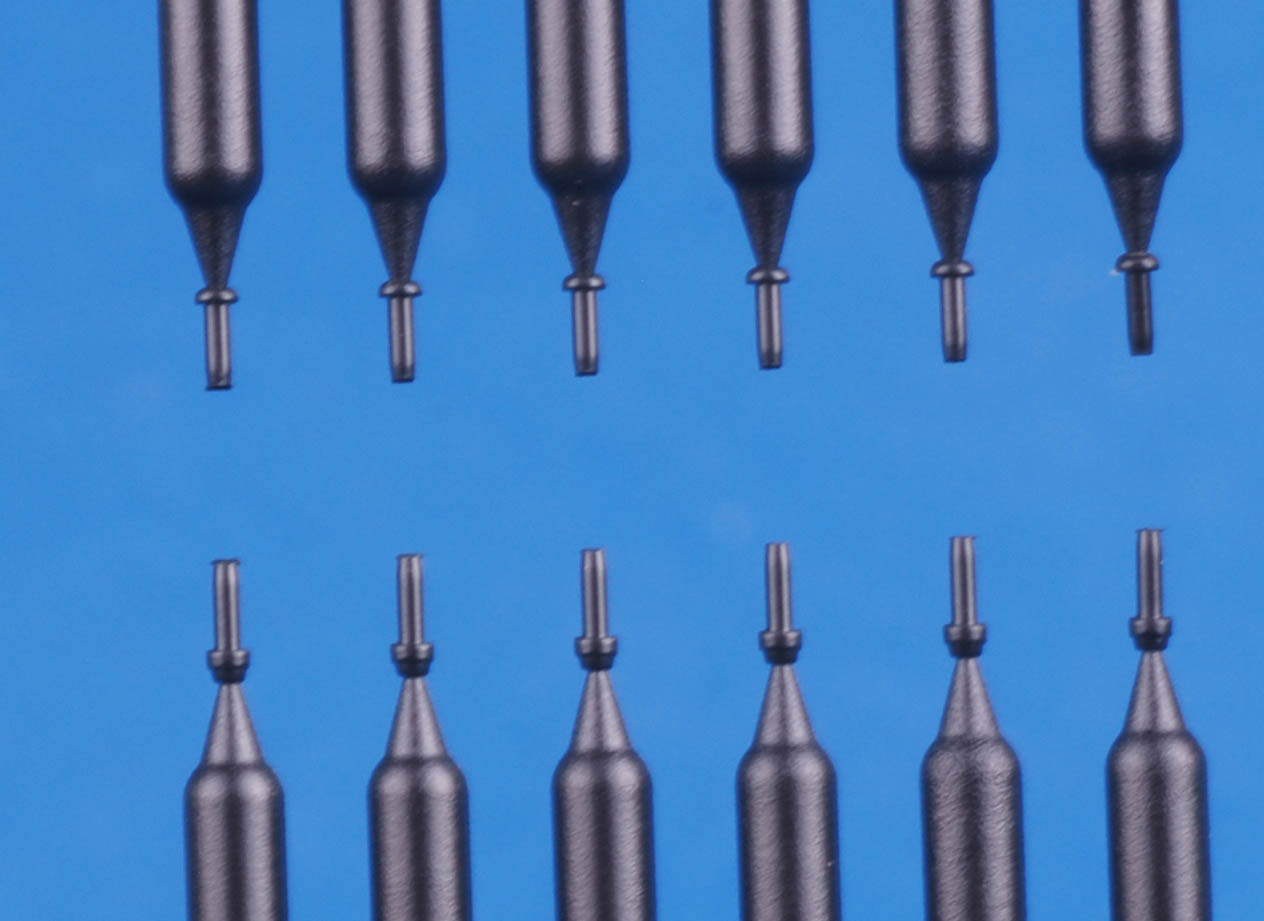
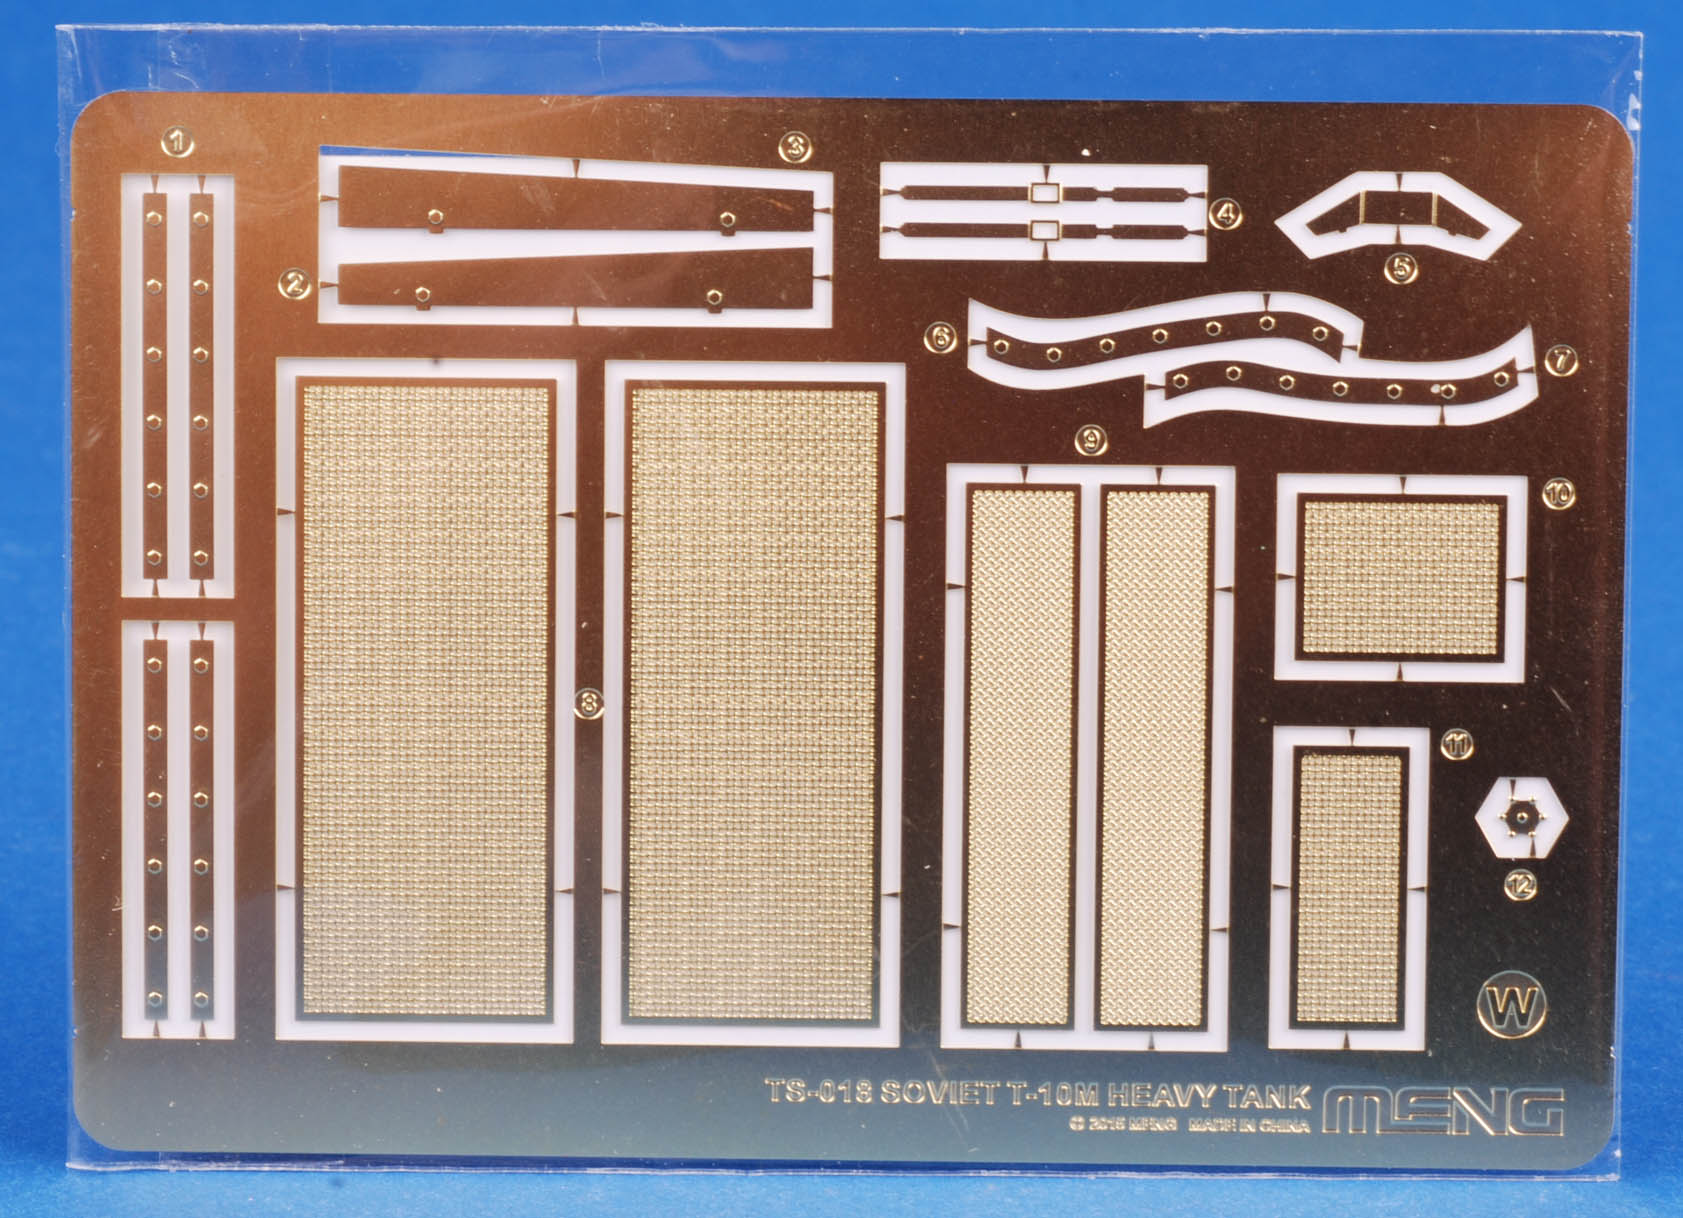
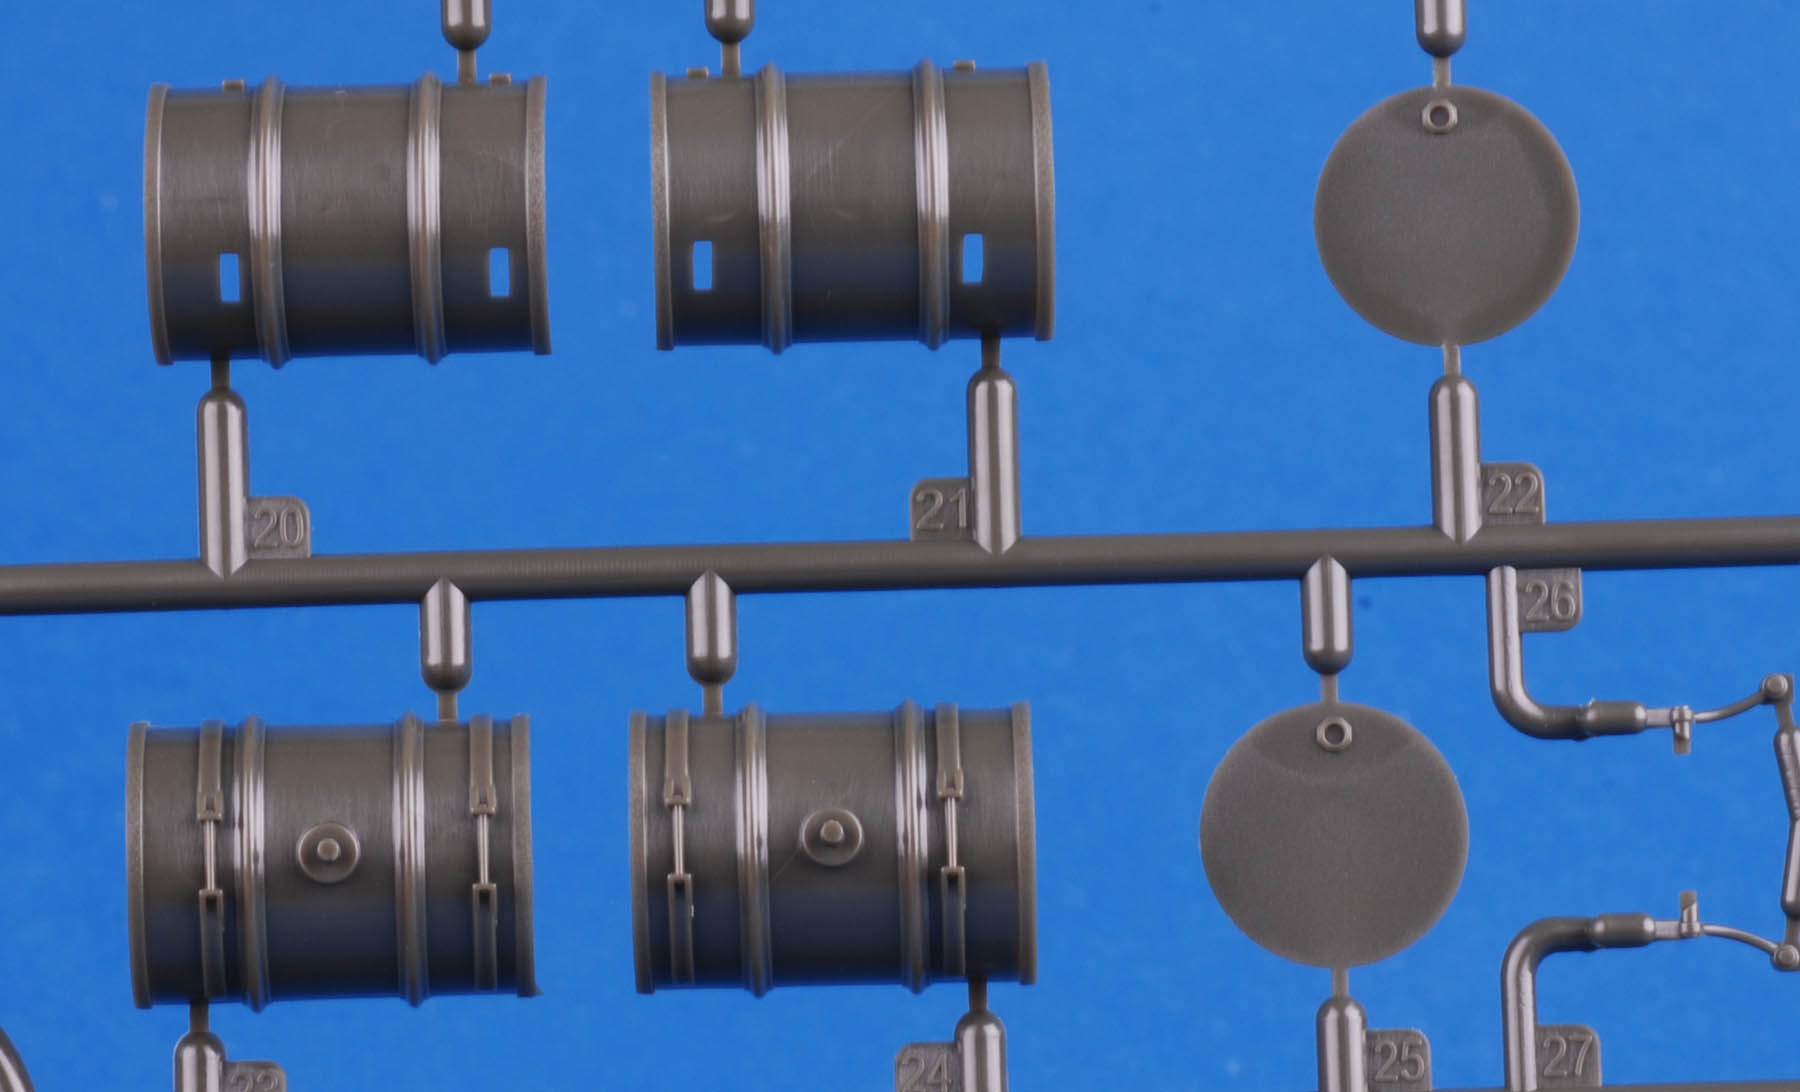
A few resin goodies we picked up from HLJ lately.
www.hlj.com


Big Box of Kits from Dragon USA Part II
www.dragonusaonline.com
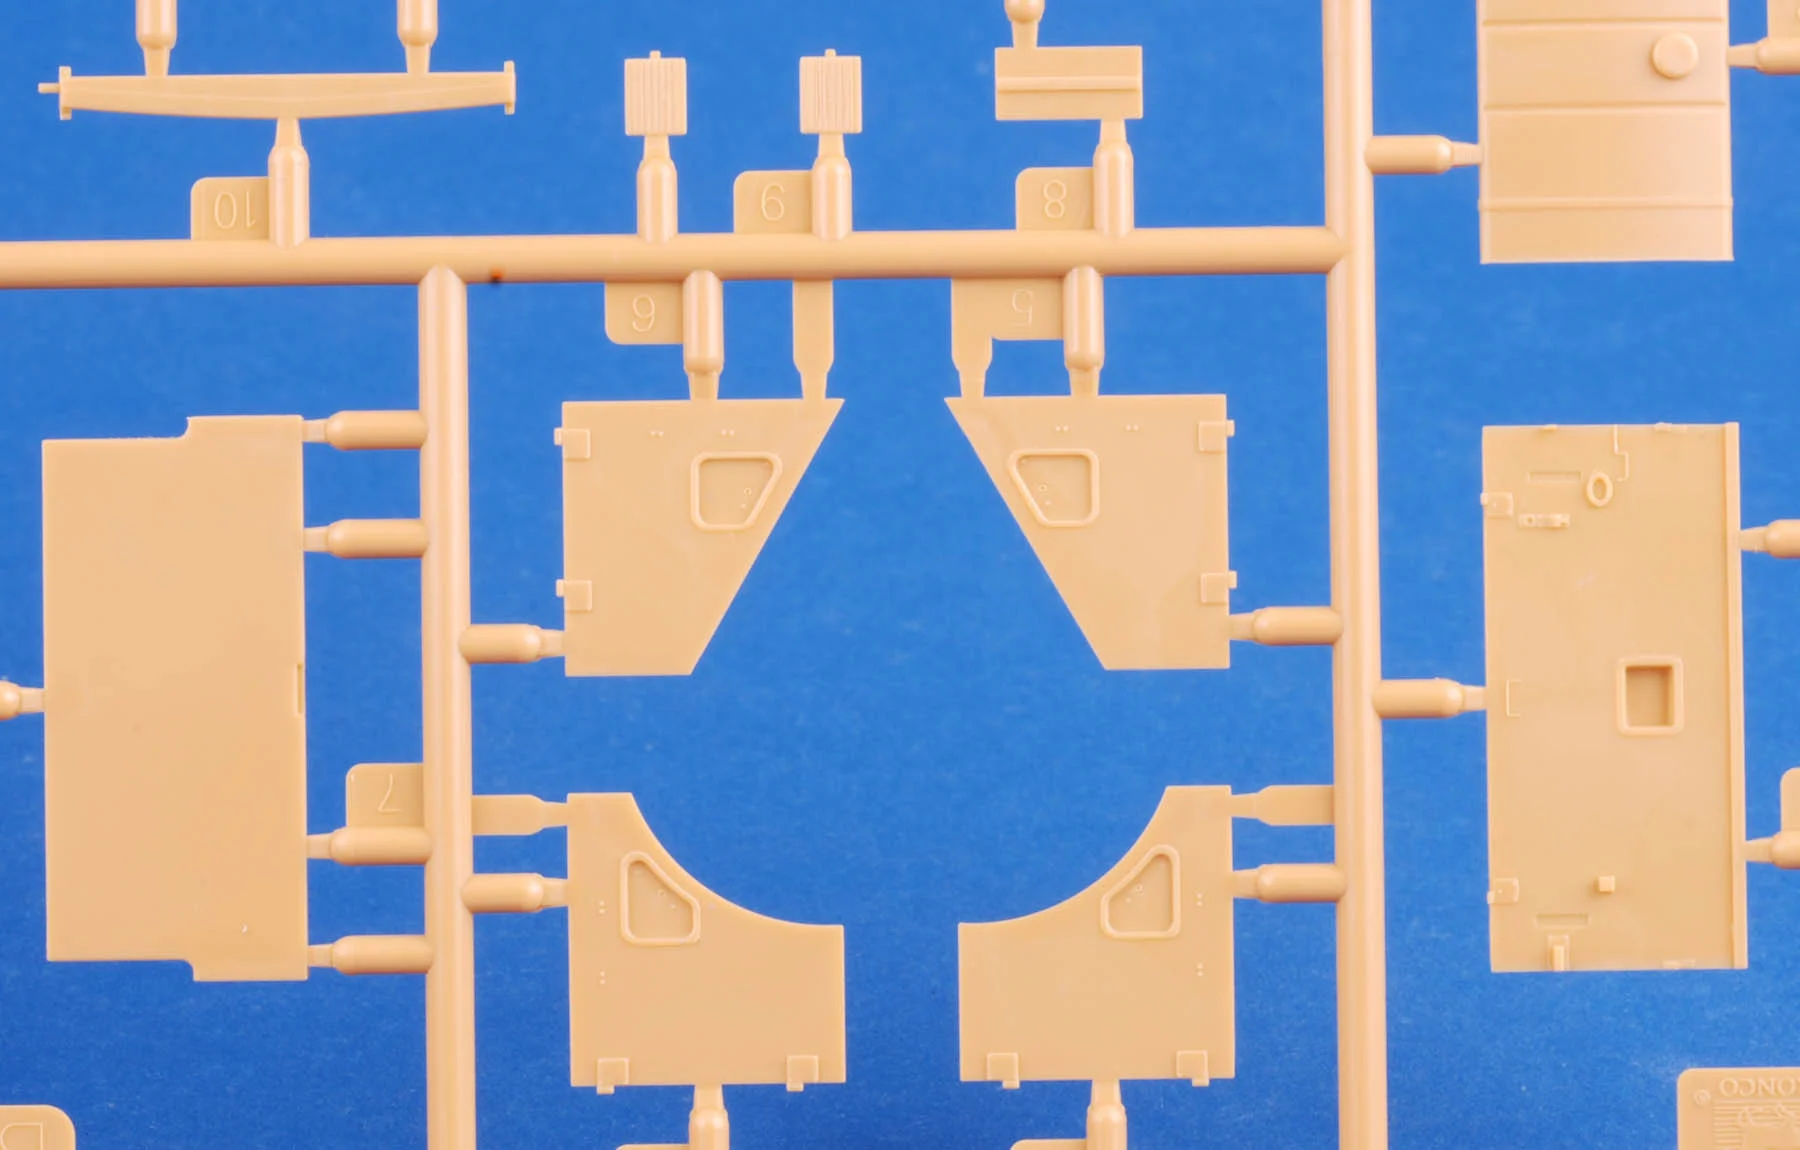
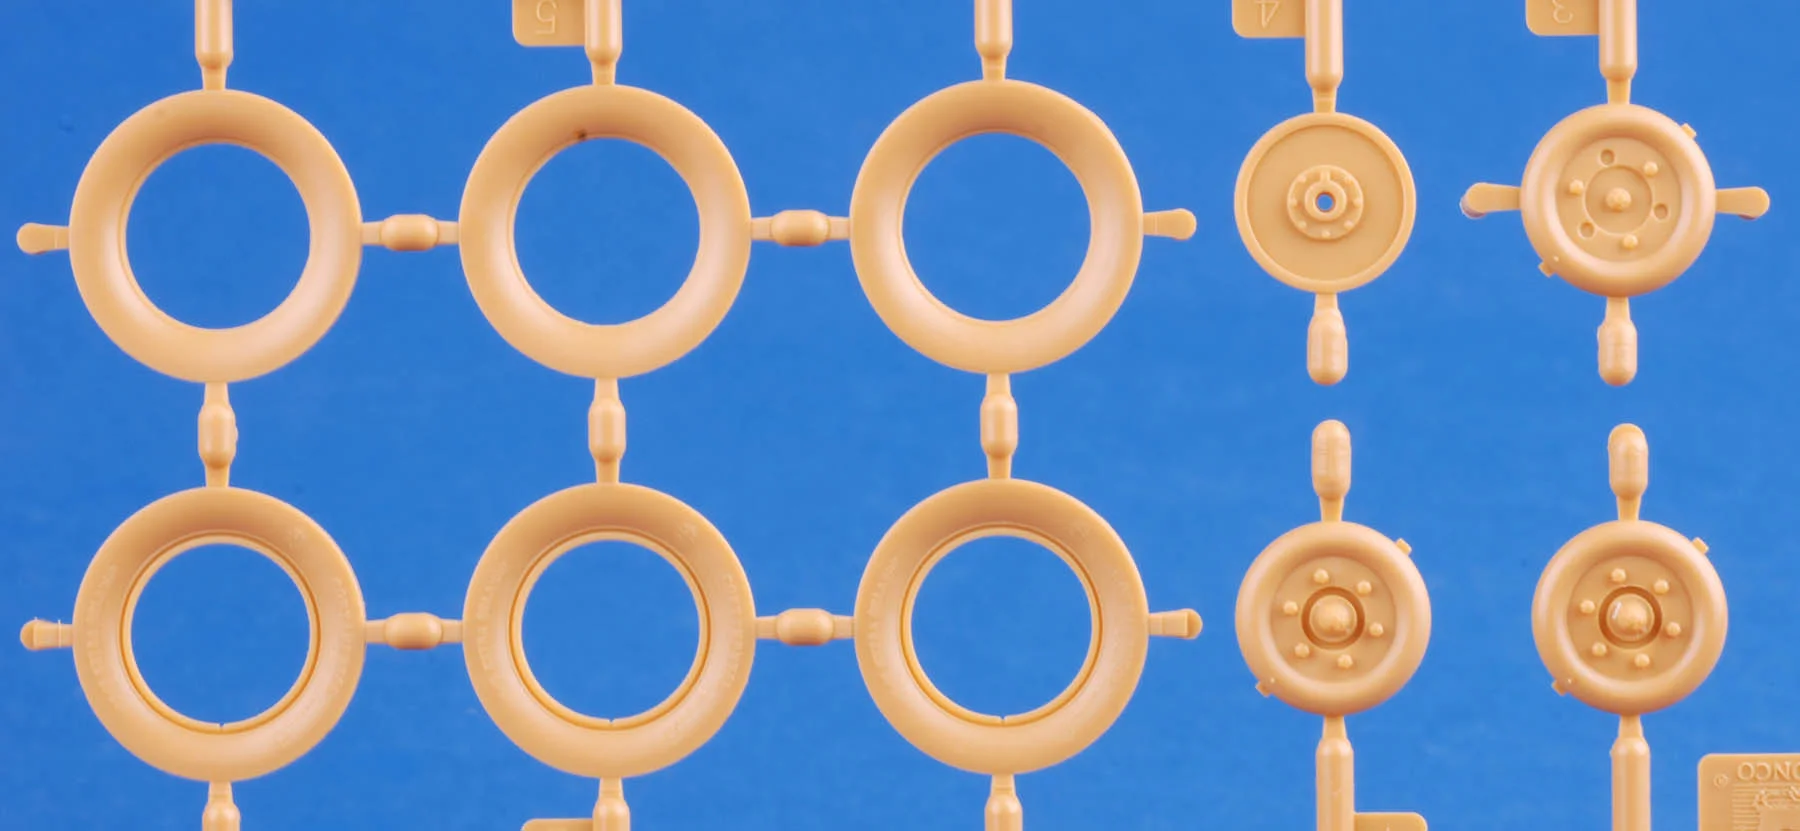
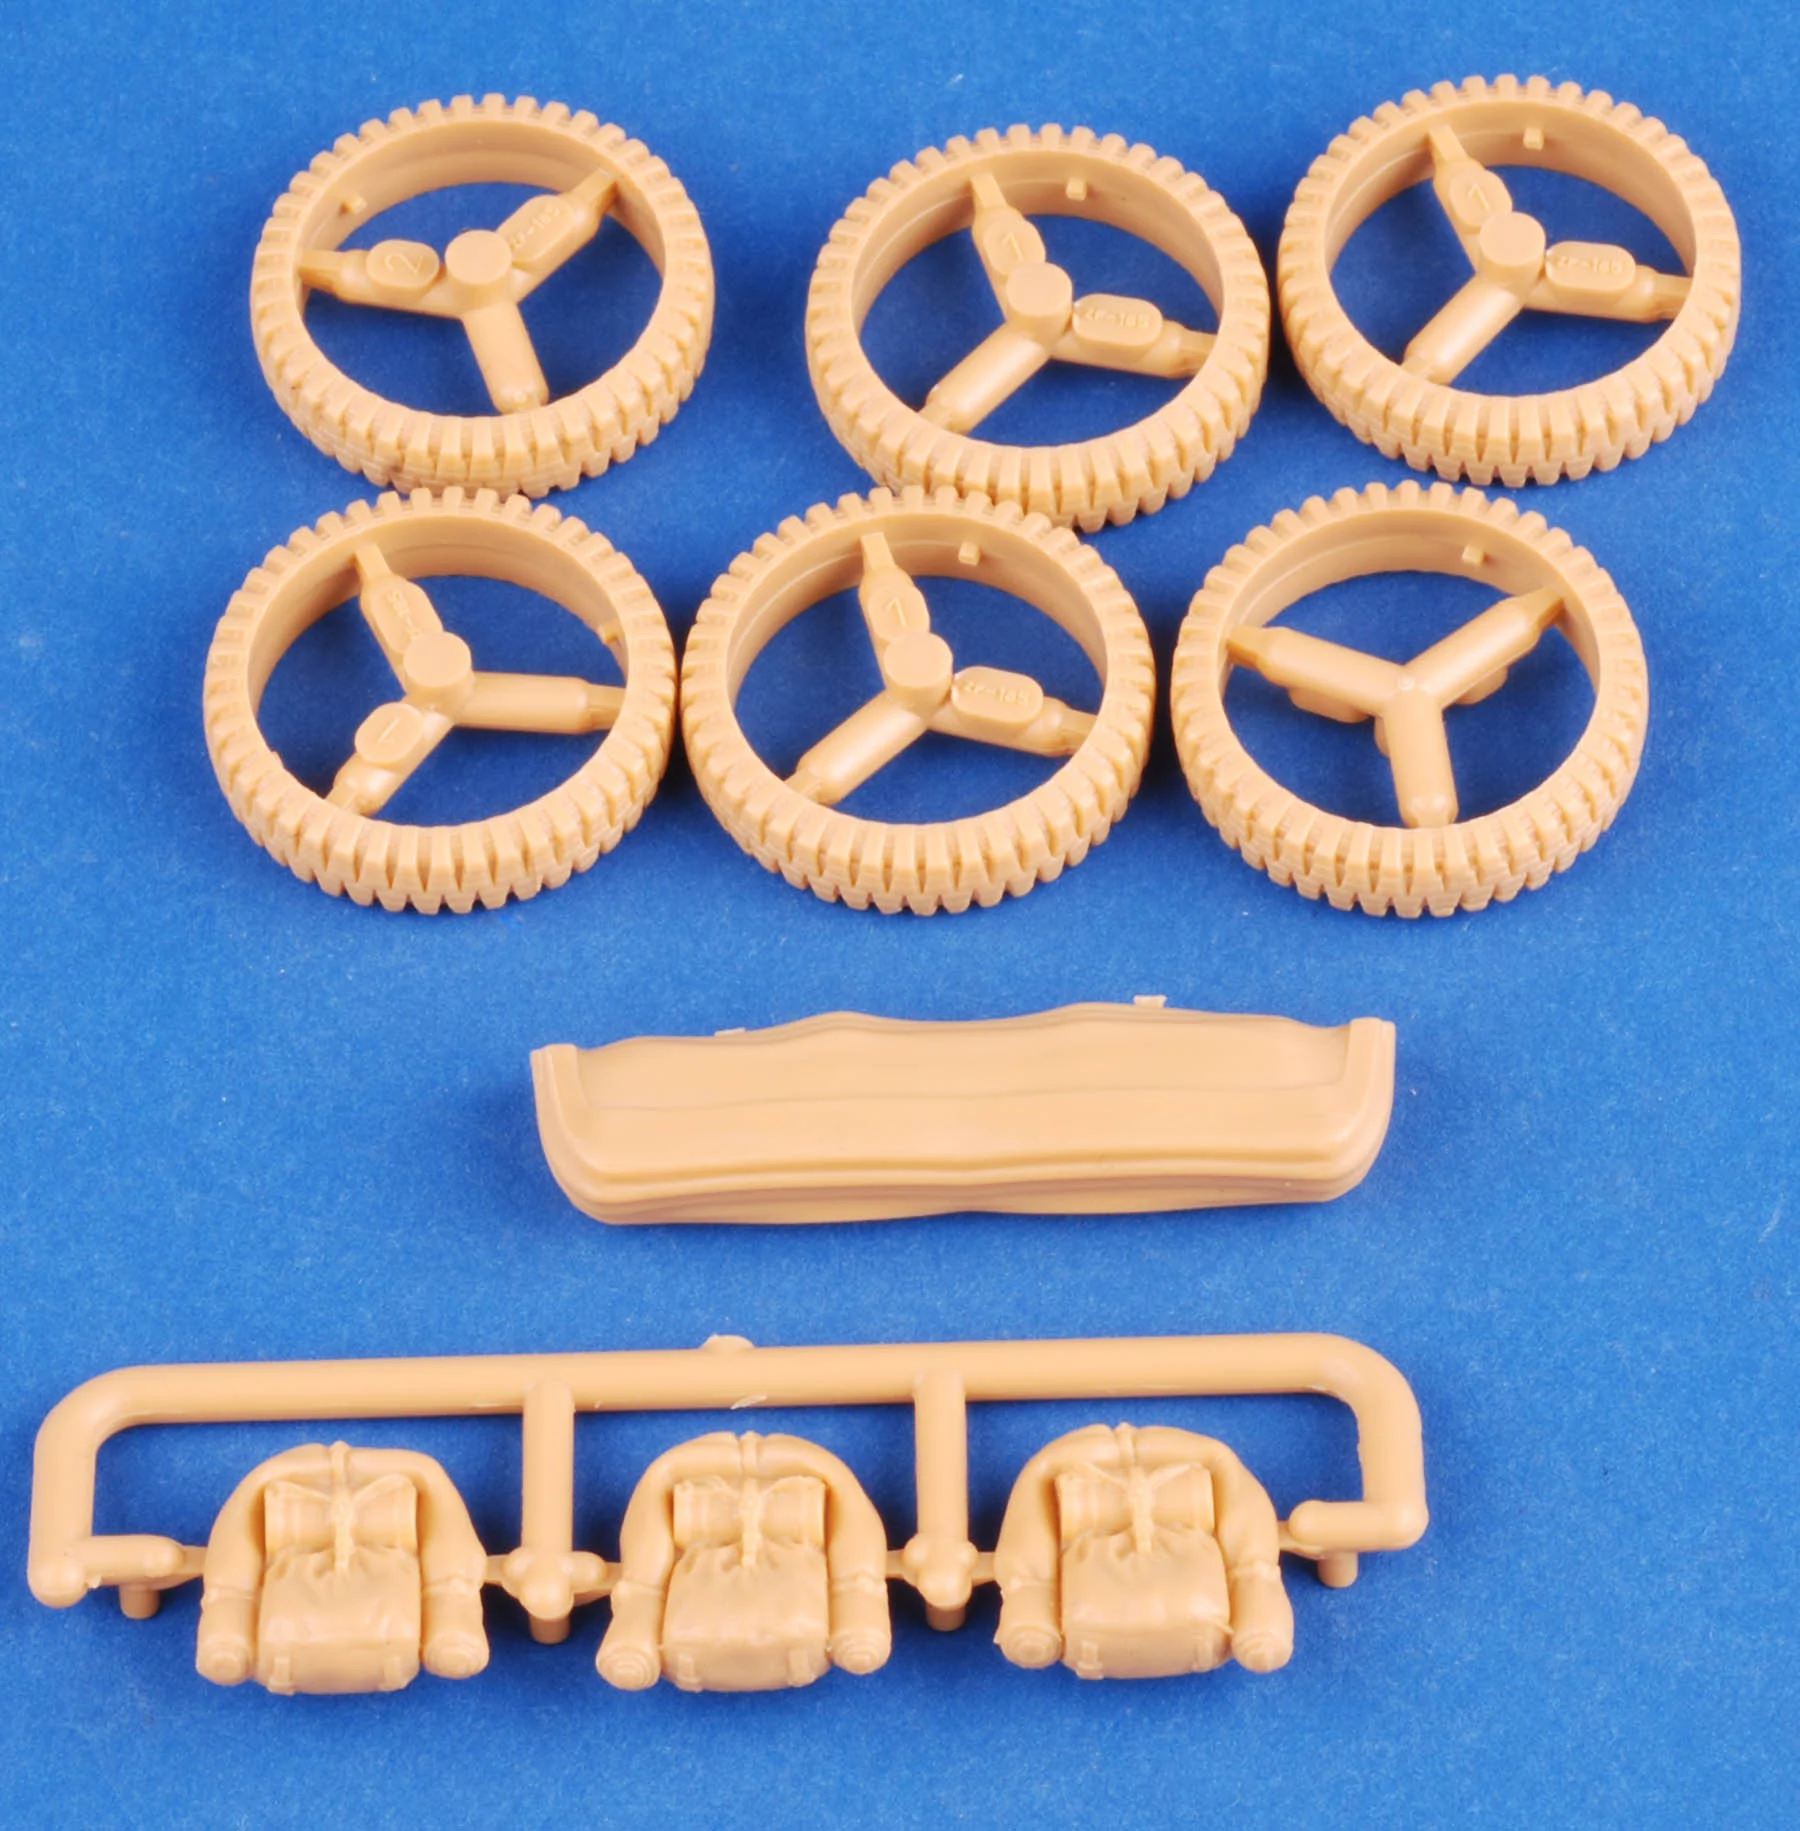
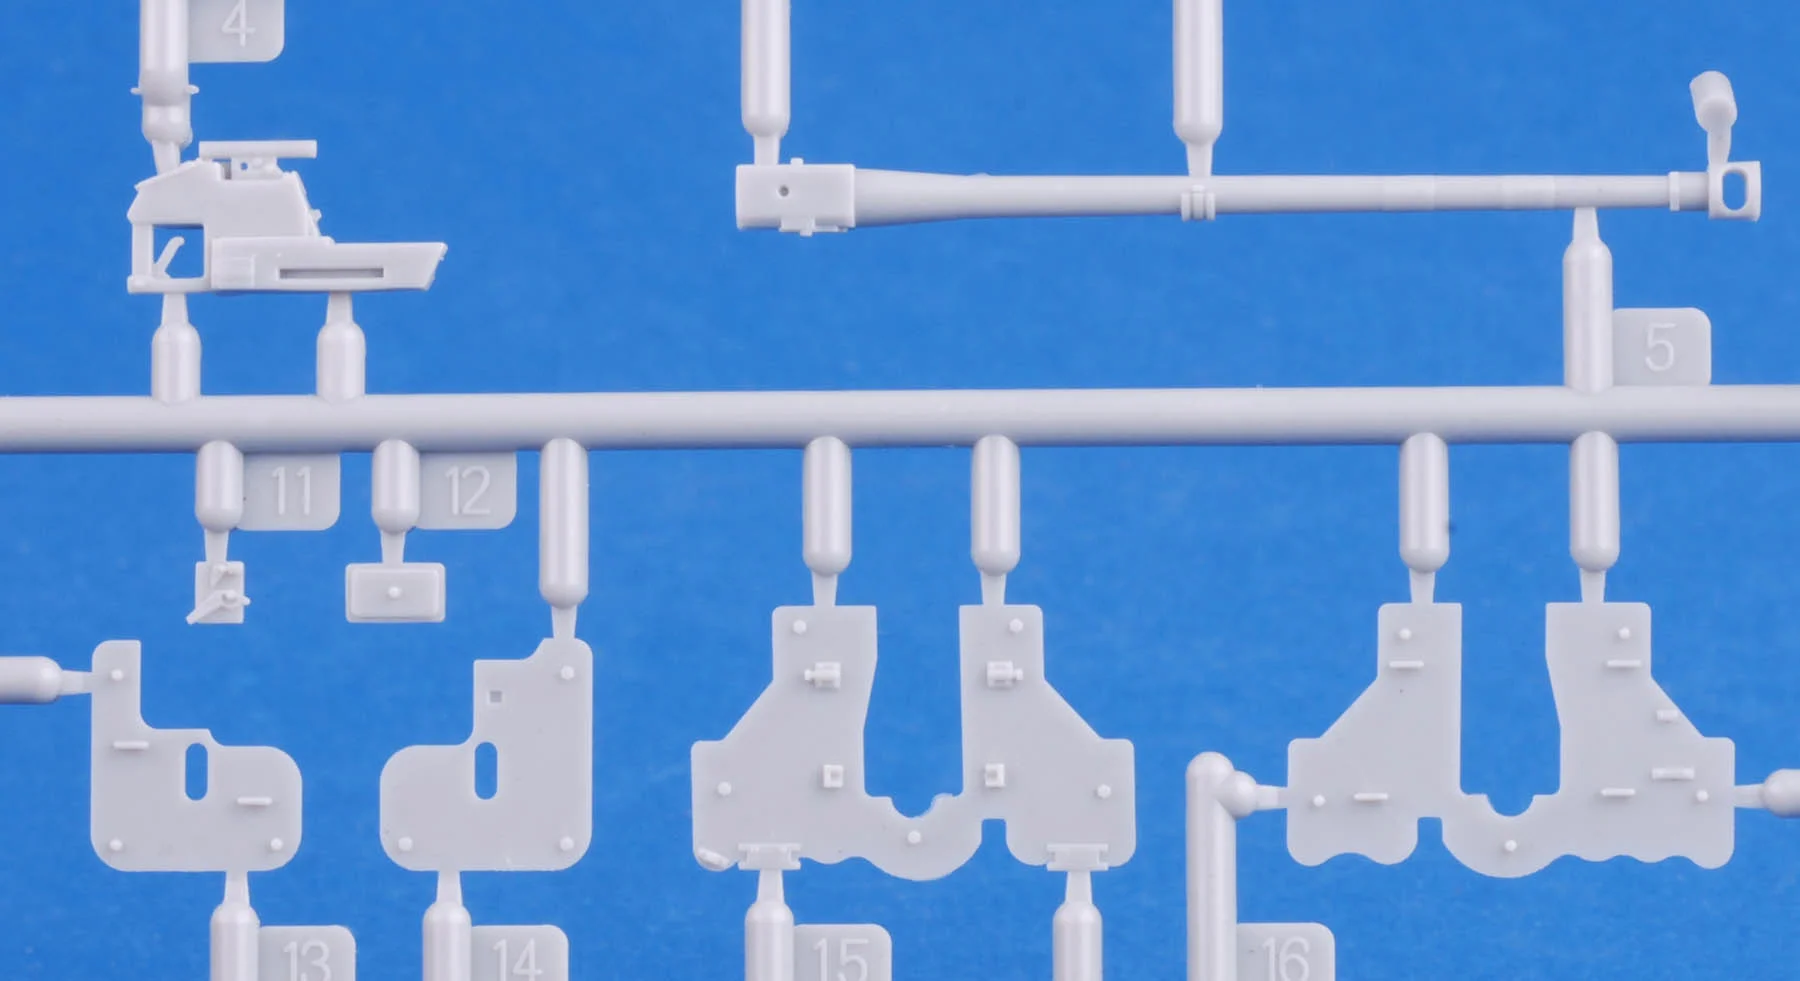
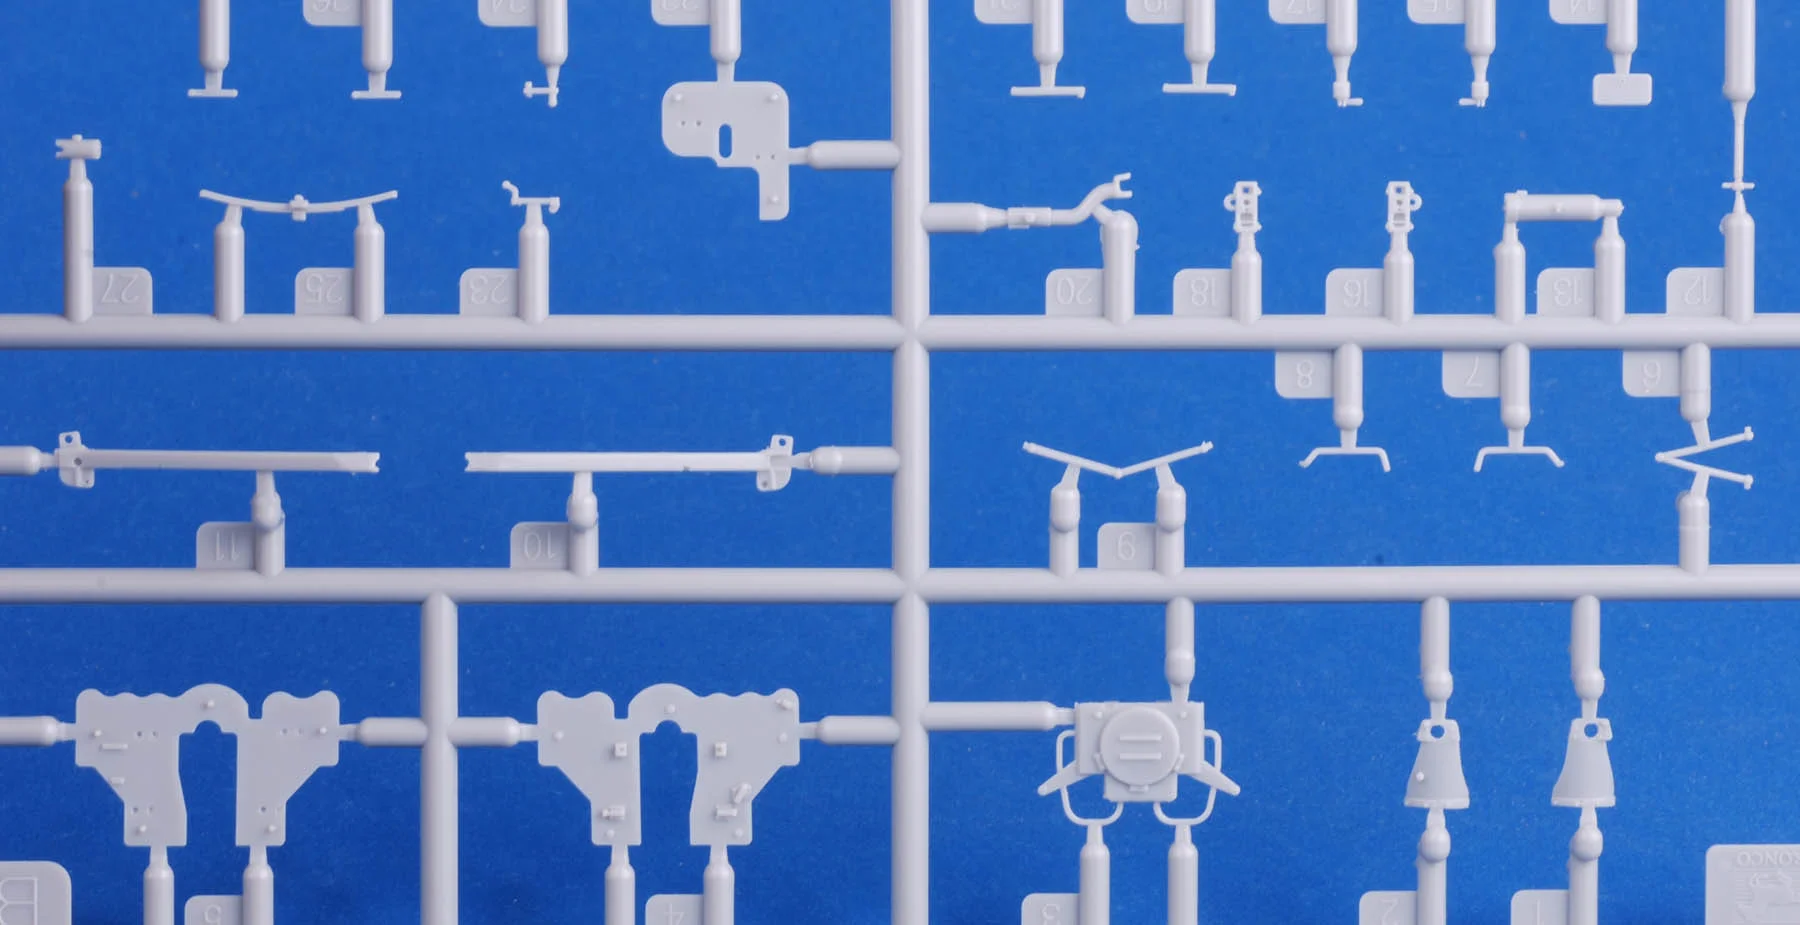
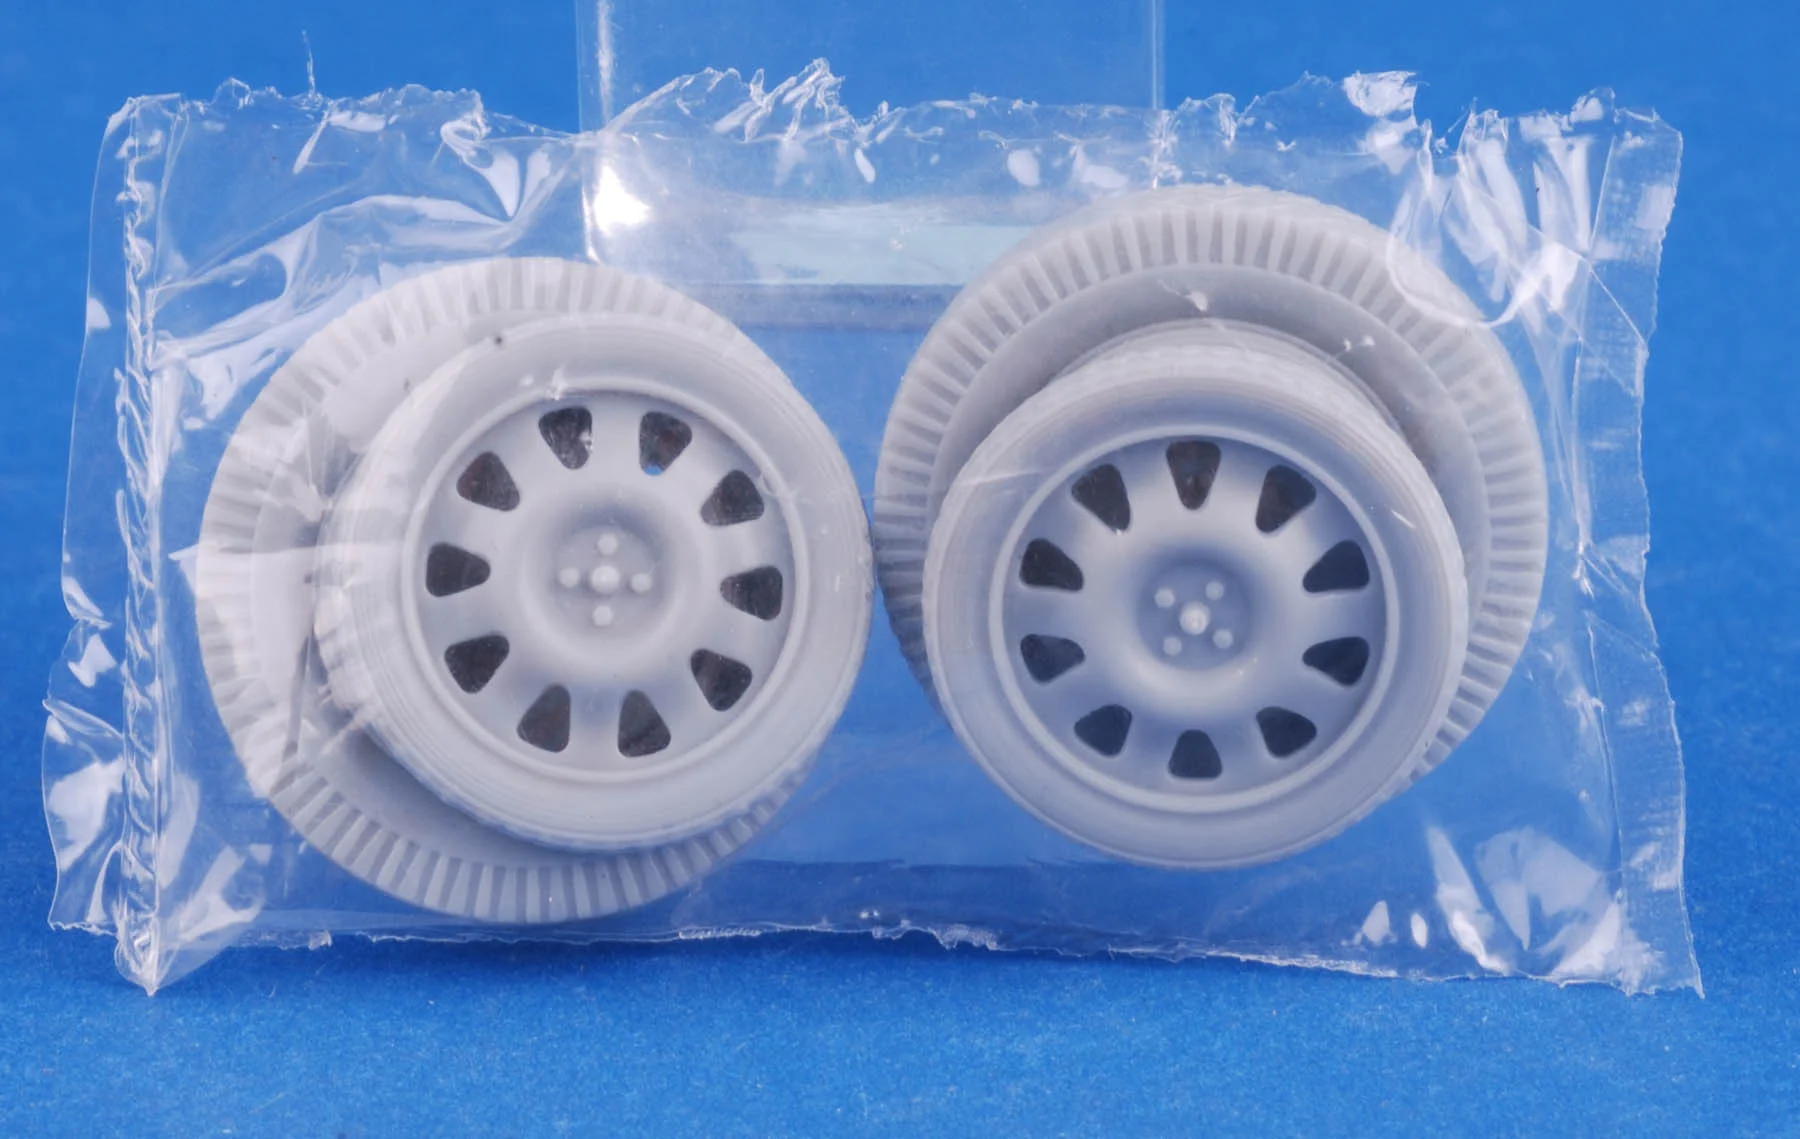
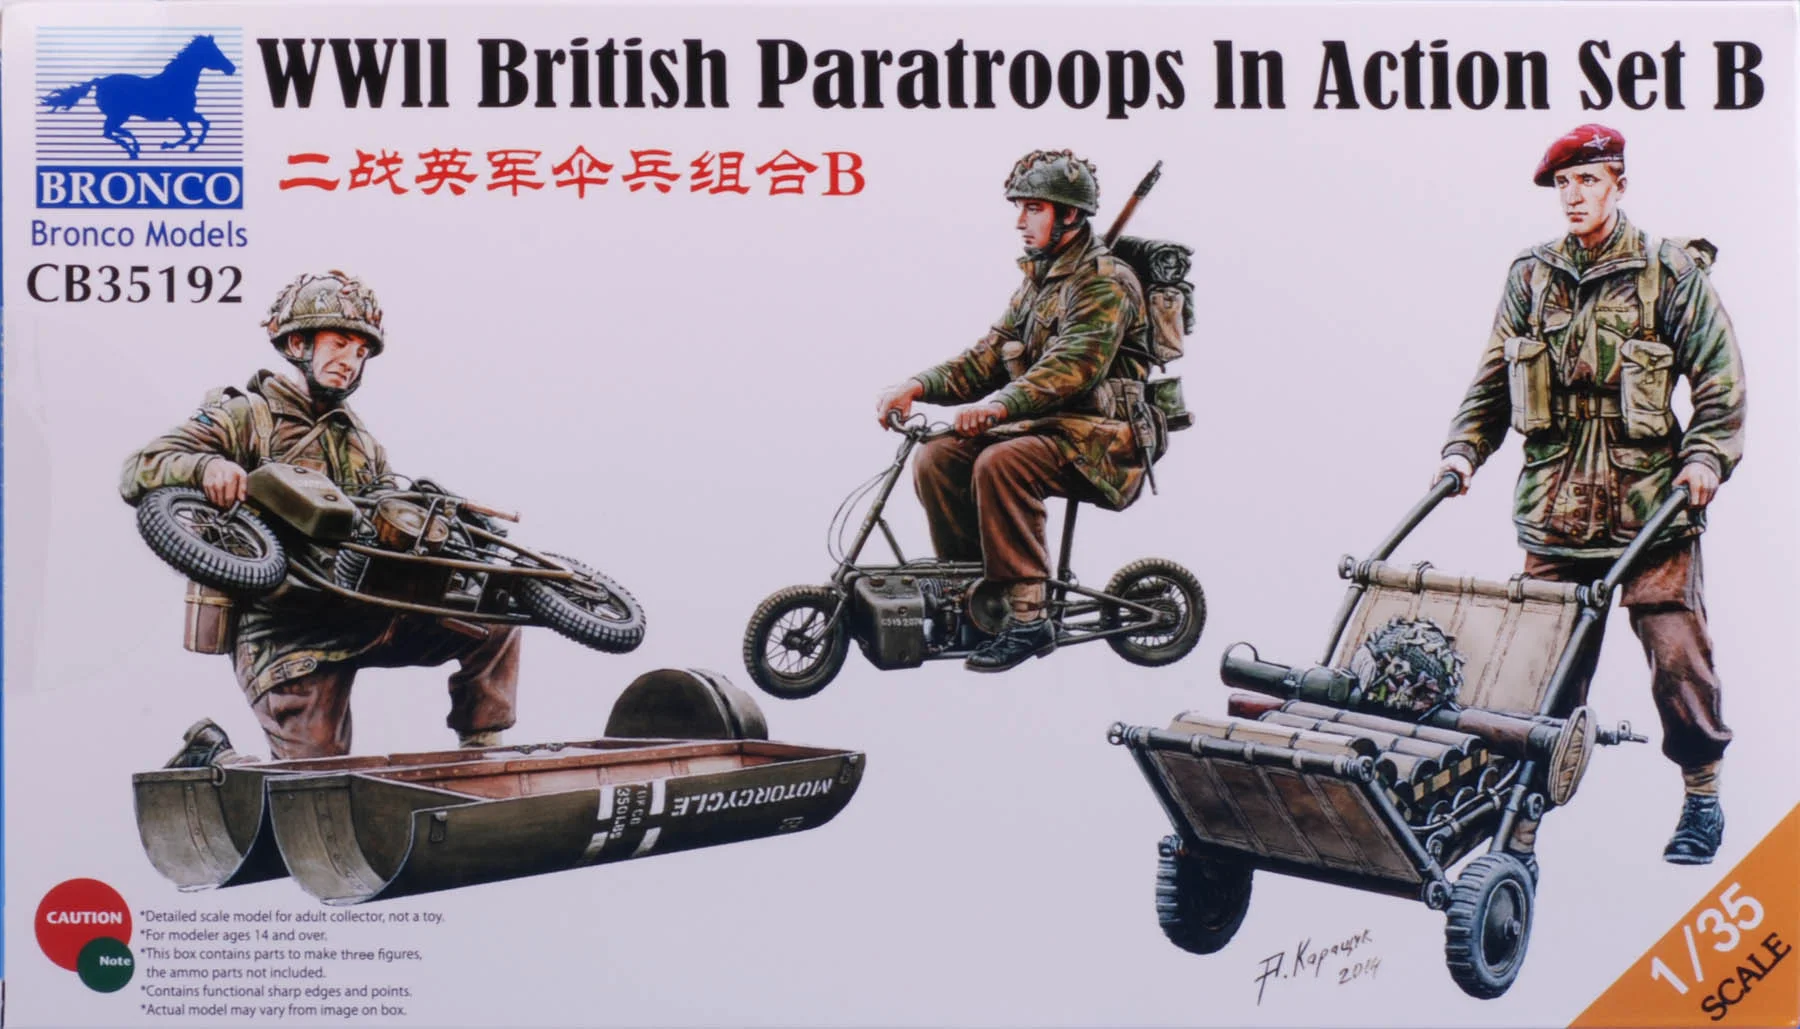
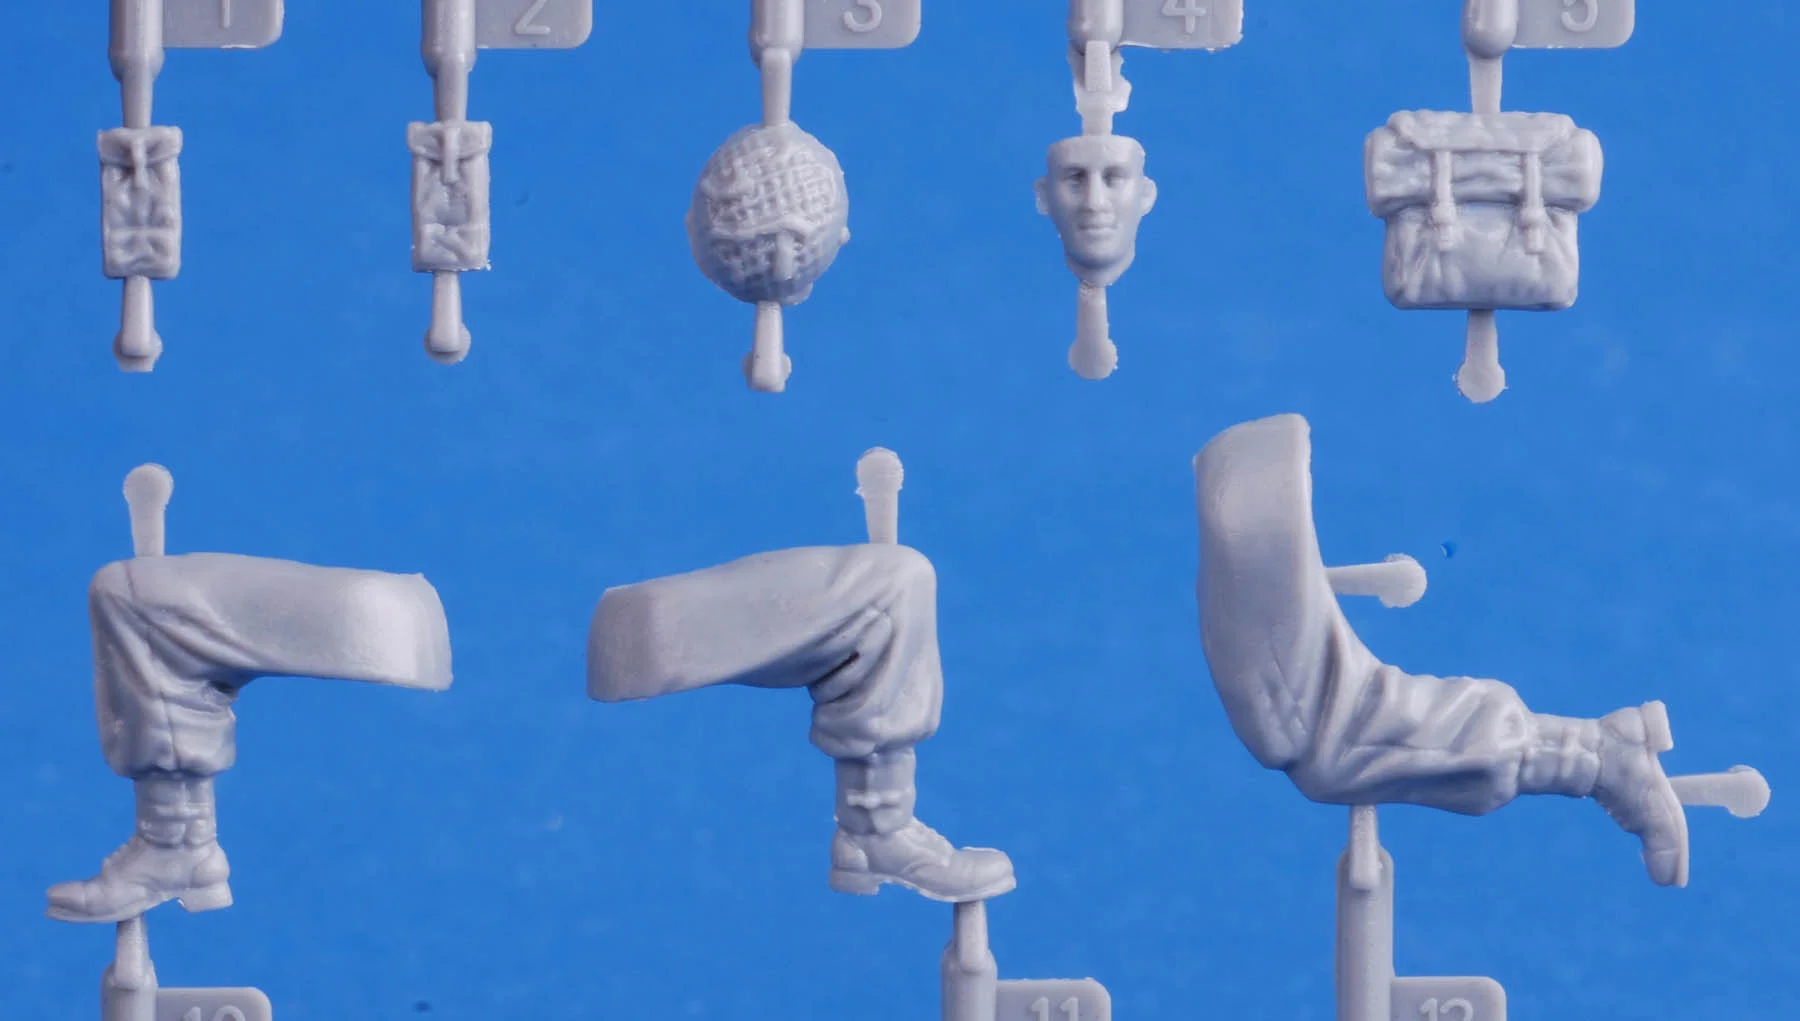
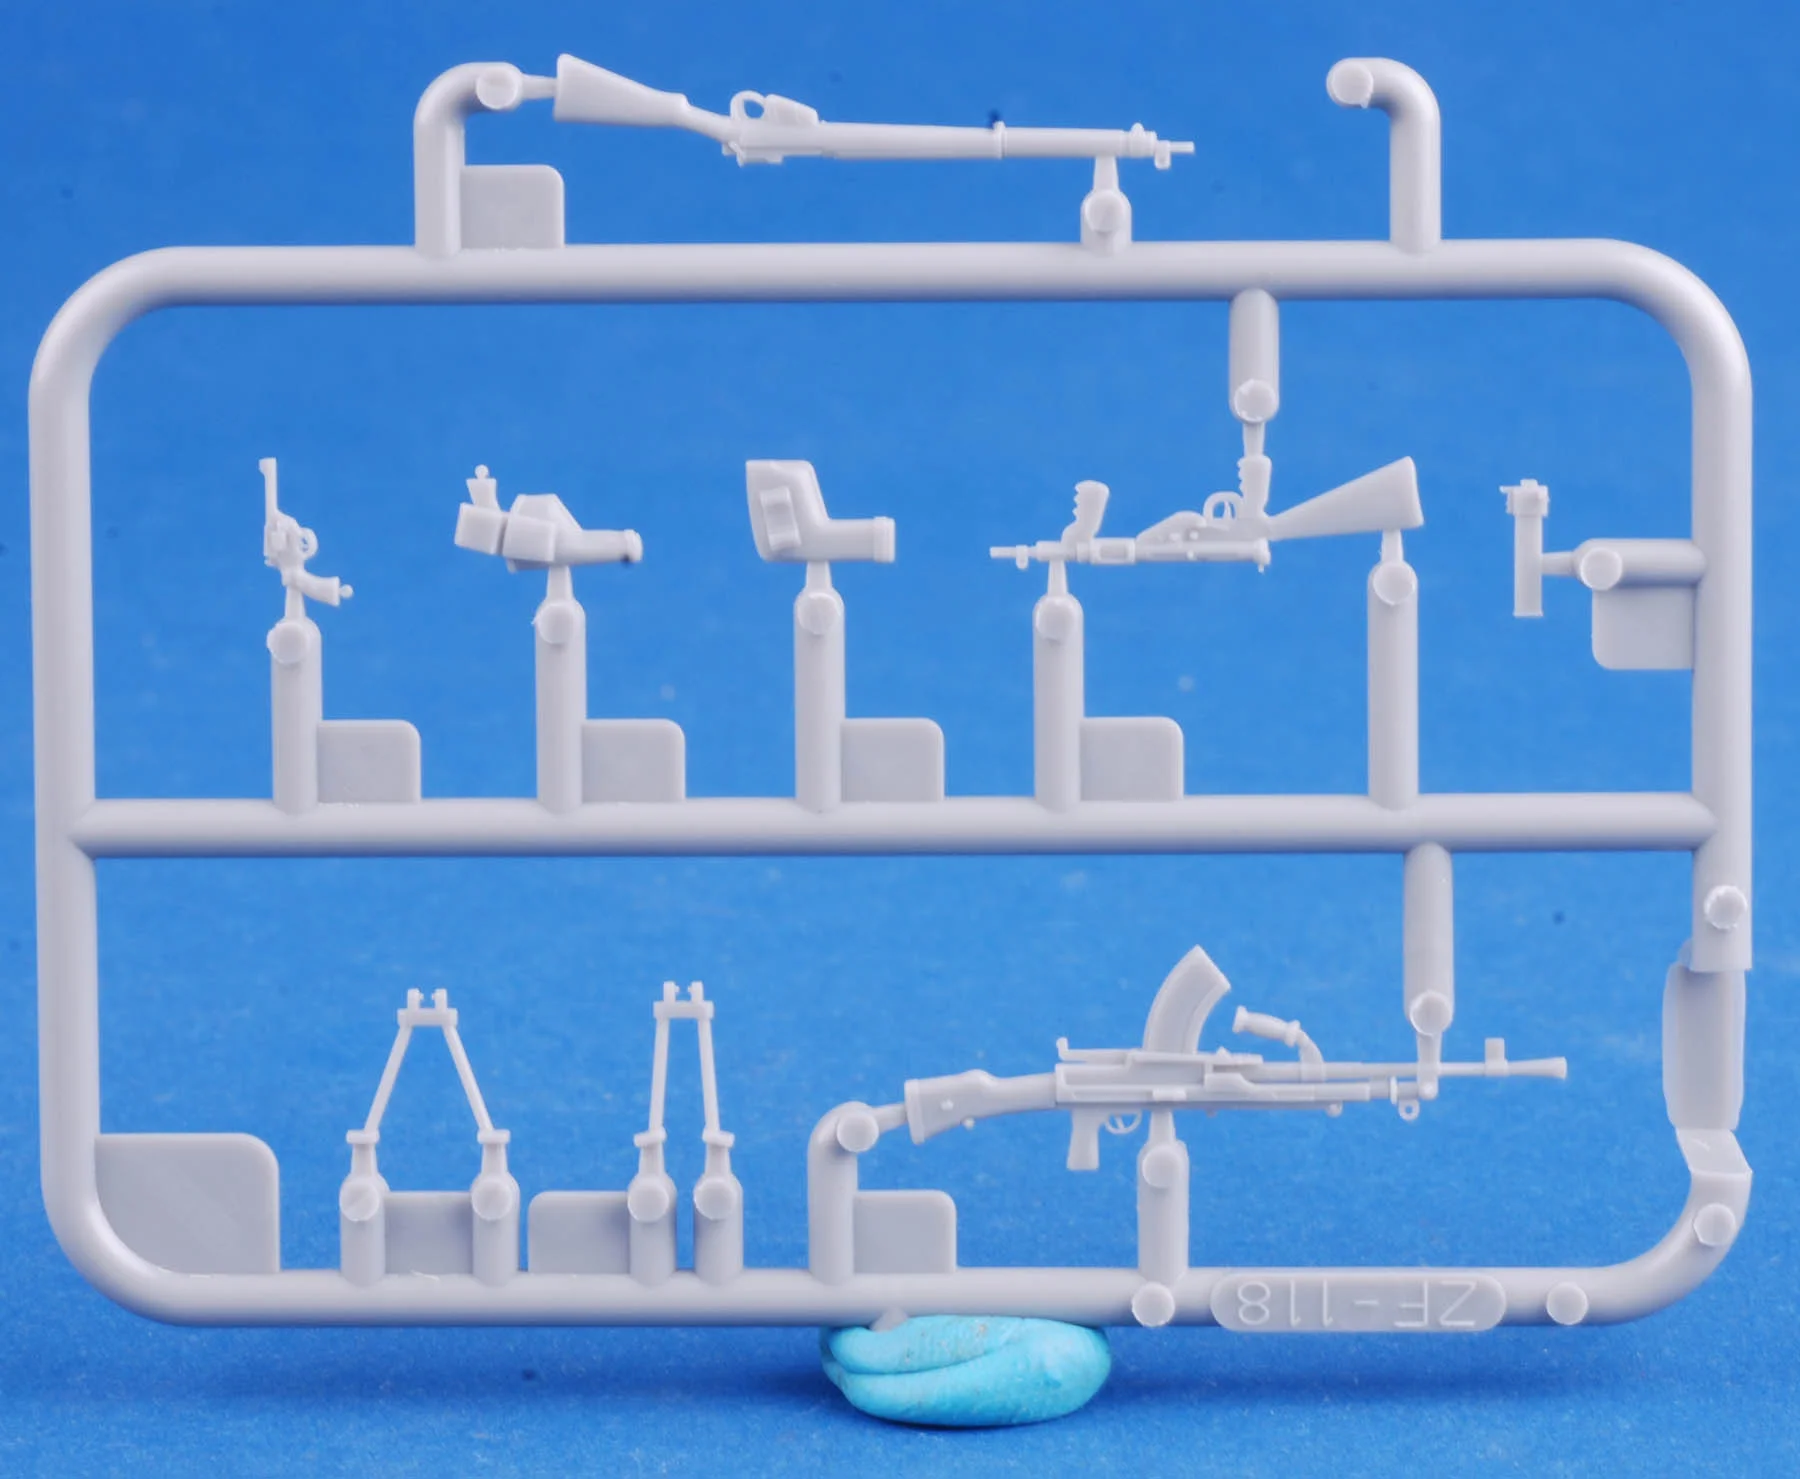
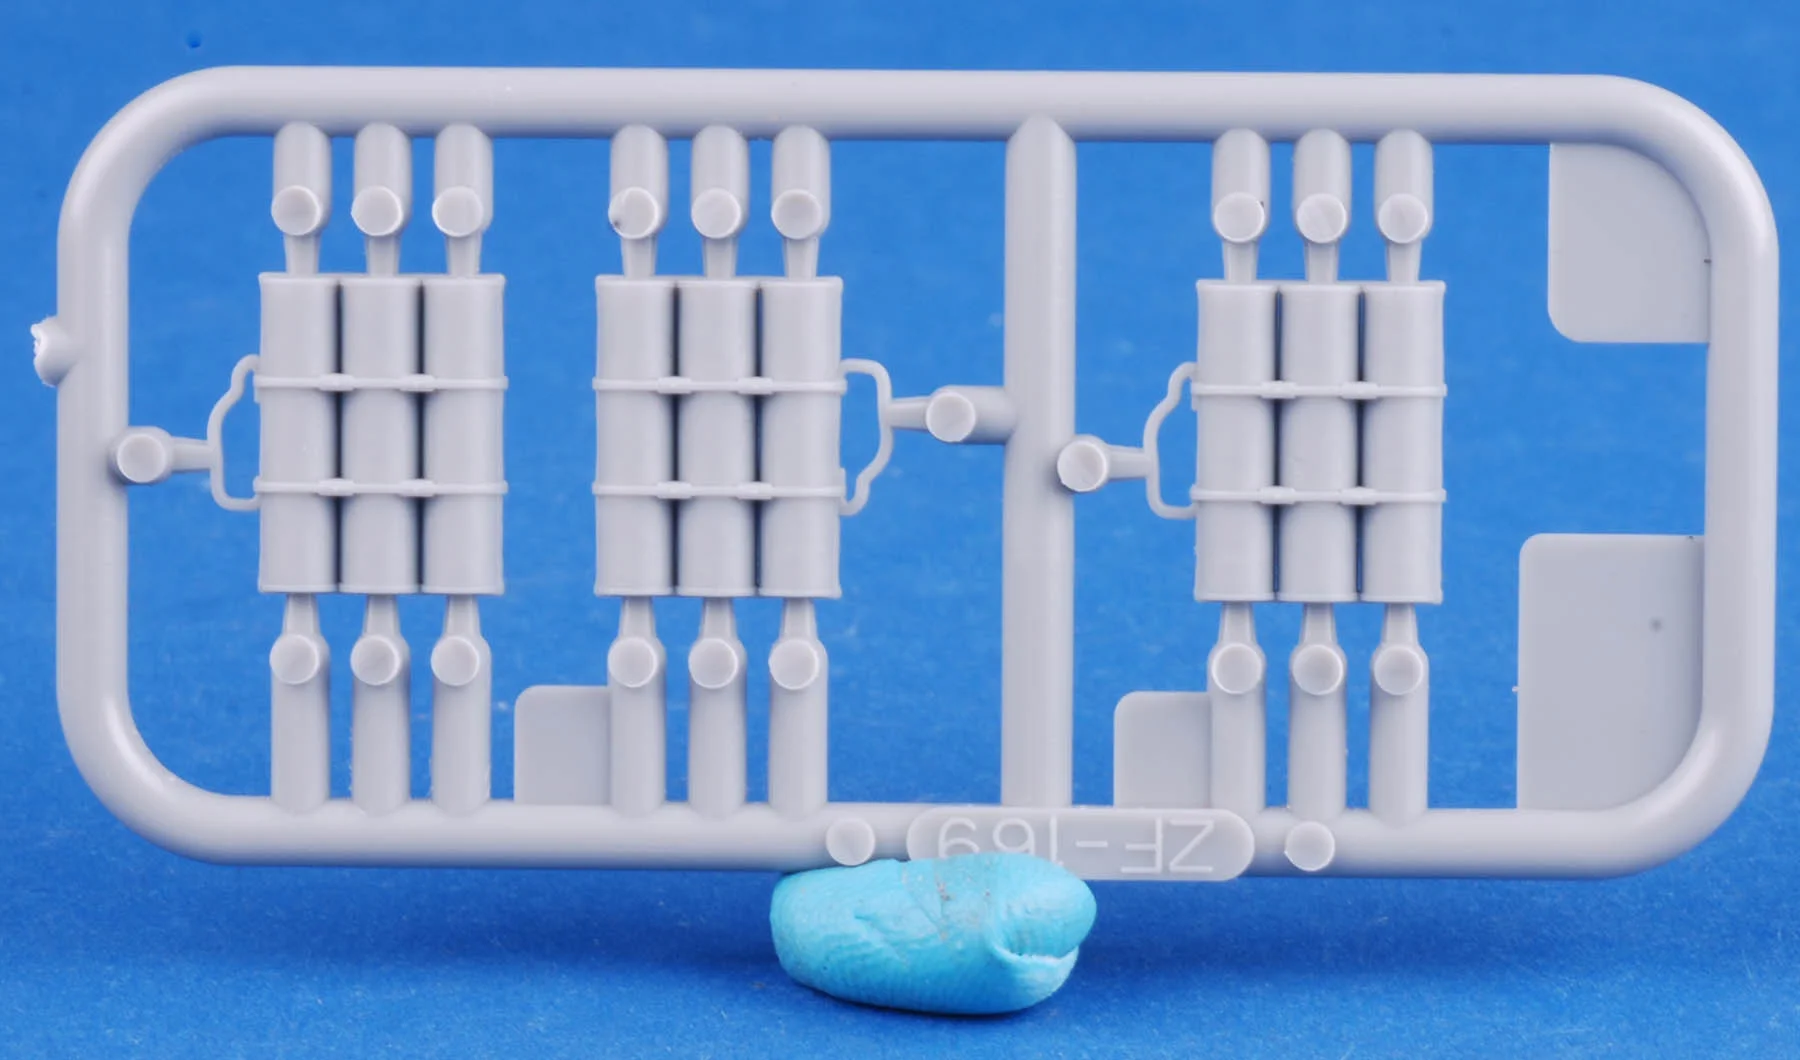
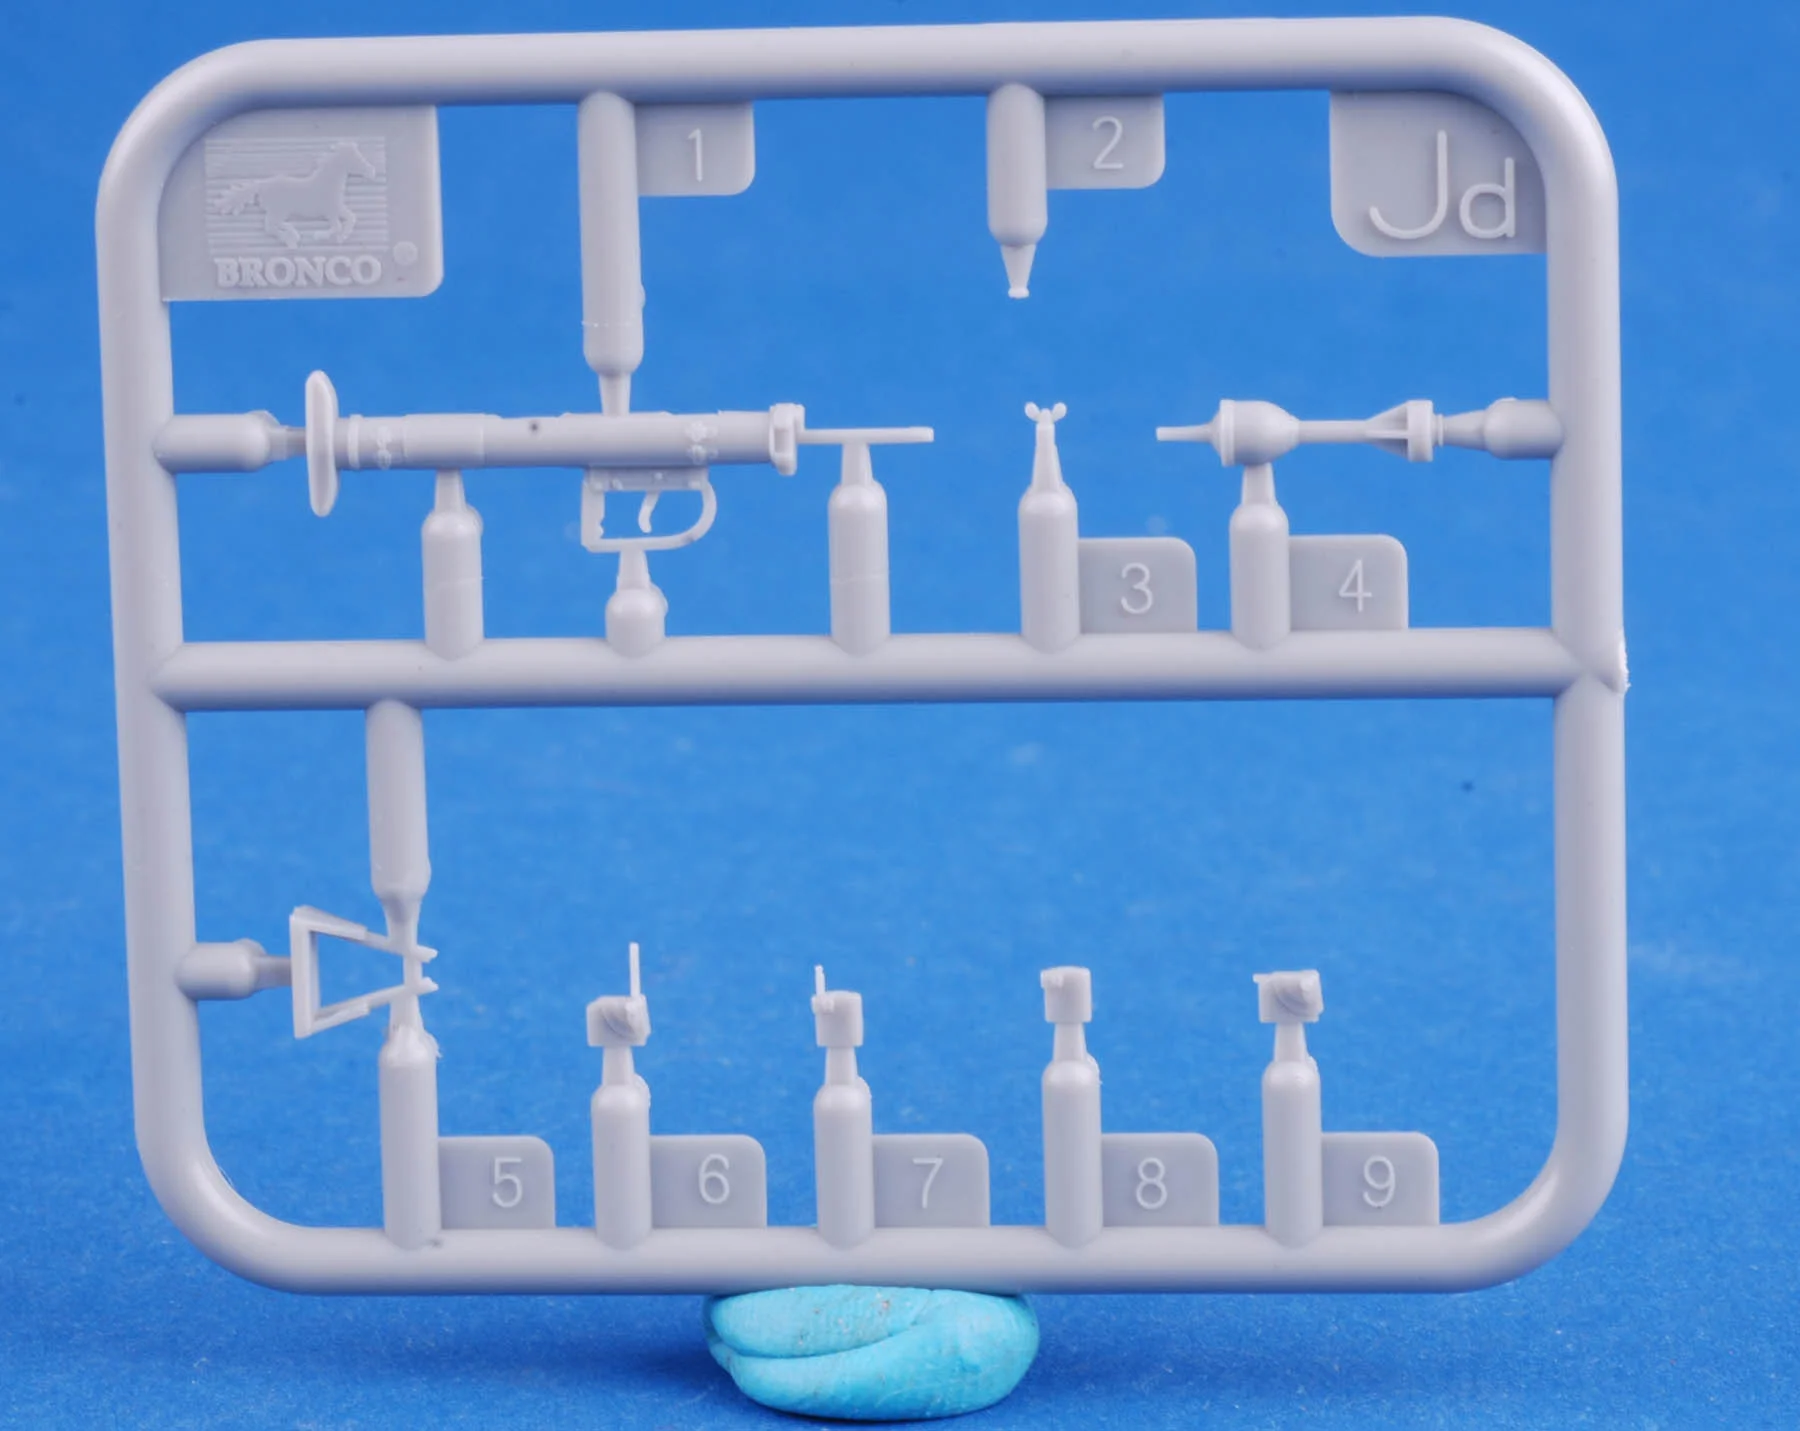
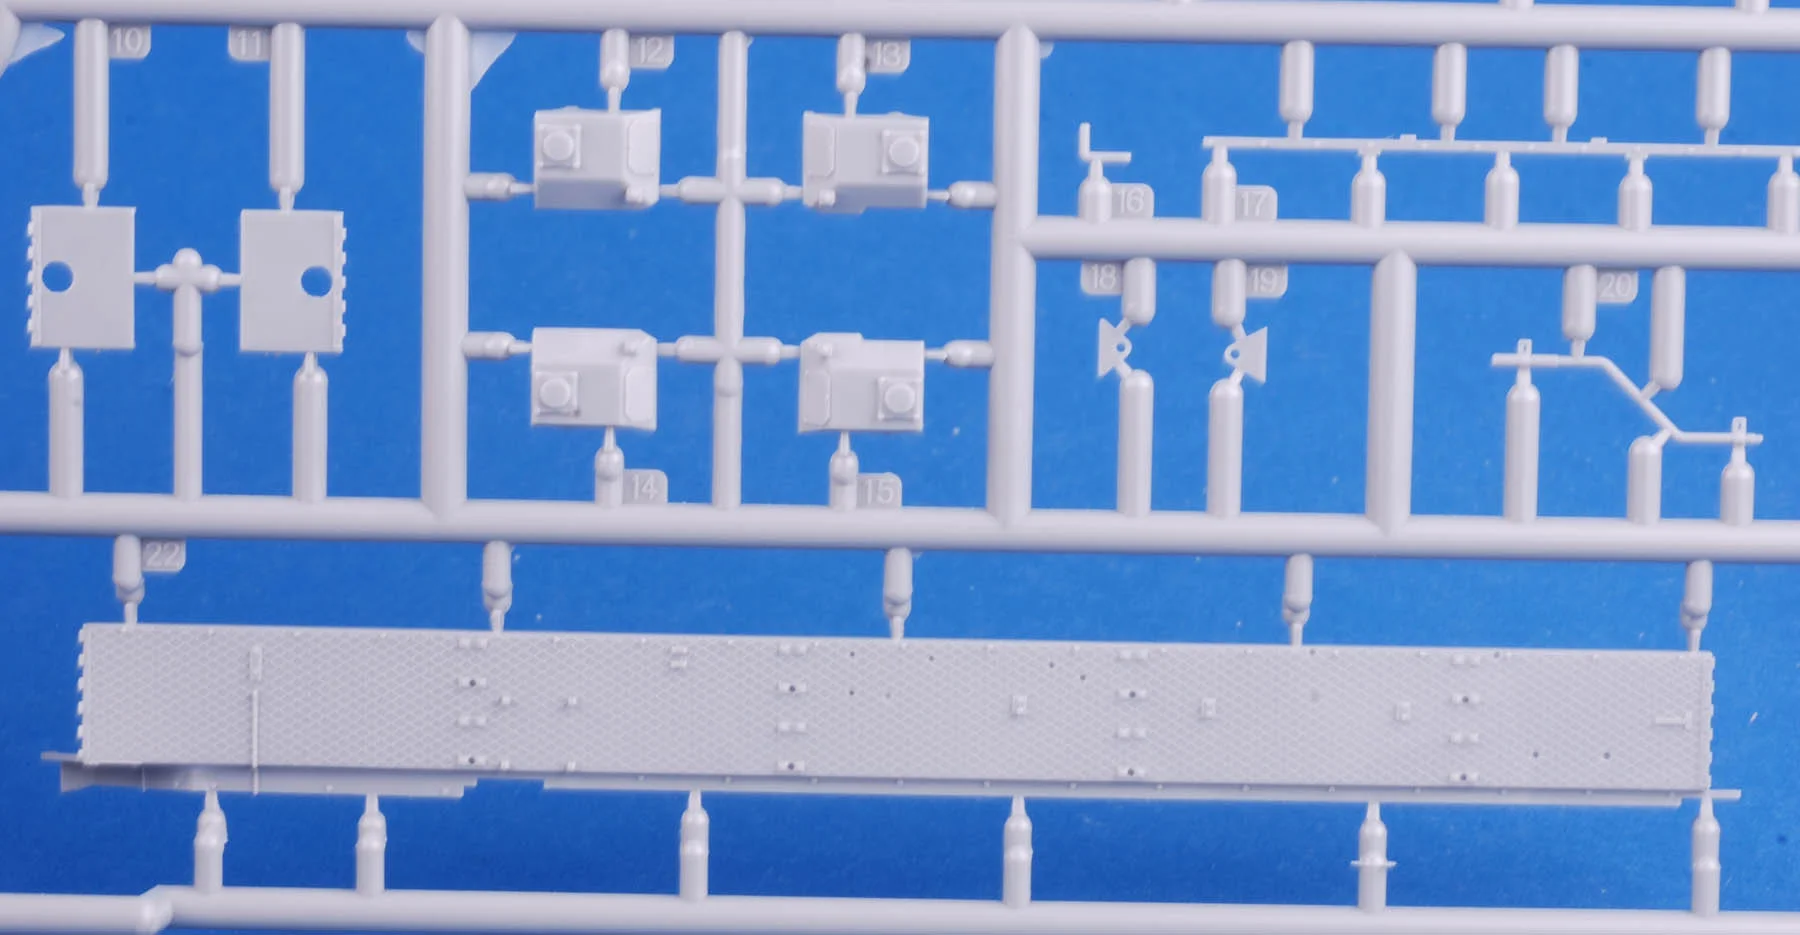
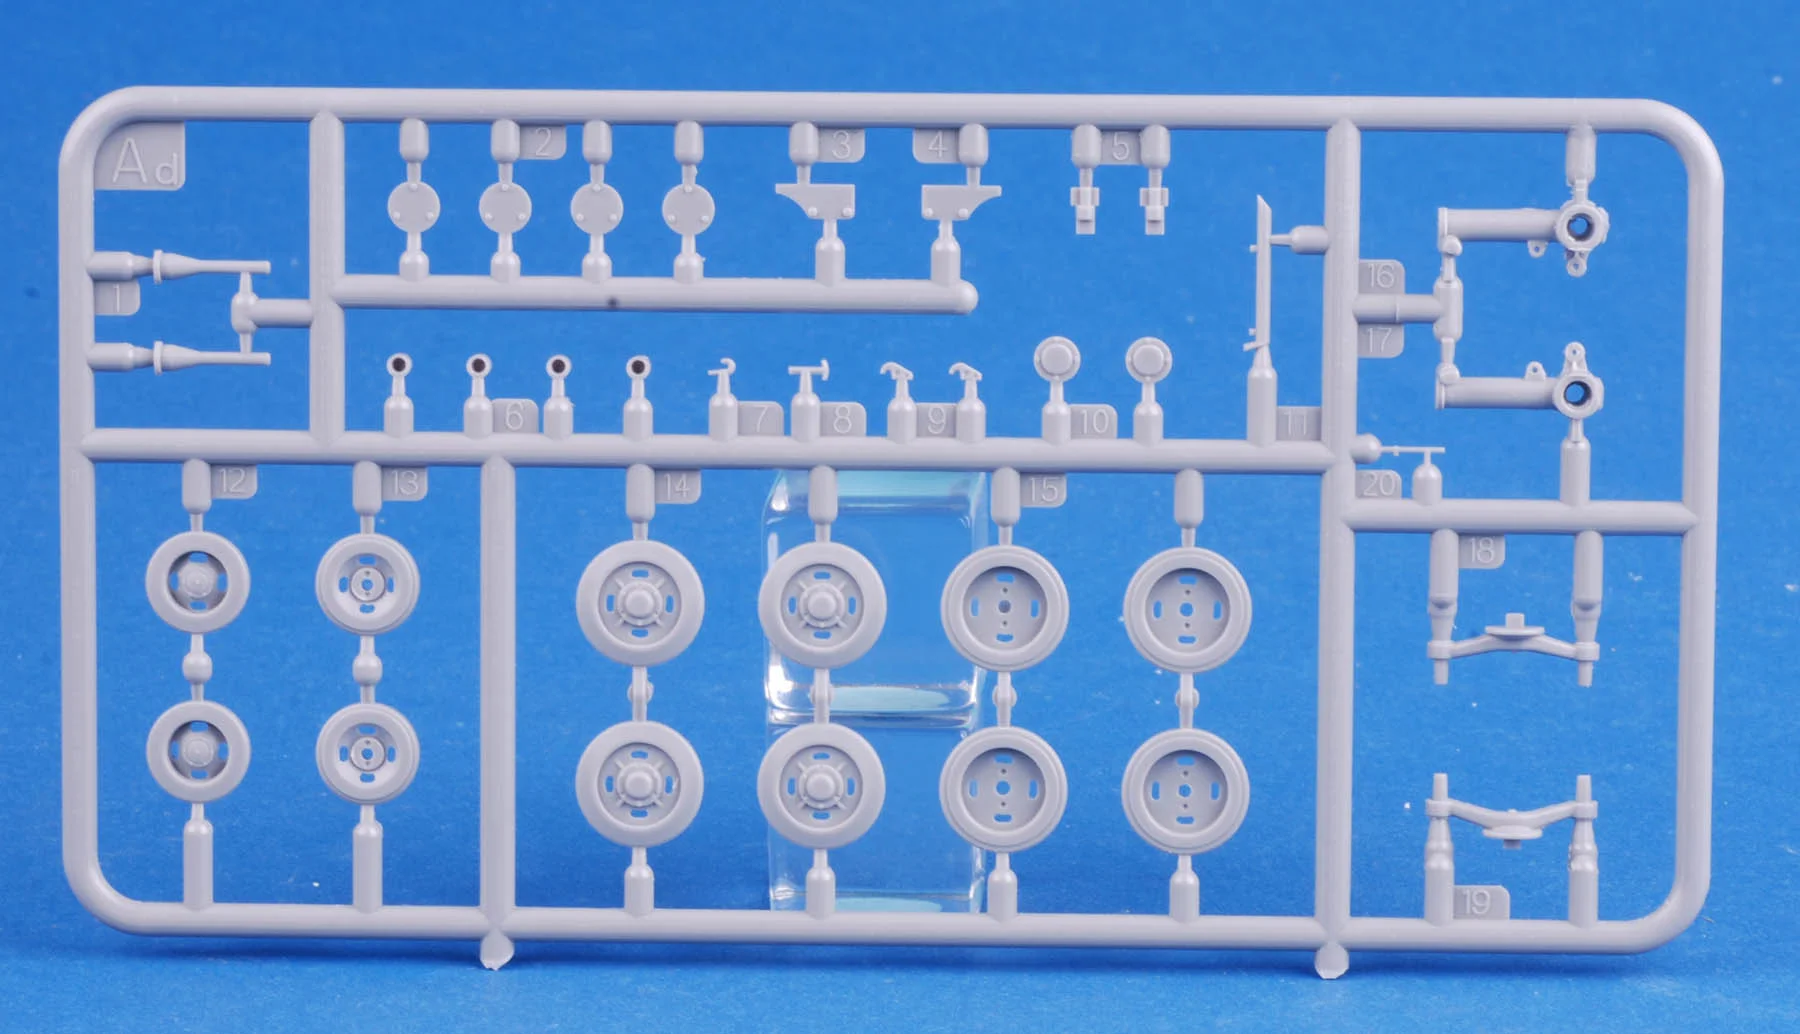
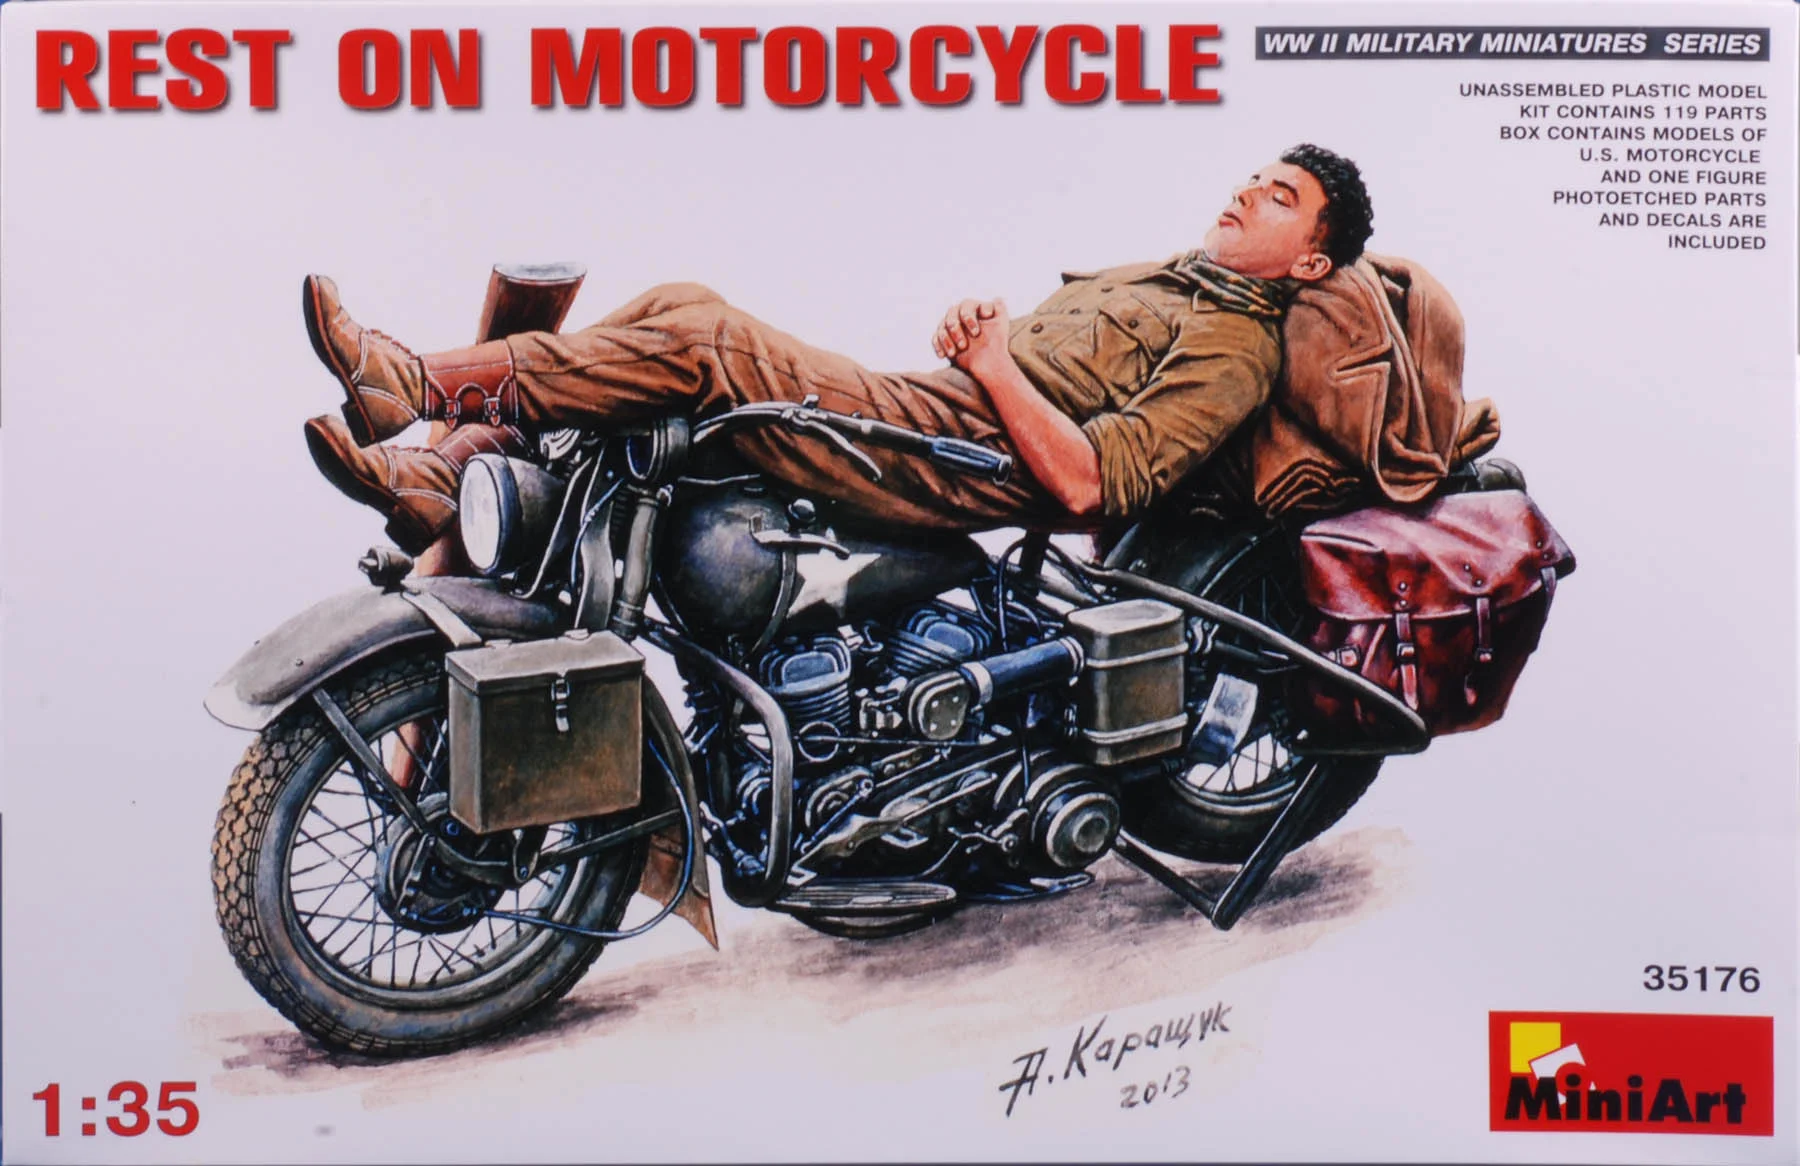
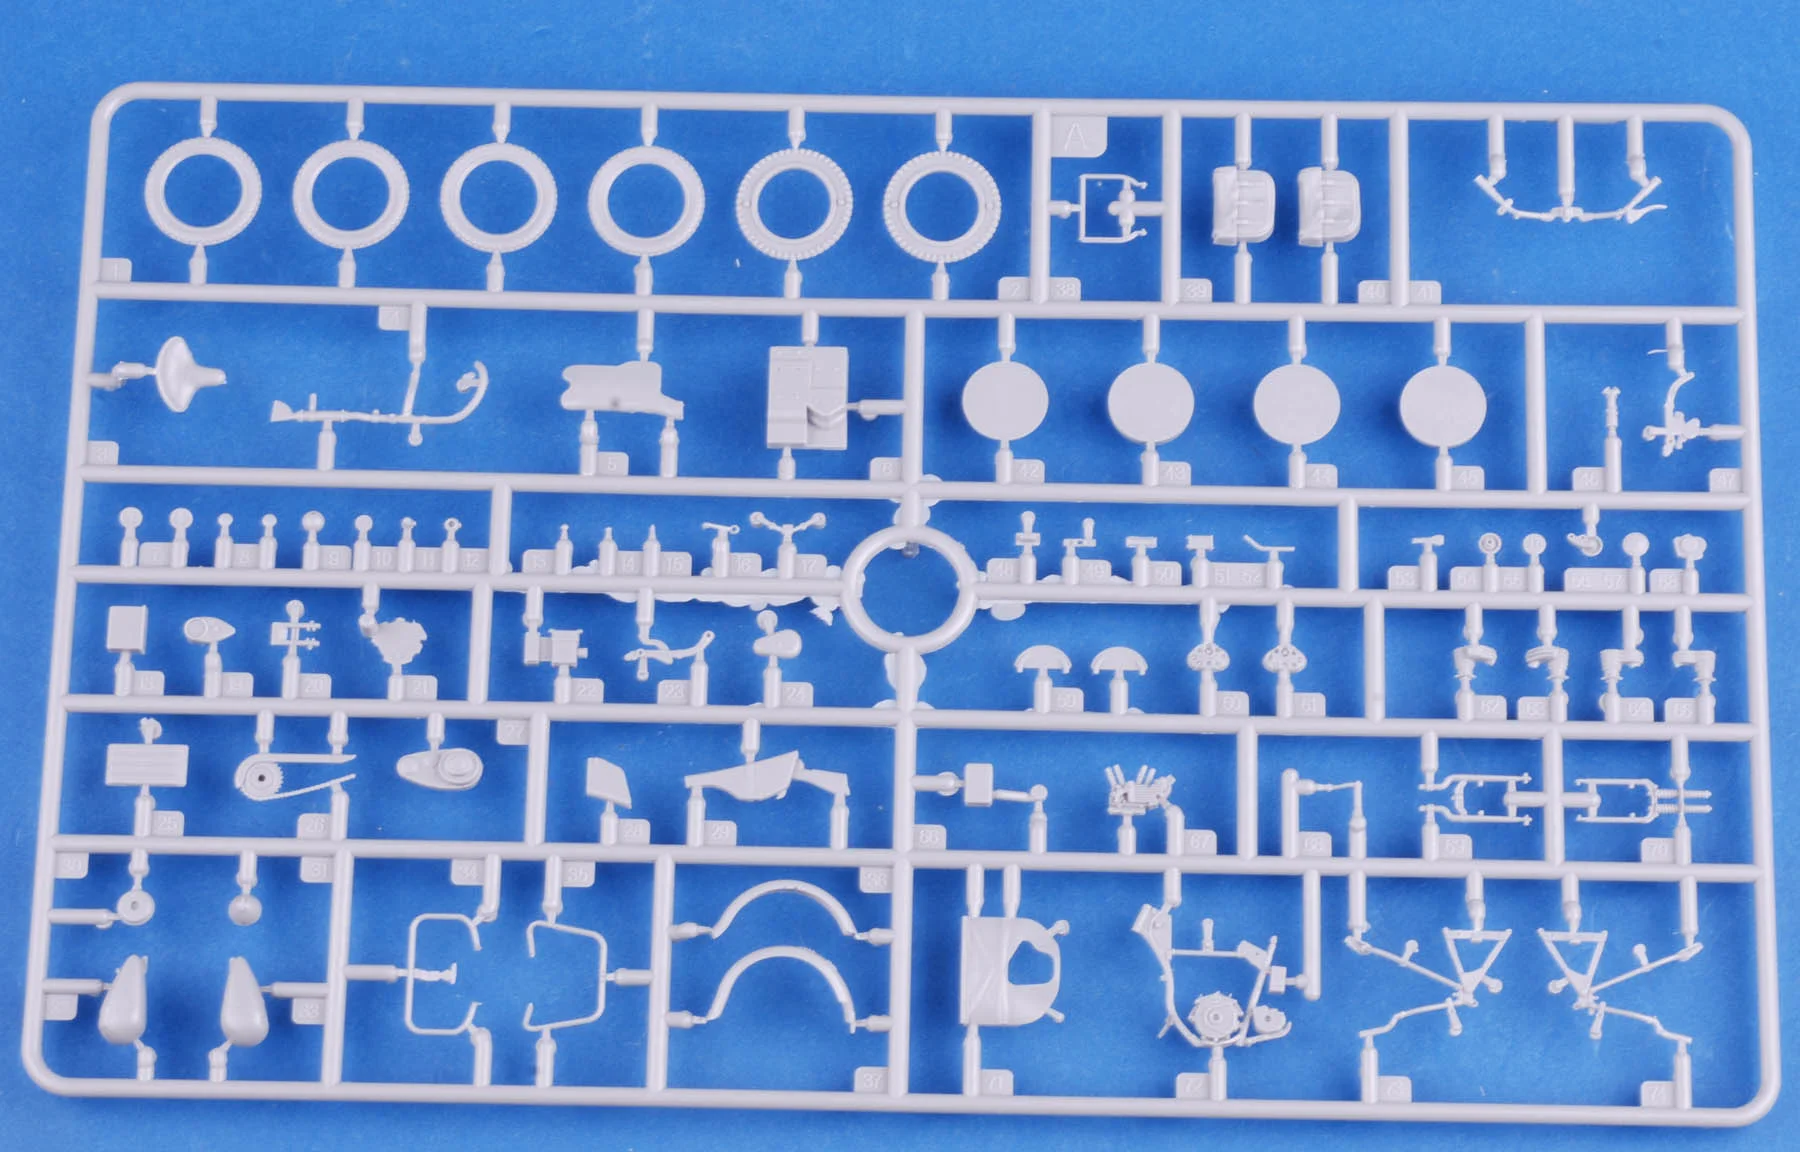
Now for the Bronco and Mini Art!!!

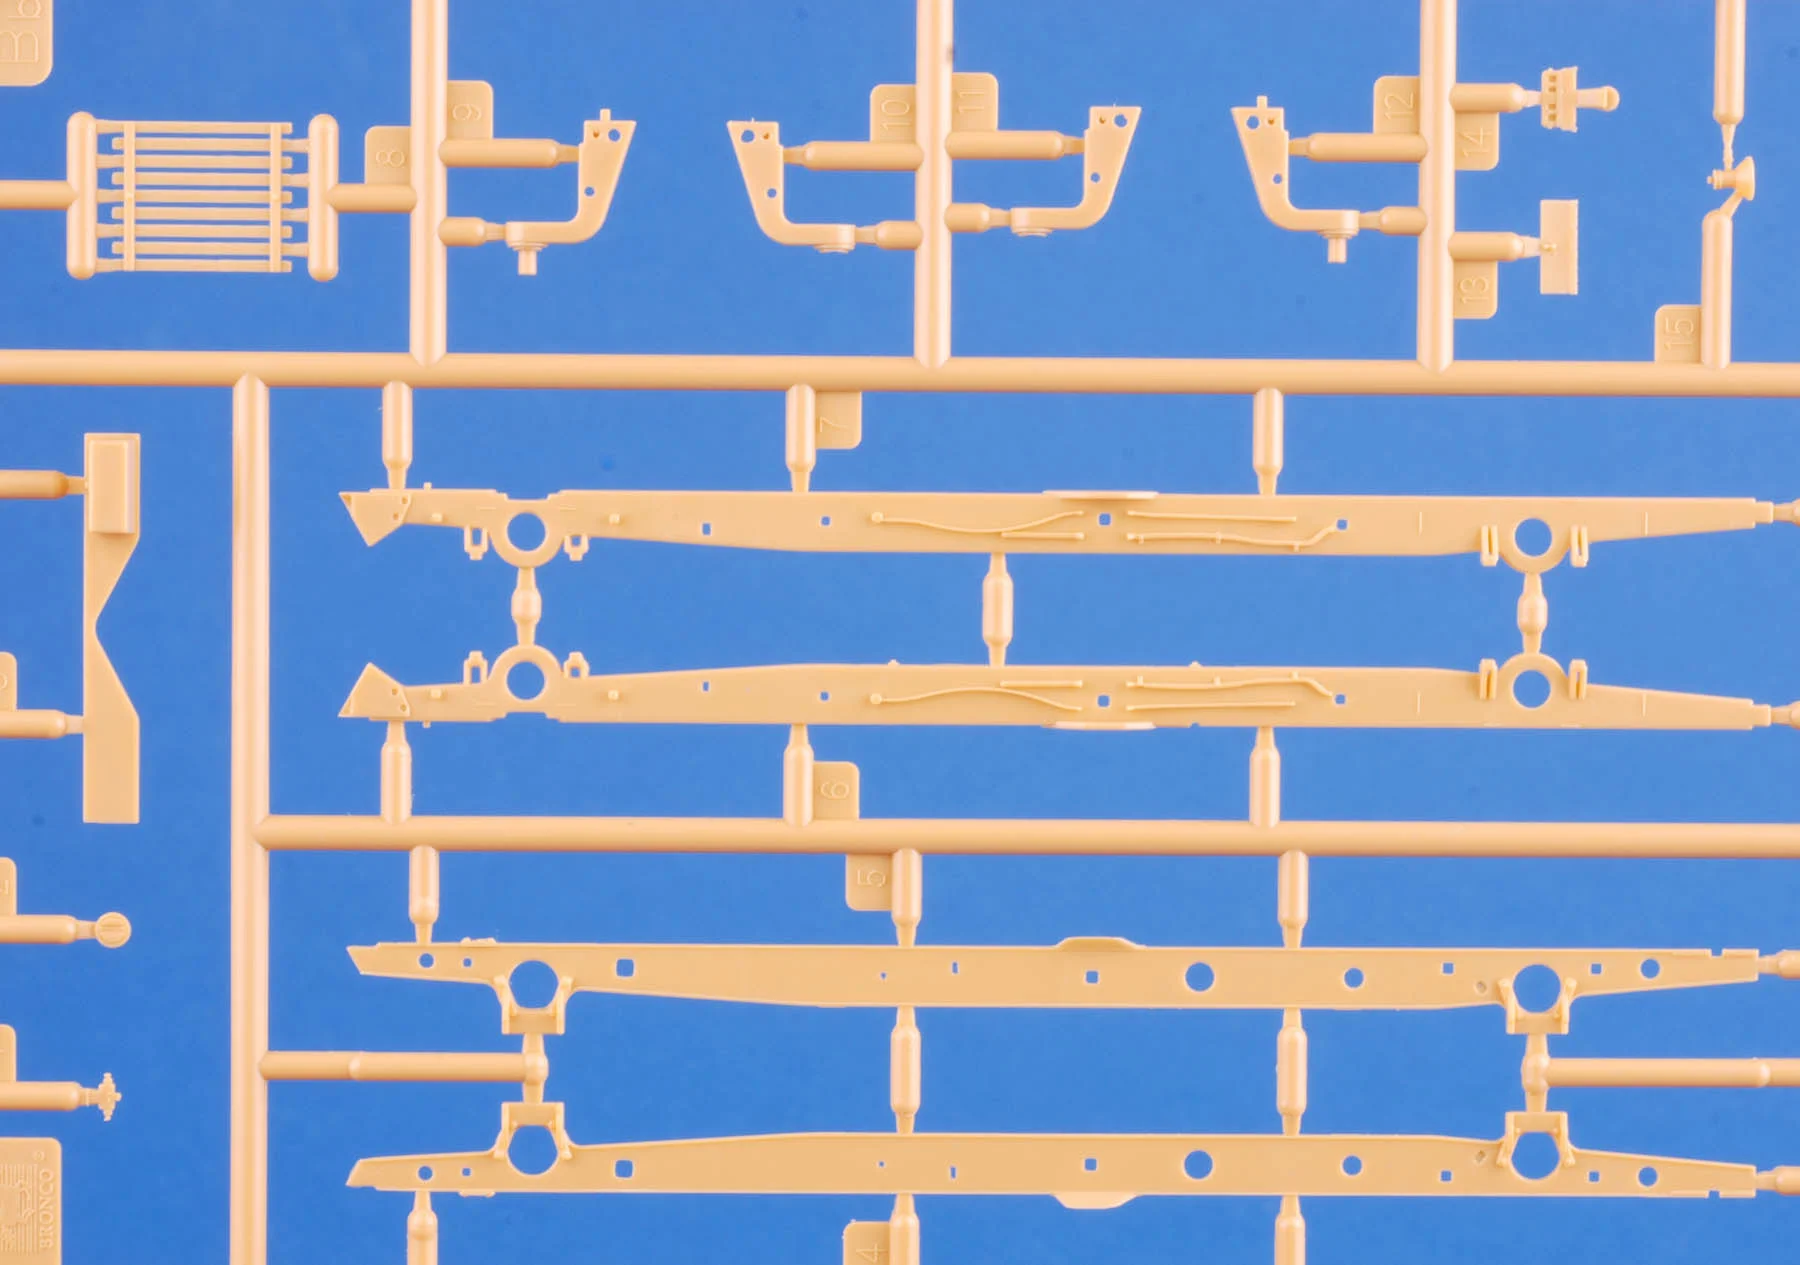
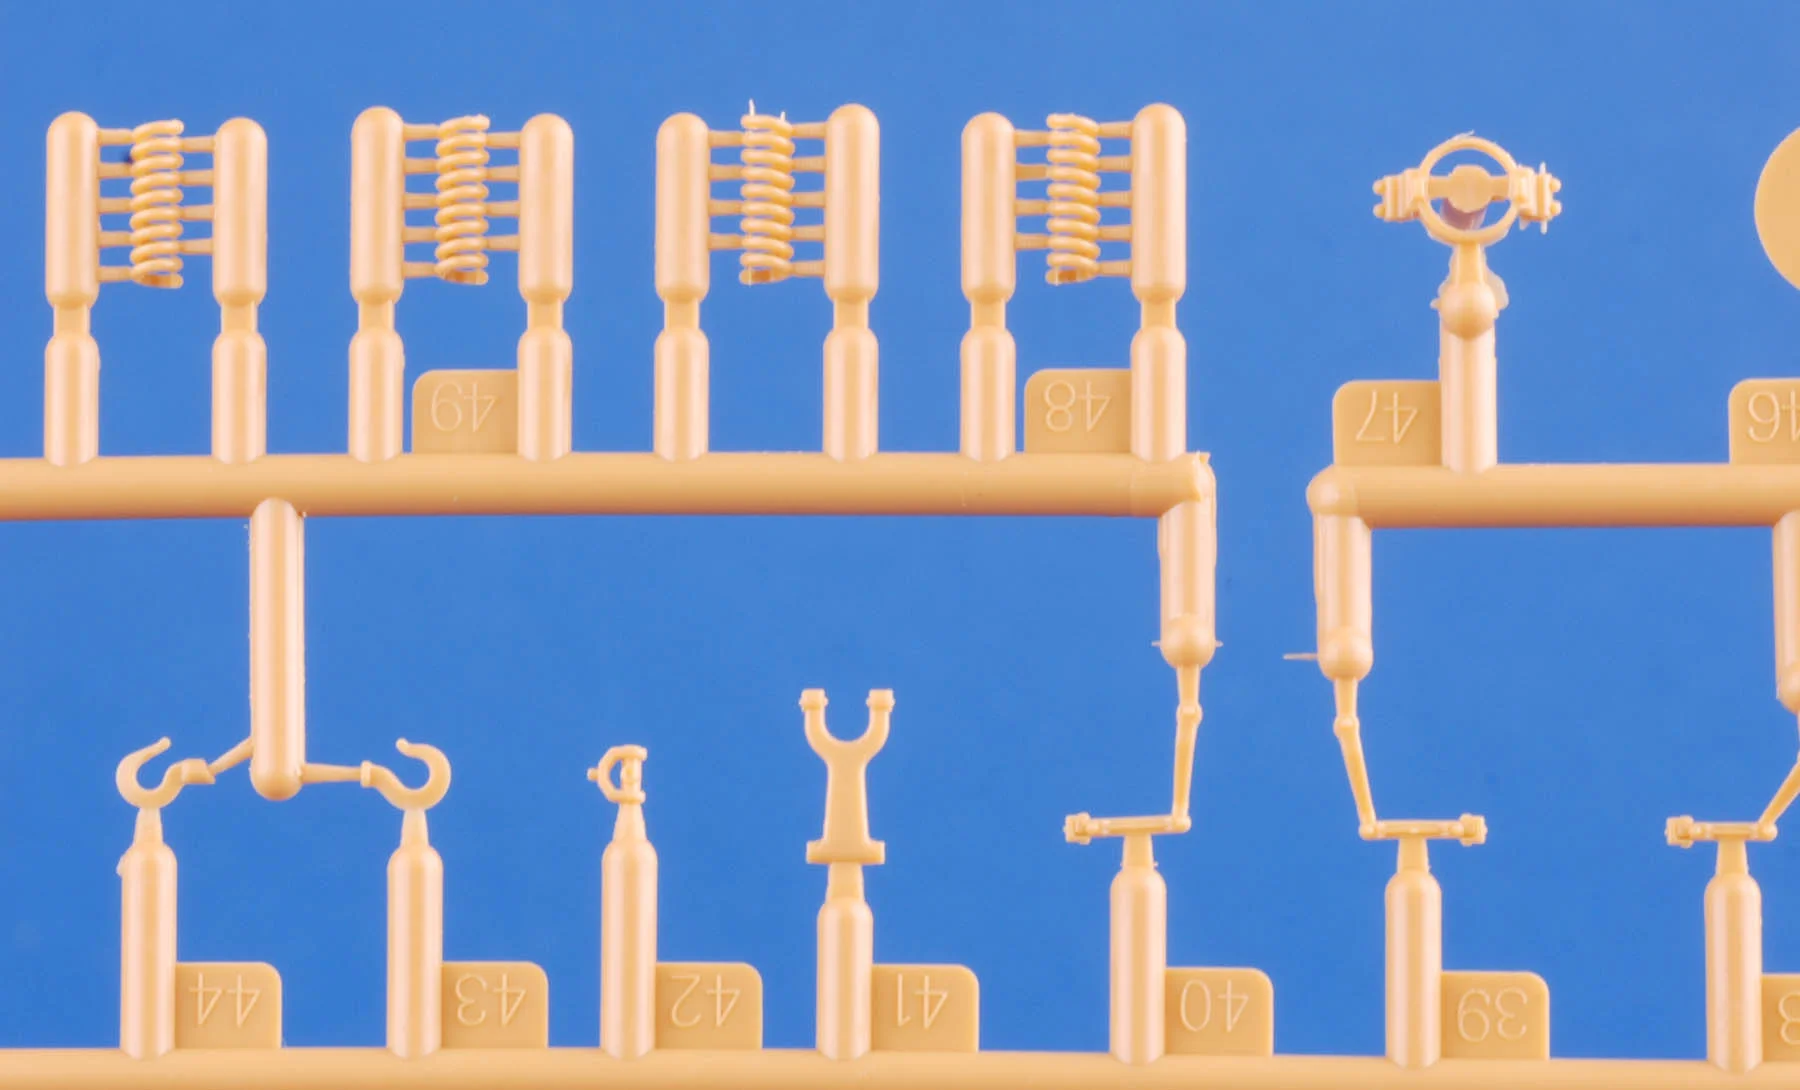
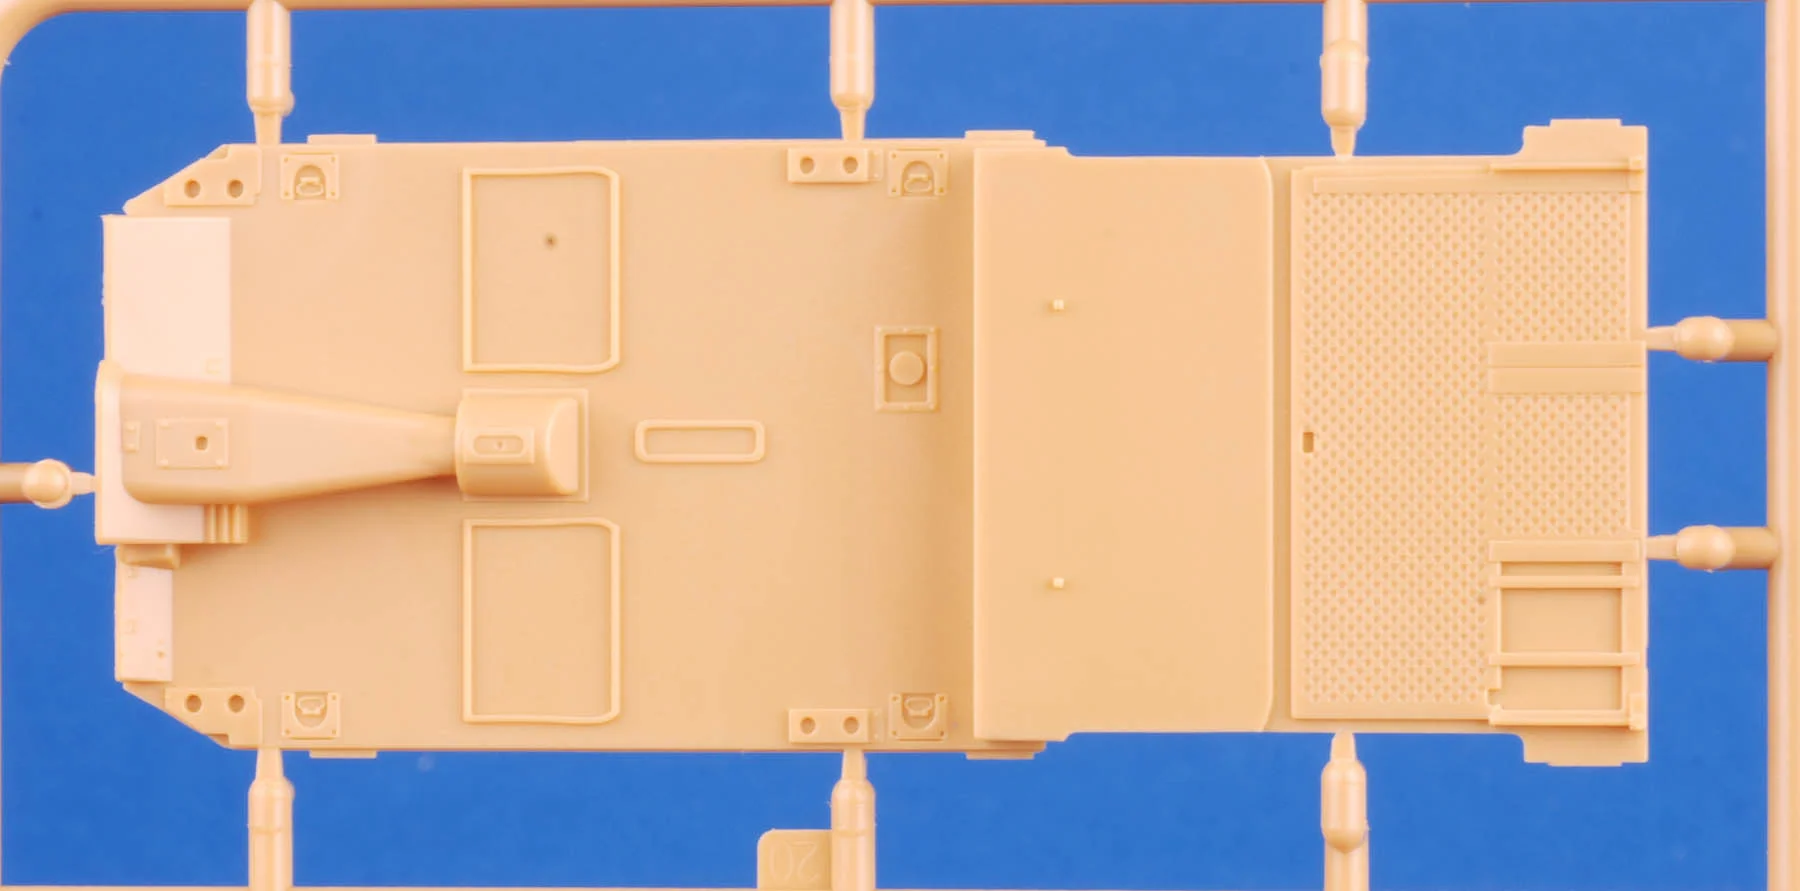
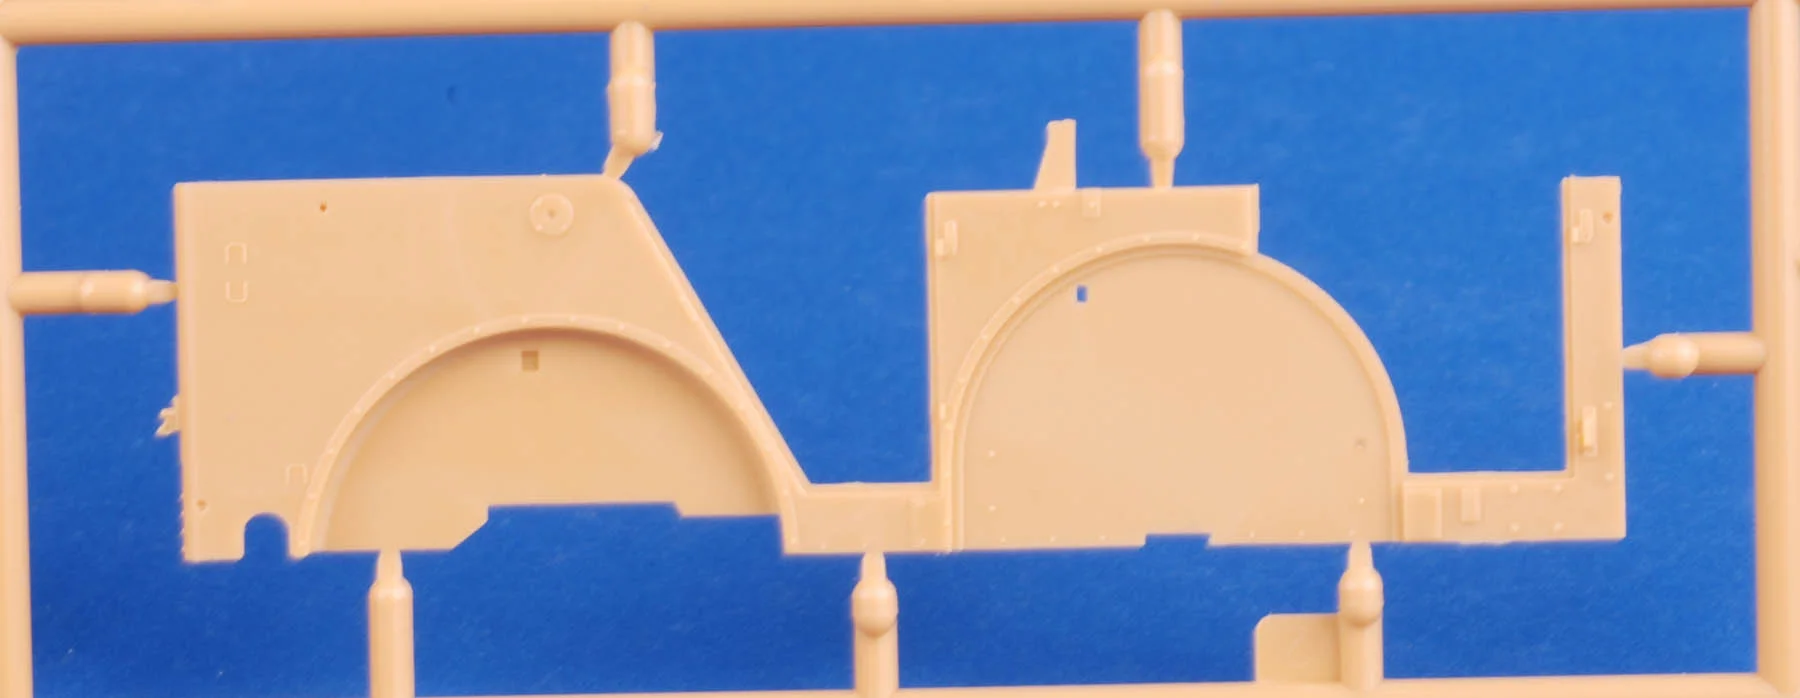

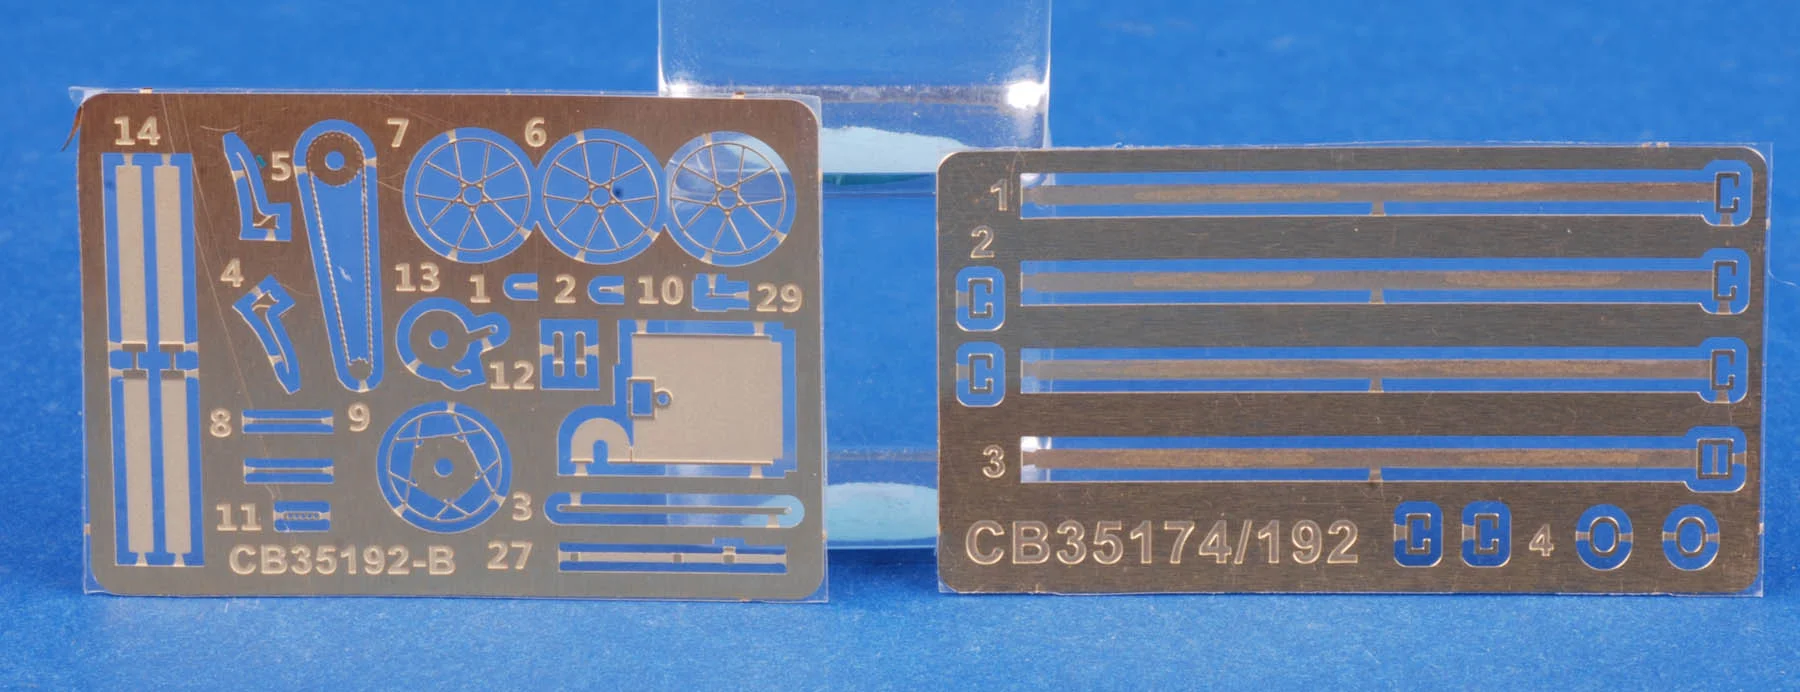
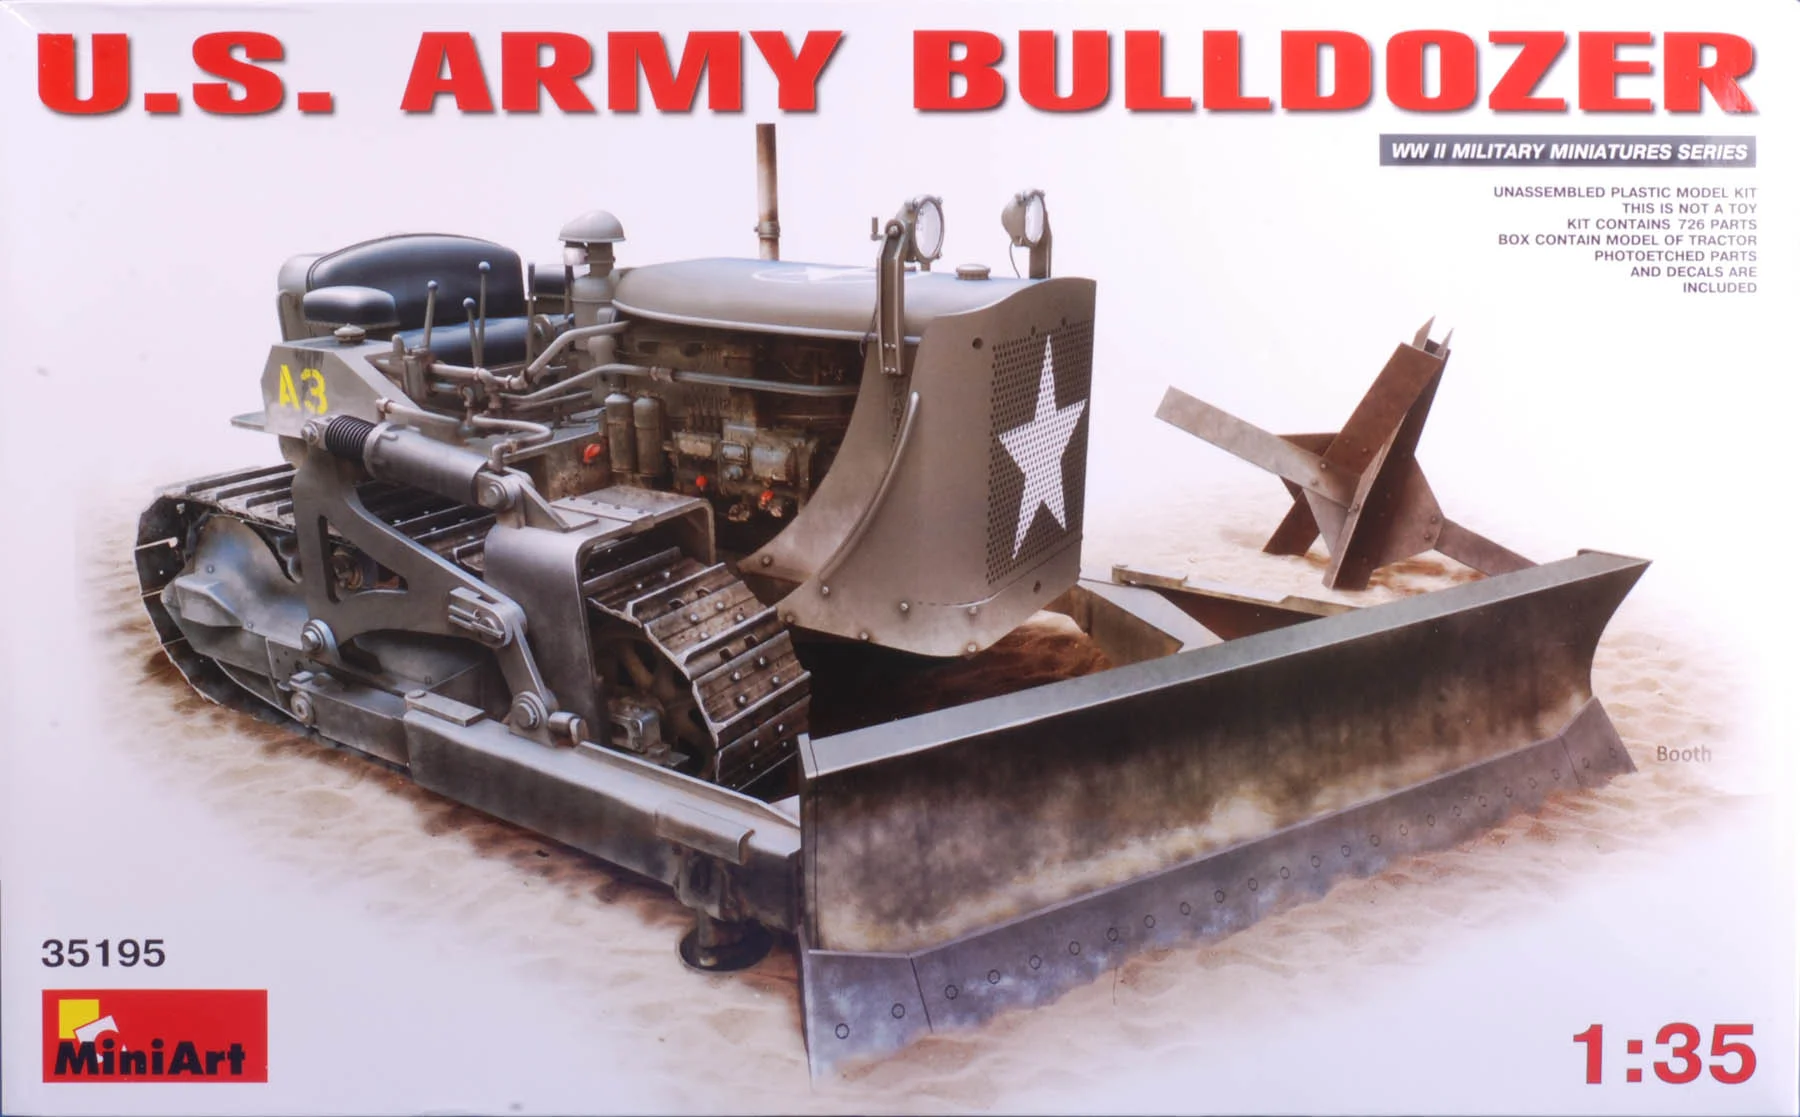
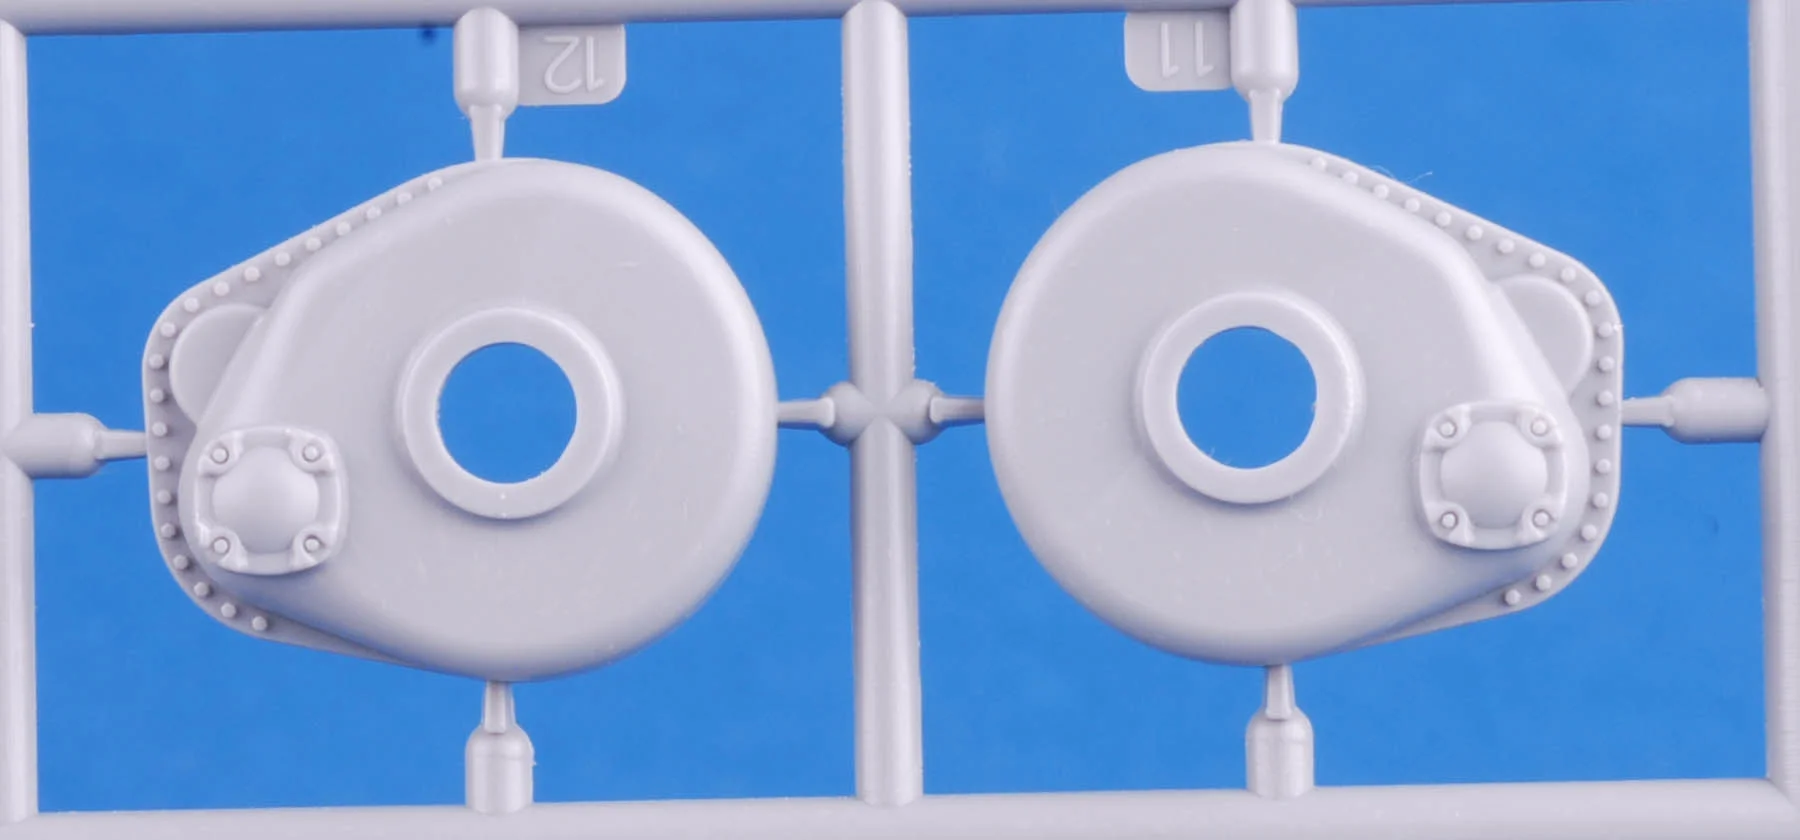
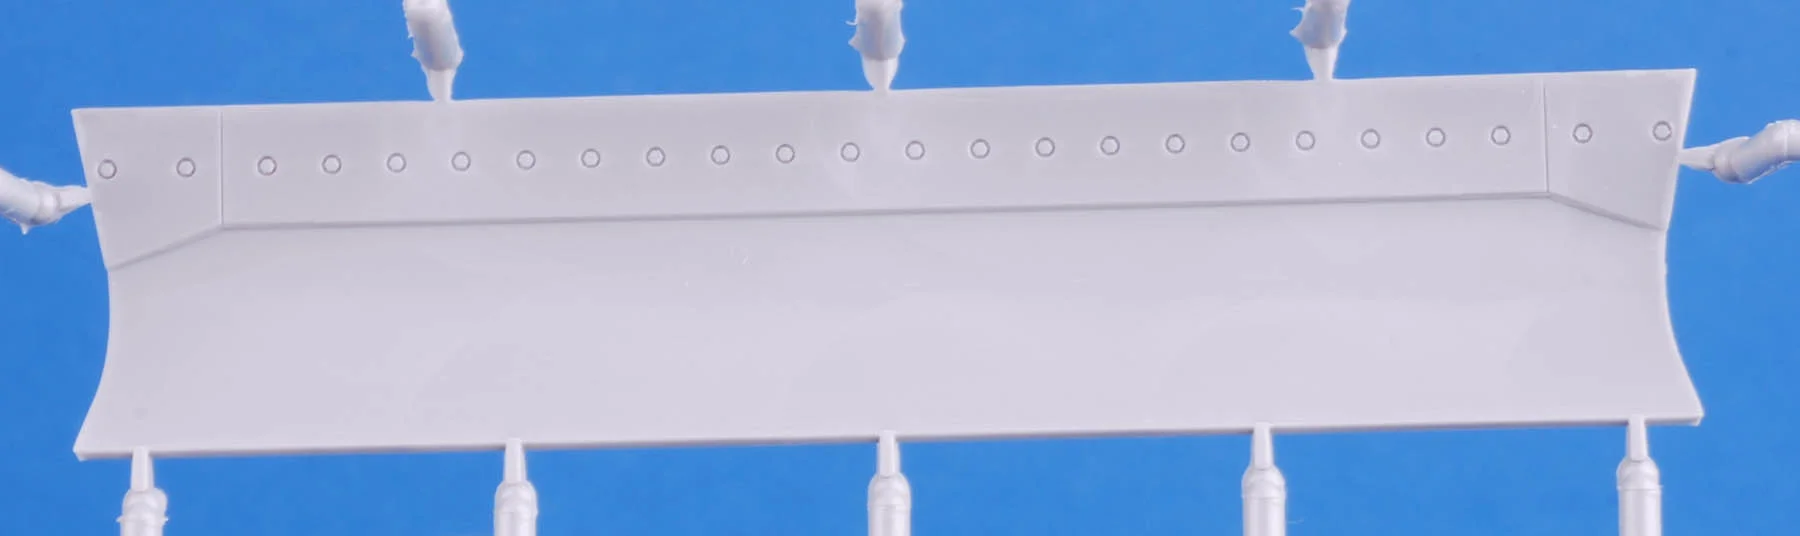
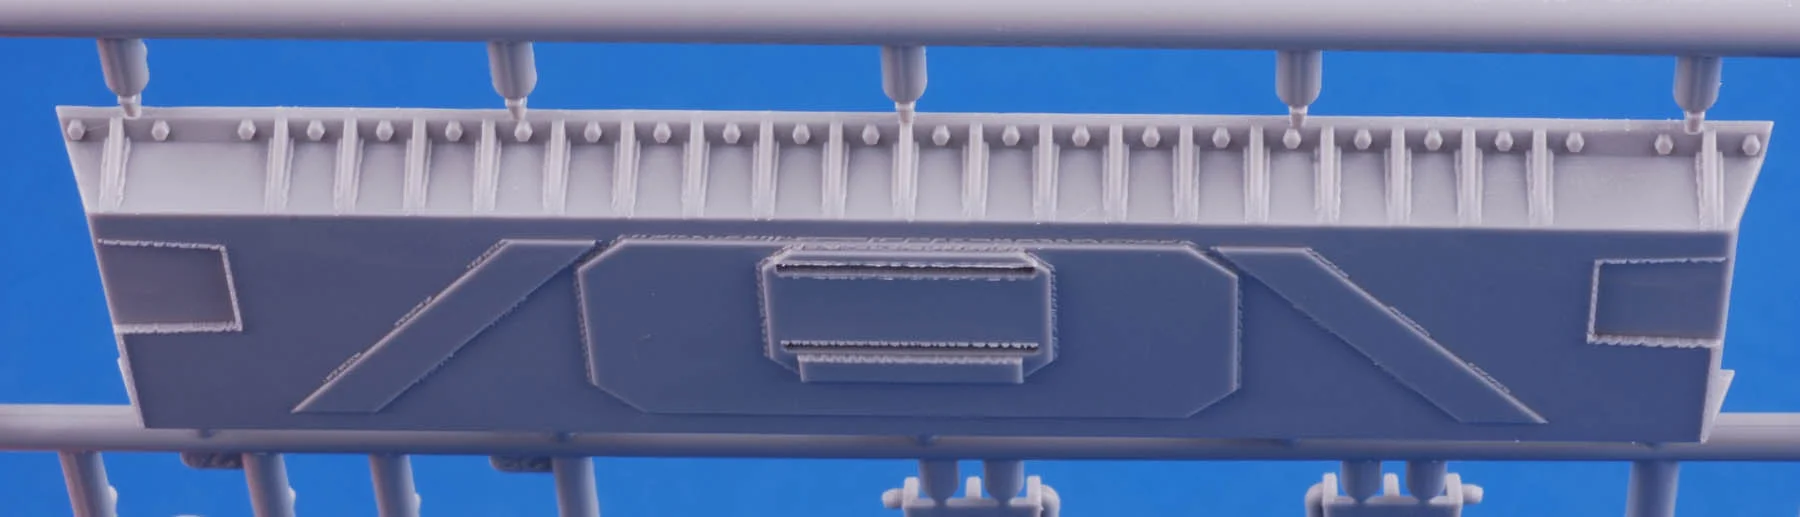
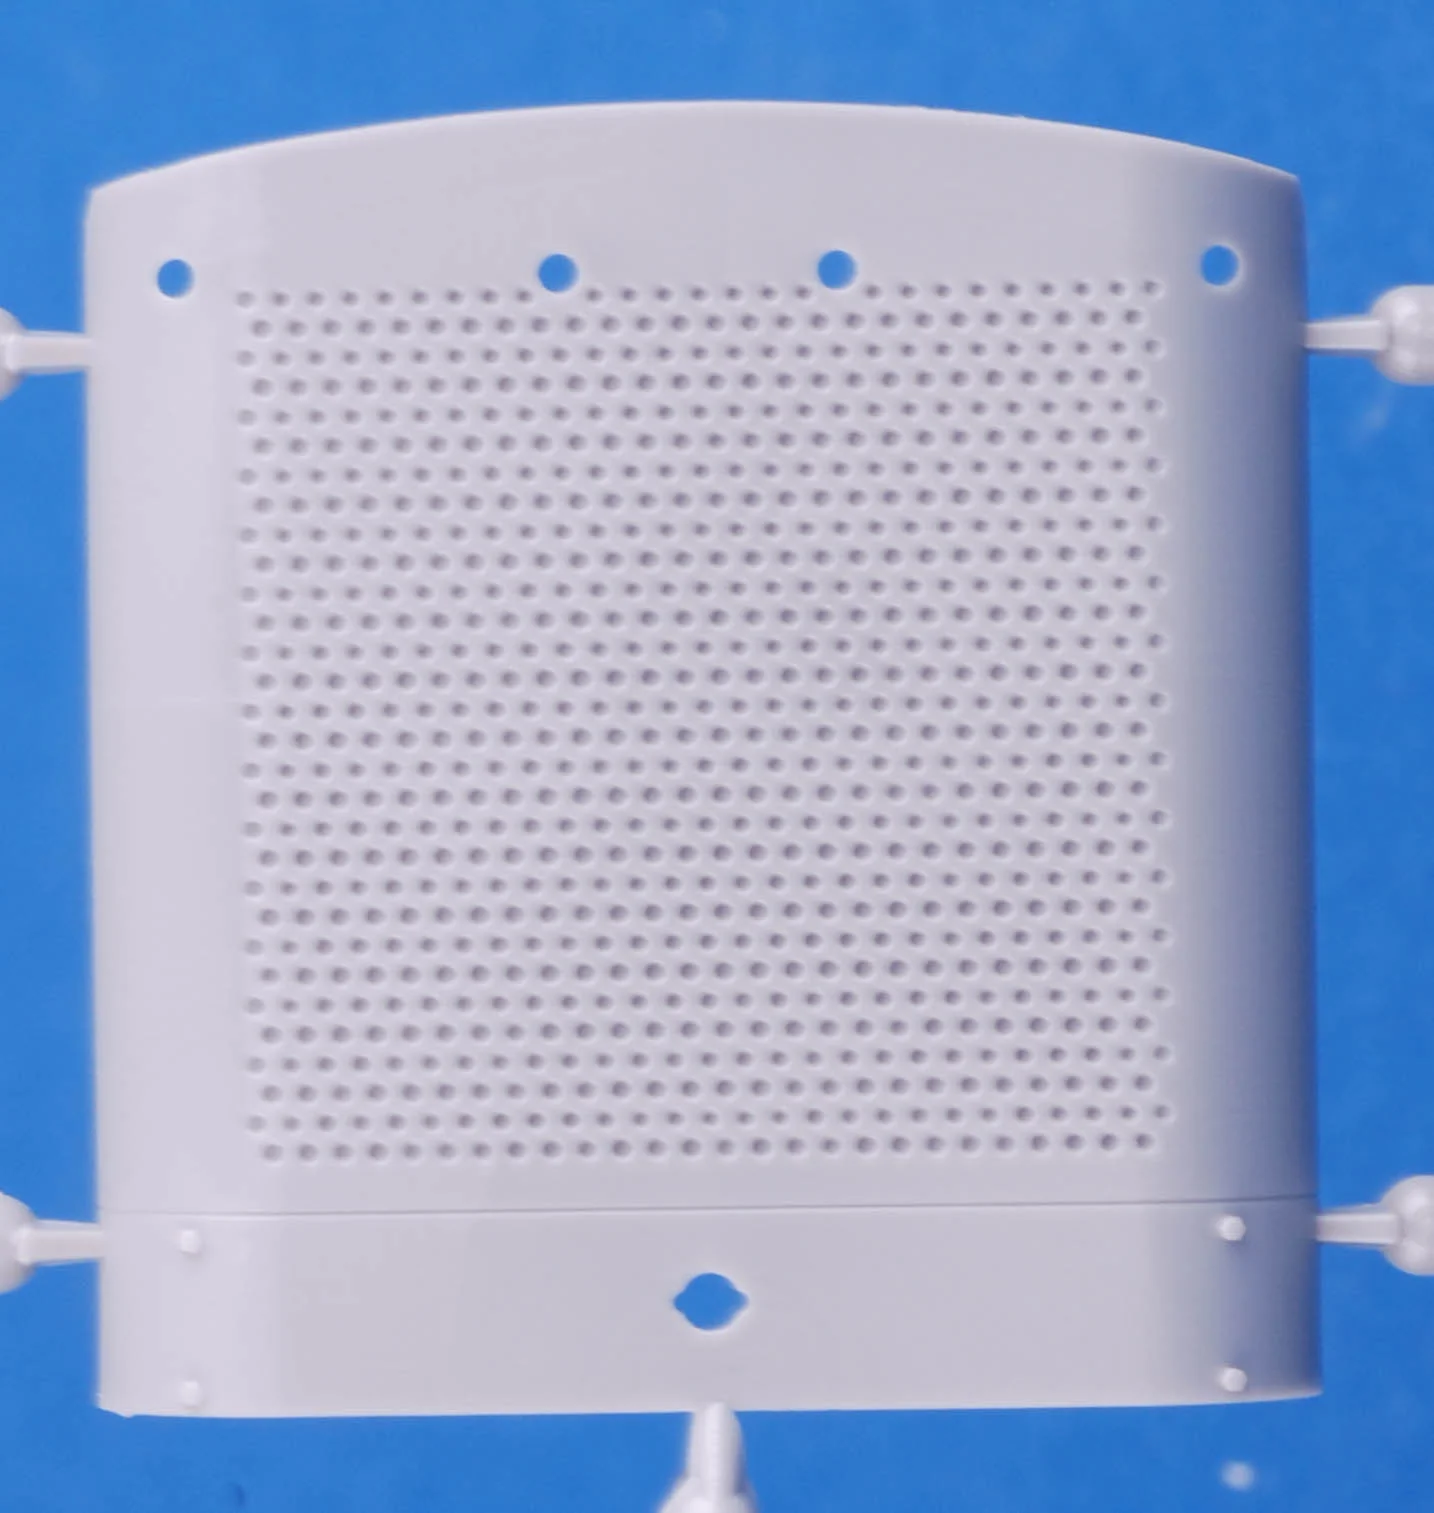
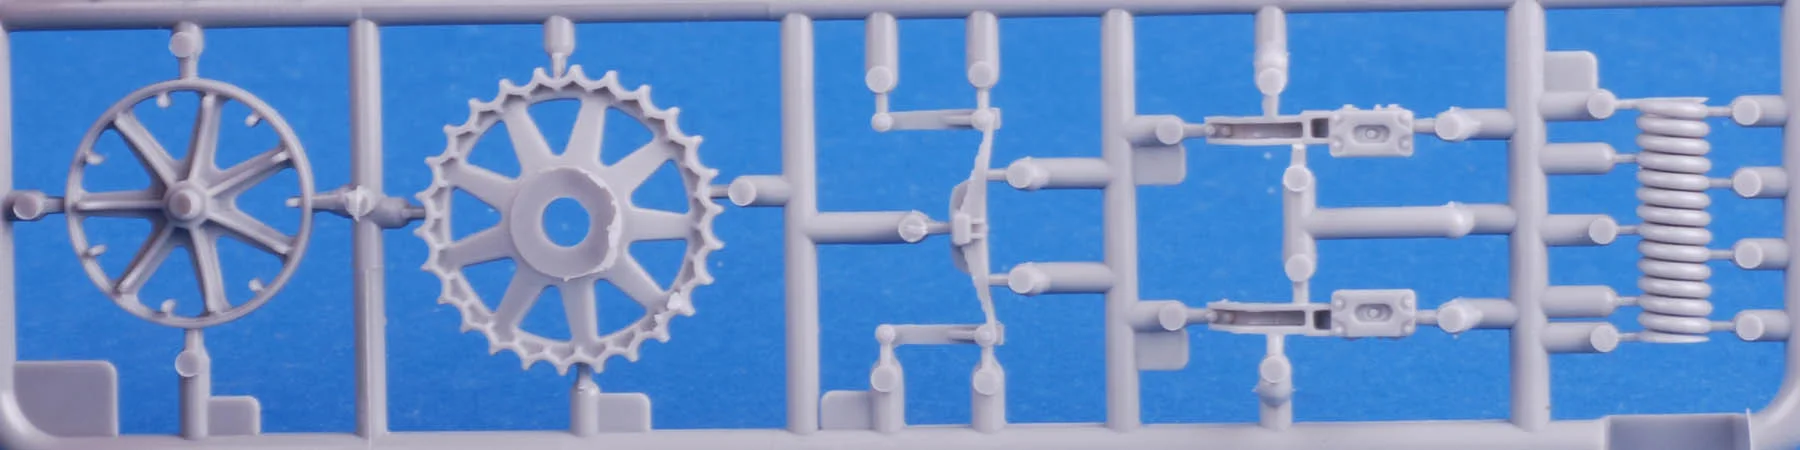
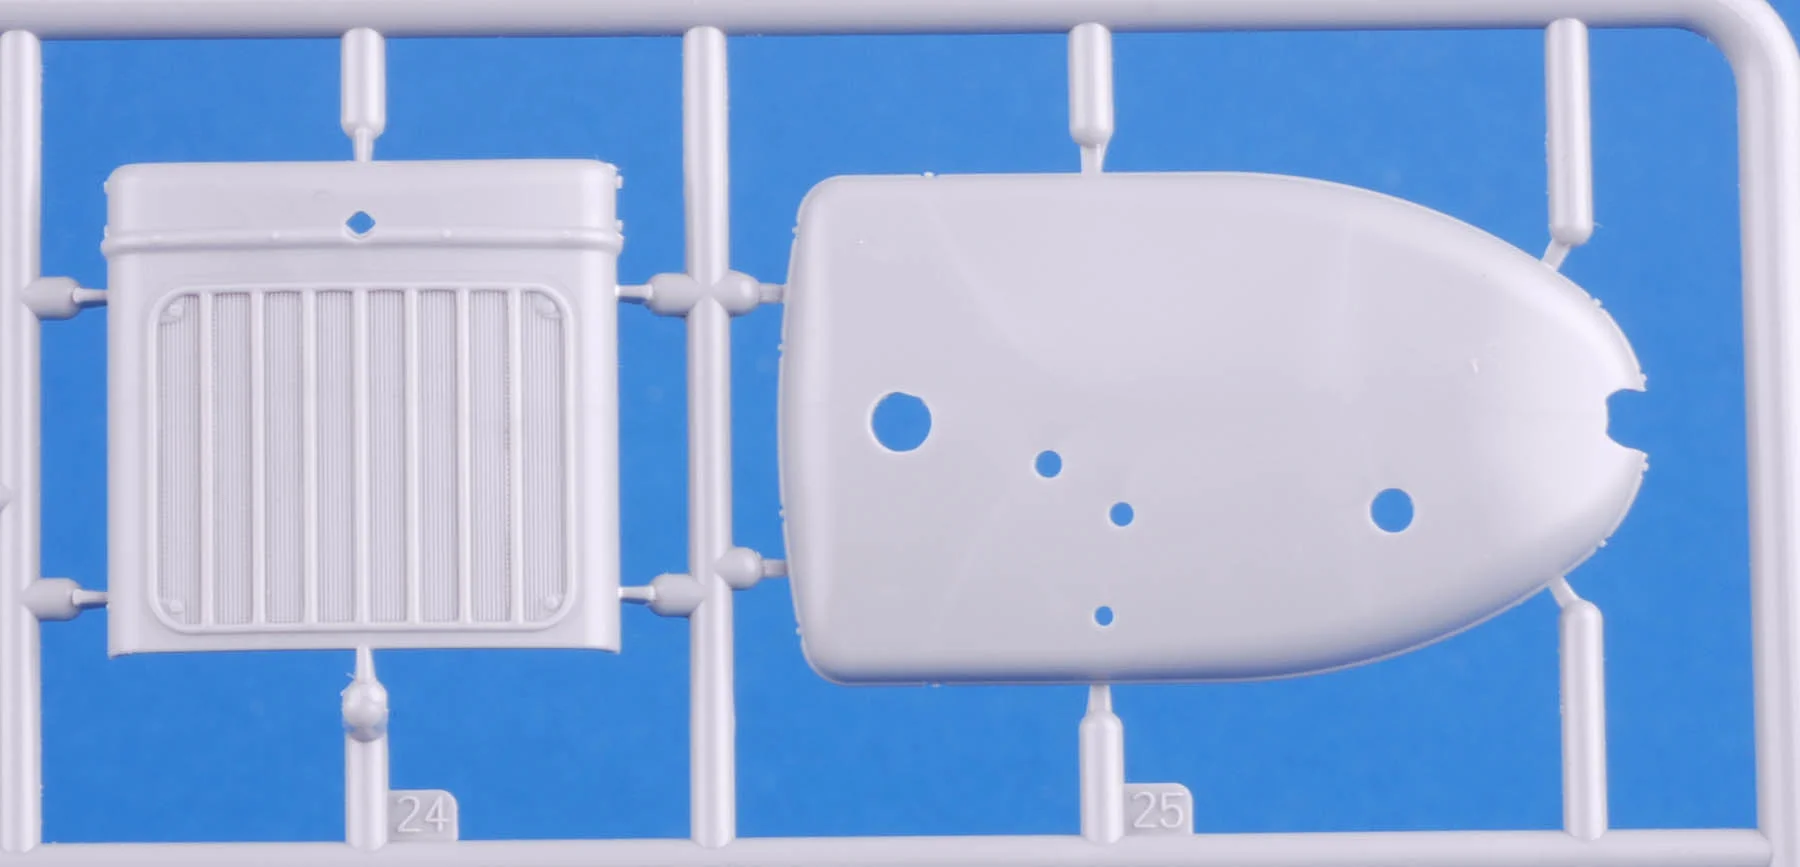
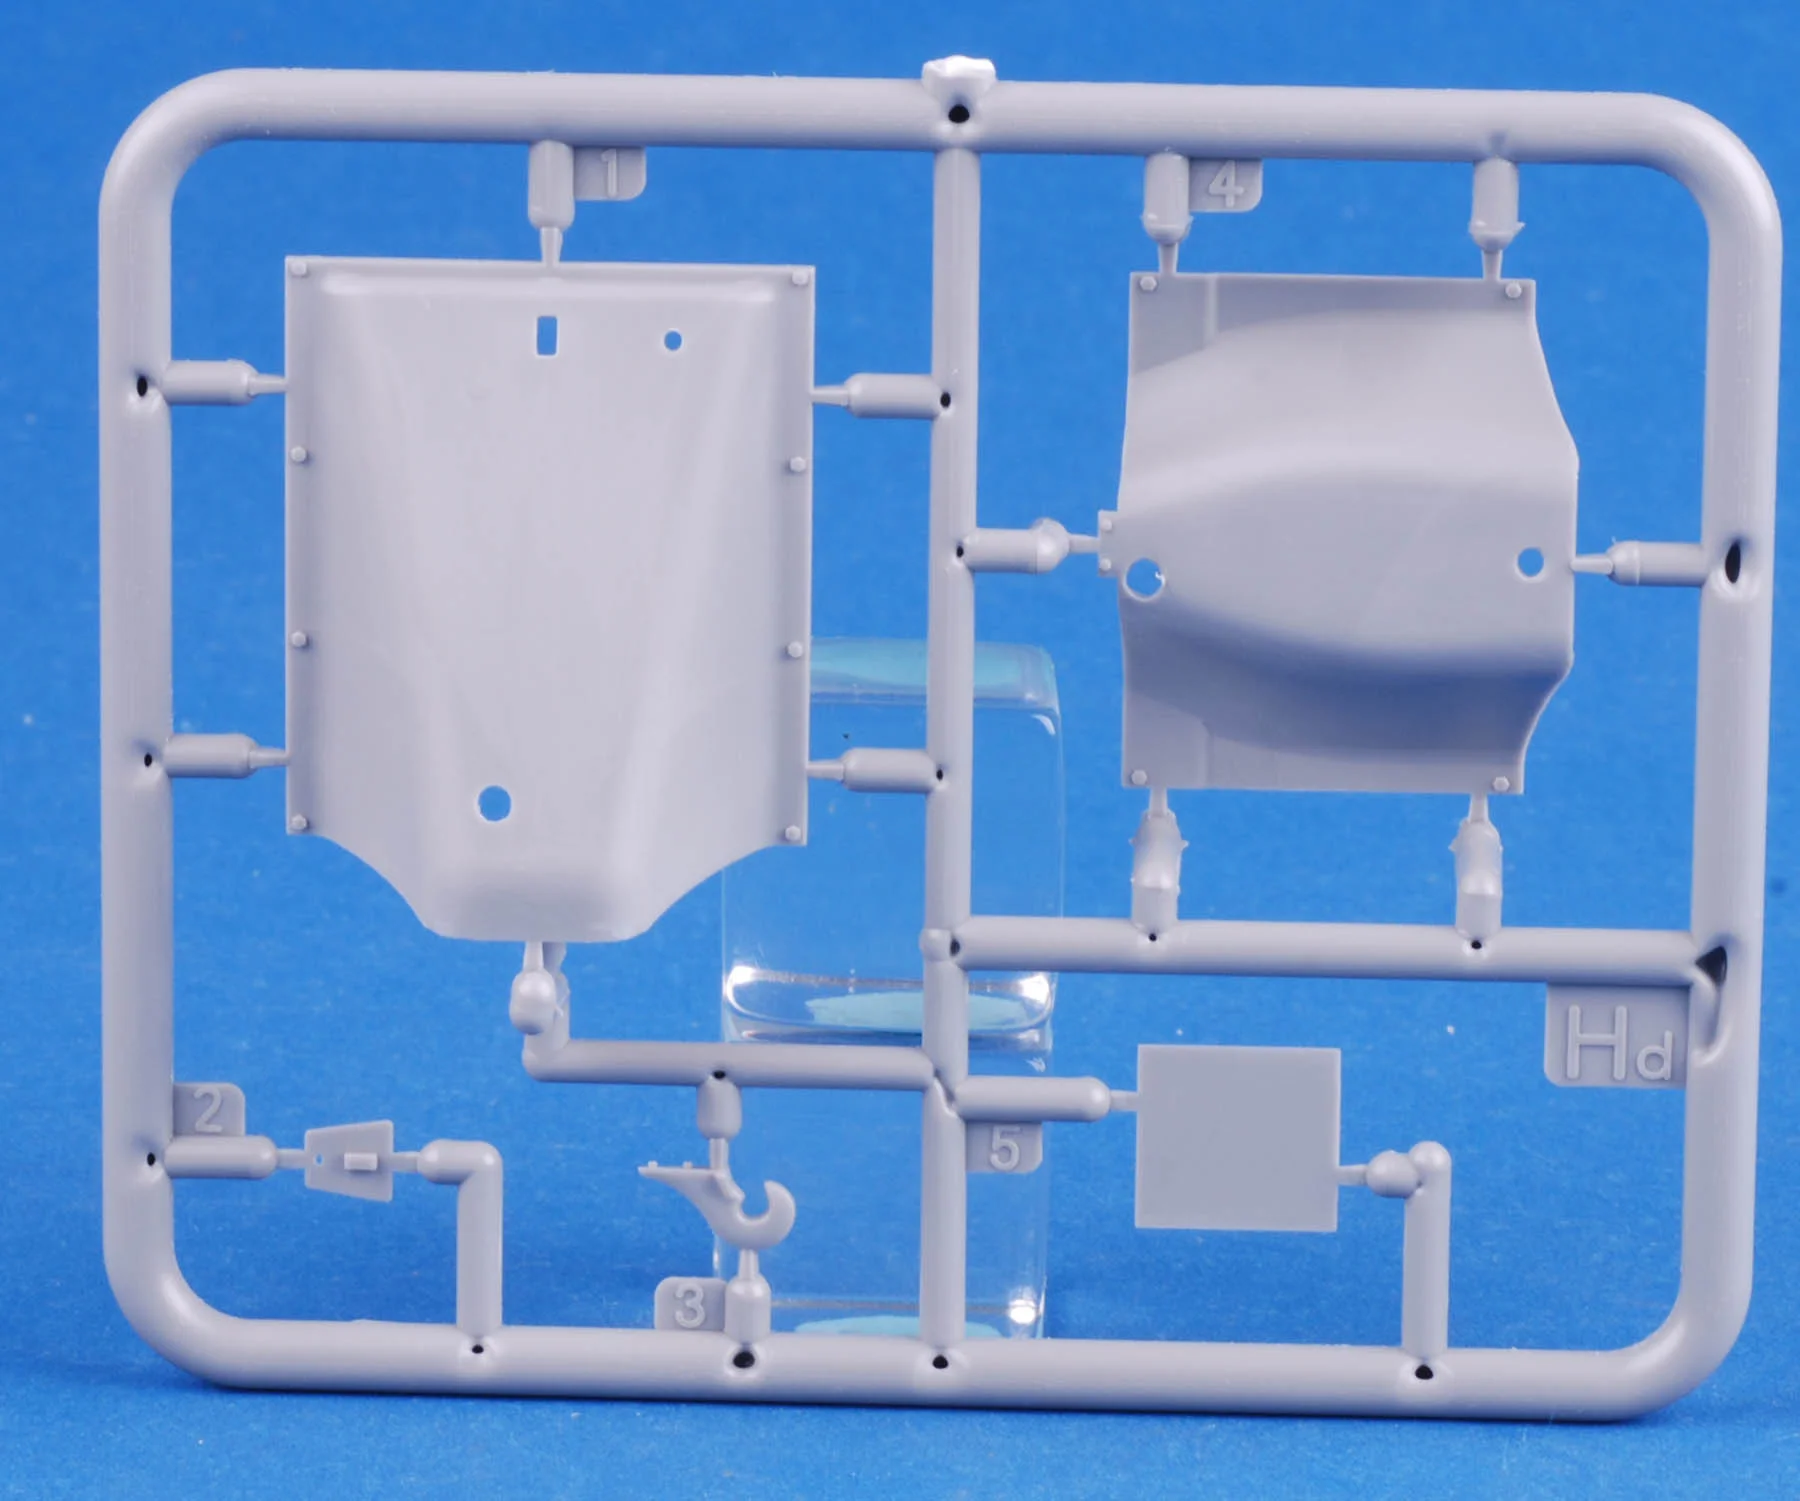
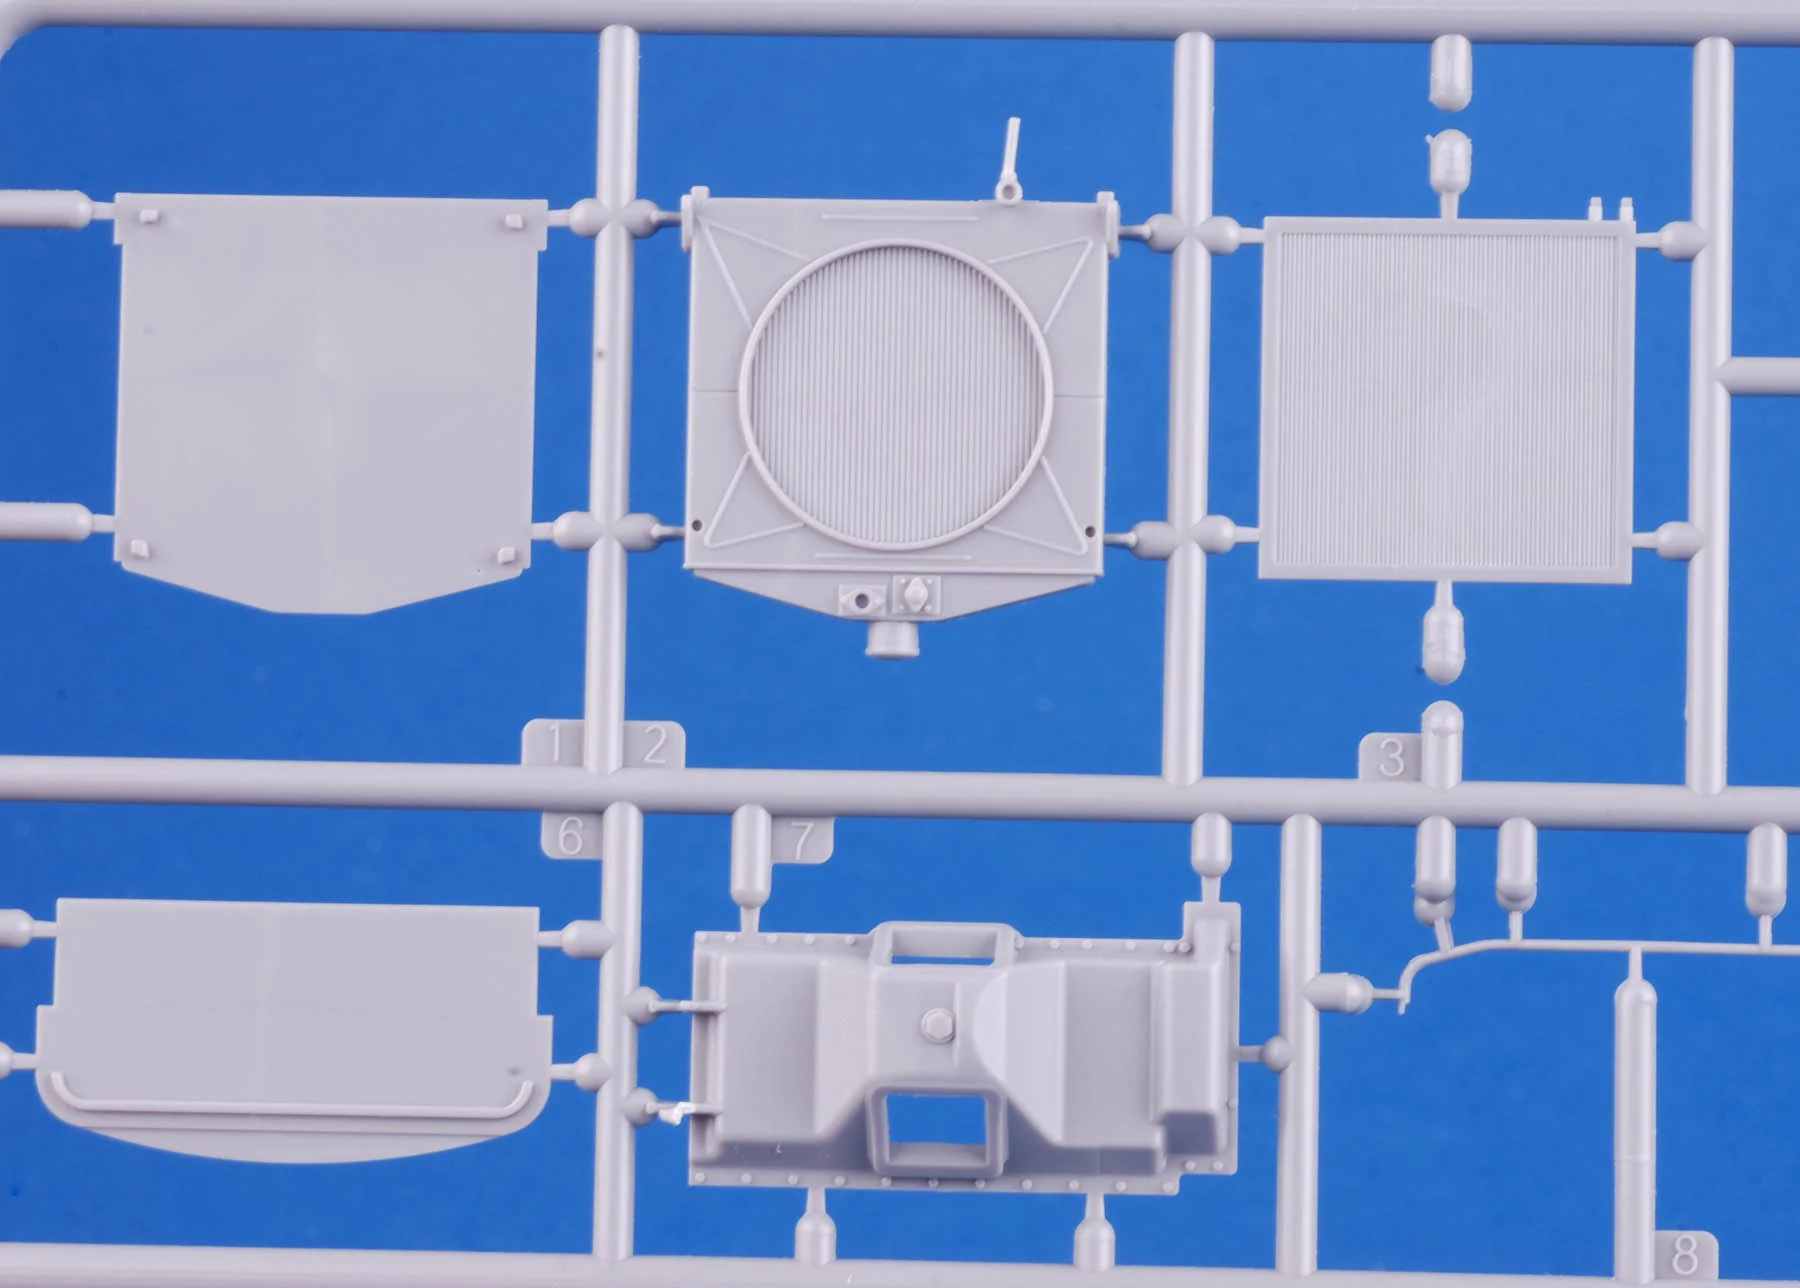
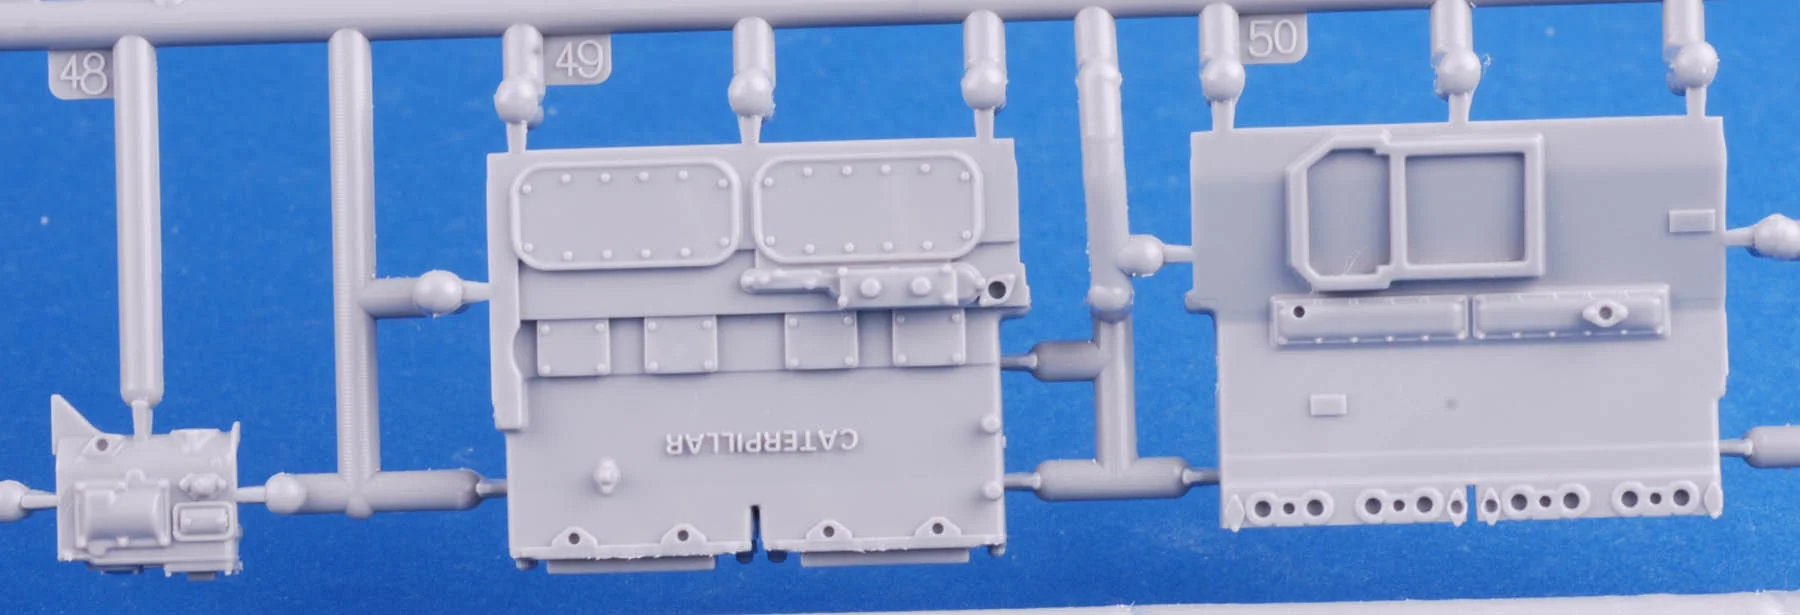
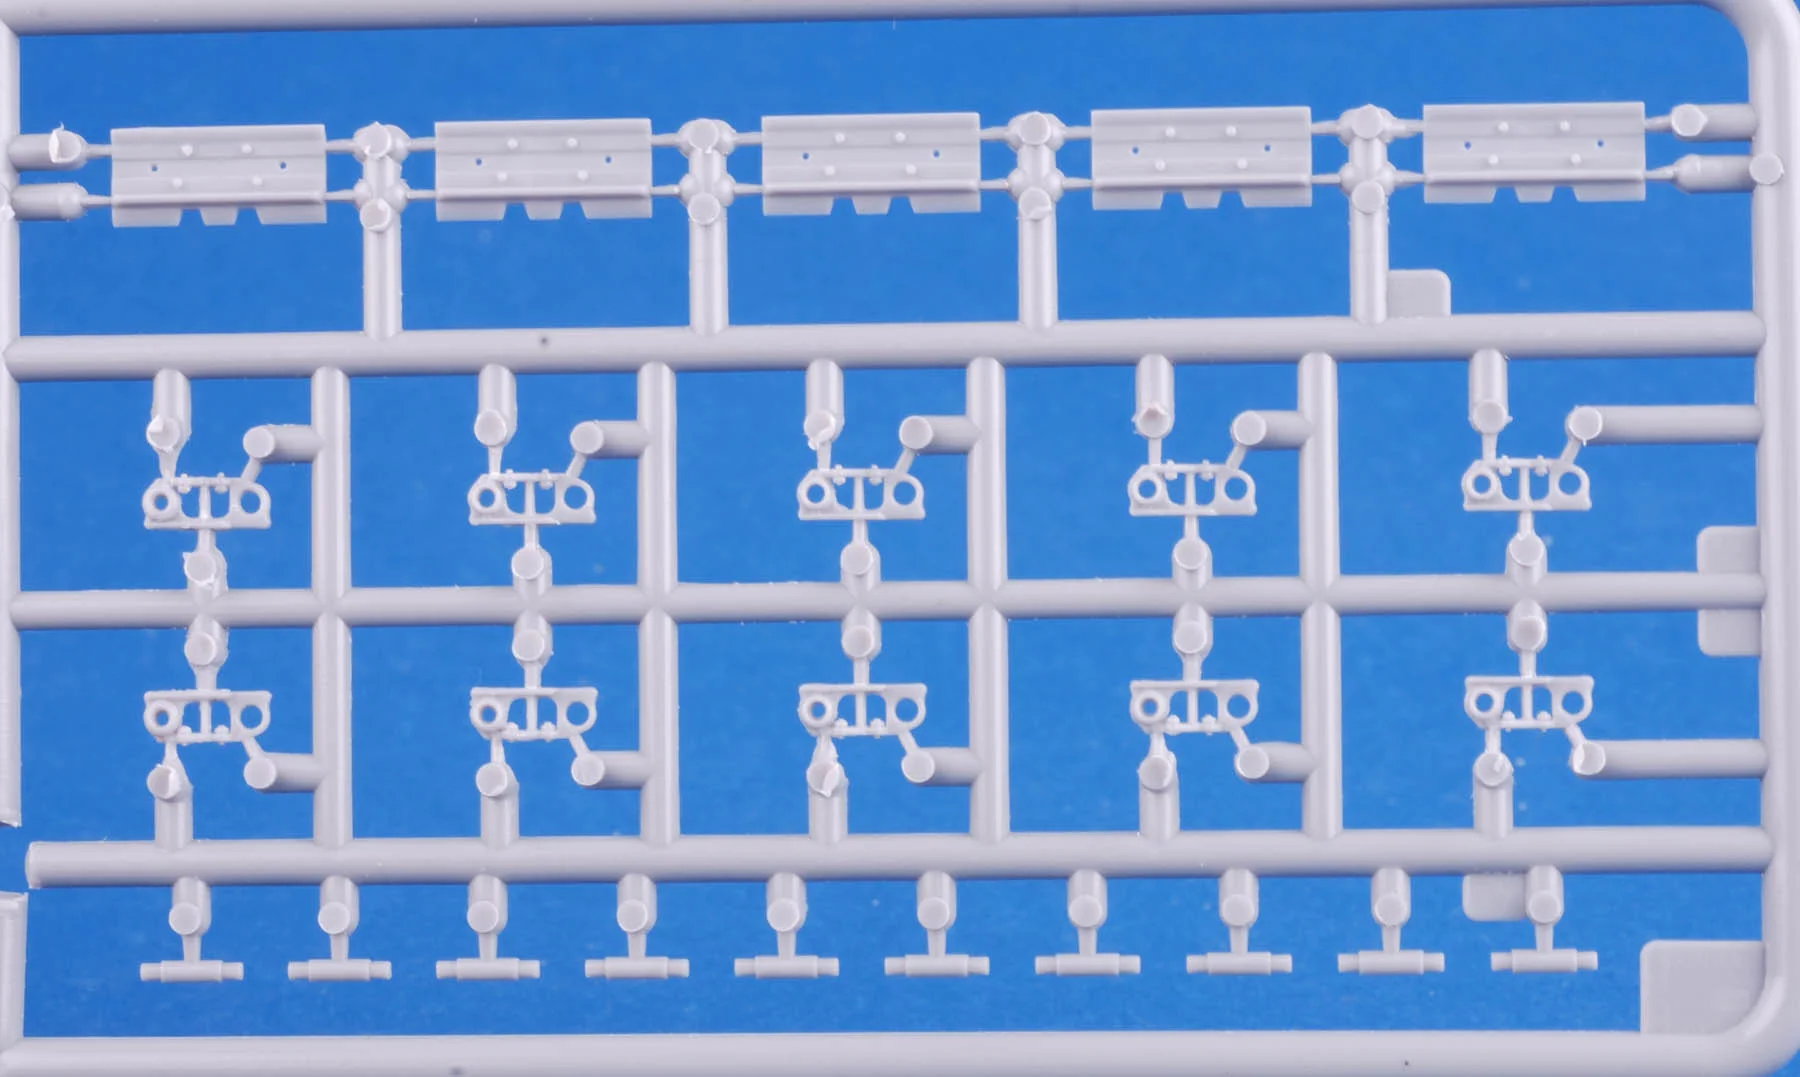
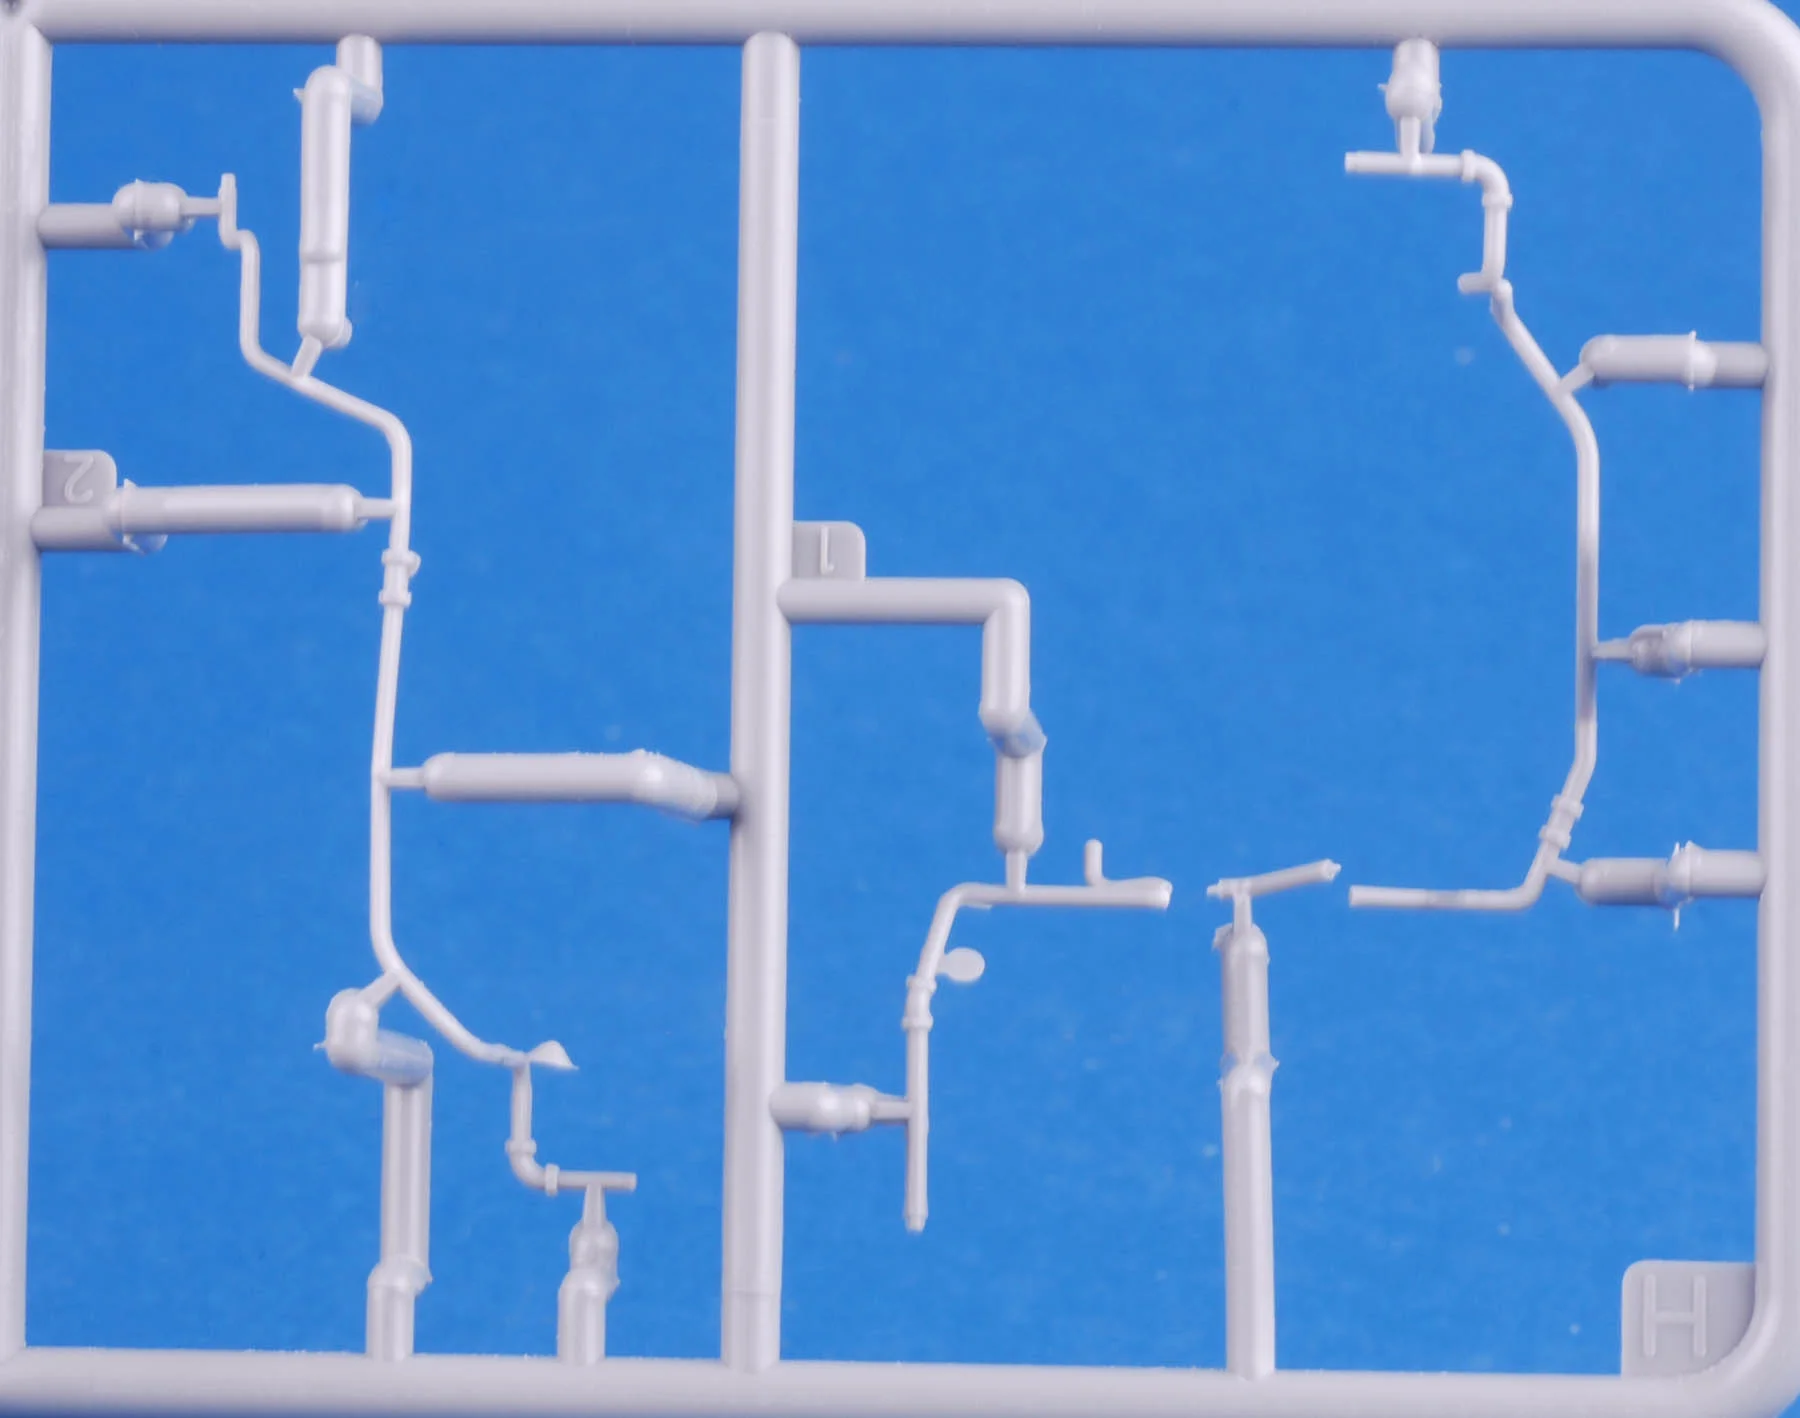
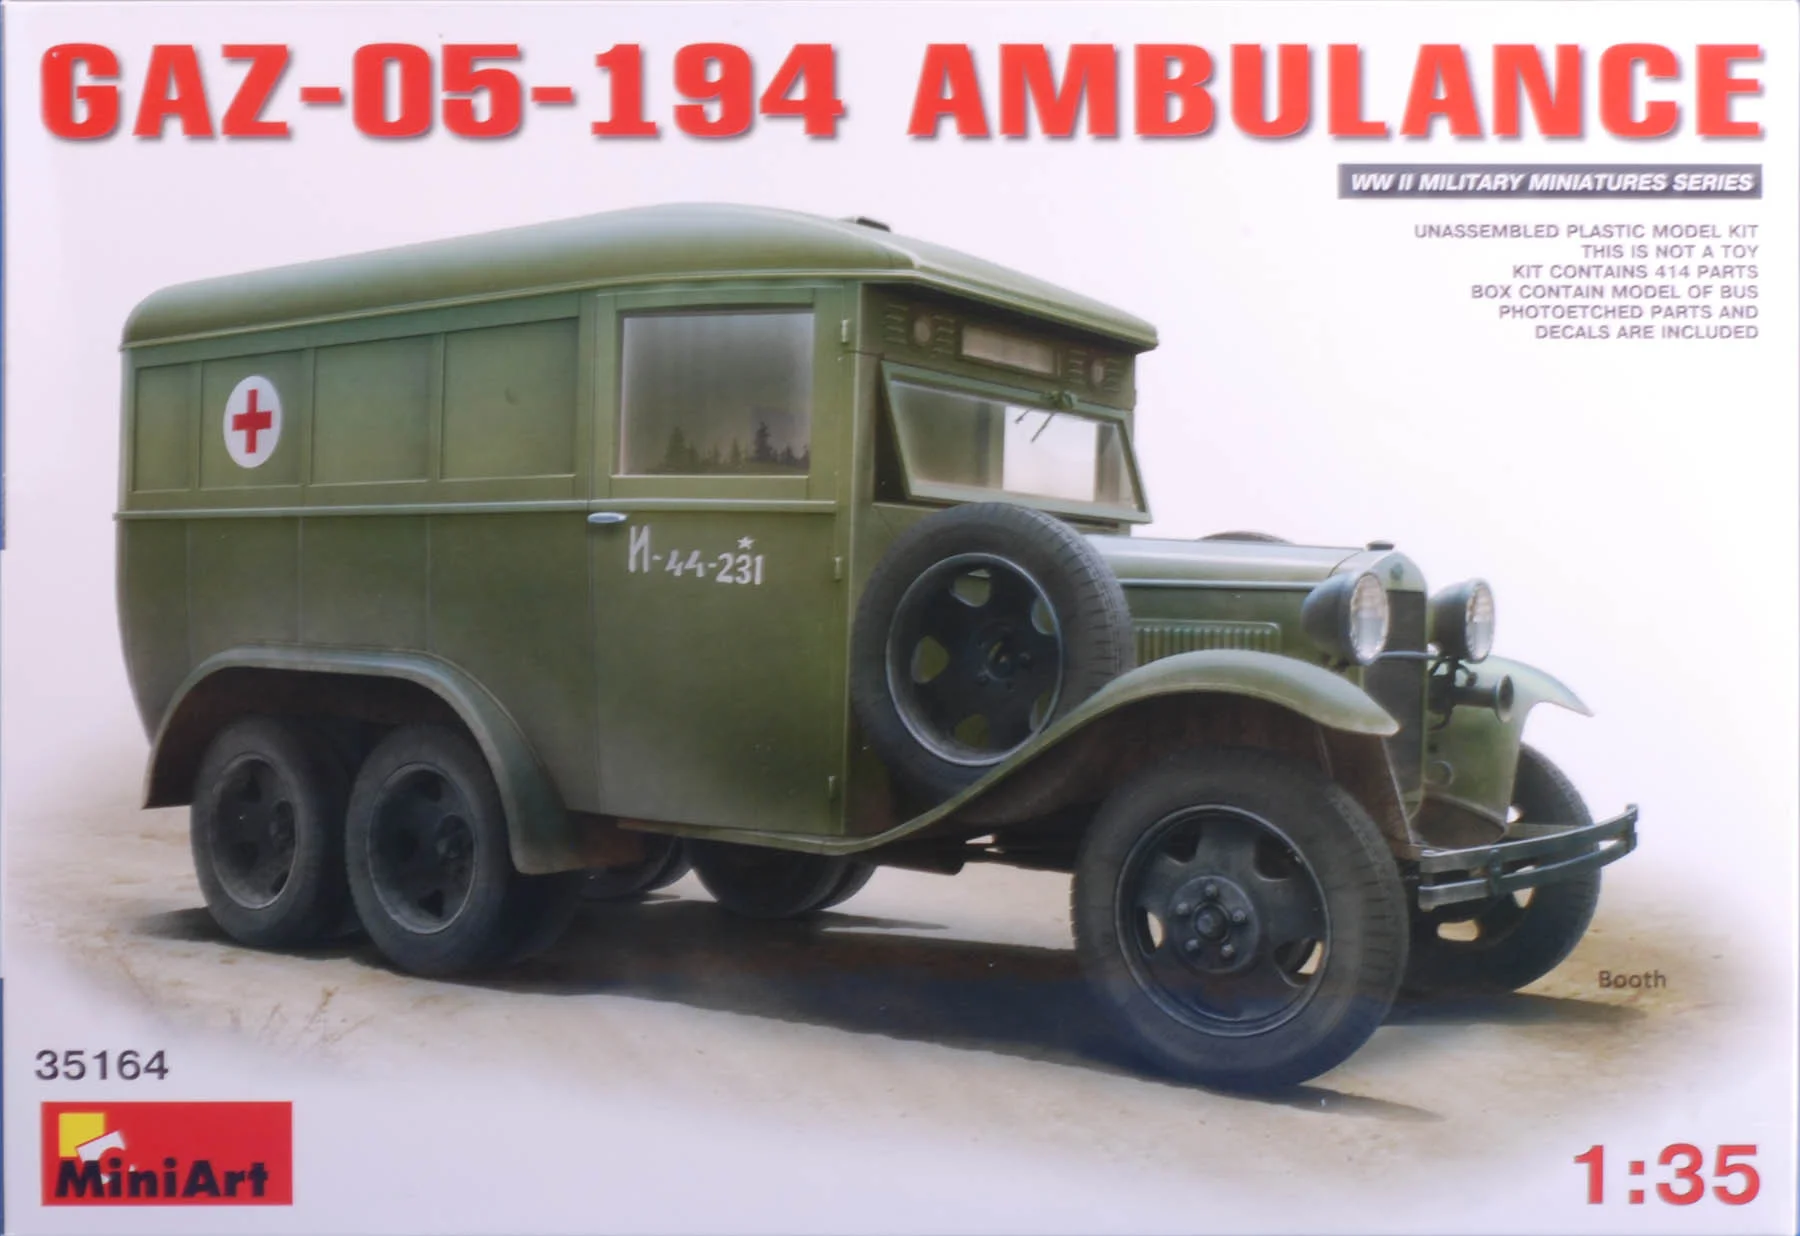
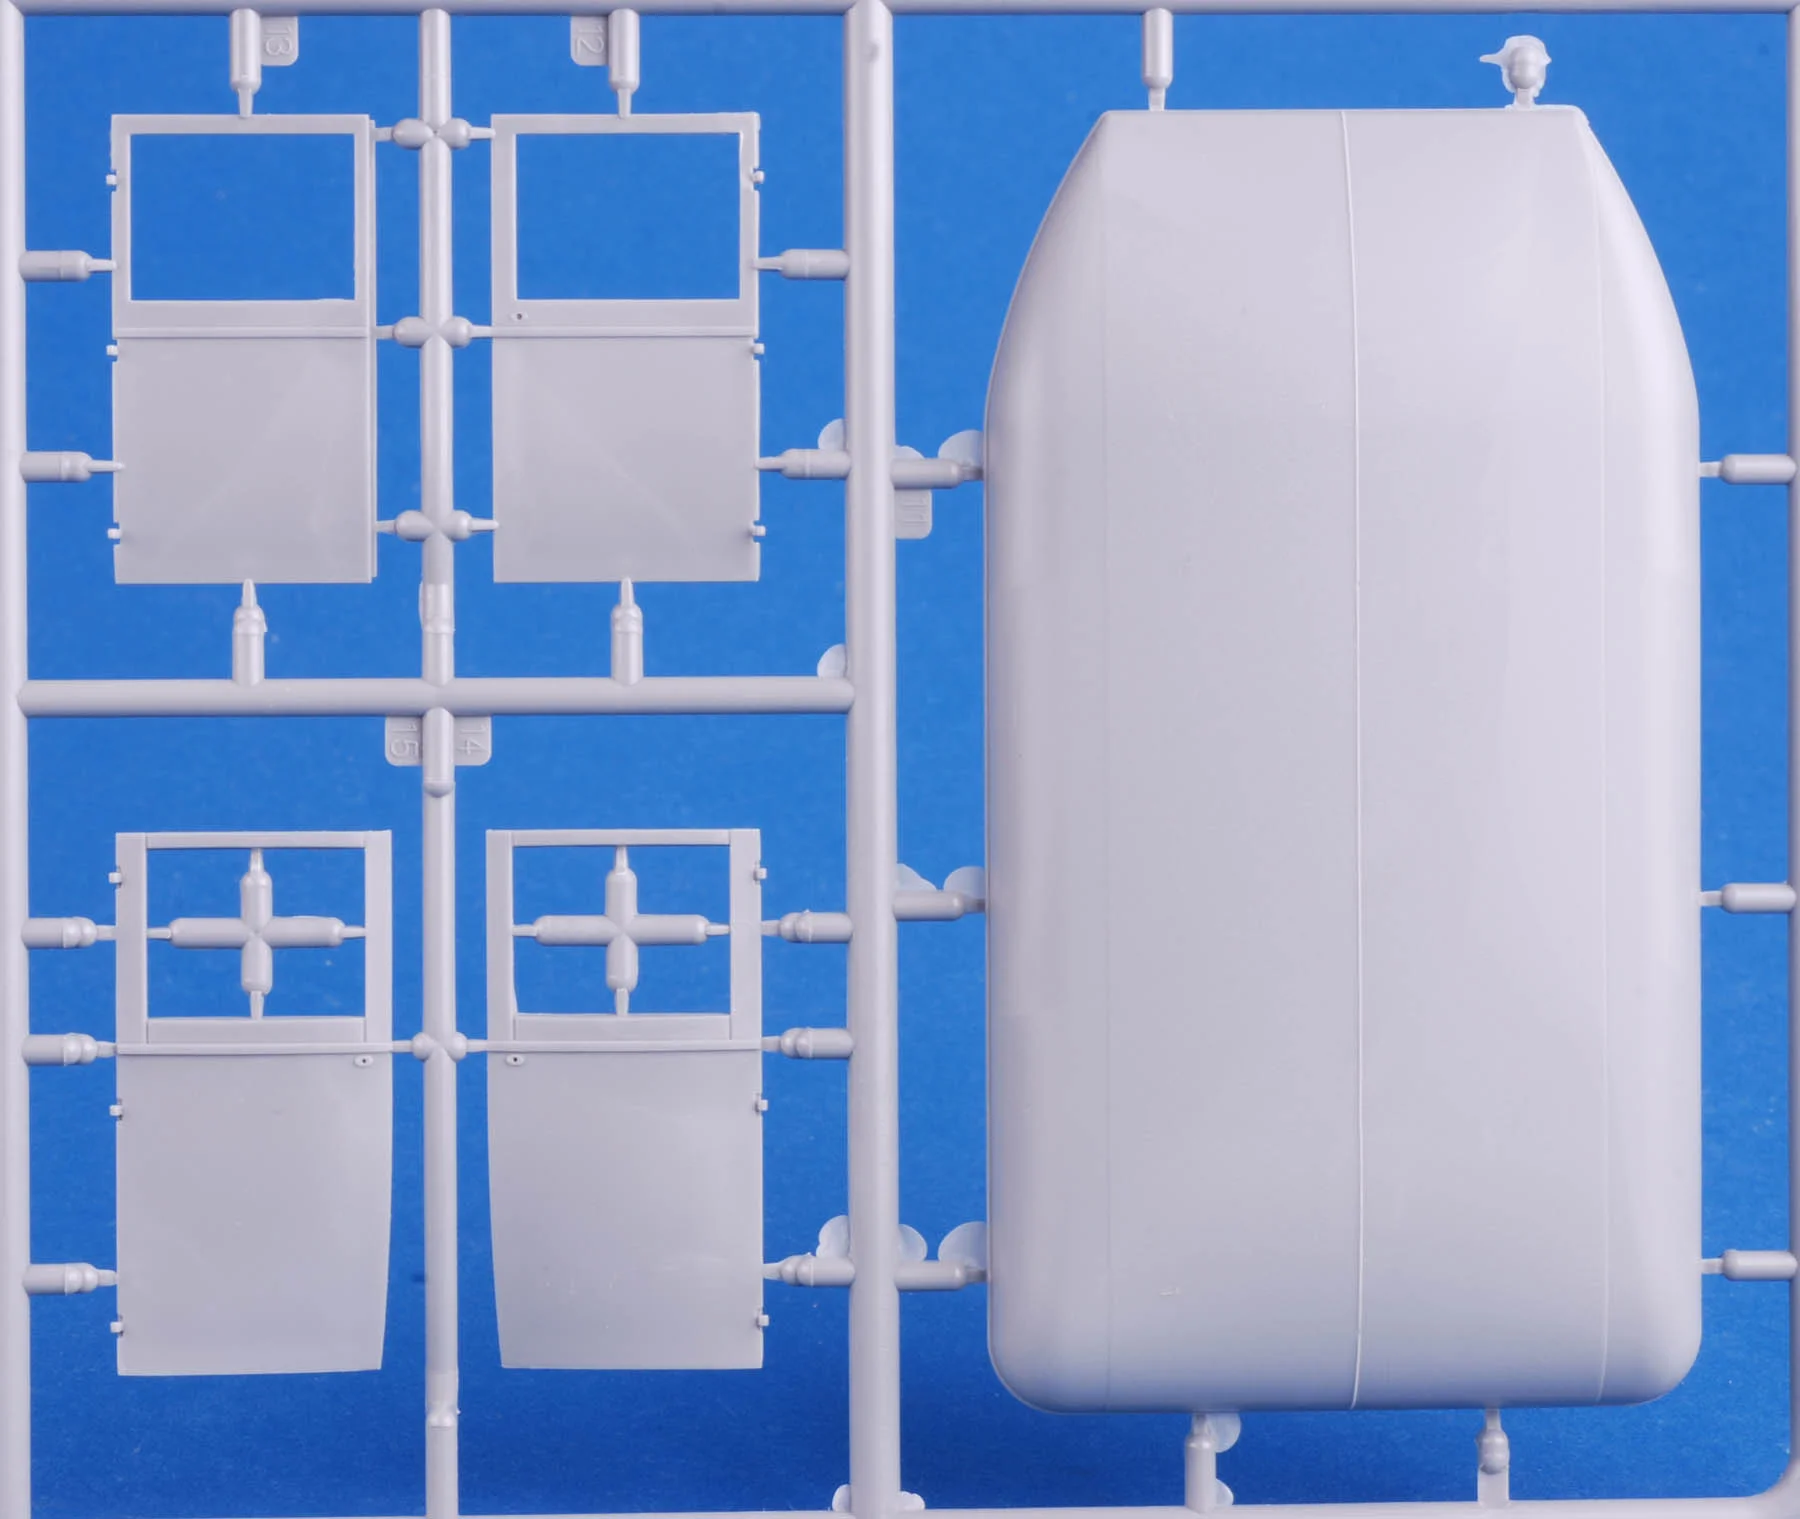
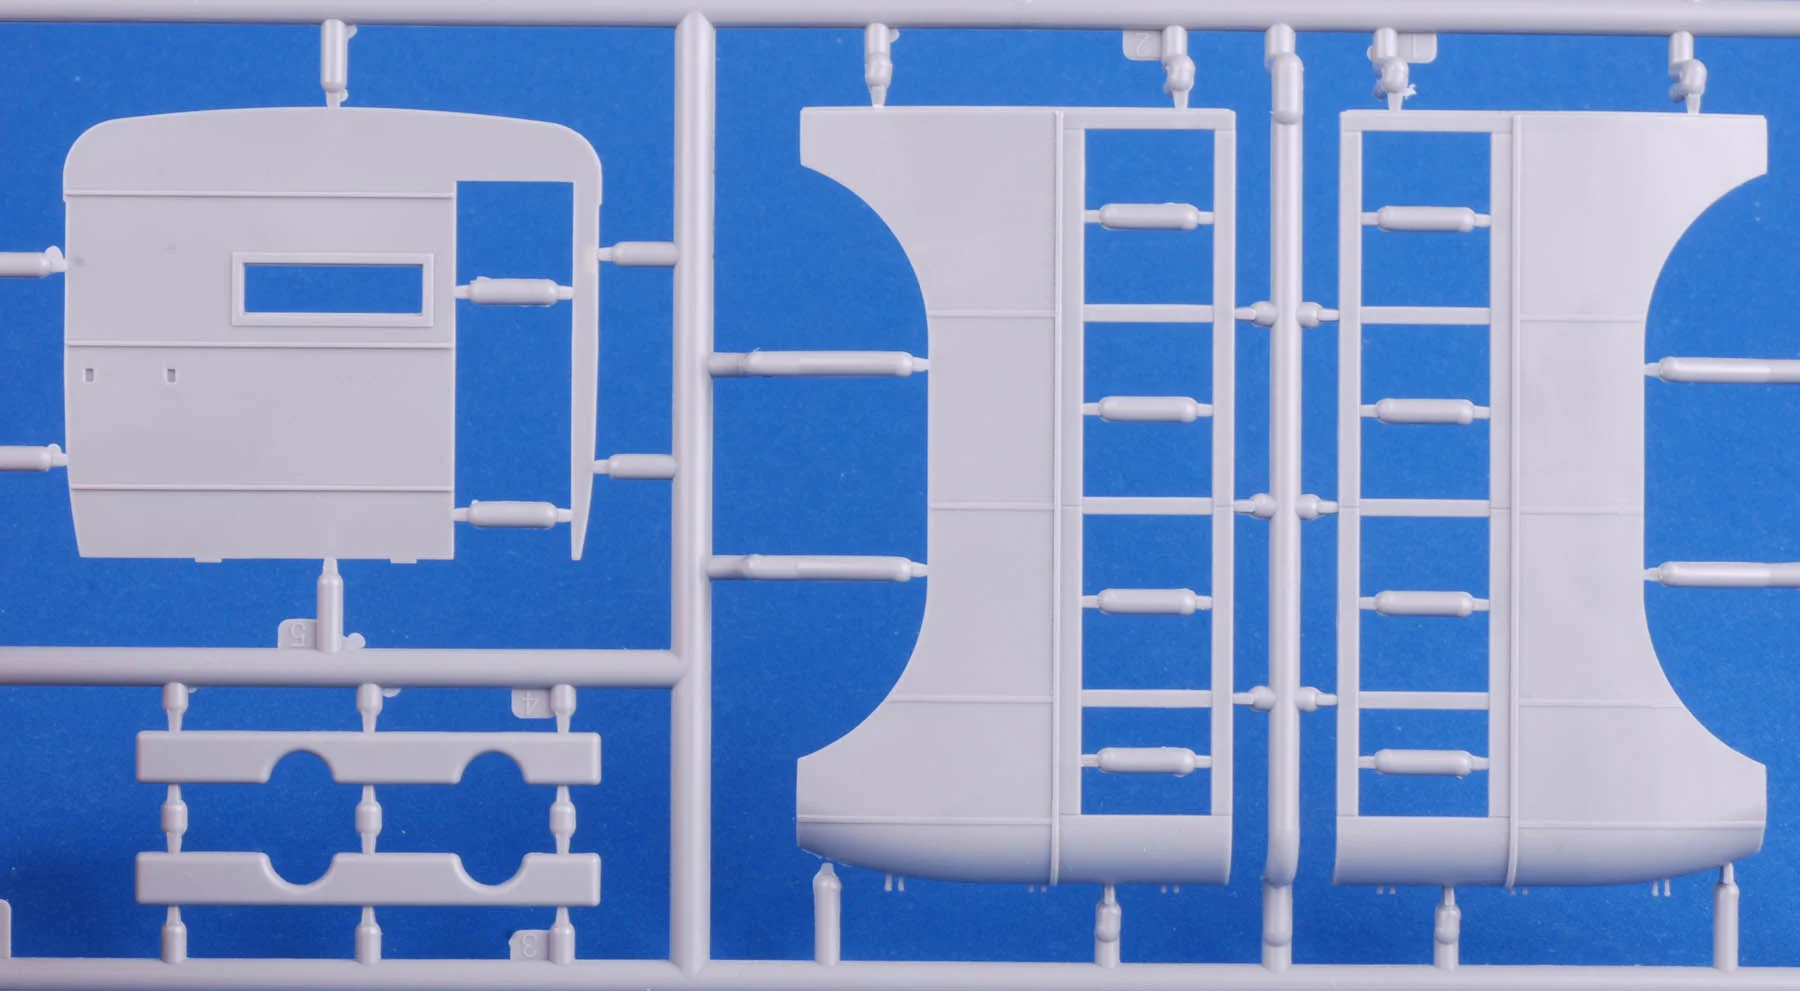
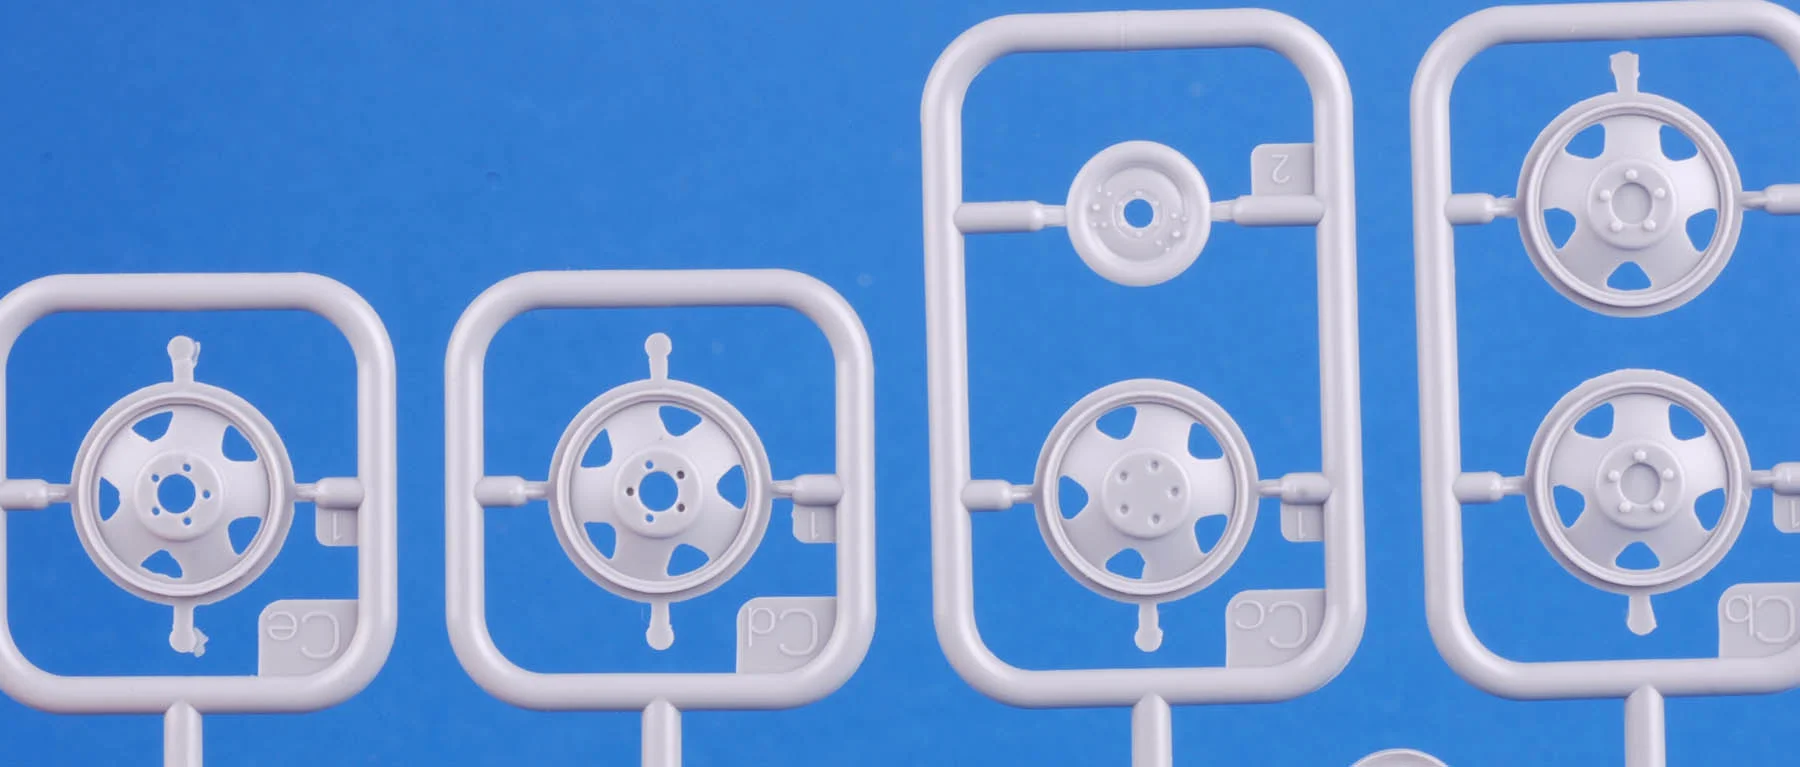
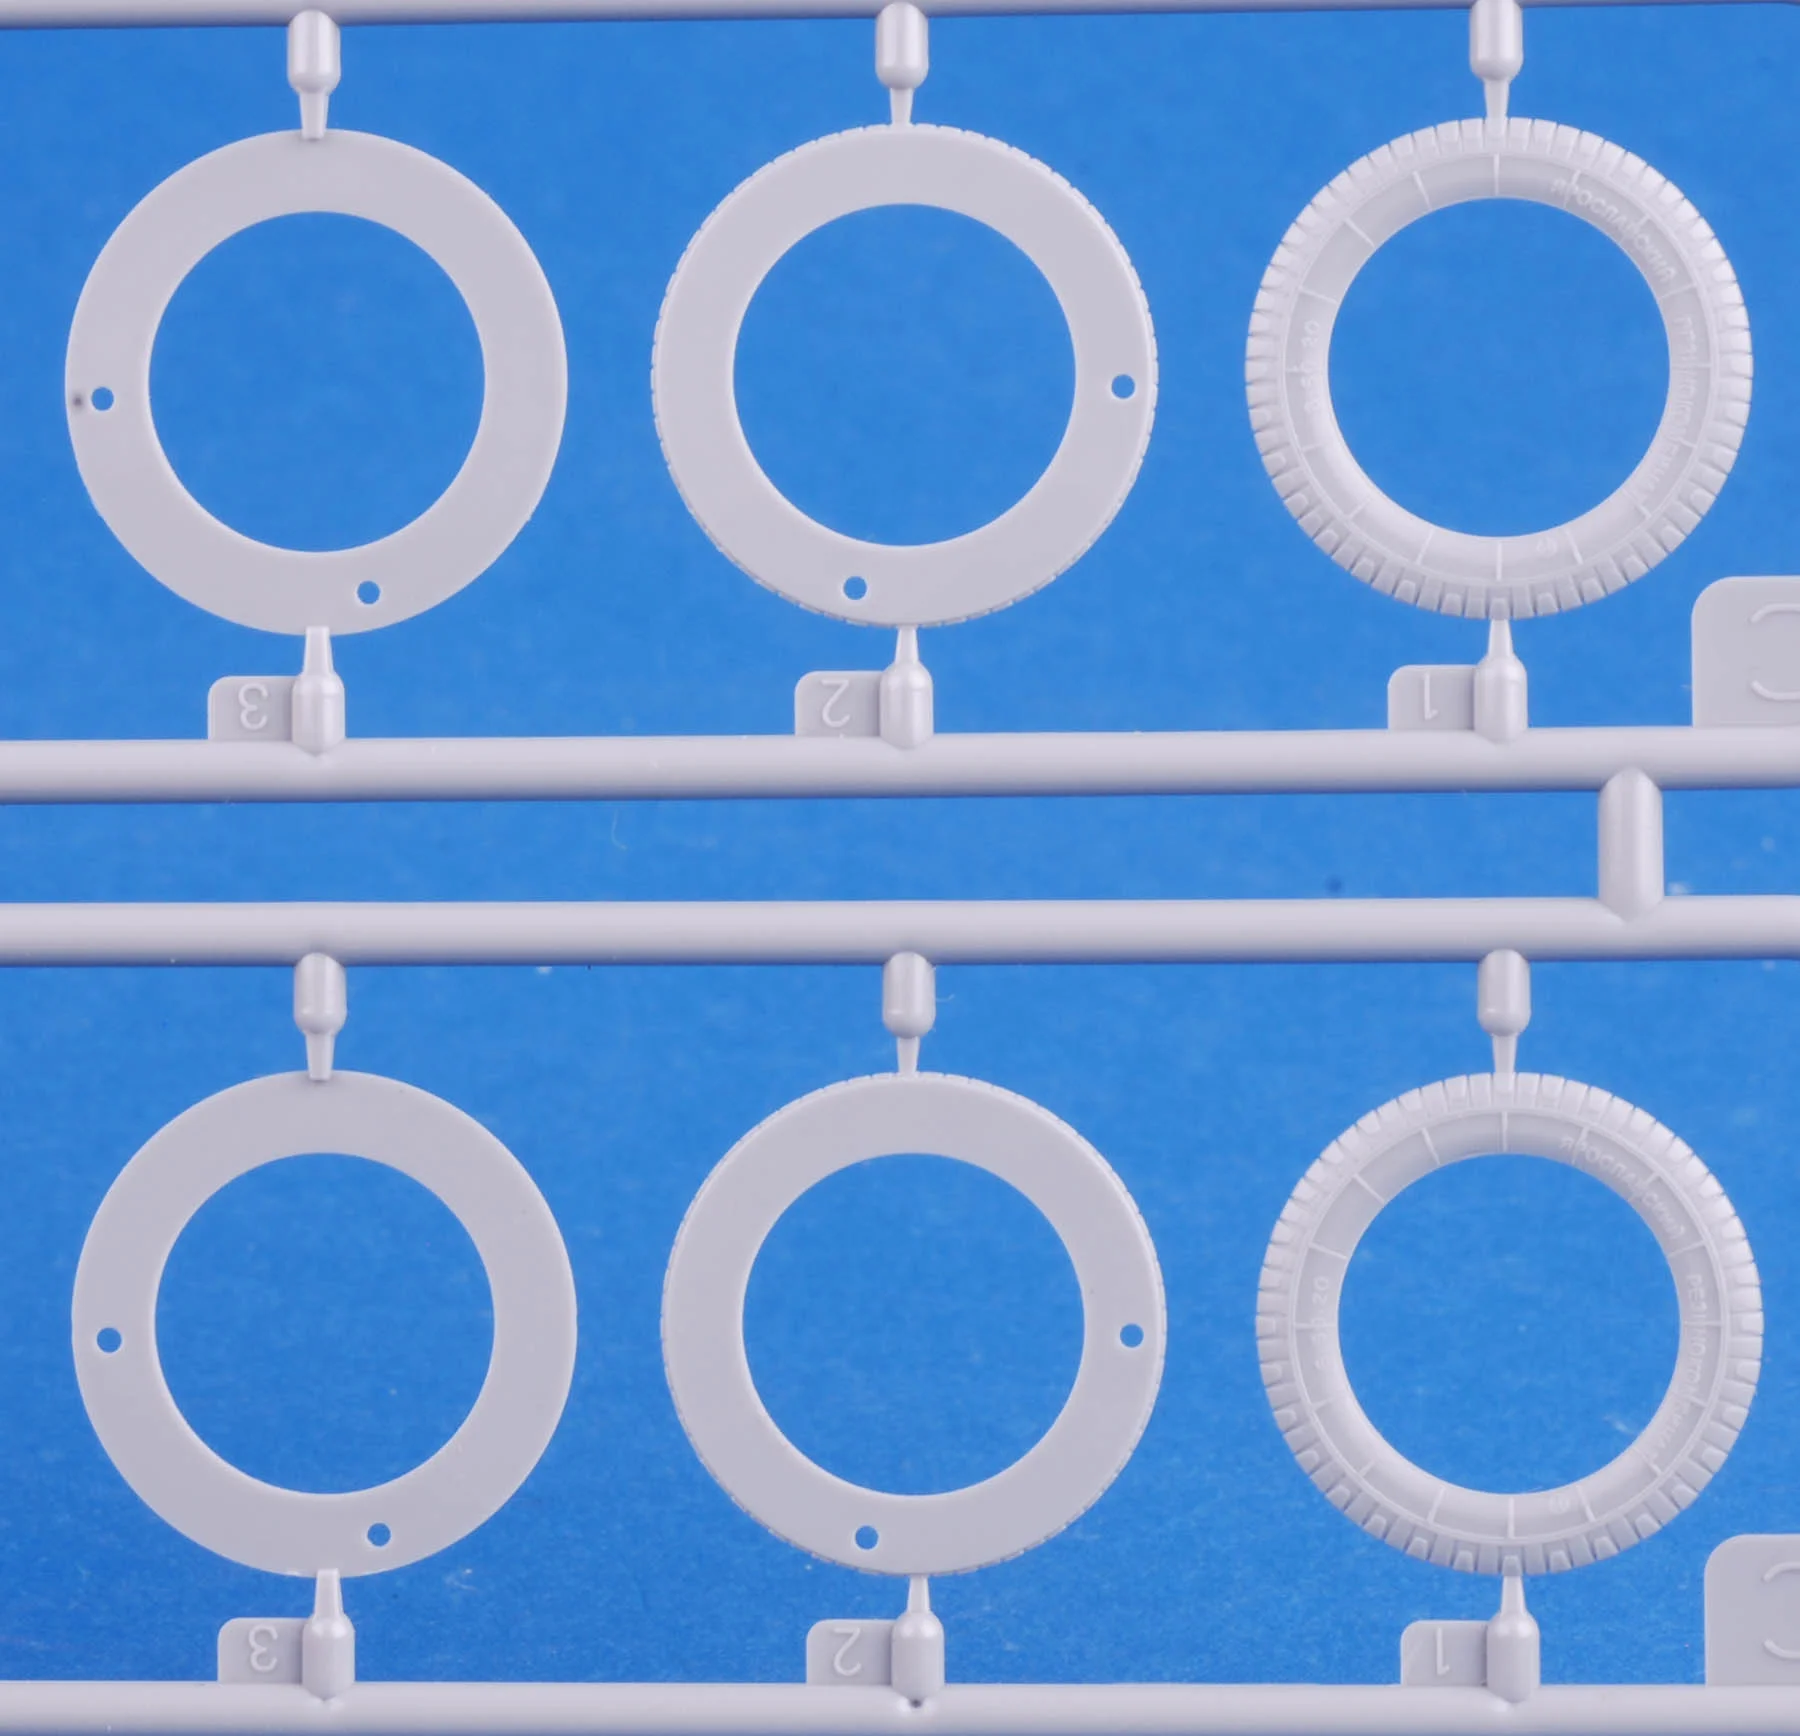
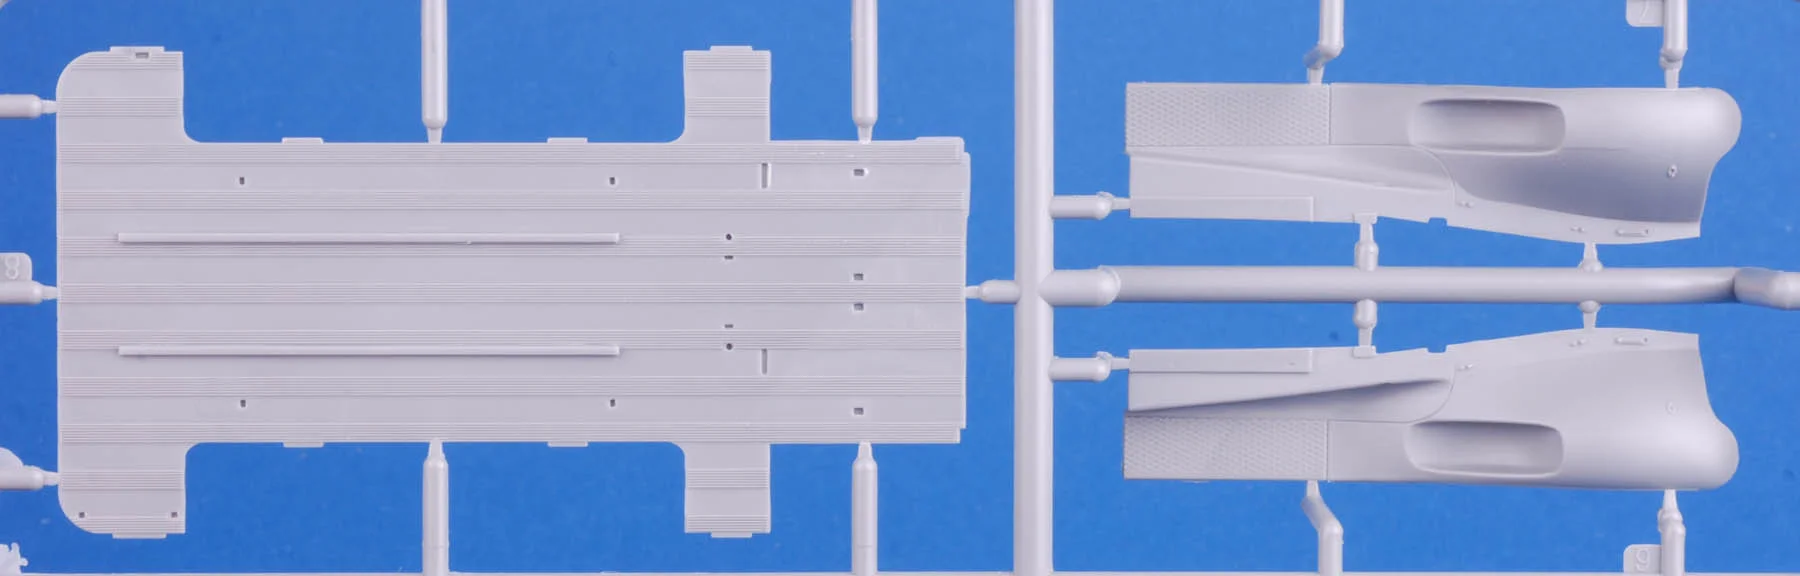
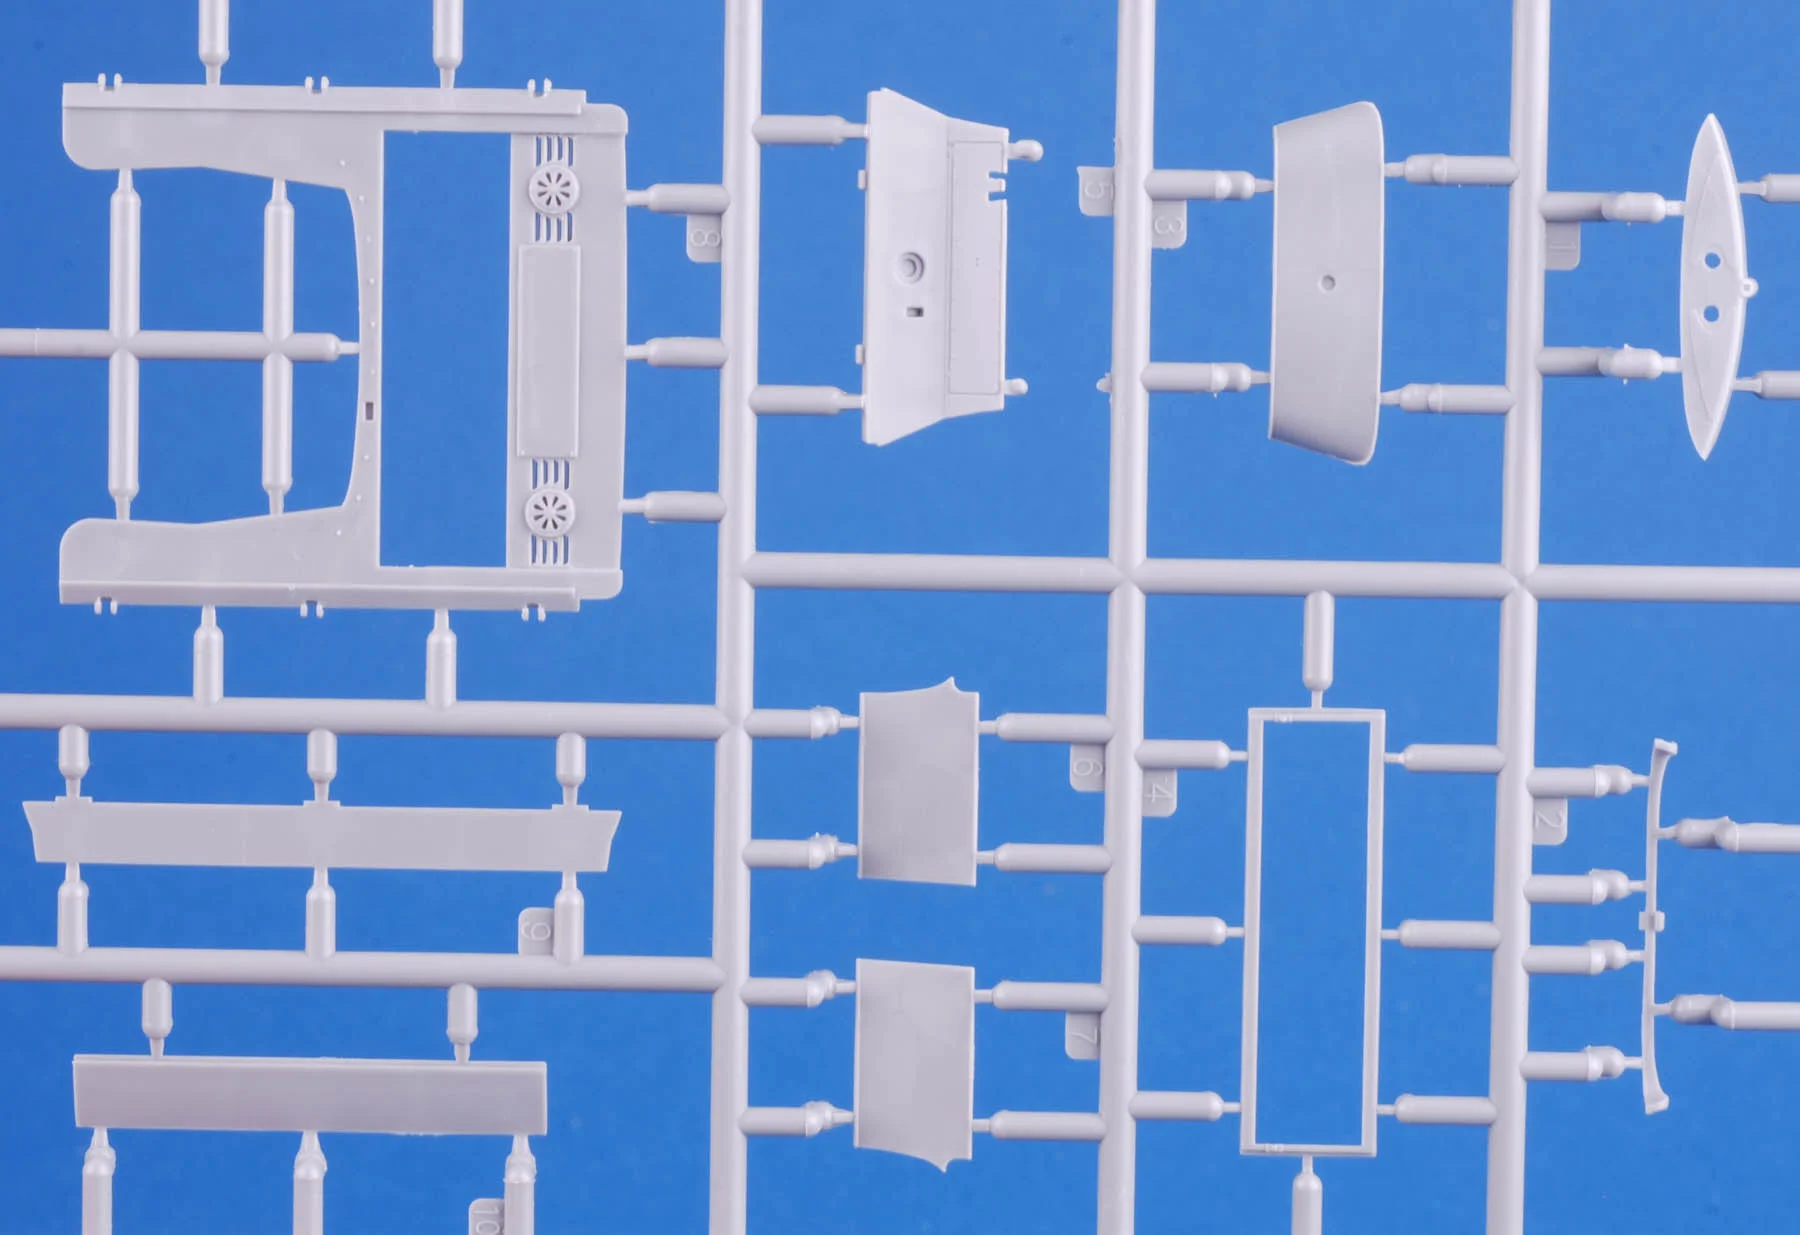

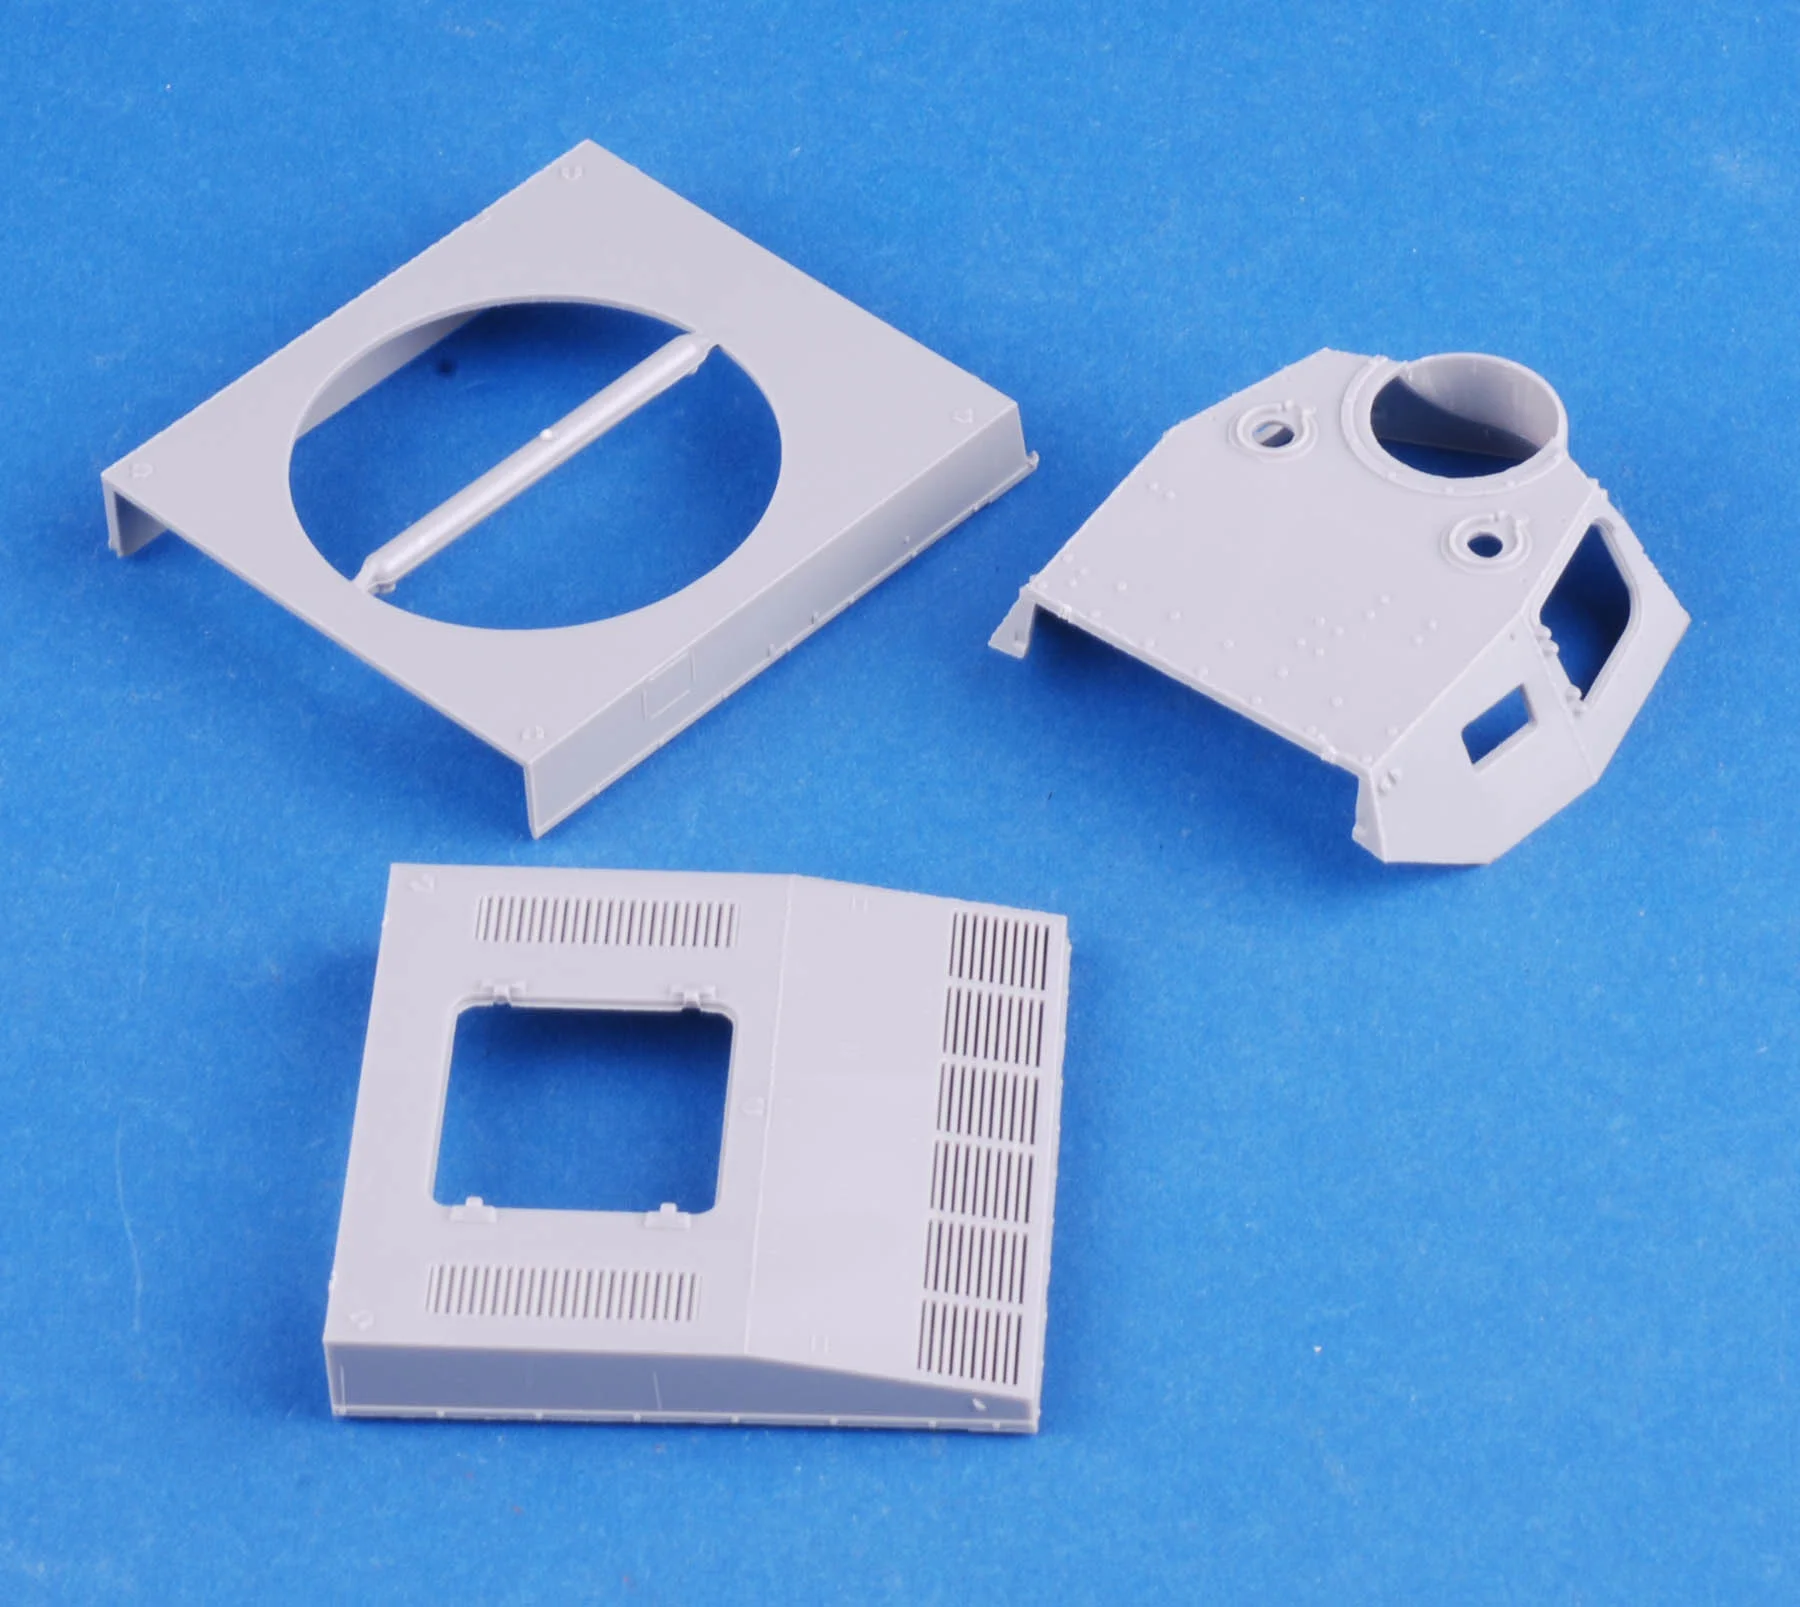
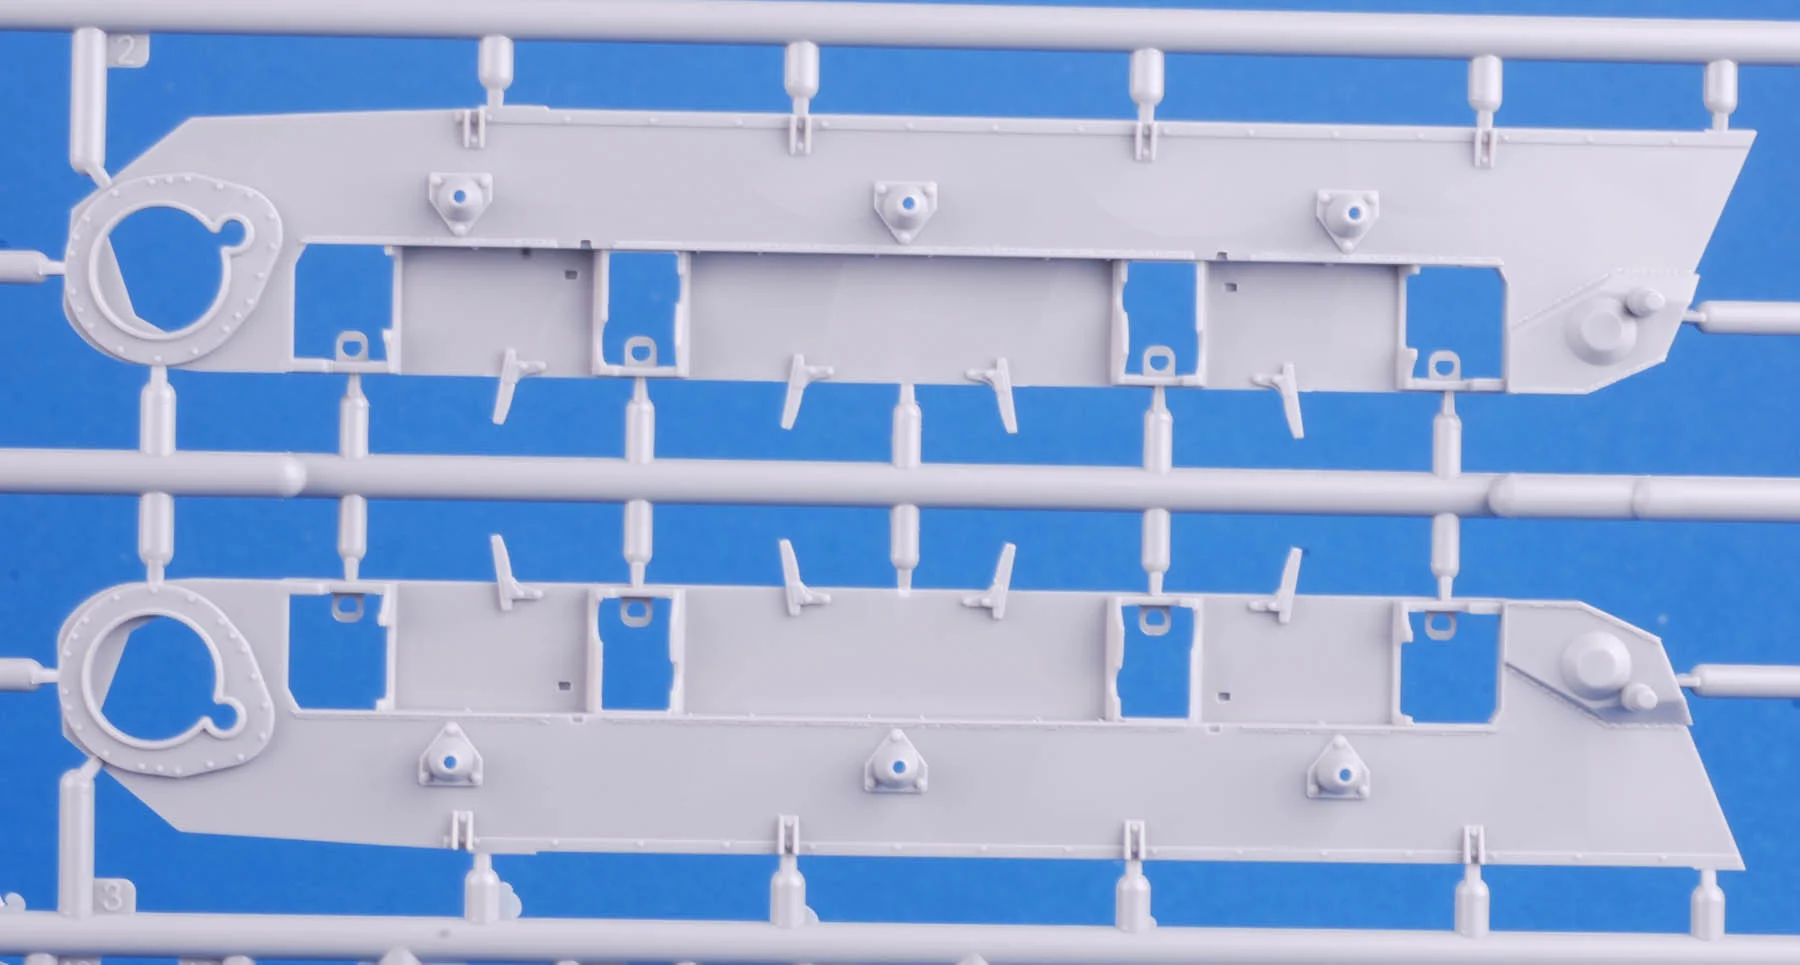
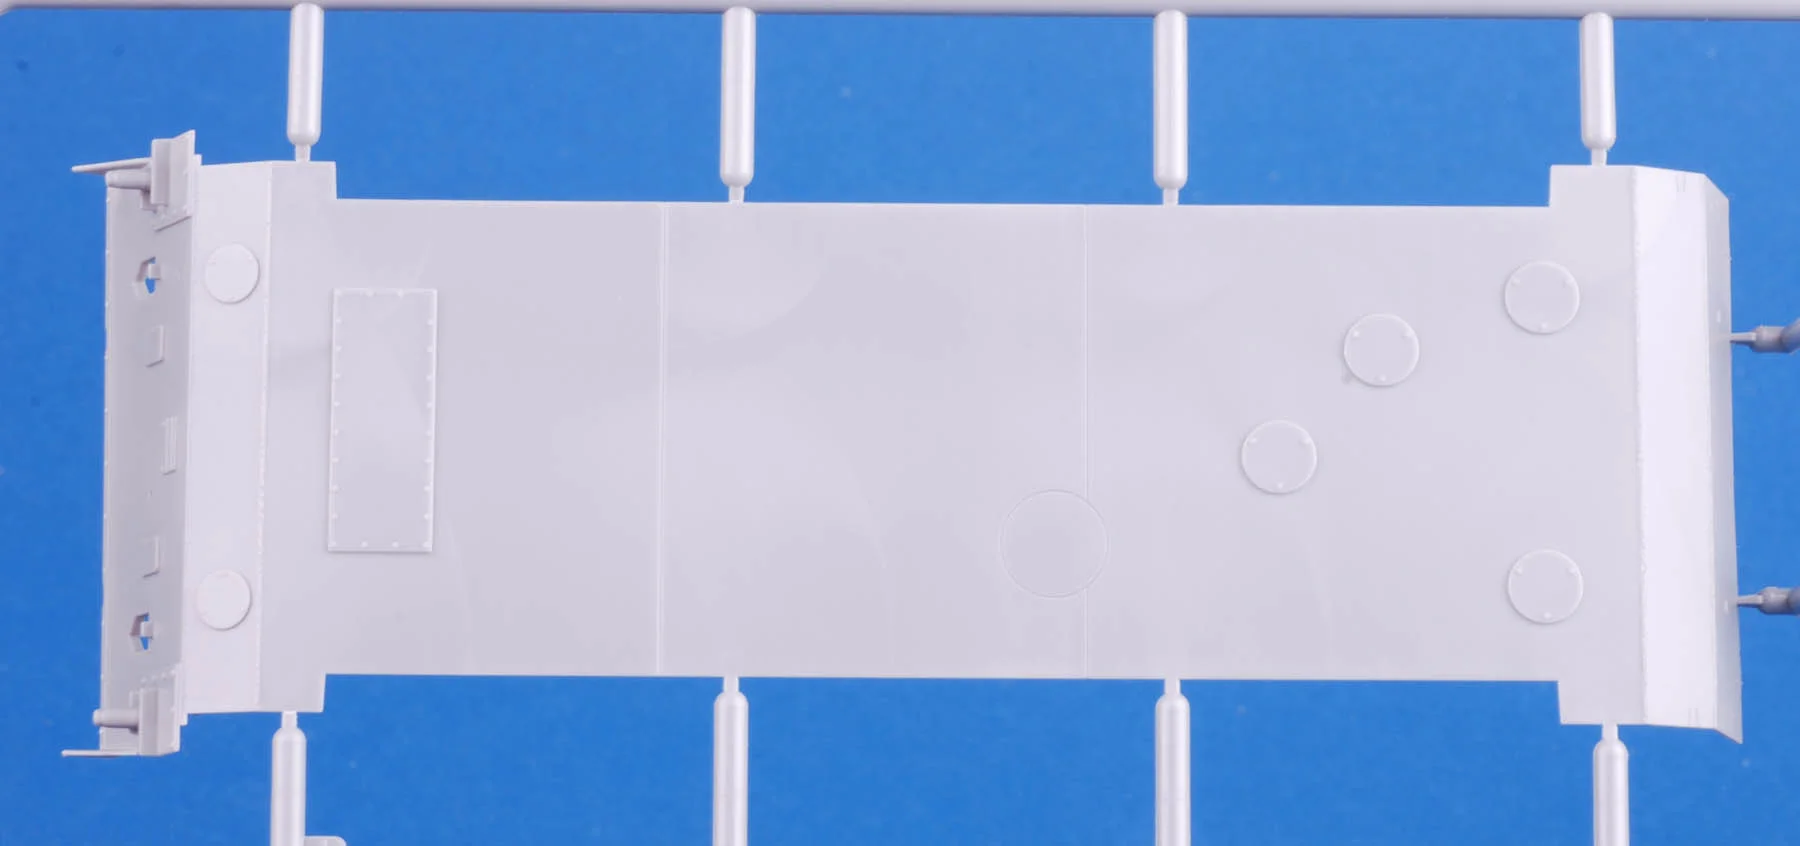
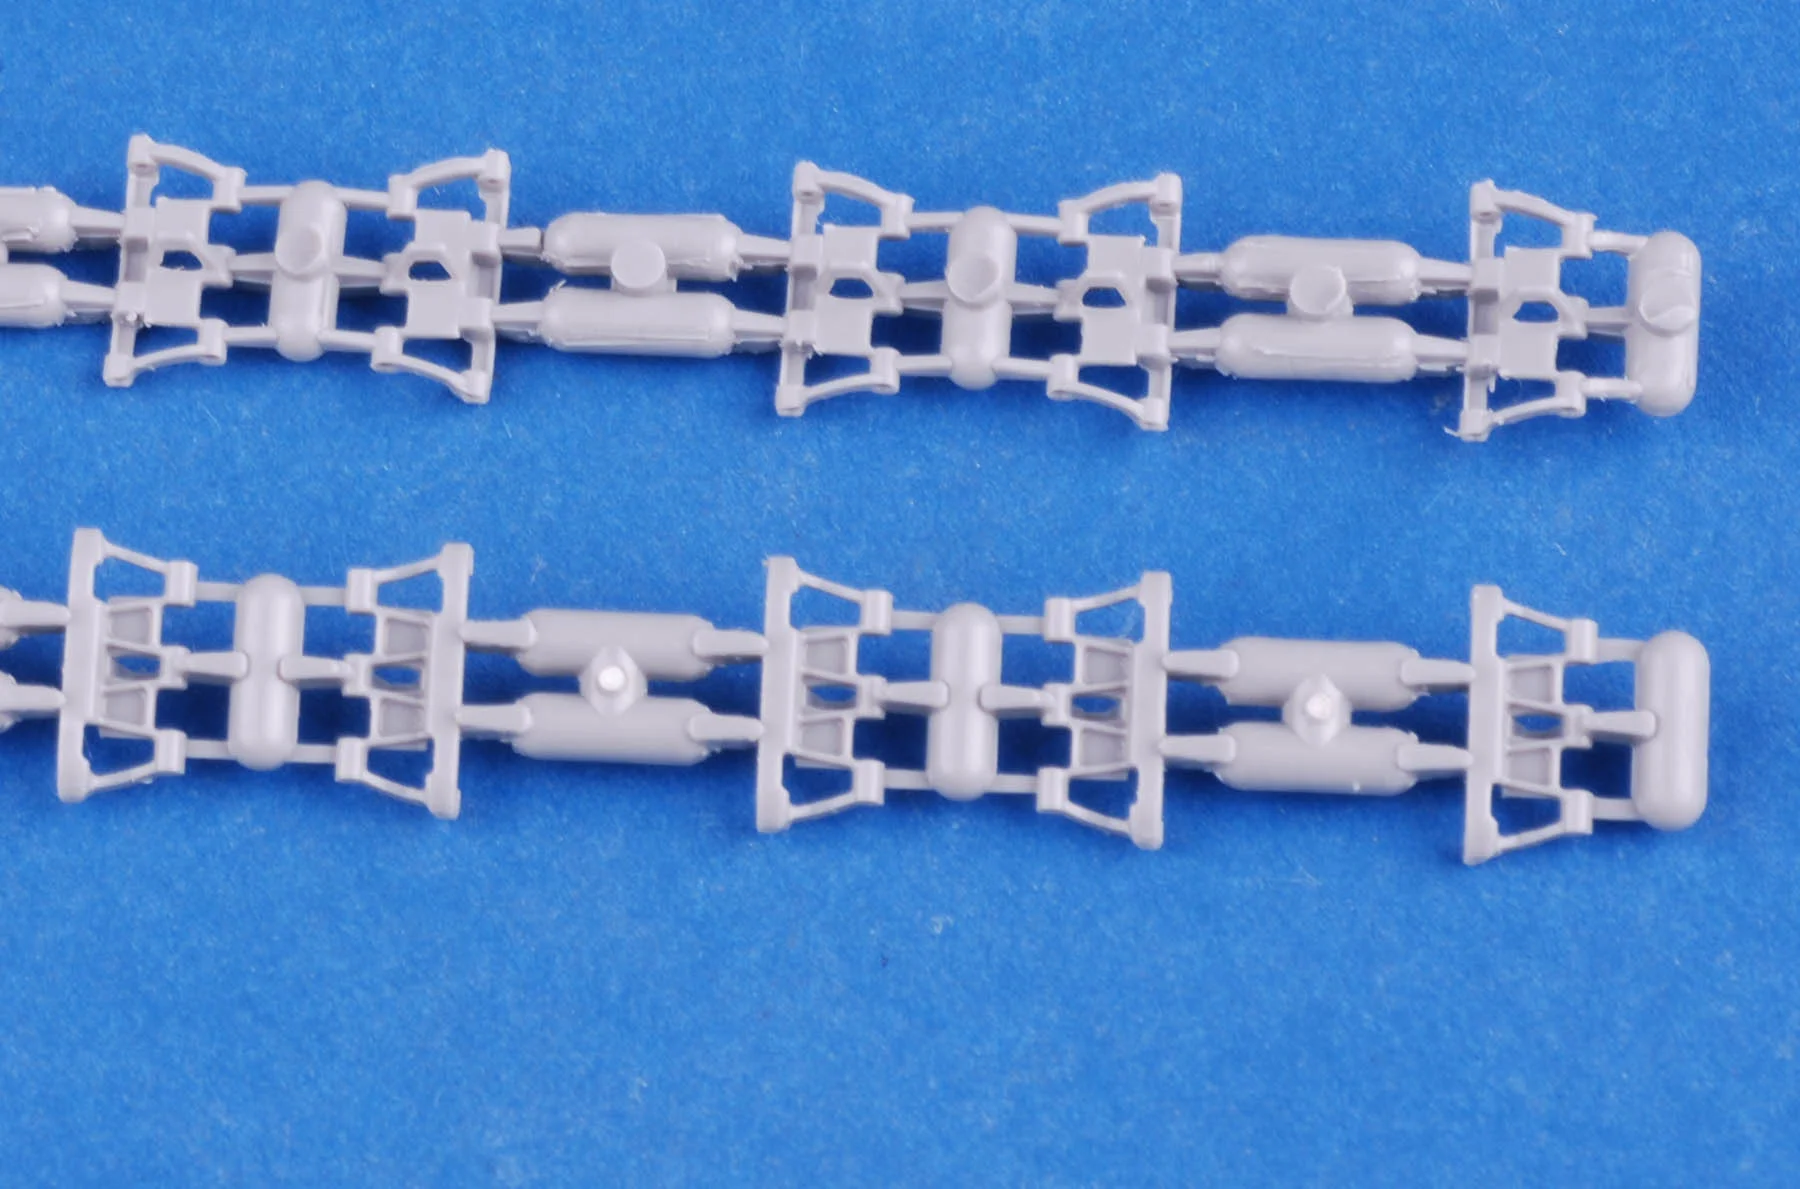
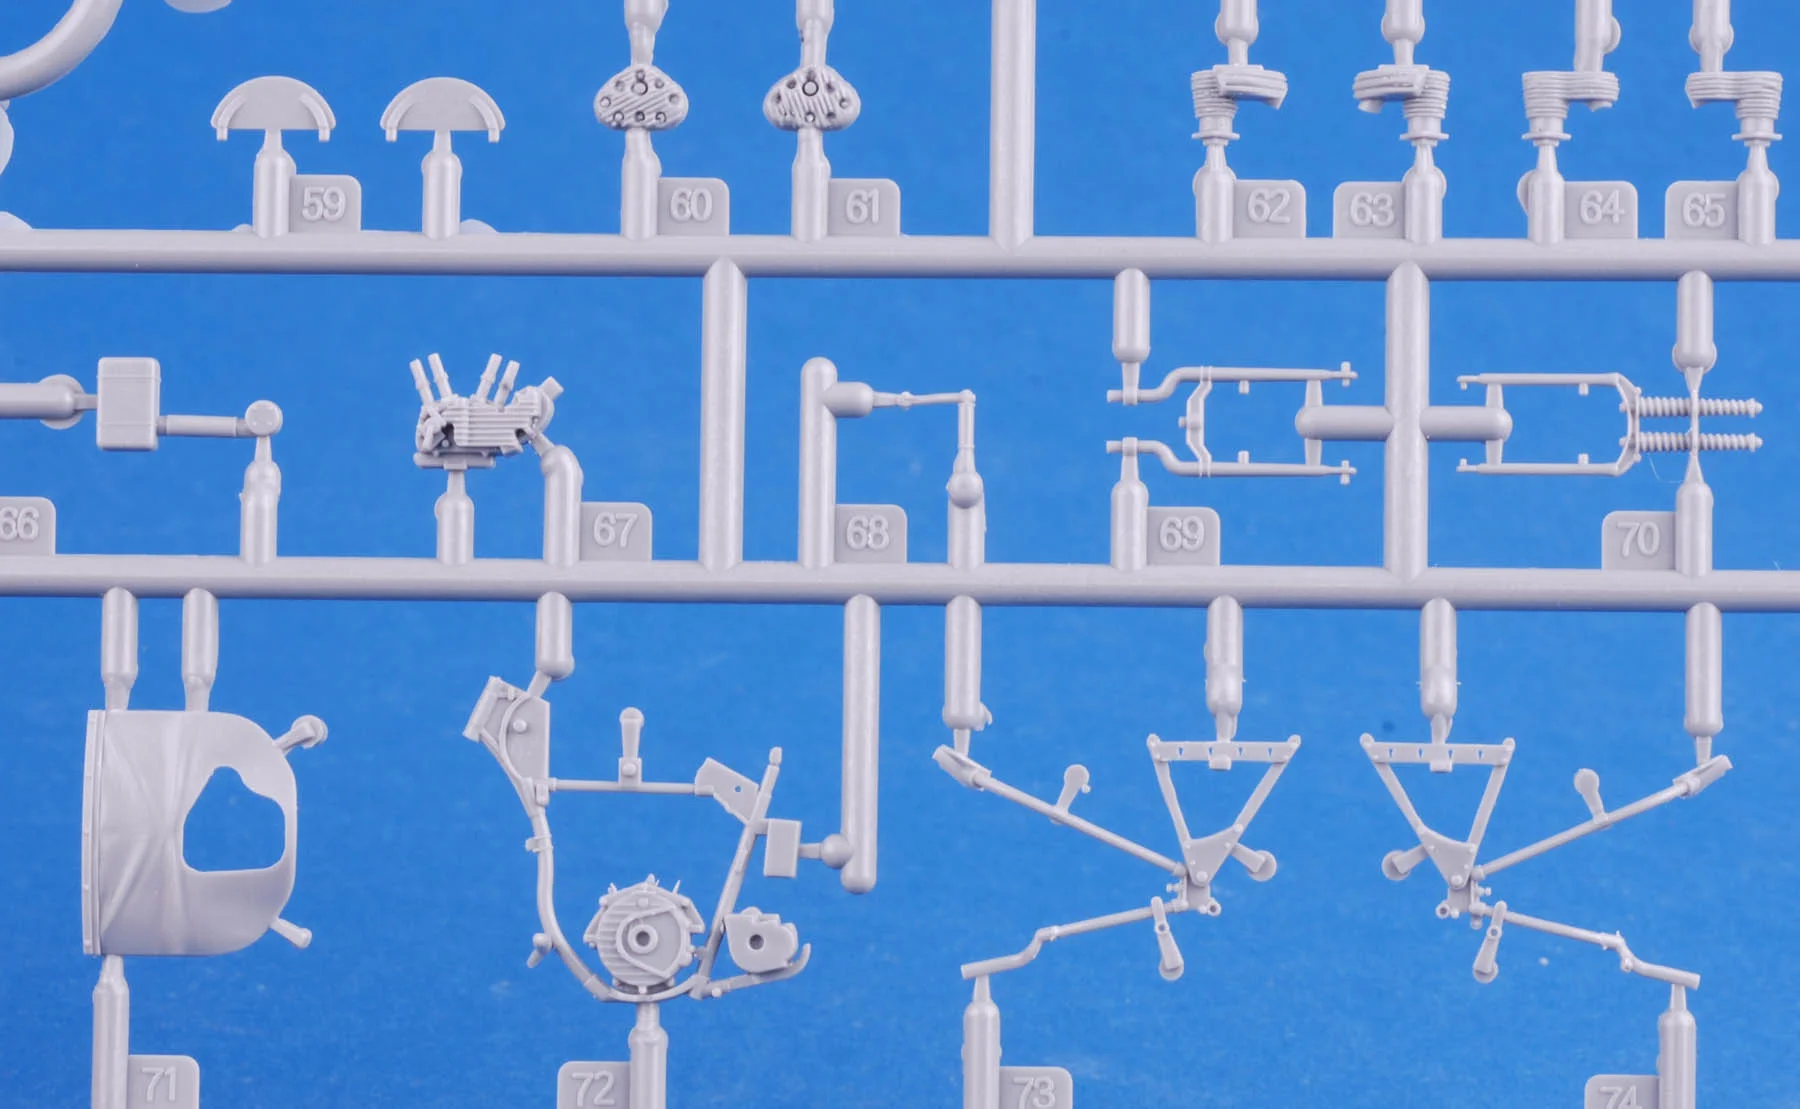
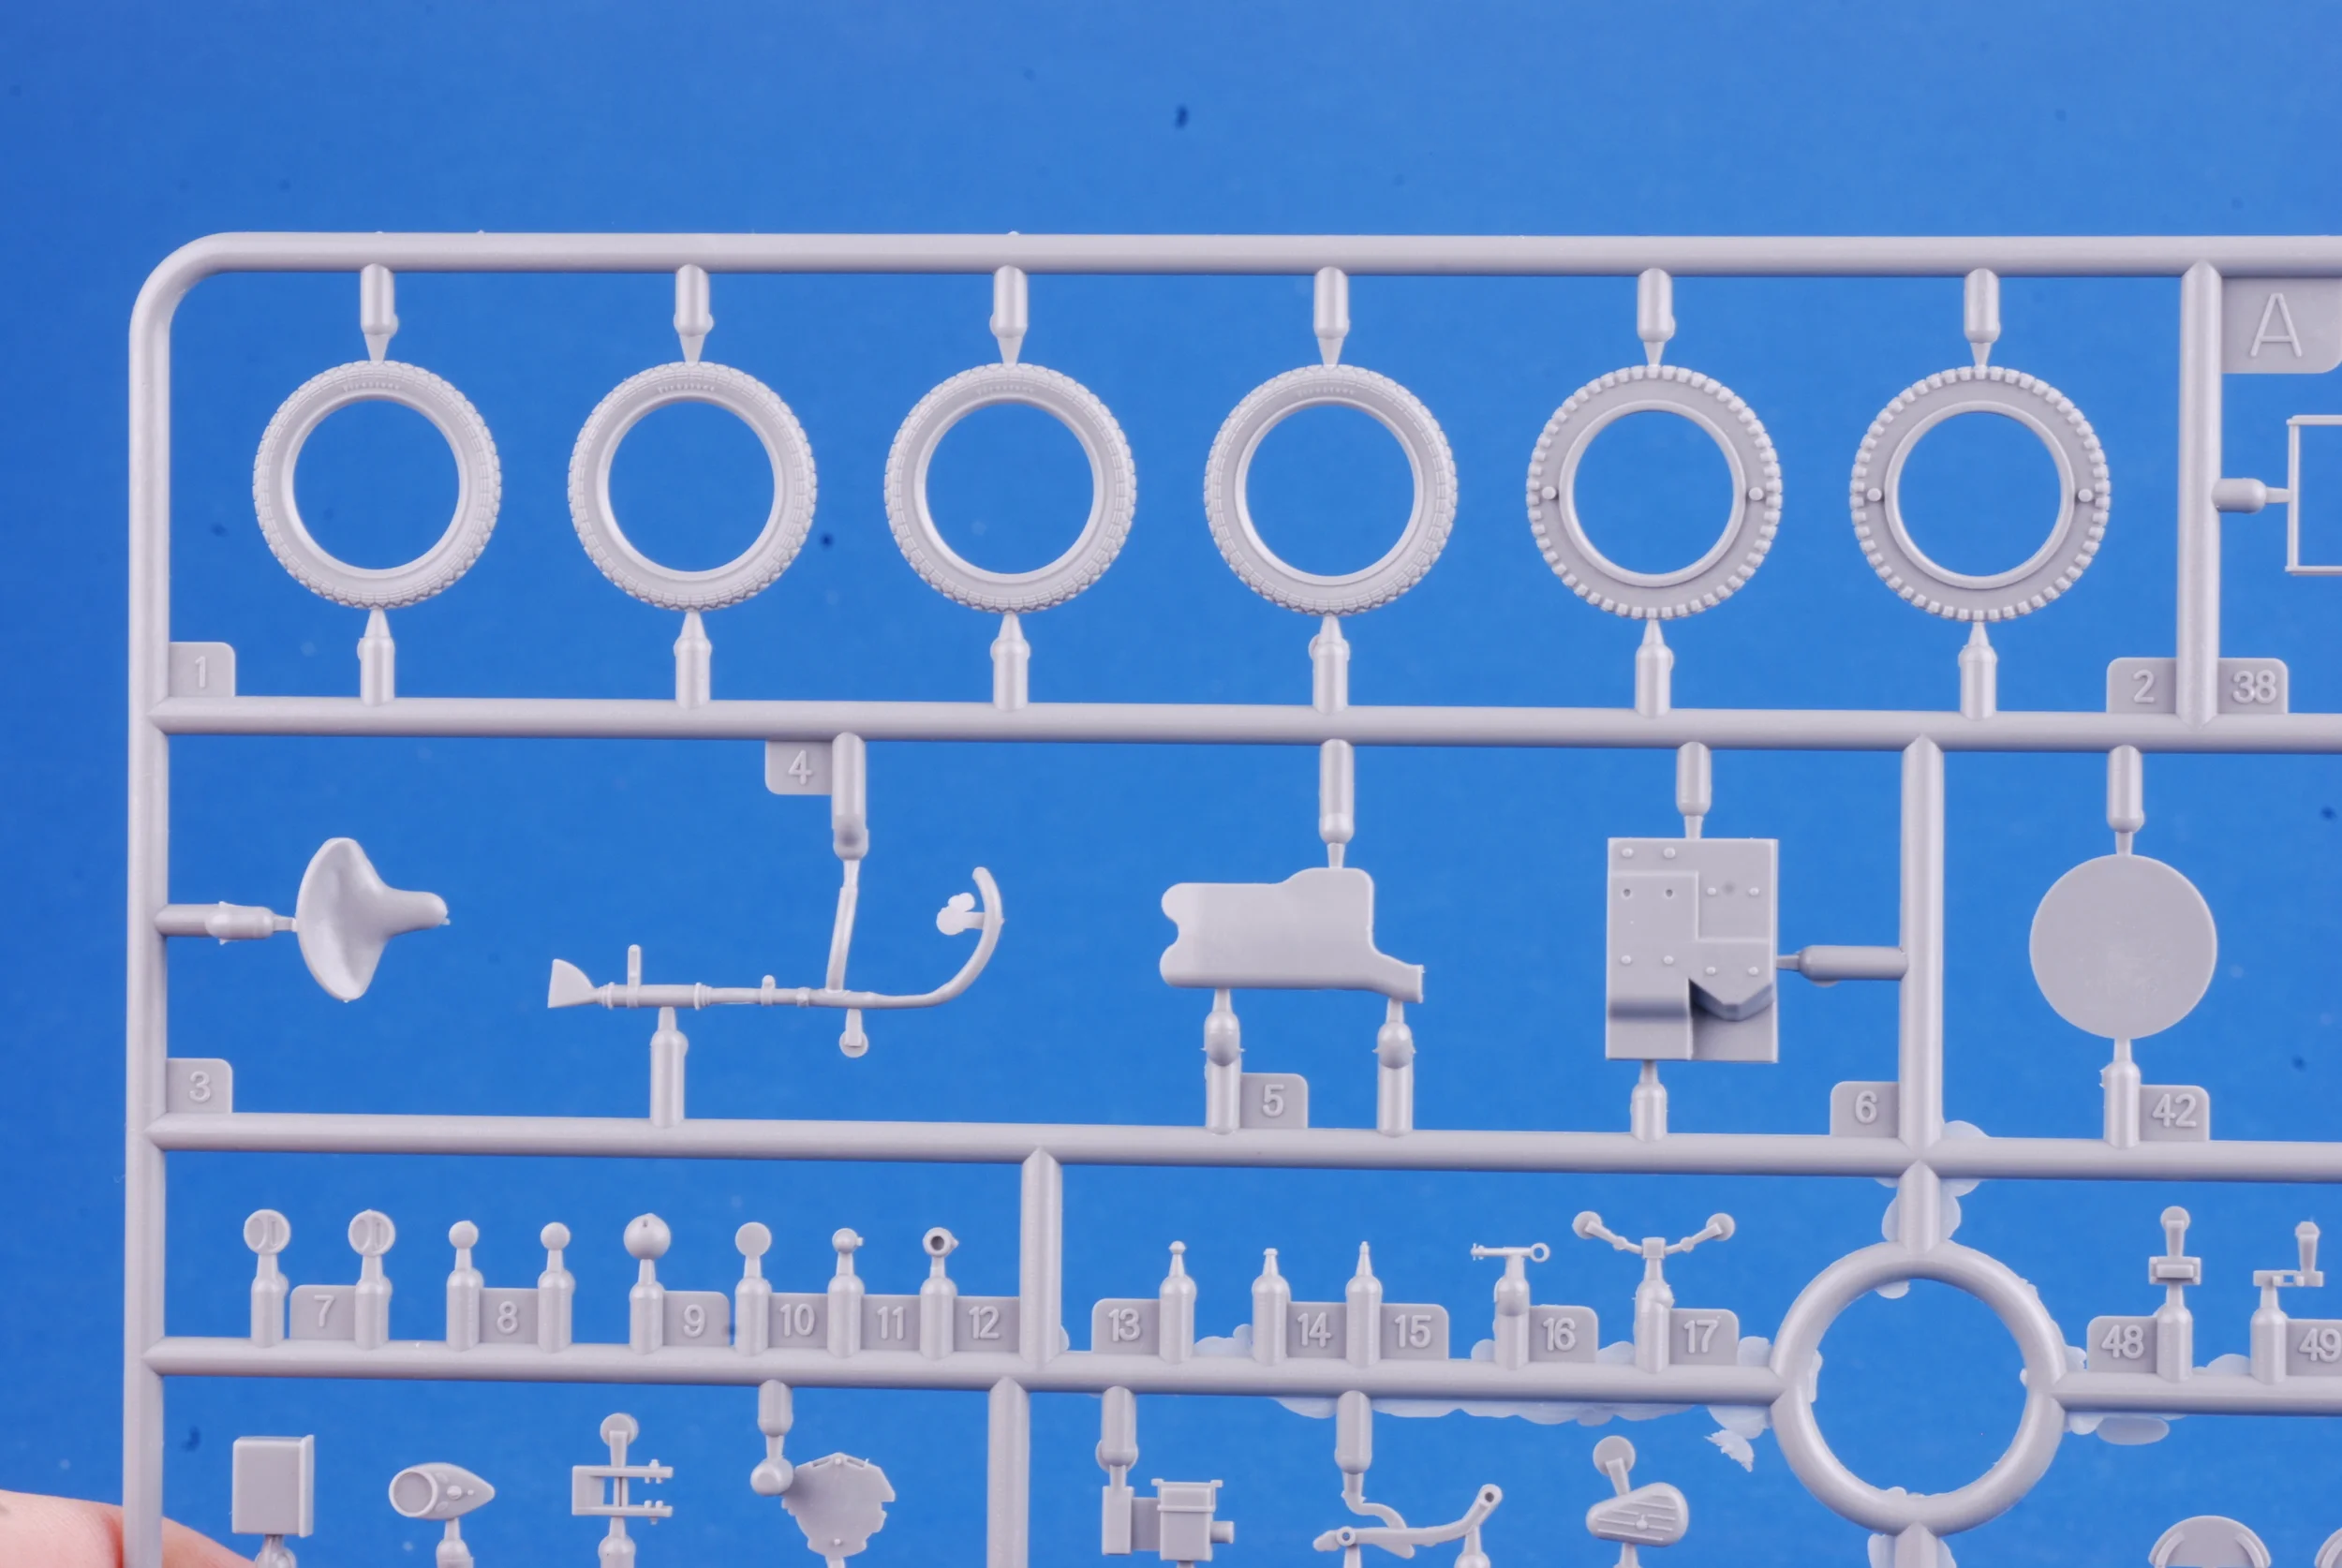
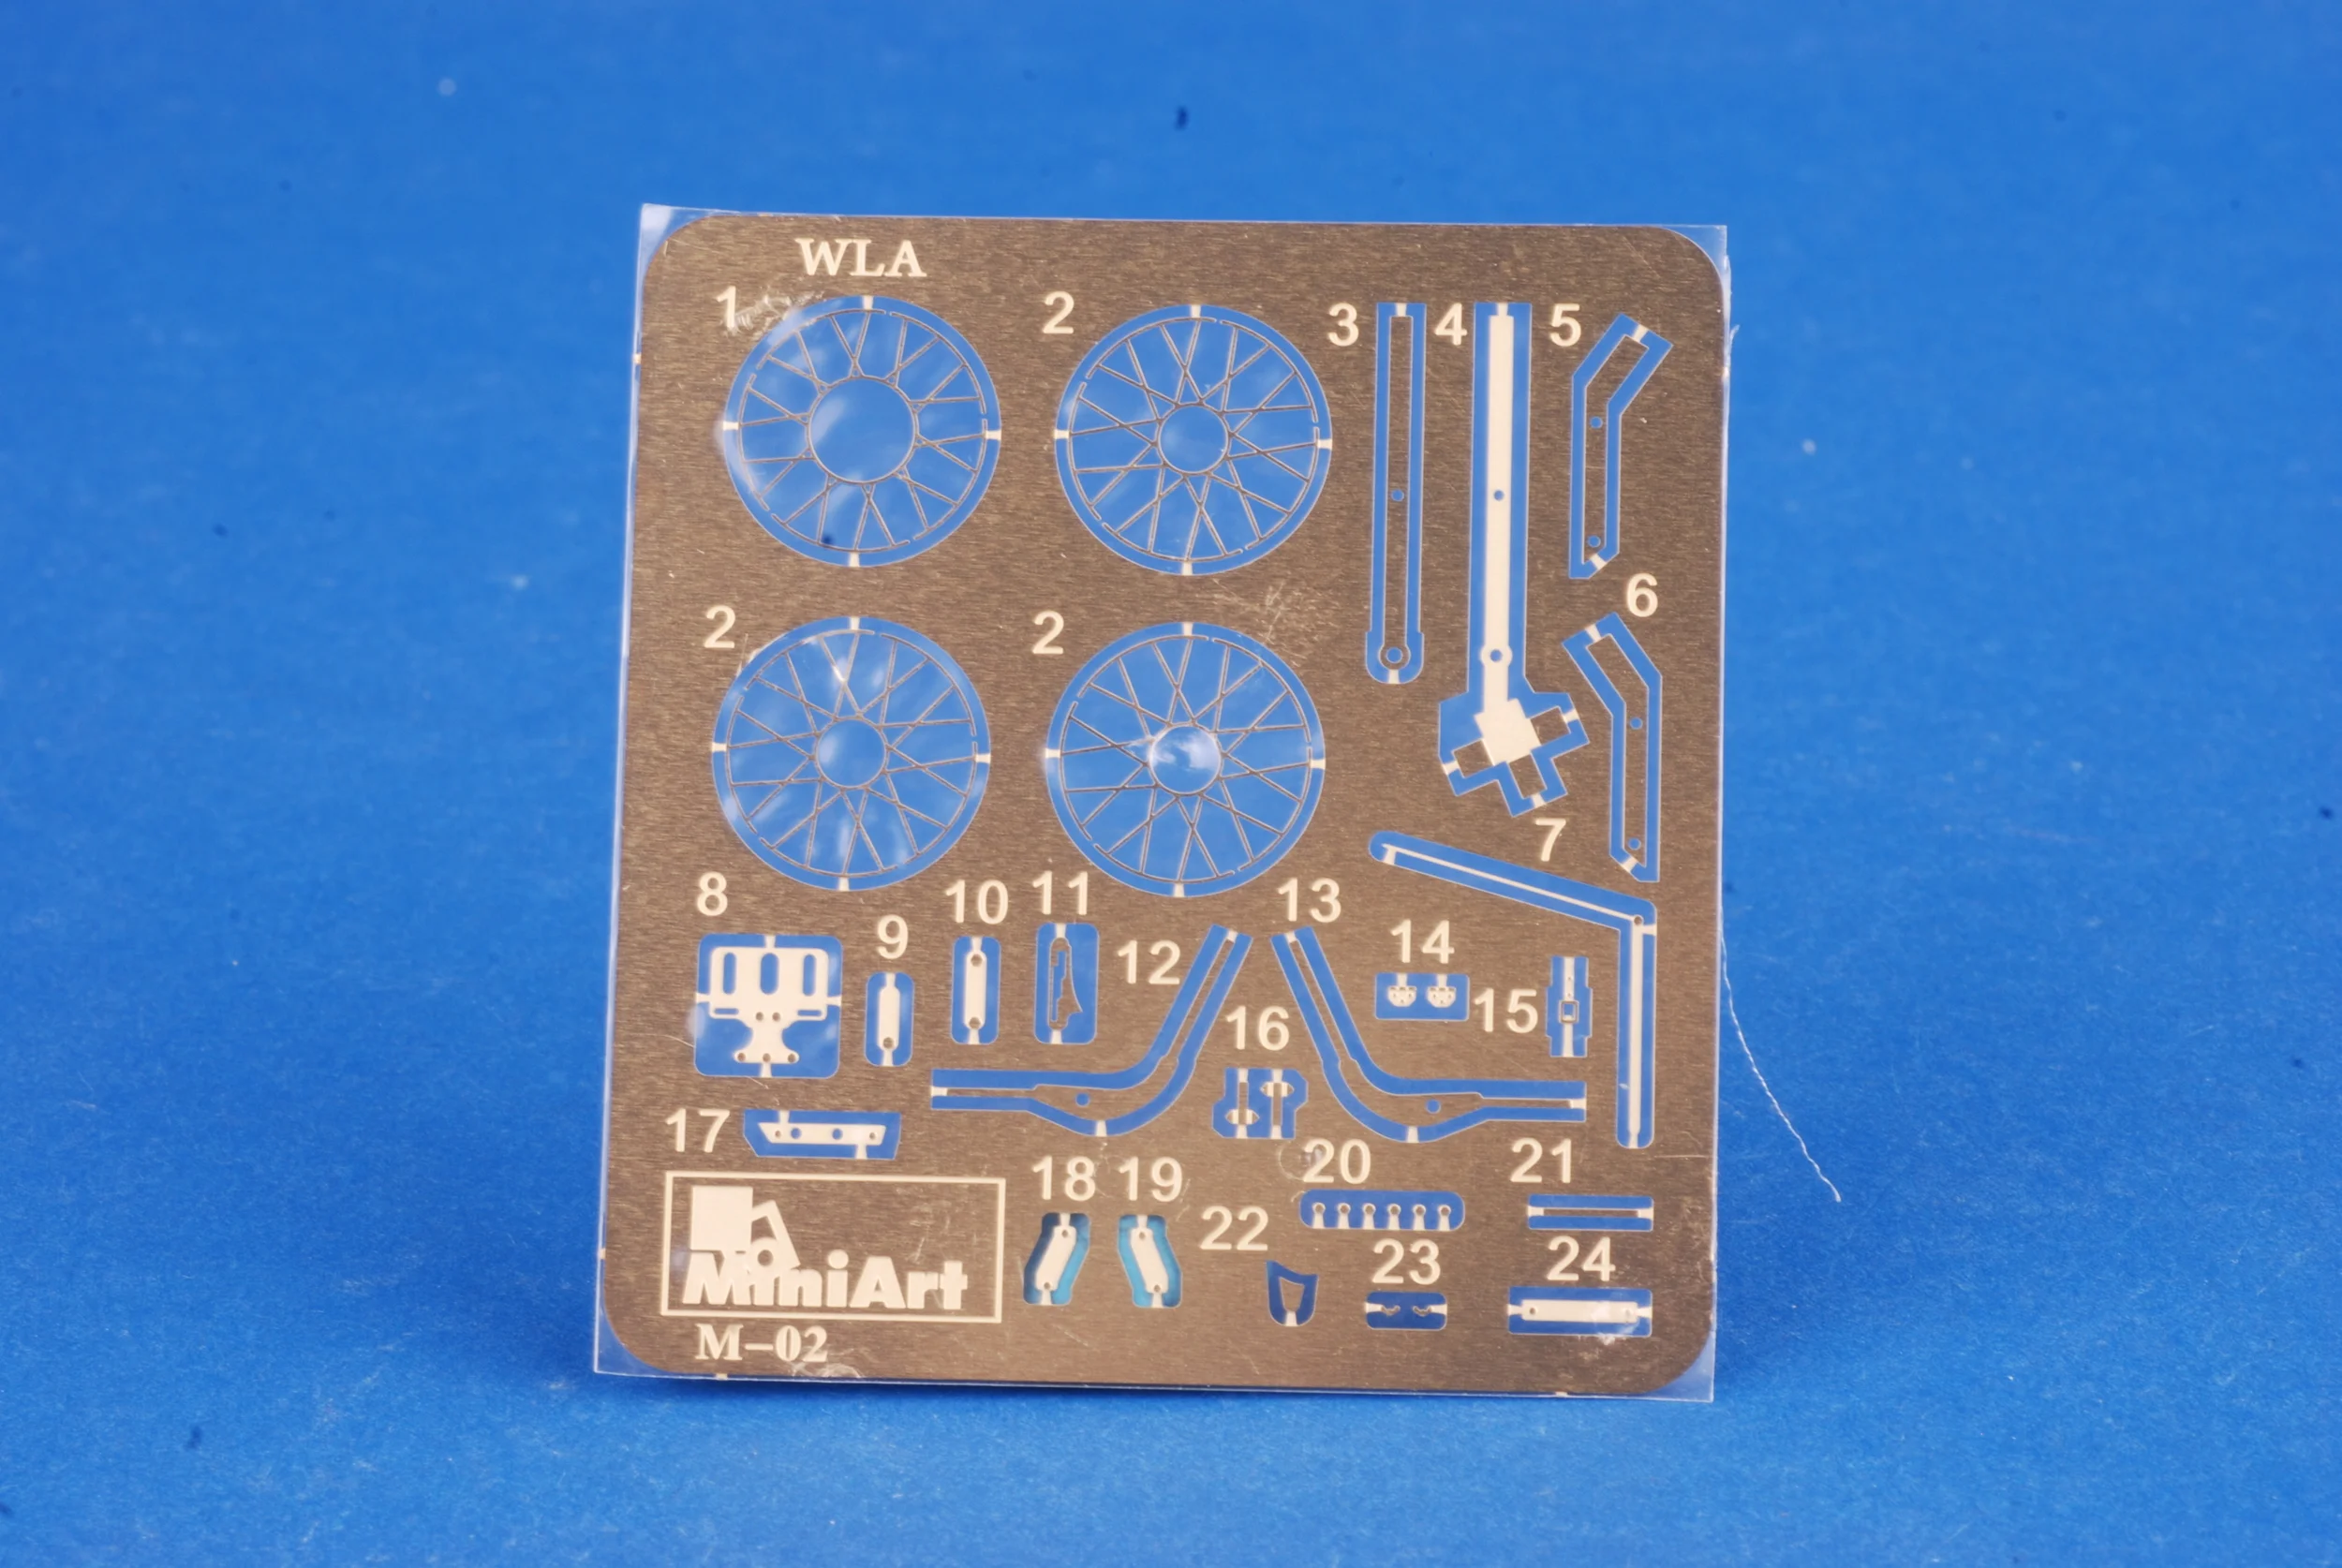
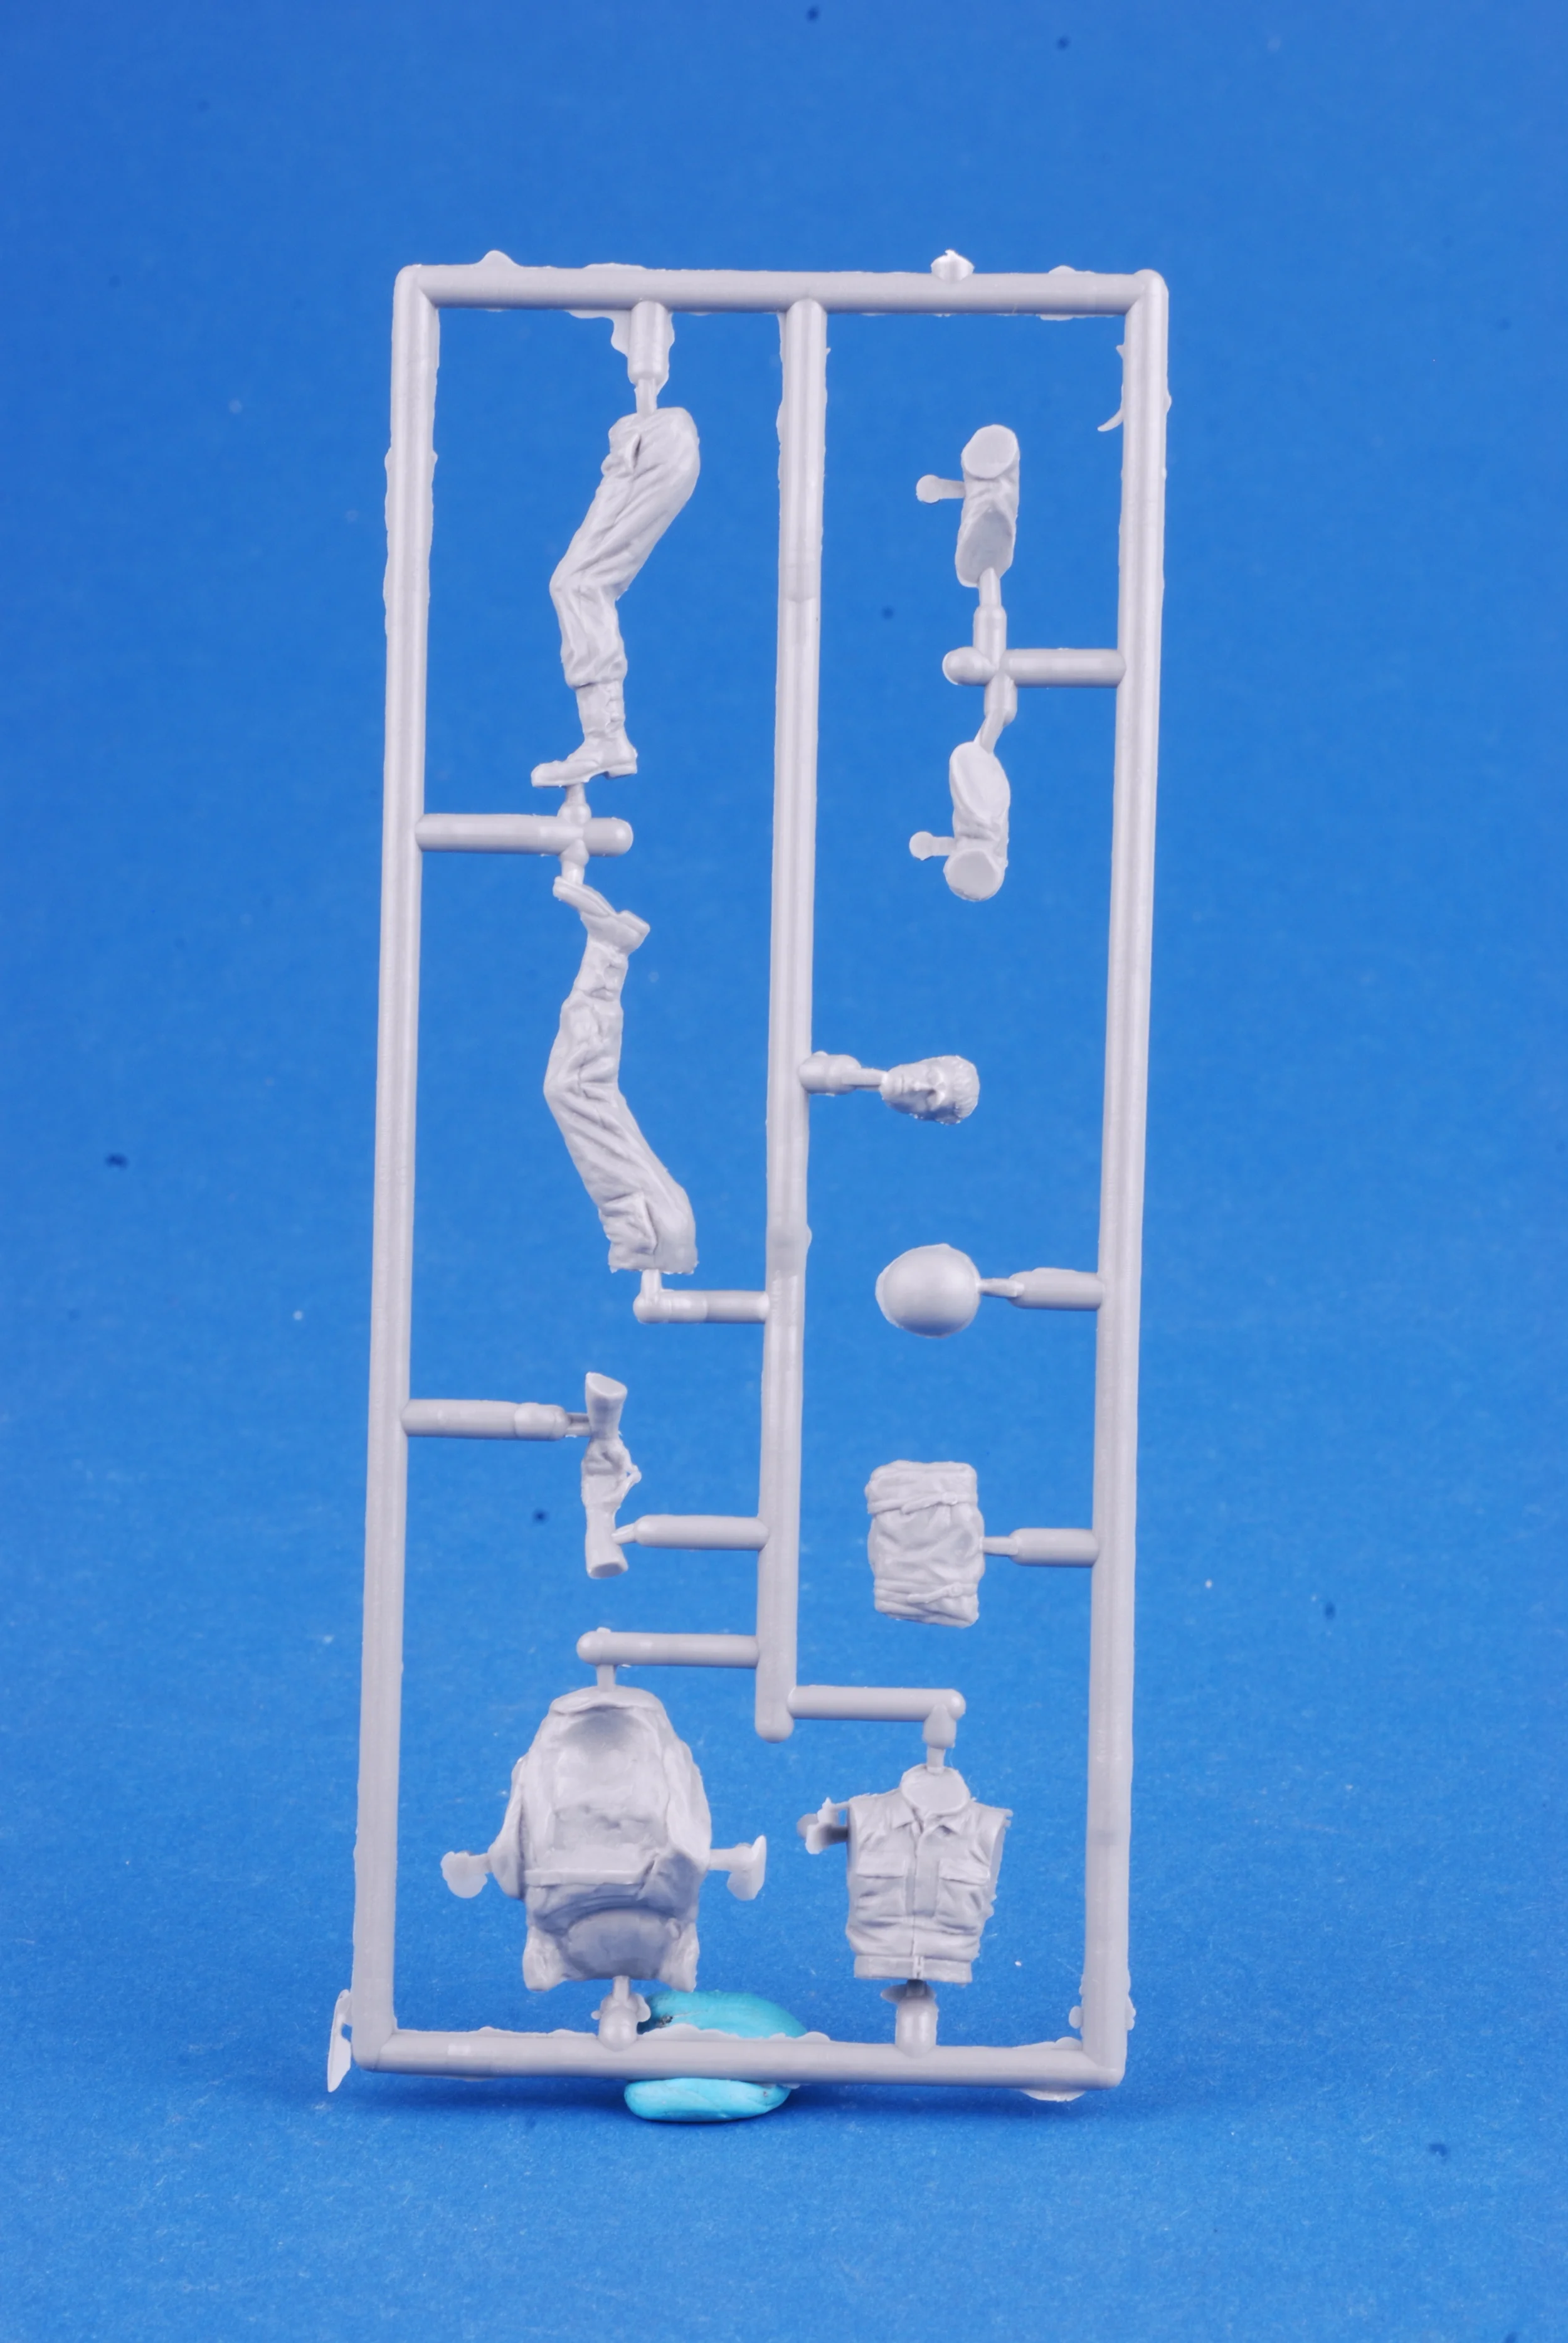
Civilians from Stalingrad Miniatures!
www.stalingrad.diorama.ru
3110, European Refugees, WWII Big Set

3111, Woman and Child, WWII

3112, European Refugee Woman, WWII

3113, European Refugee Man, WWII

3114, Refugees With Baby Carriage, WWII

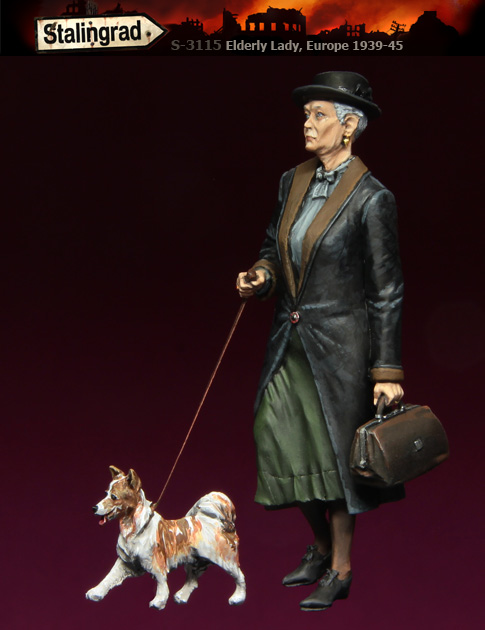
3115, Elderly Lady, WWII
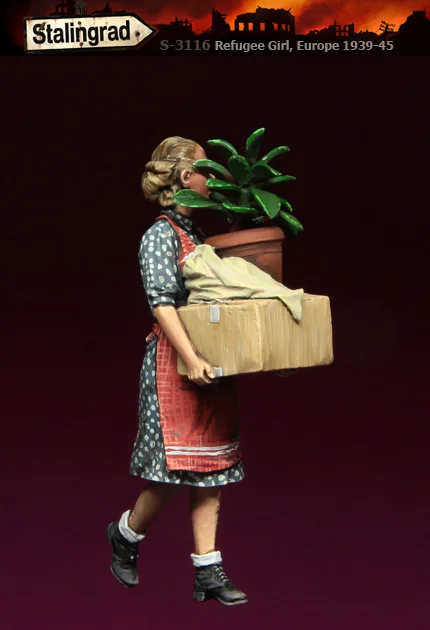
3116, Refugee Girl,WWII
News from Mini Art!
Mini Art promises better plastic:
Dear All,
In past year we have been receiving complains concerning the quality of some our models The problem was with raw material. Unfortunately because of certain circumstances only one type of polystyrene which made in Russia is available in Ukraine. And this kind of polystyrene is low quality with unstable indicators, what influences on final product. Moreover, the quality of the pointed polystyrene is getting worse during the year. We have tried many approaches to improve the process of manufacturing, such as special settings during injection of exact mould, special additives for polystyrene etc. But unfortunately we haven’t received needed effect.
That’s why despite of increasing of net cost we made a decision to change the material. After six months of research and looking for the way of import we have purchased high quality polystyrene. The chosen material is made in Belgium.
We are glad to share with you this news! And inform you that we have received the first supply of the polystyrene on August 7. We have already started injection! The new sprue’s were tested and passed quality control with excellent result! The problem of fragility is solved!
If you have any questions, issues please do not hesitate to contact us by emails, FB, guestbook. We will do our best to help you and improve our quality!
Sincerely yours,
MINIART MODELS team
Big Box of Kits from Dragon USA Part 1
www.dragonusaonline.com
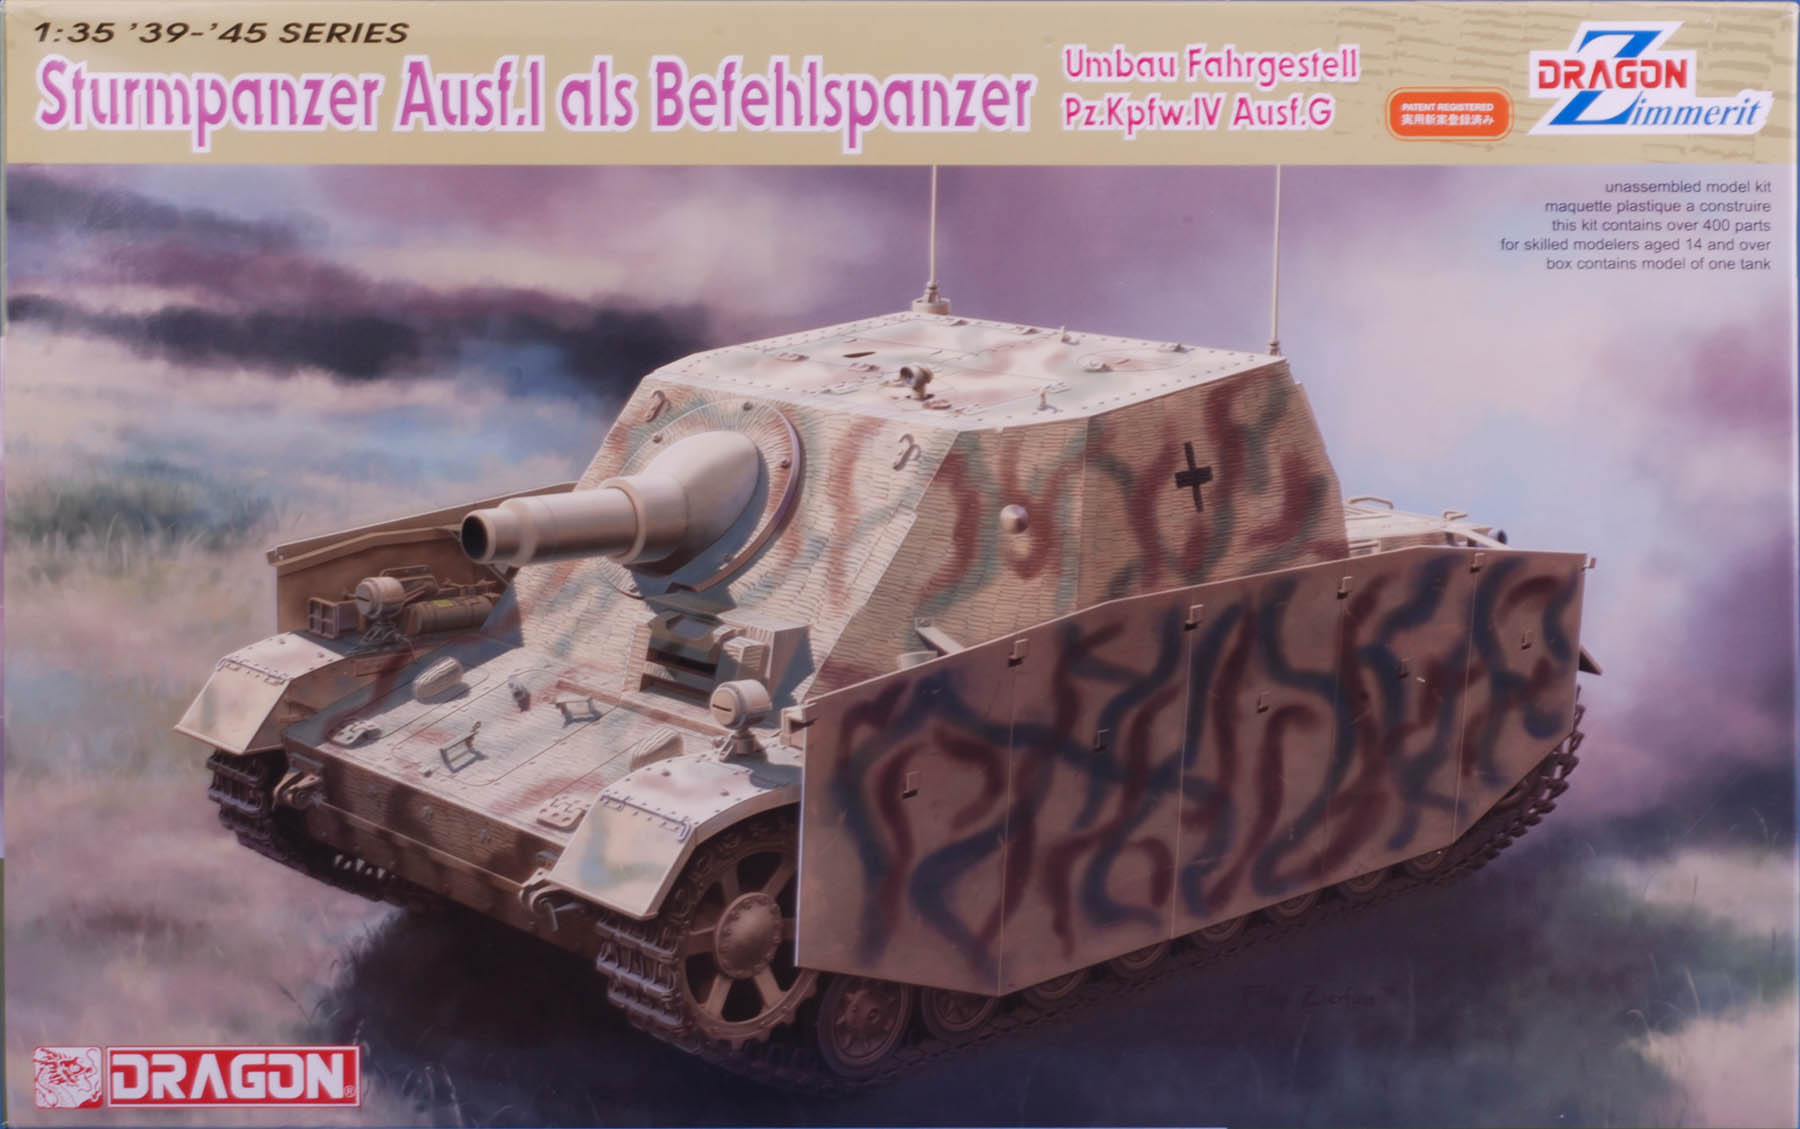
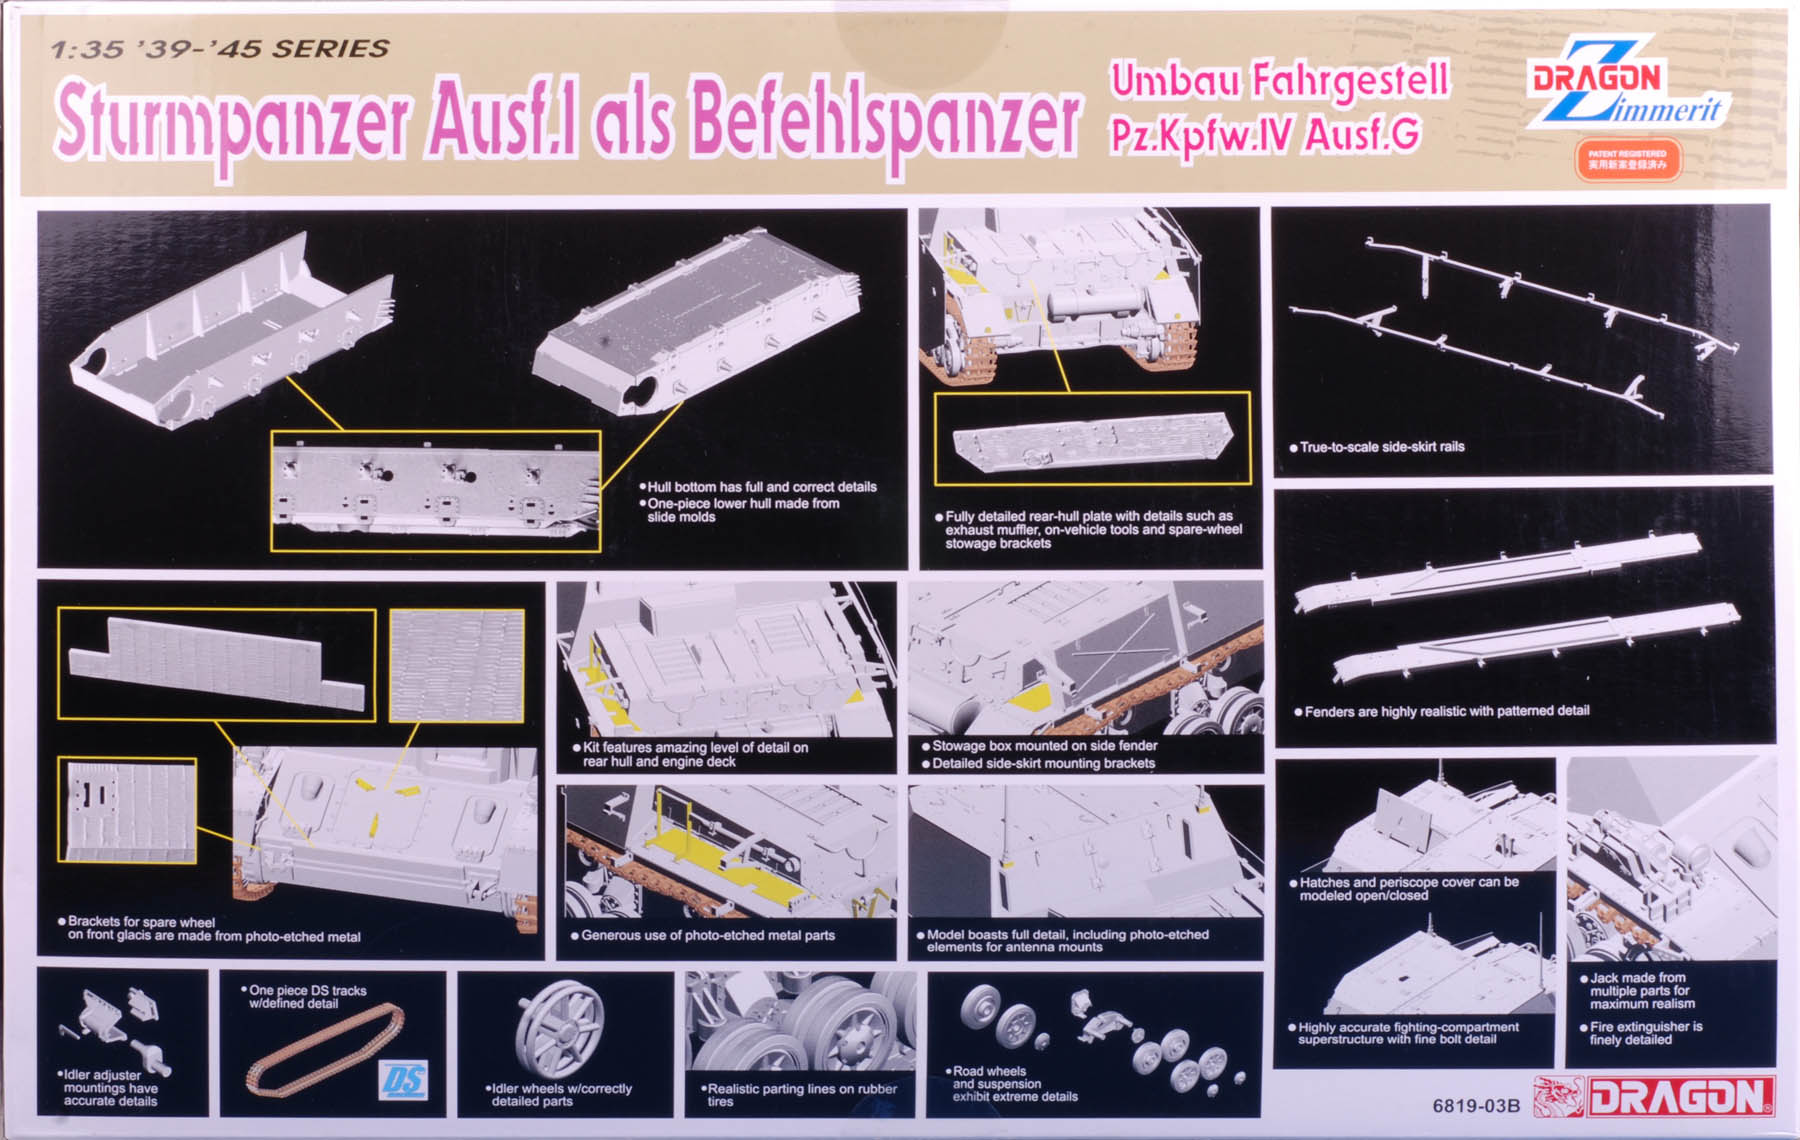
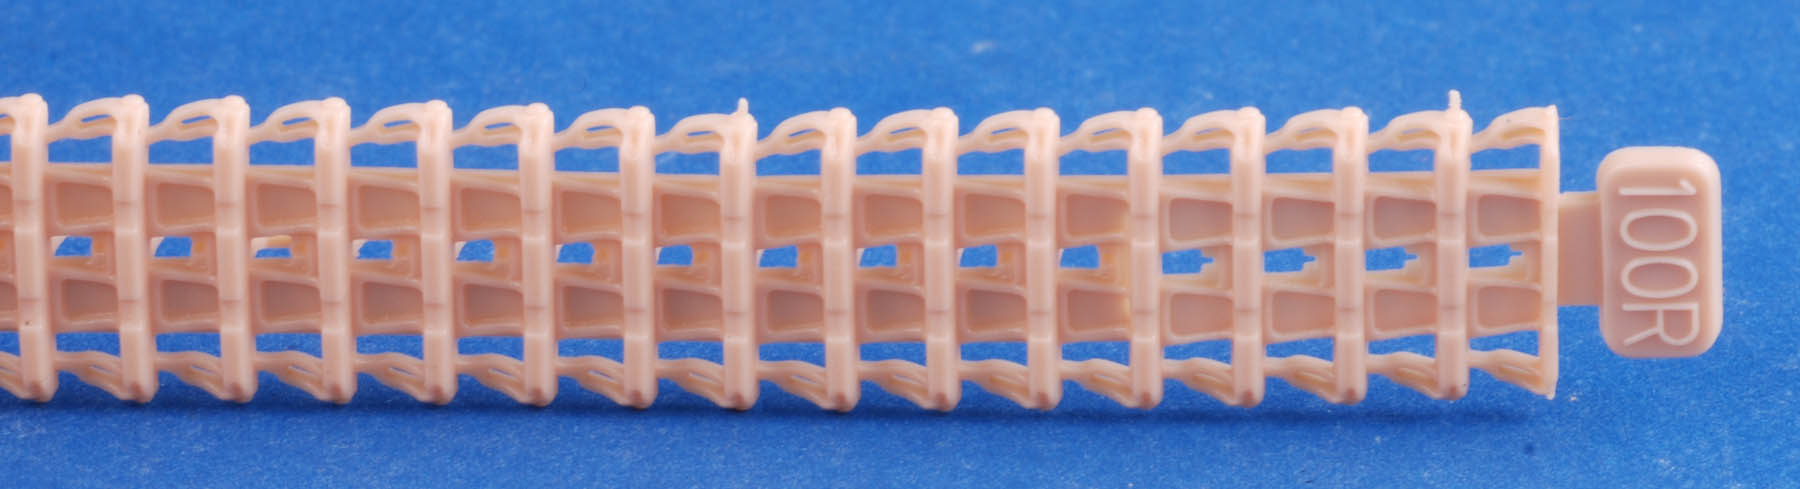
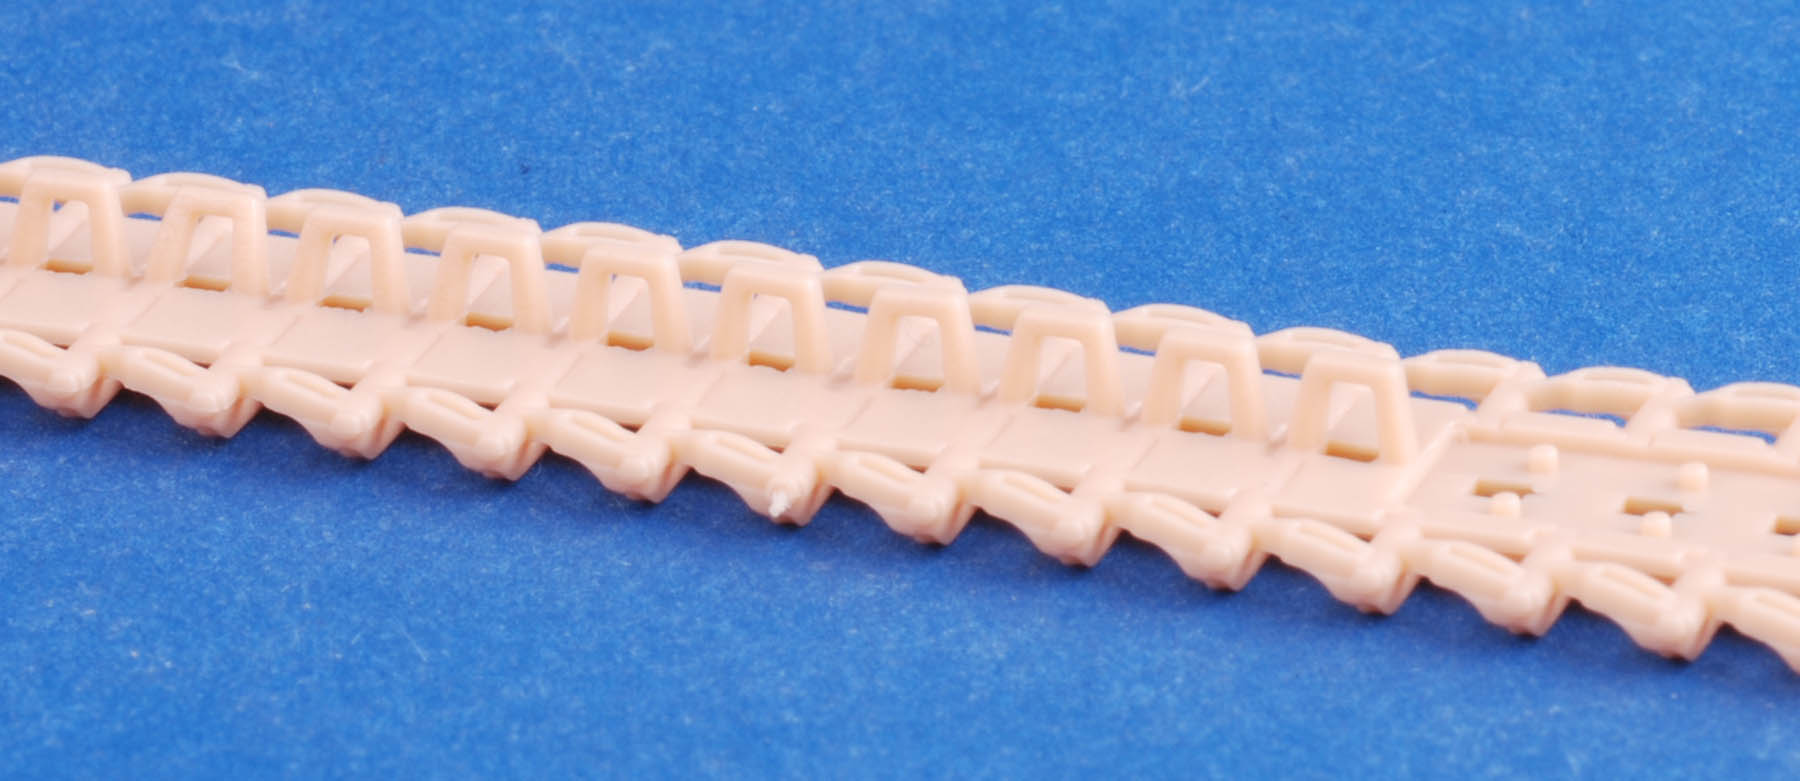
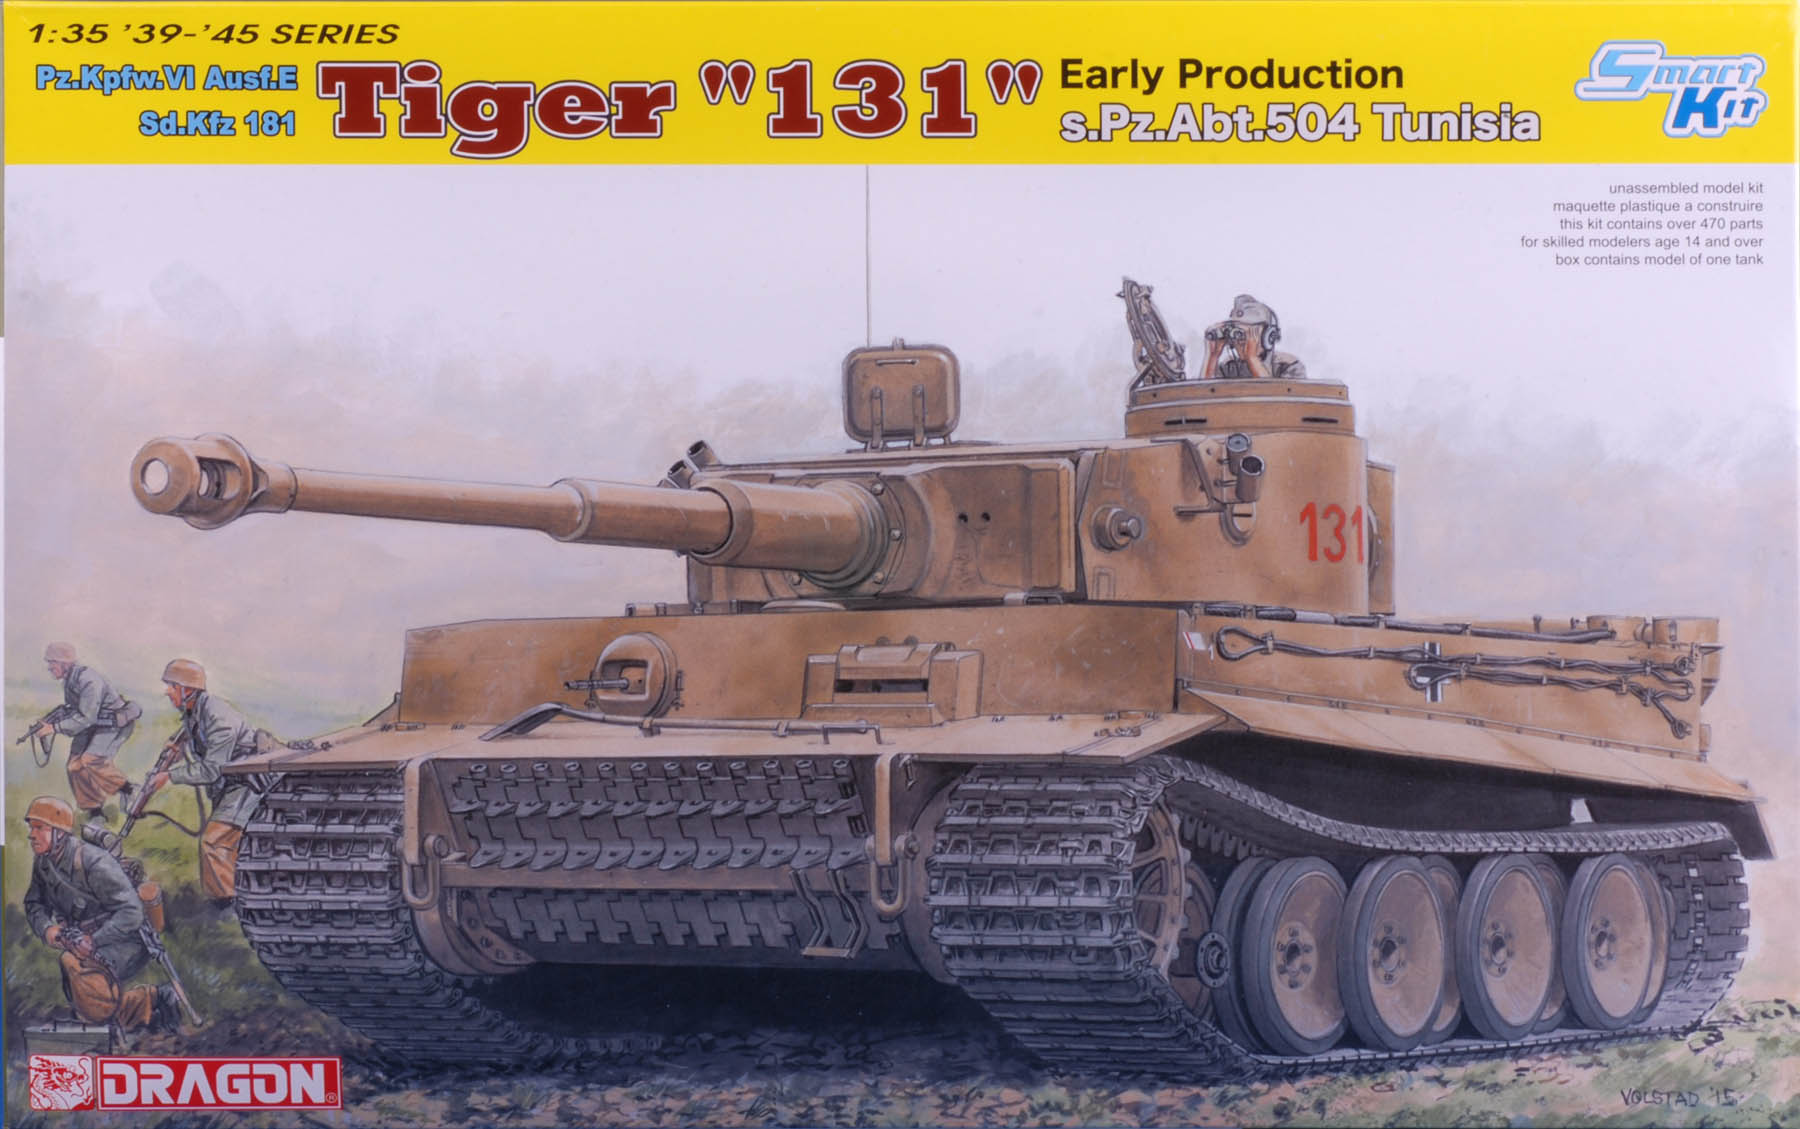
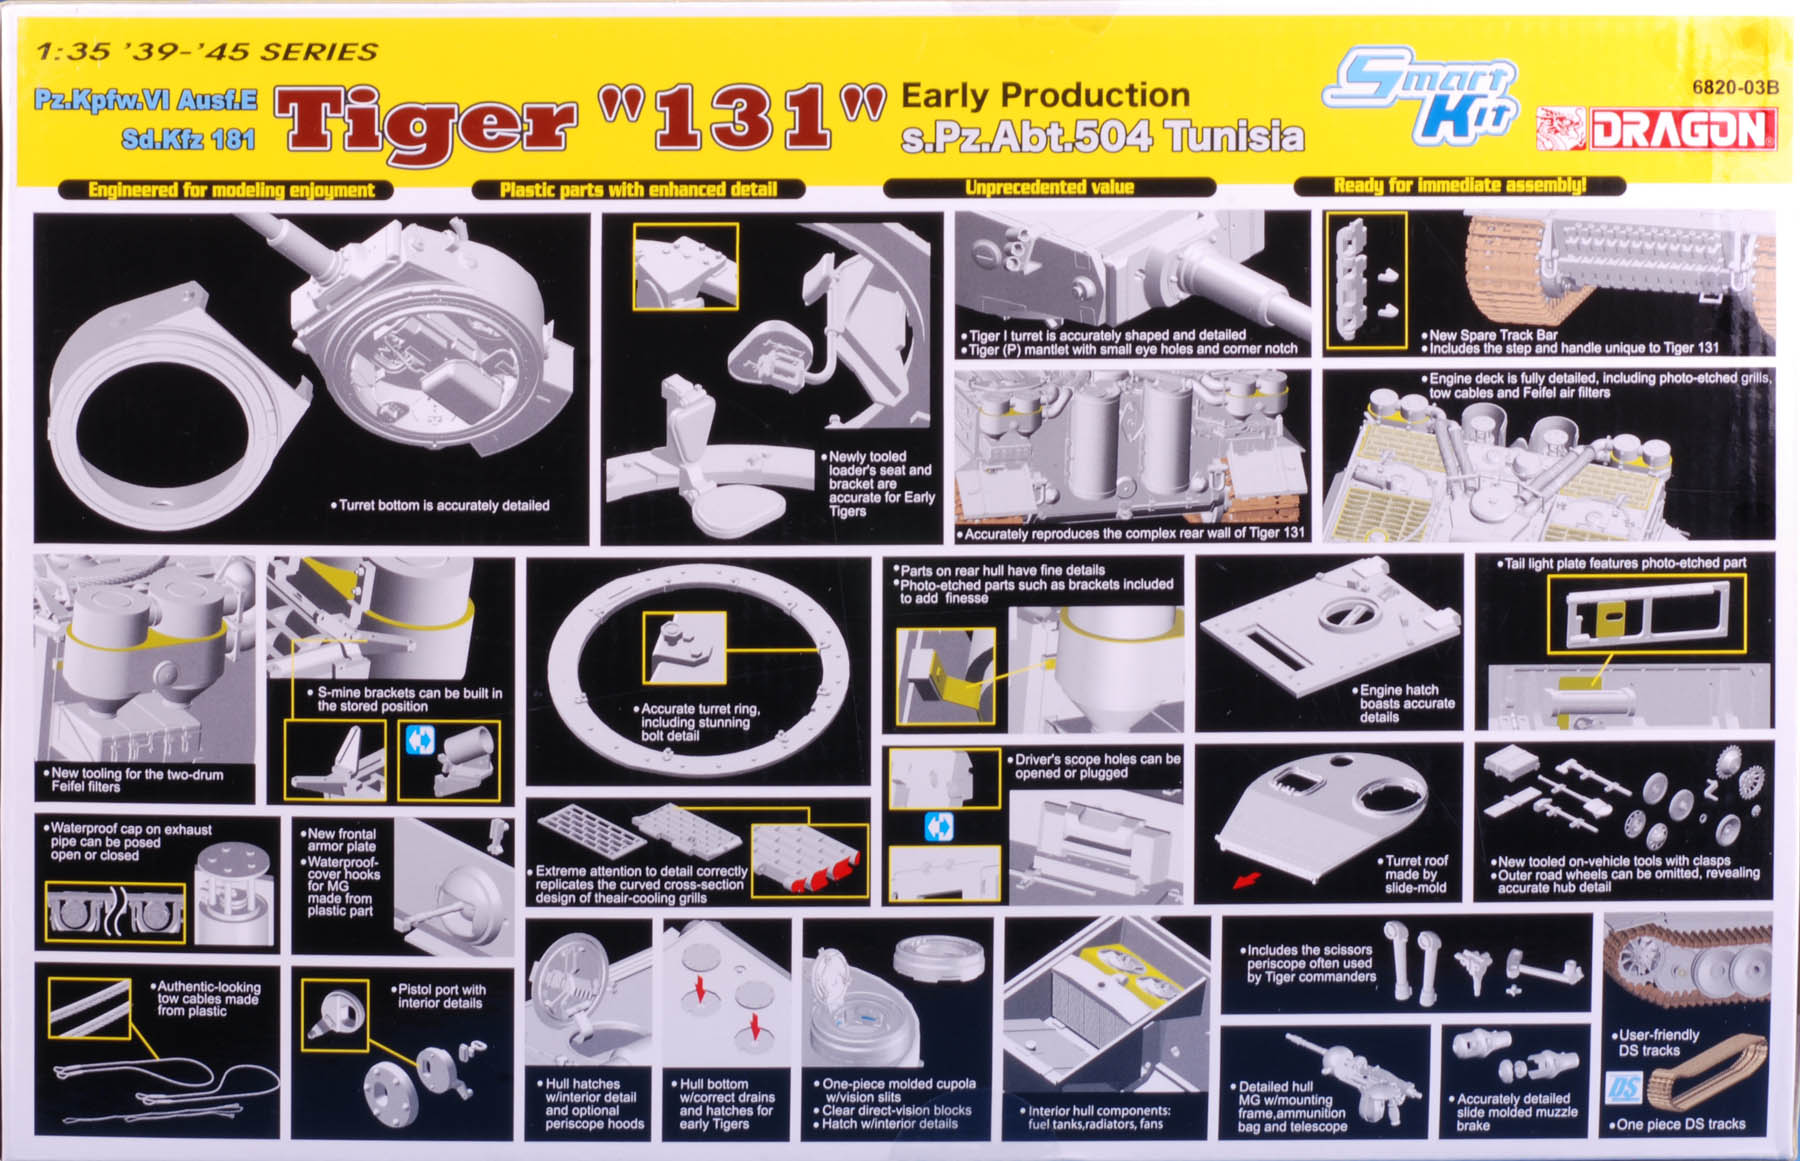
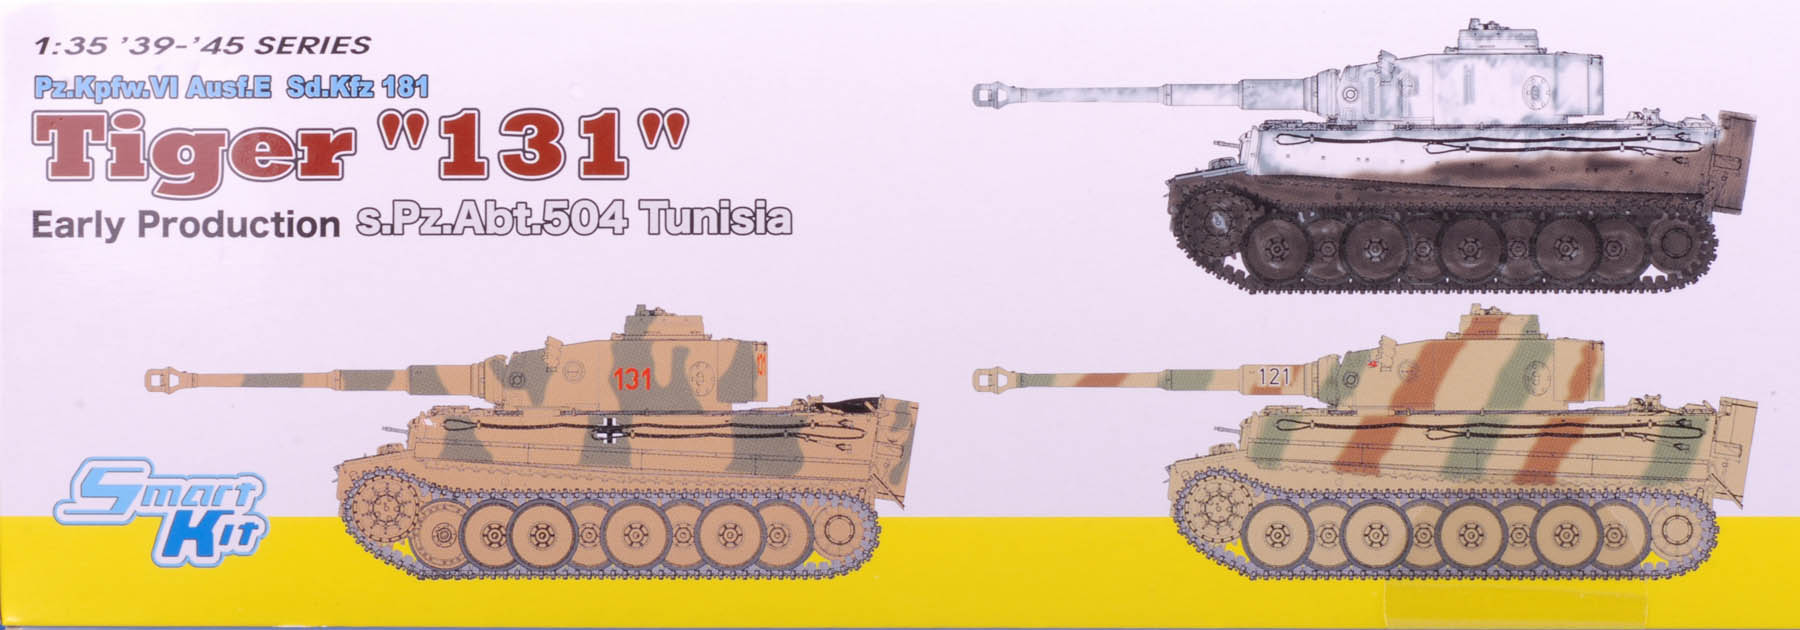
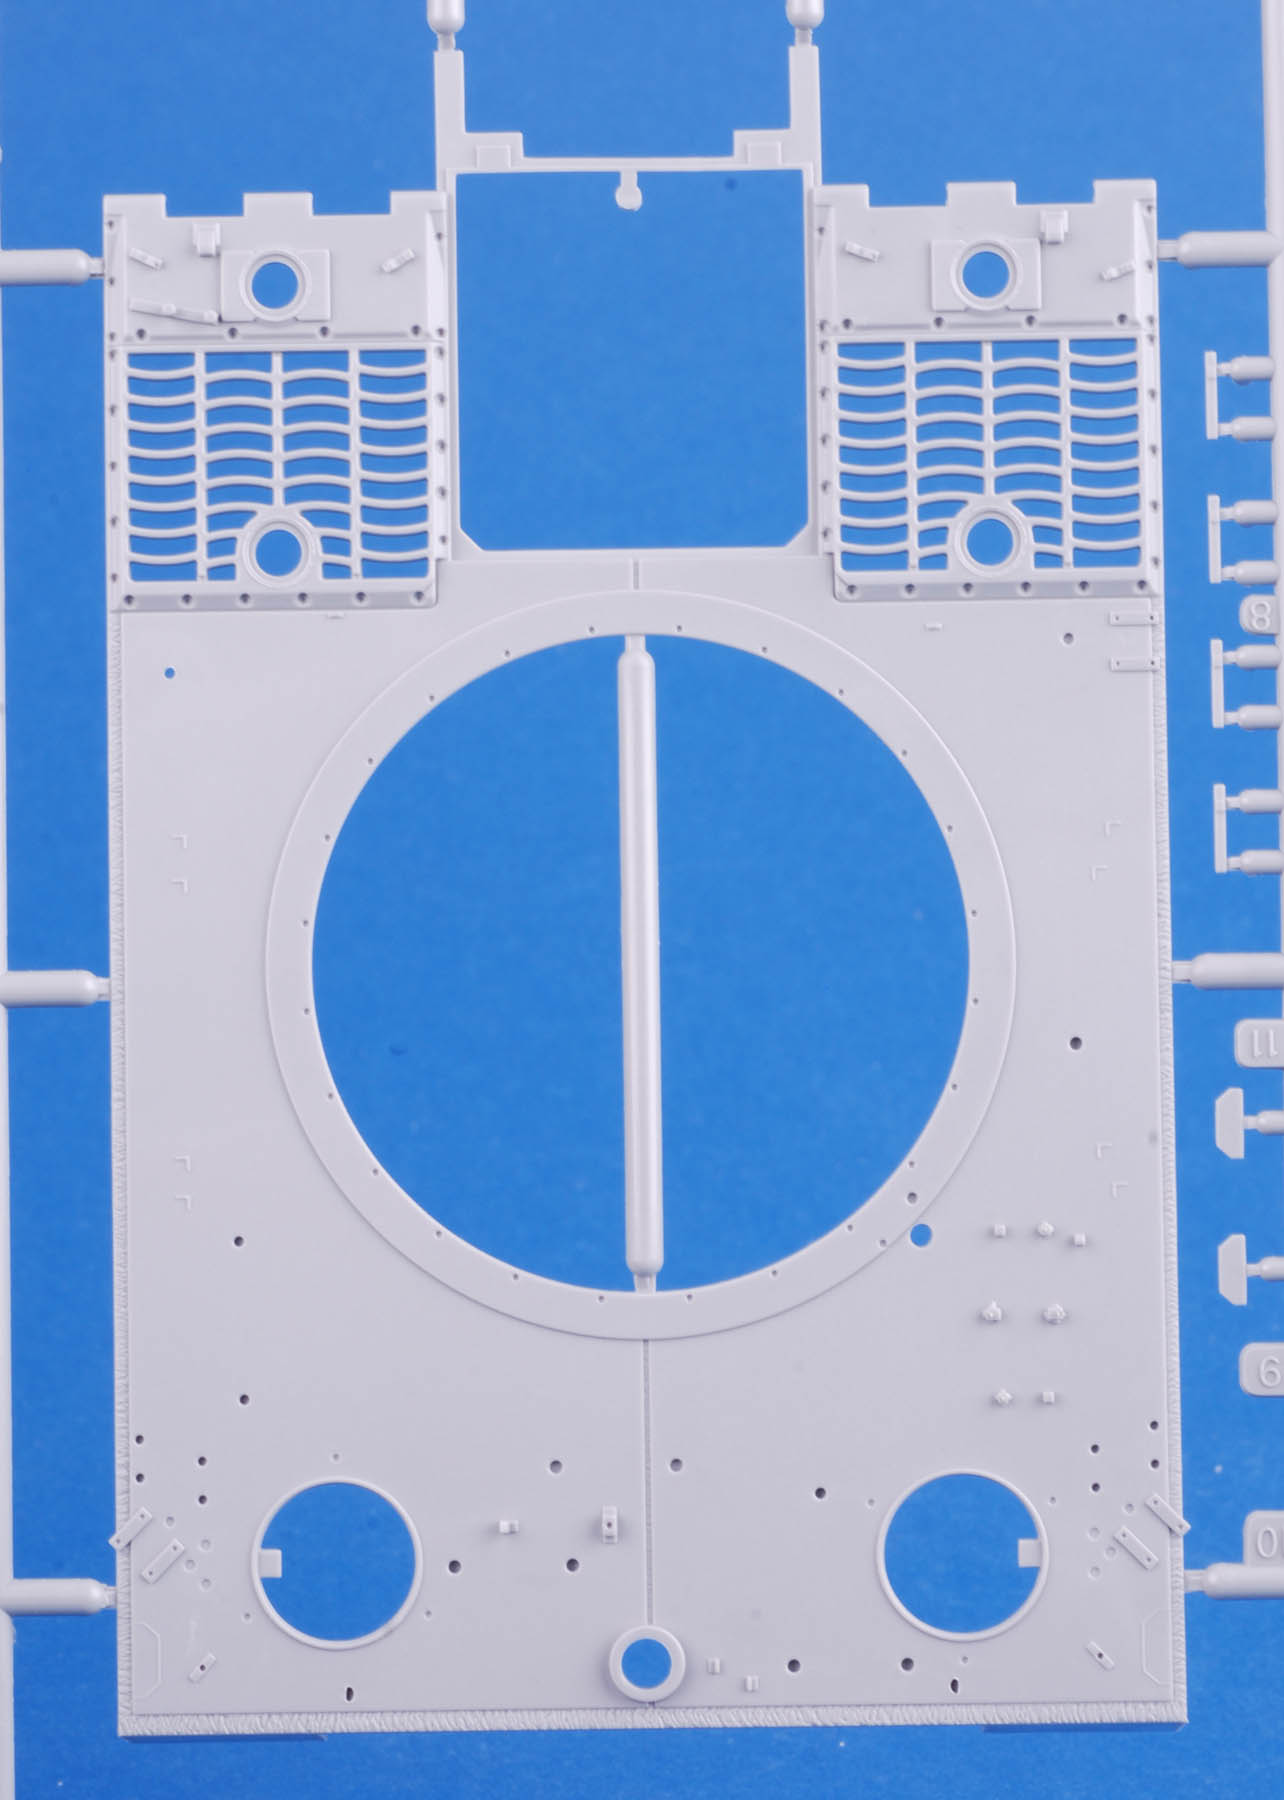
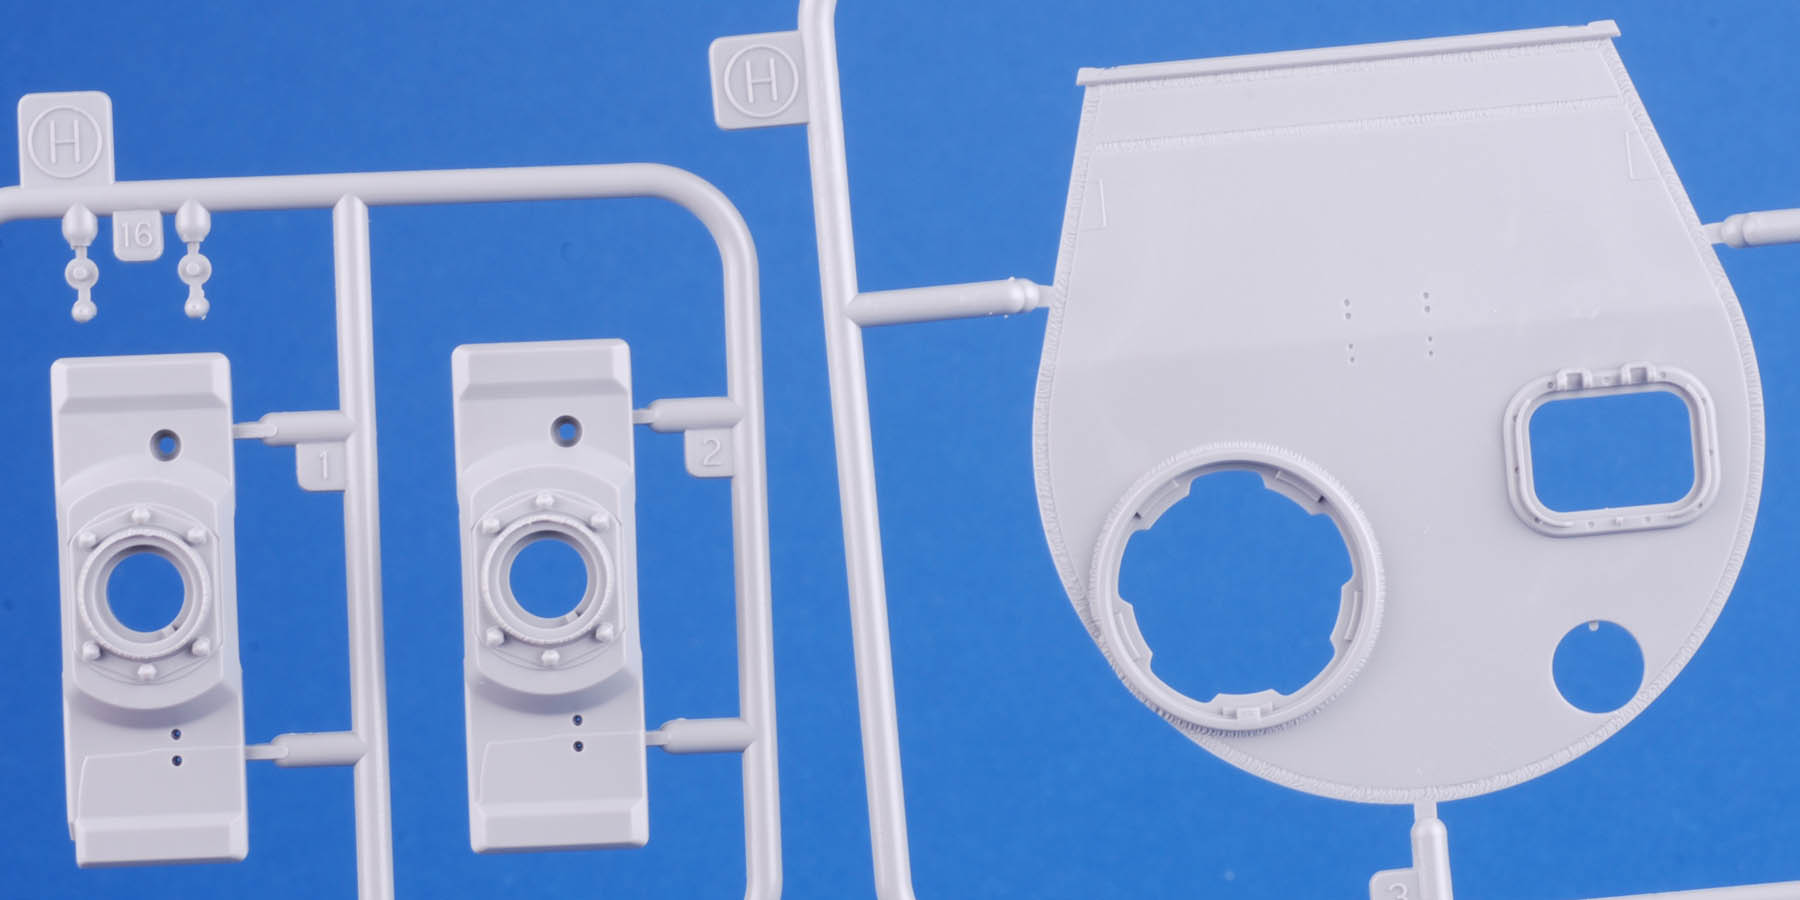
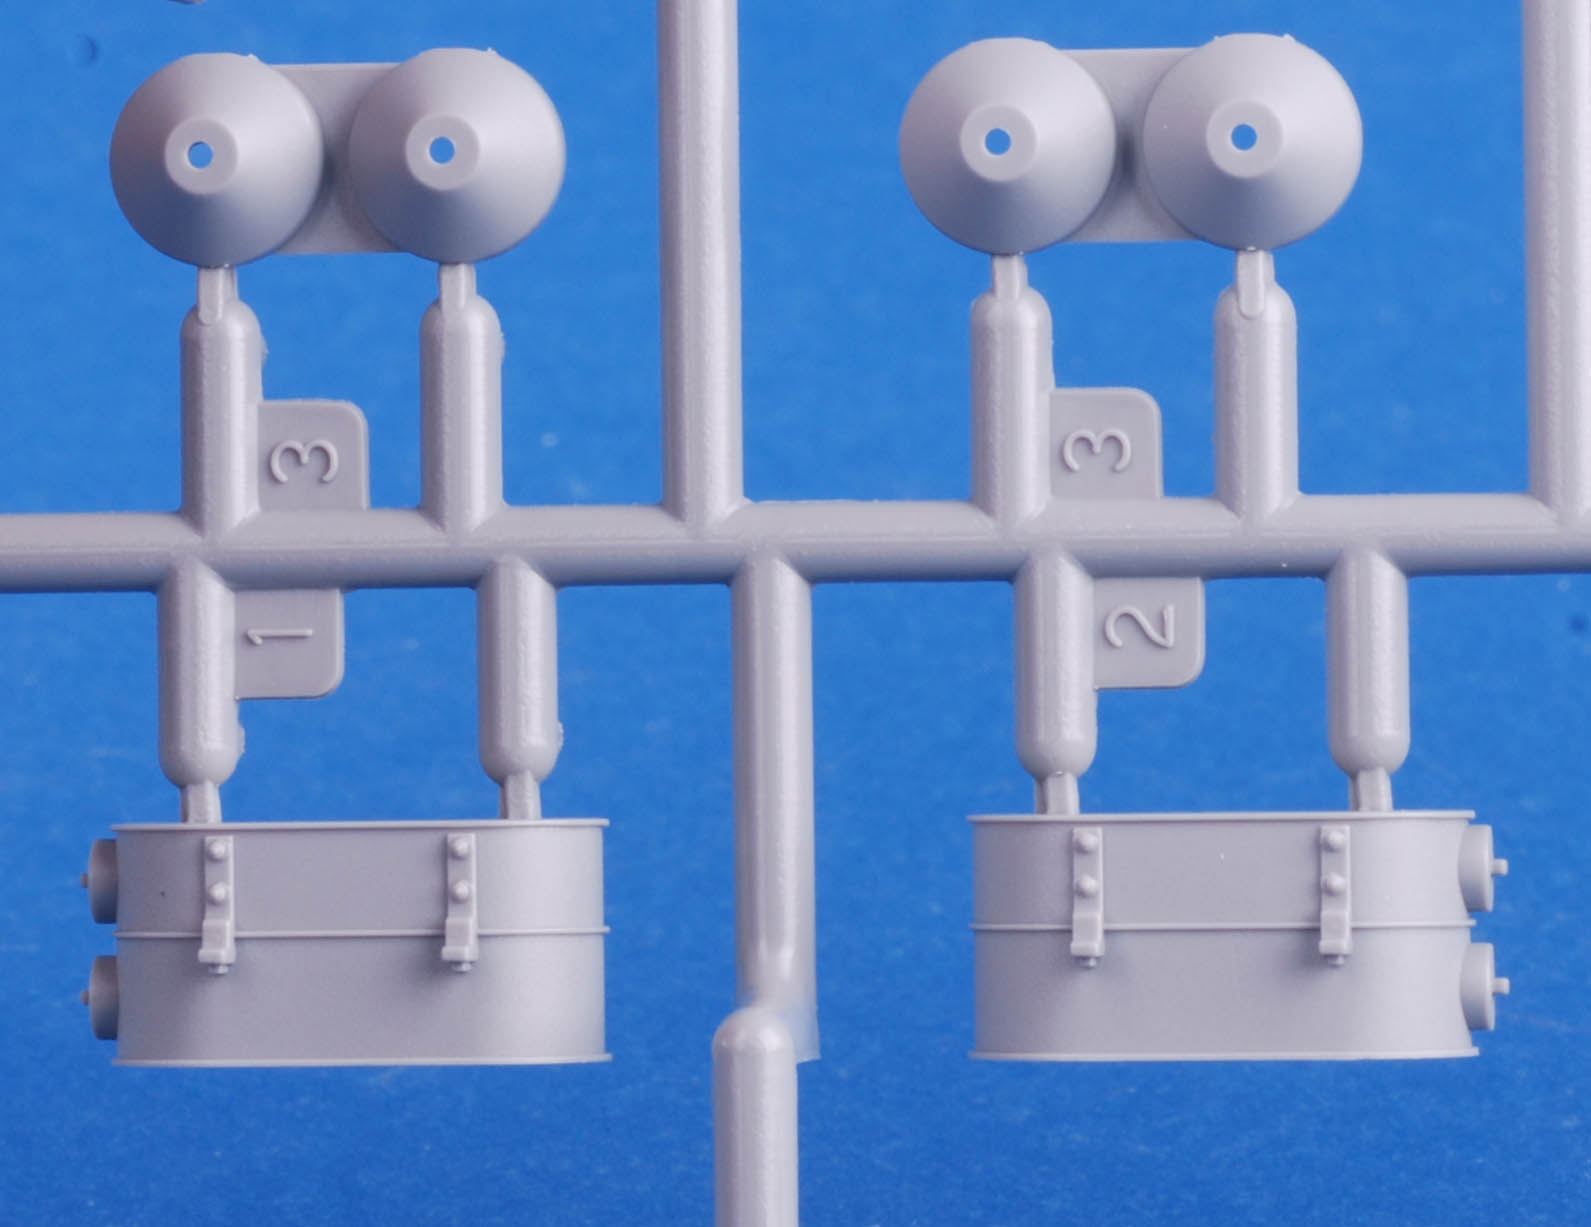
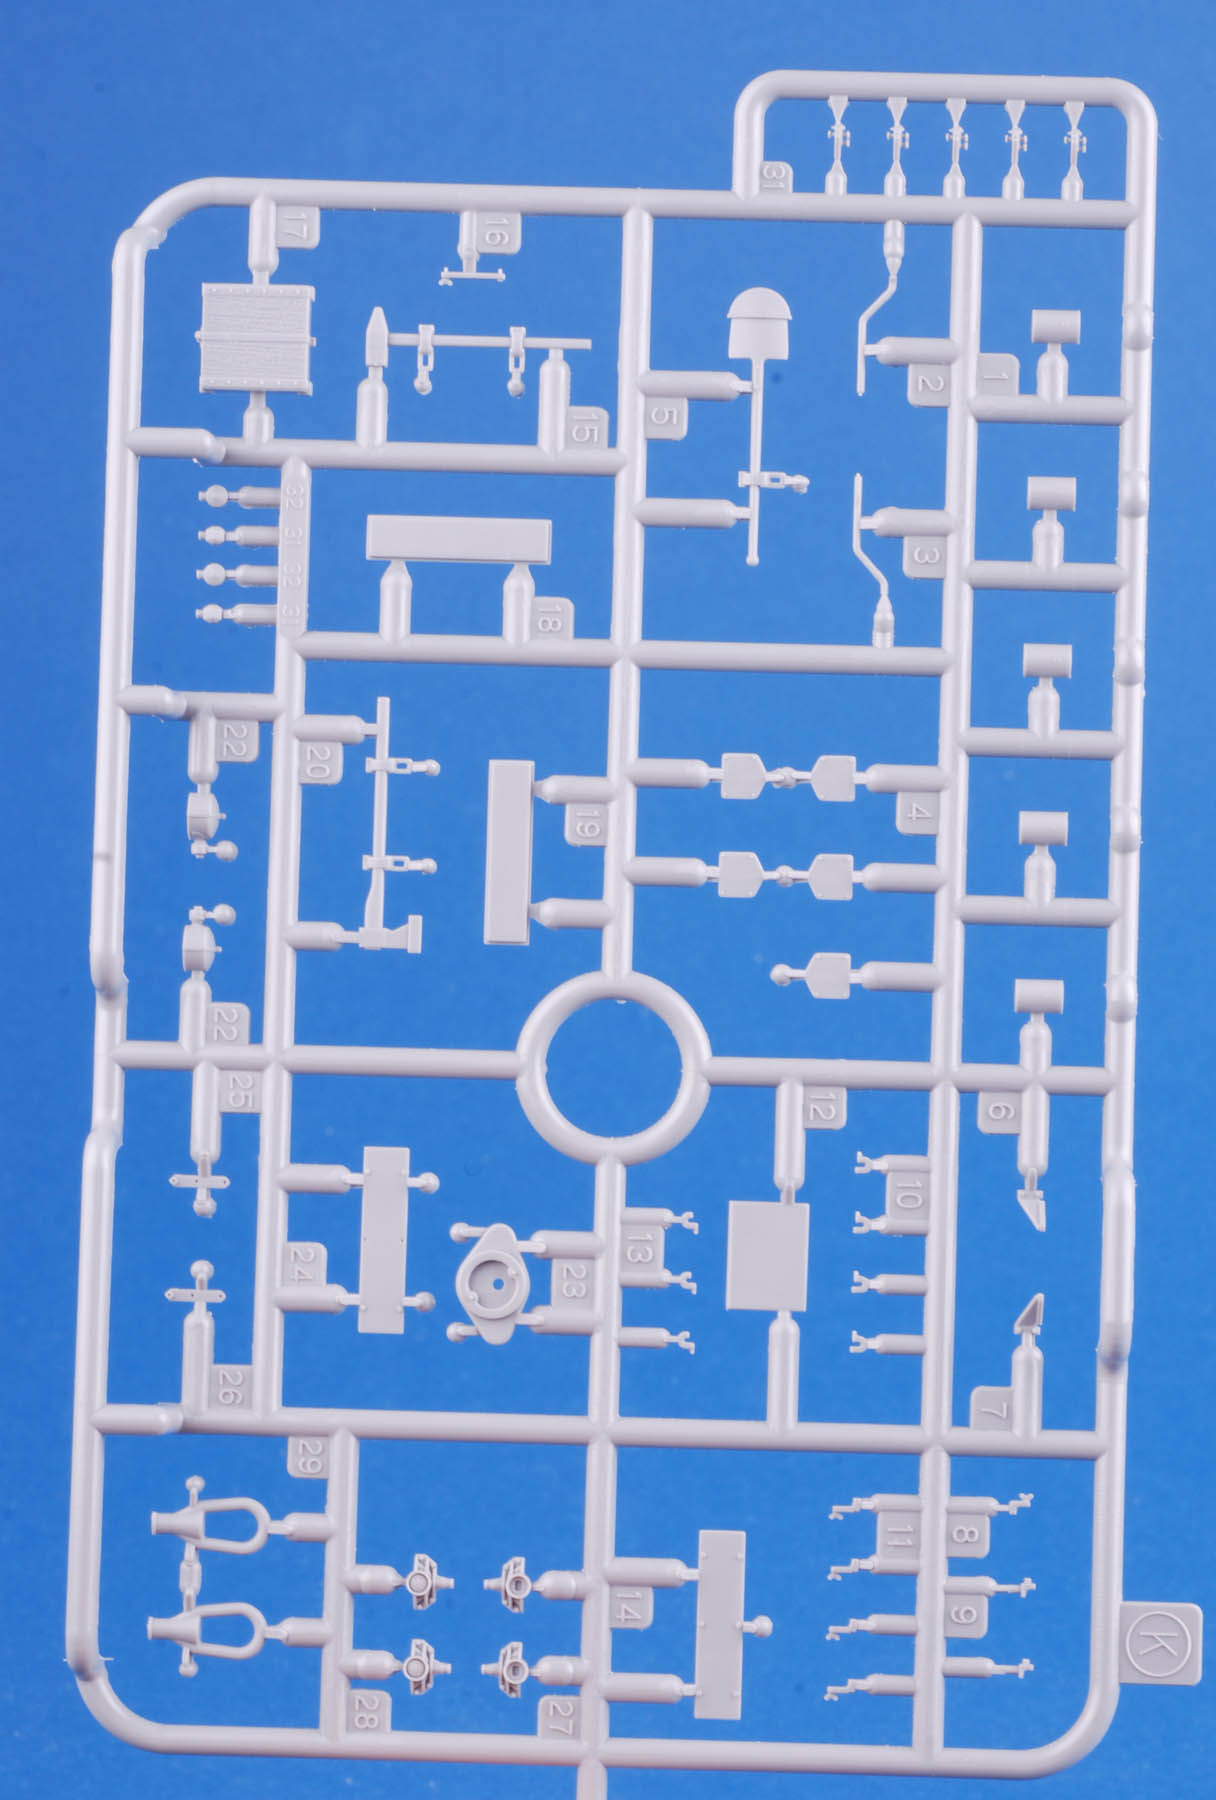
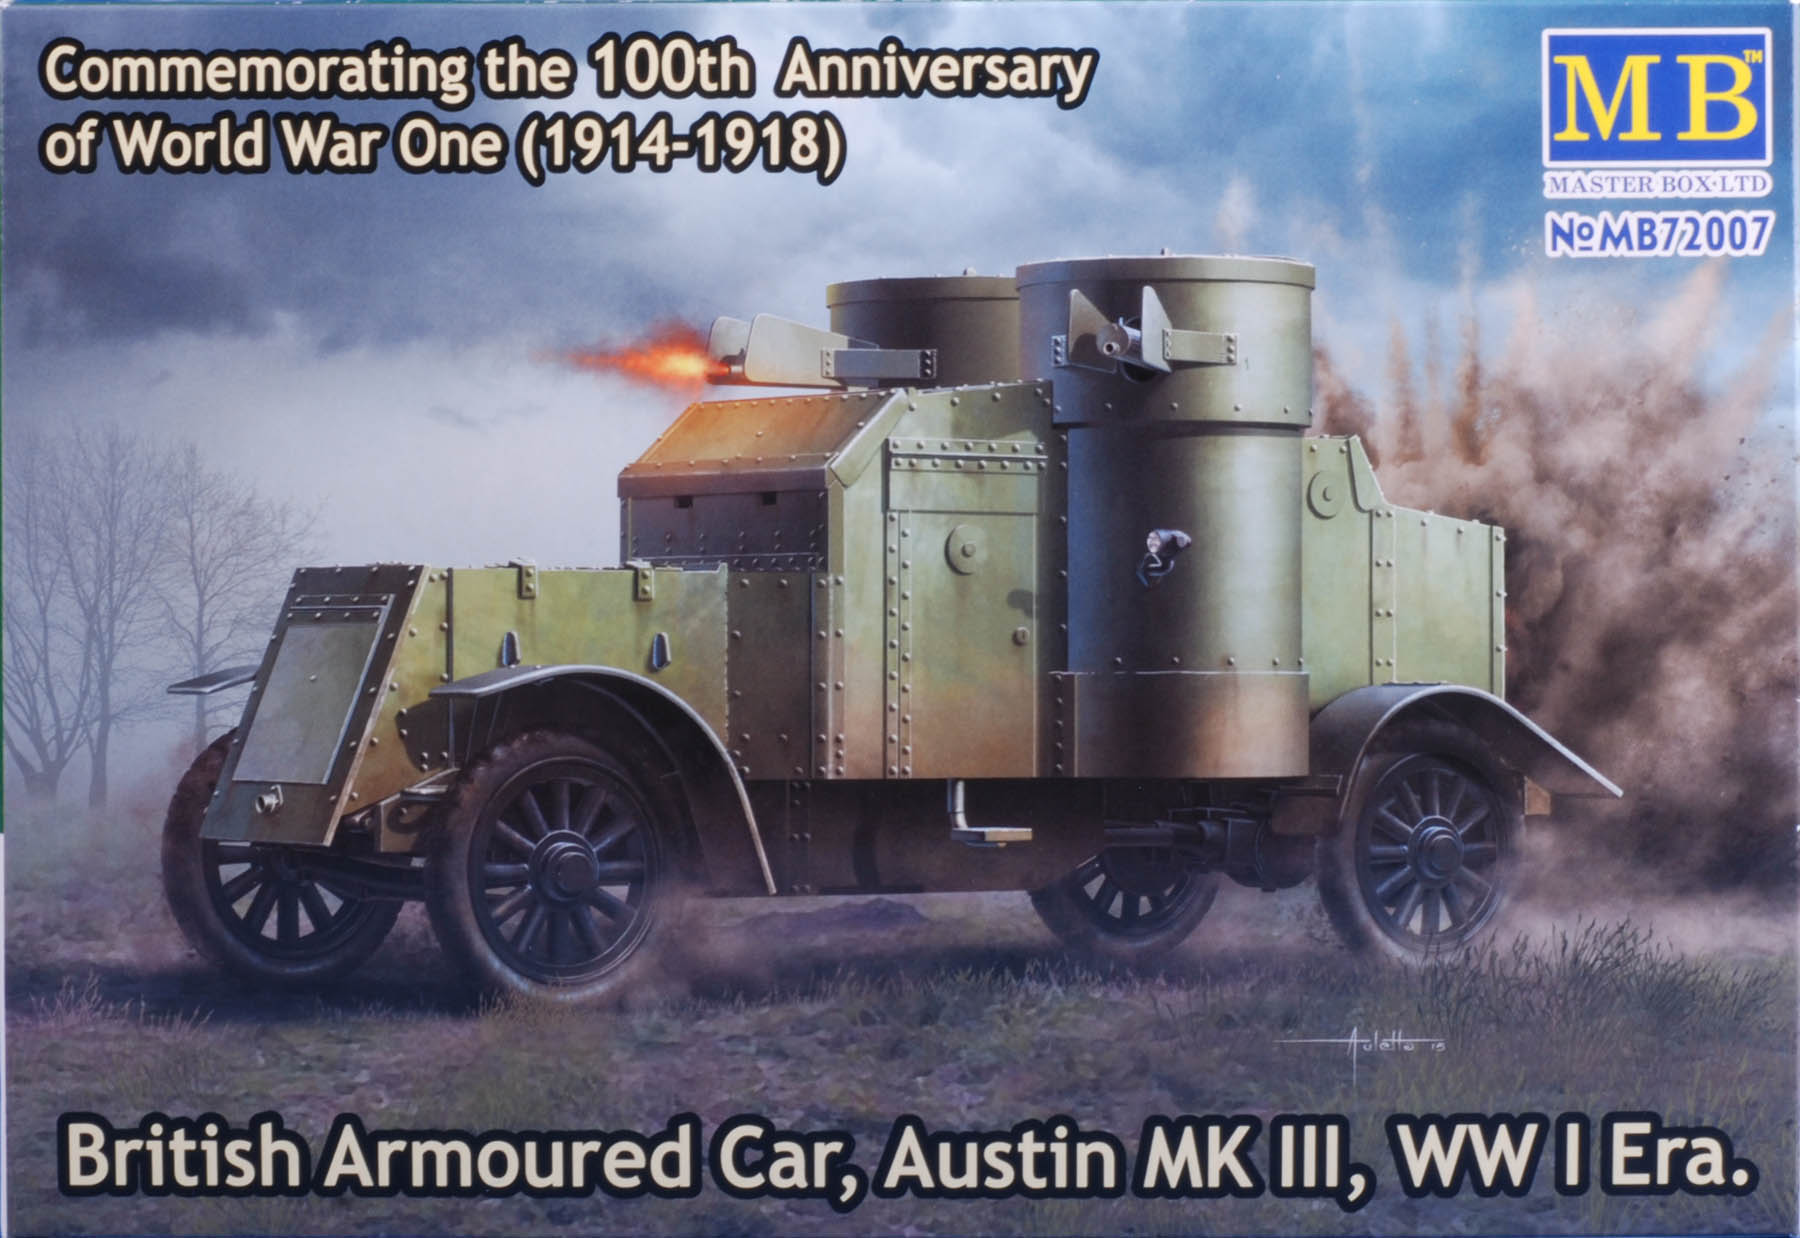
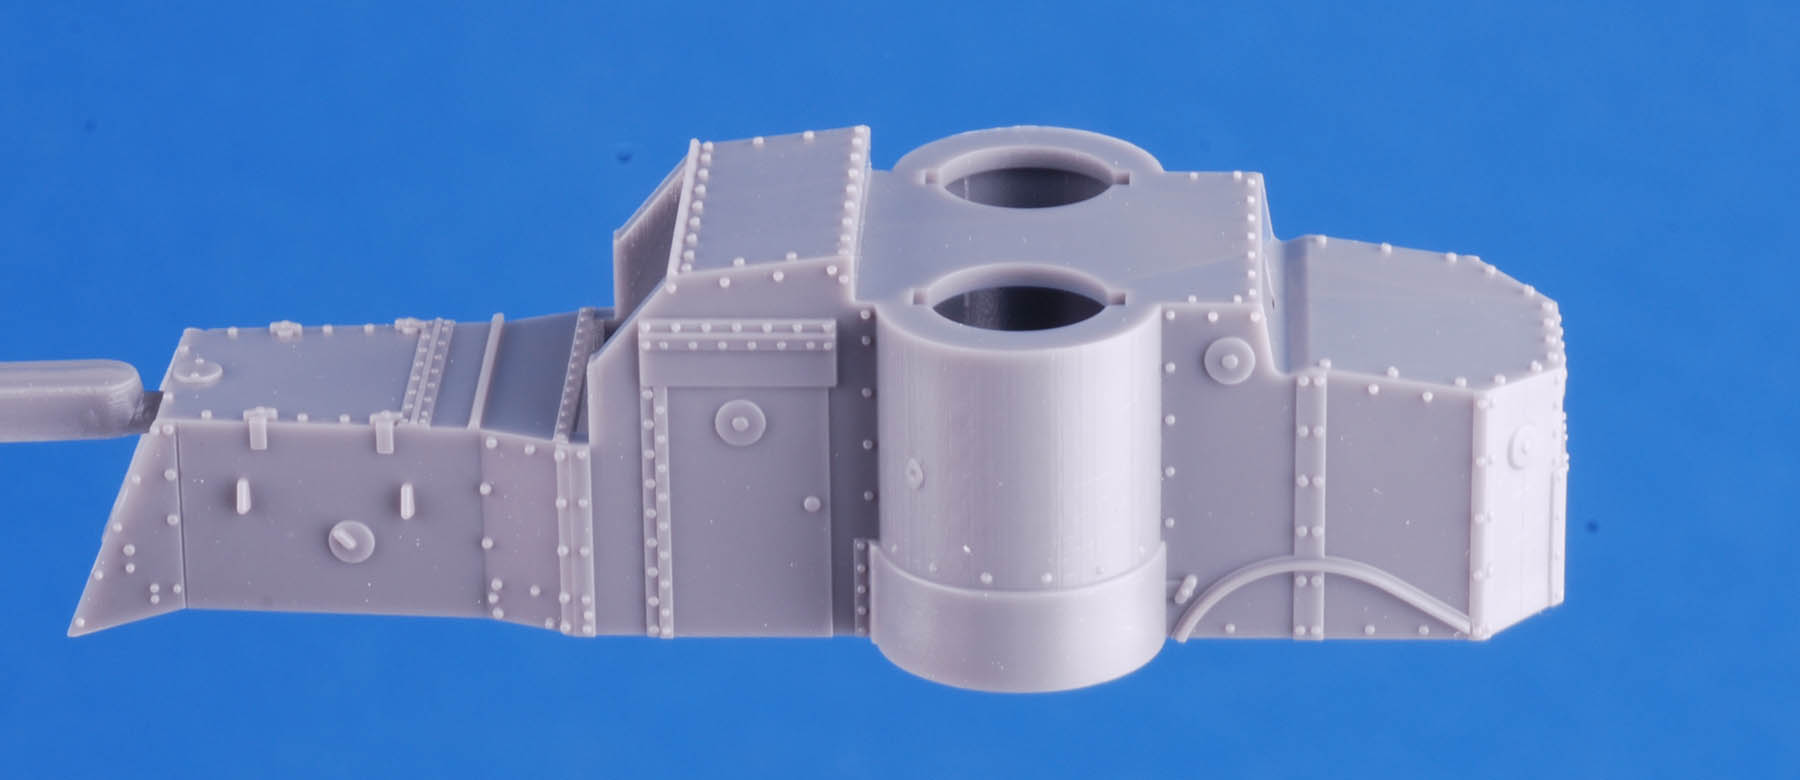
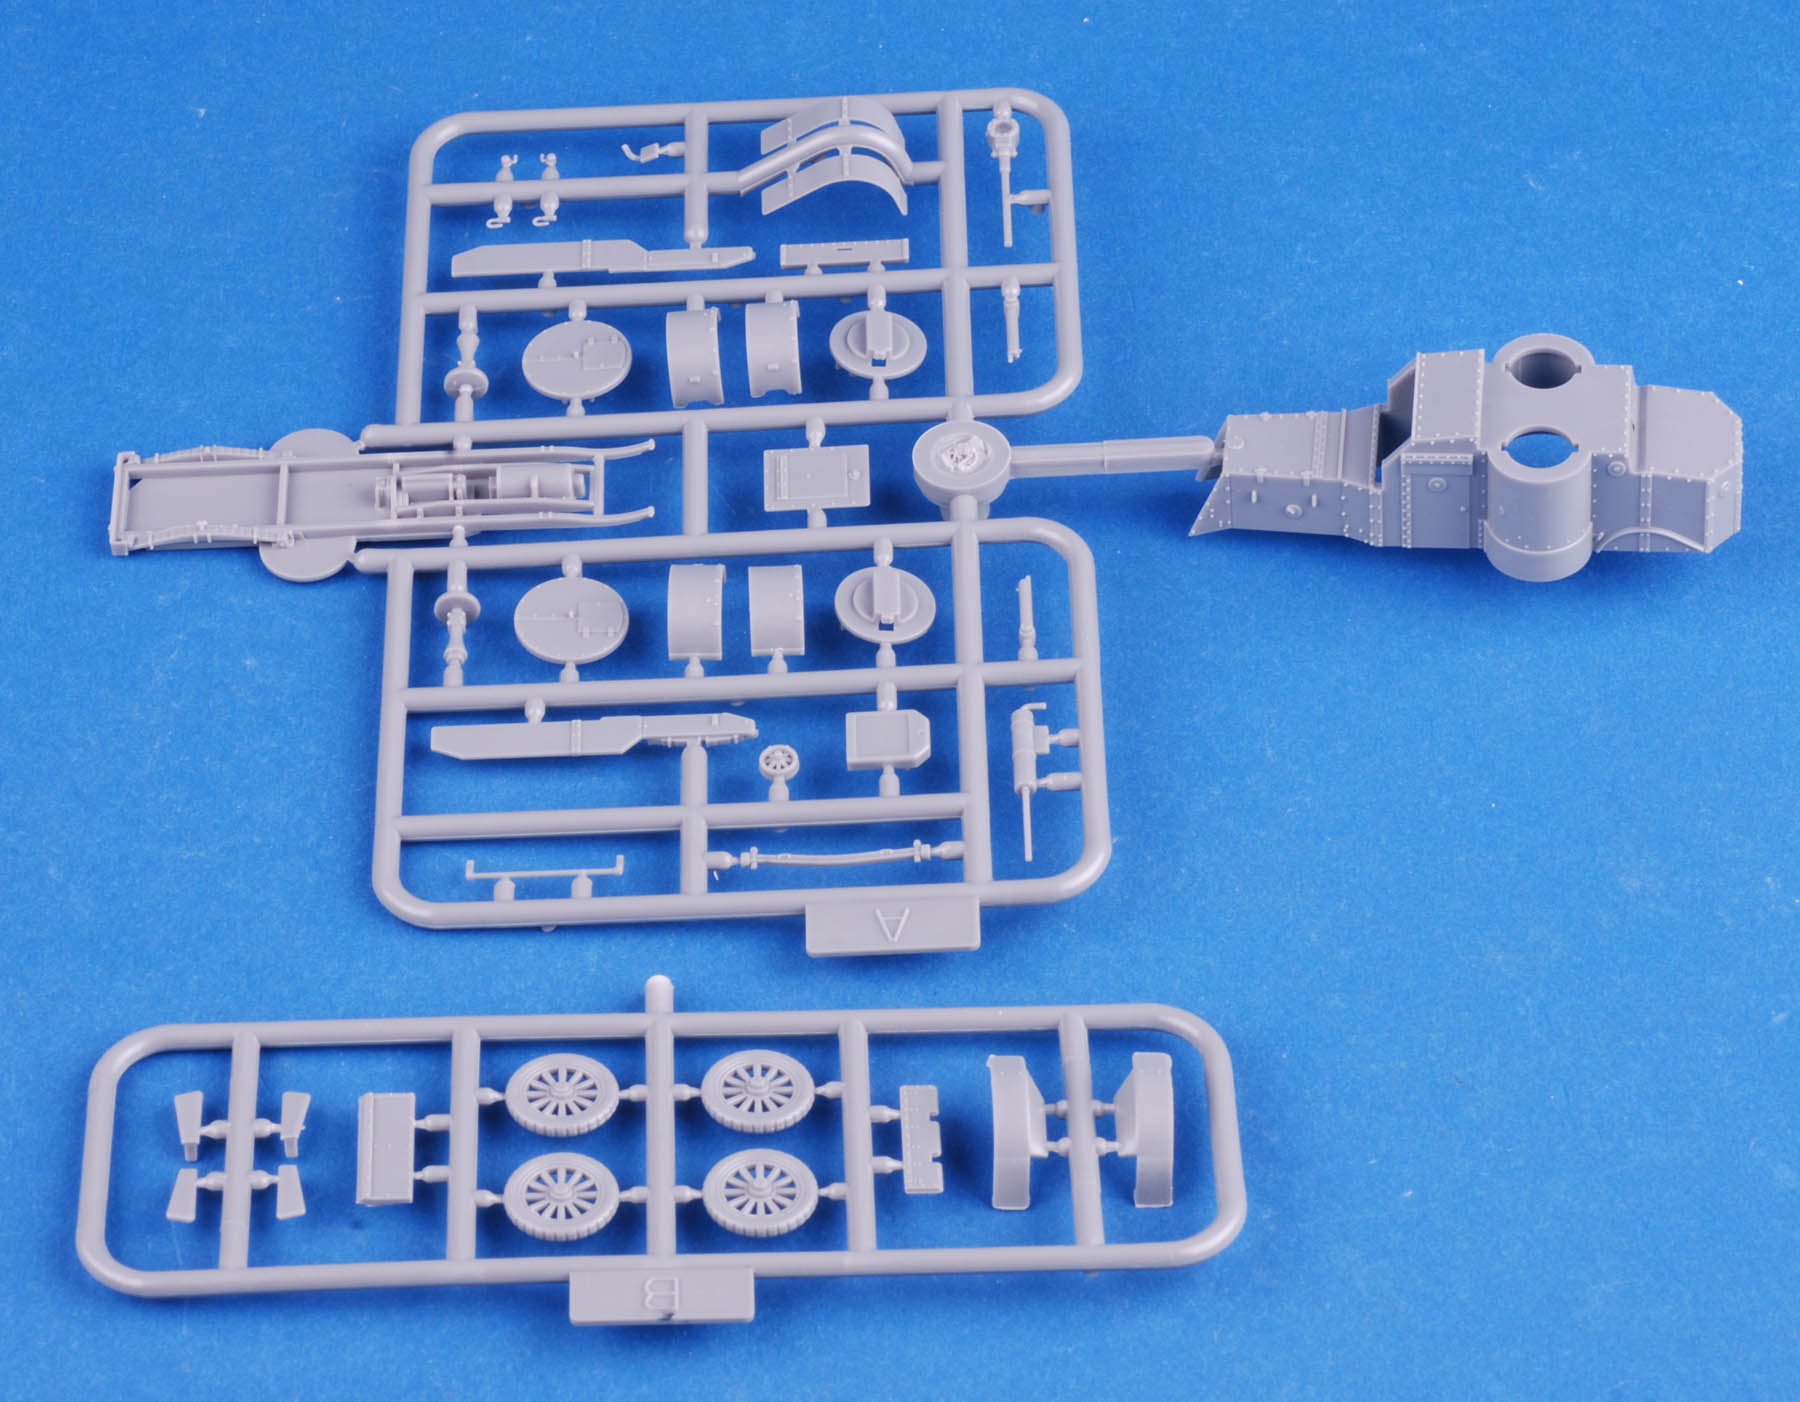
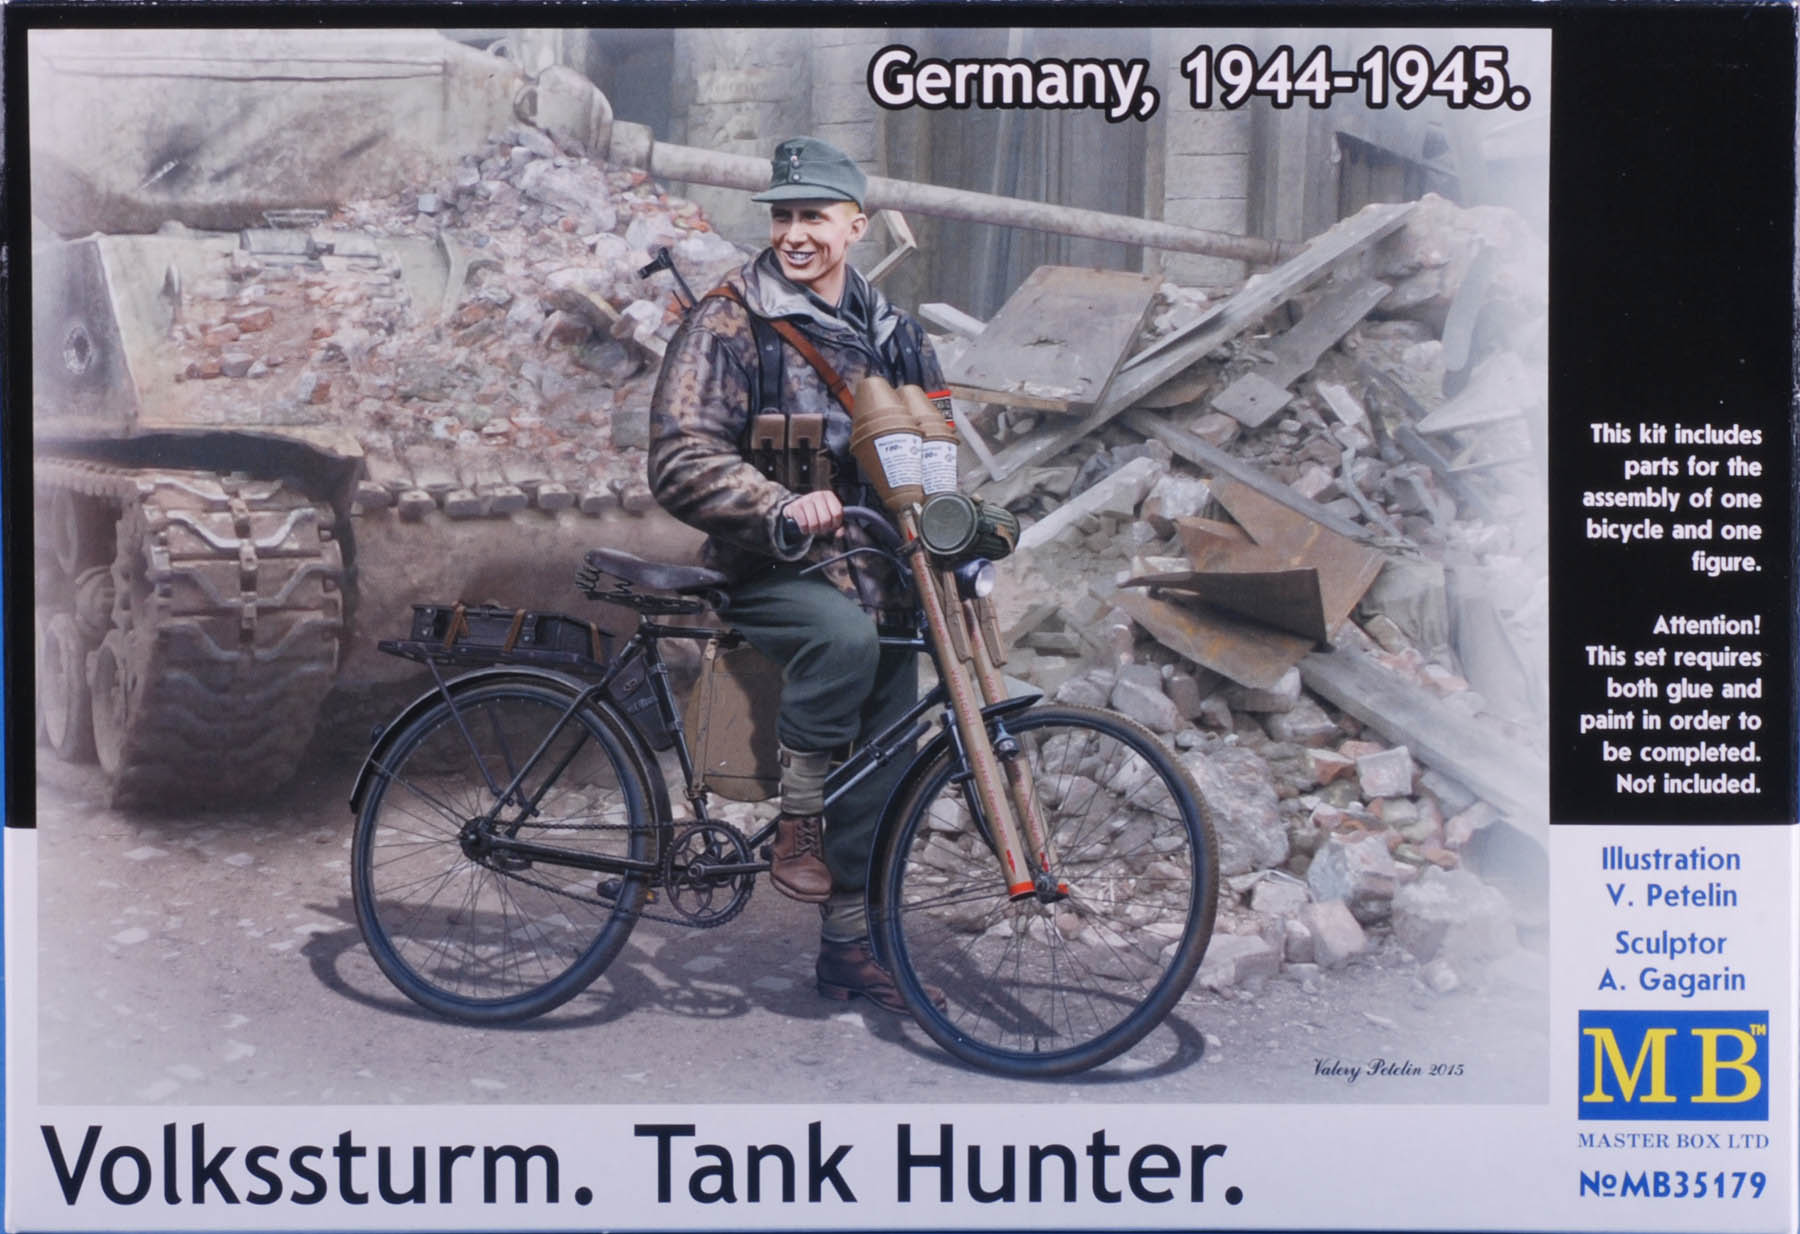
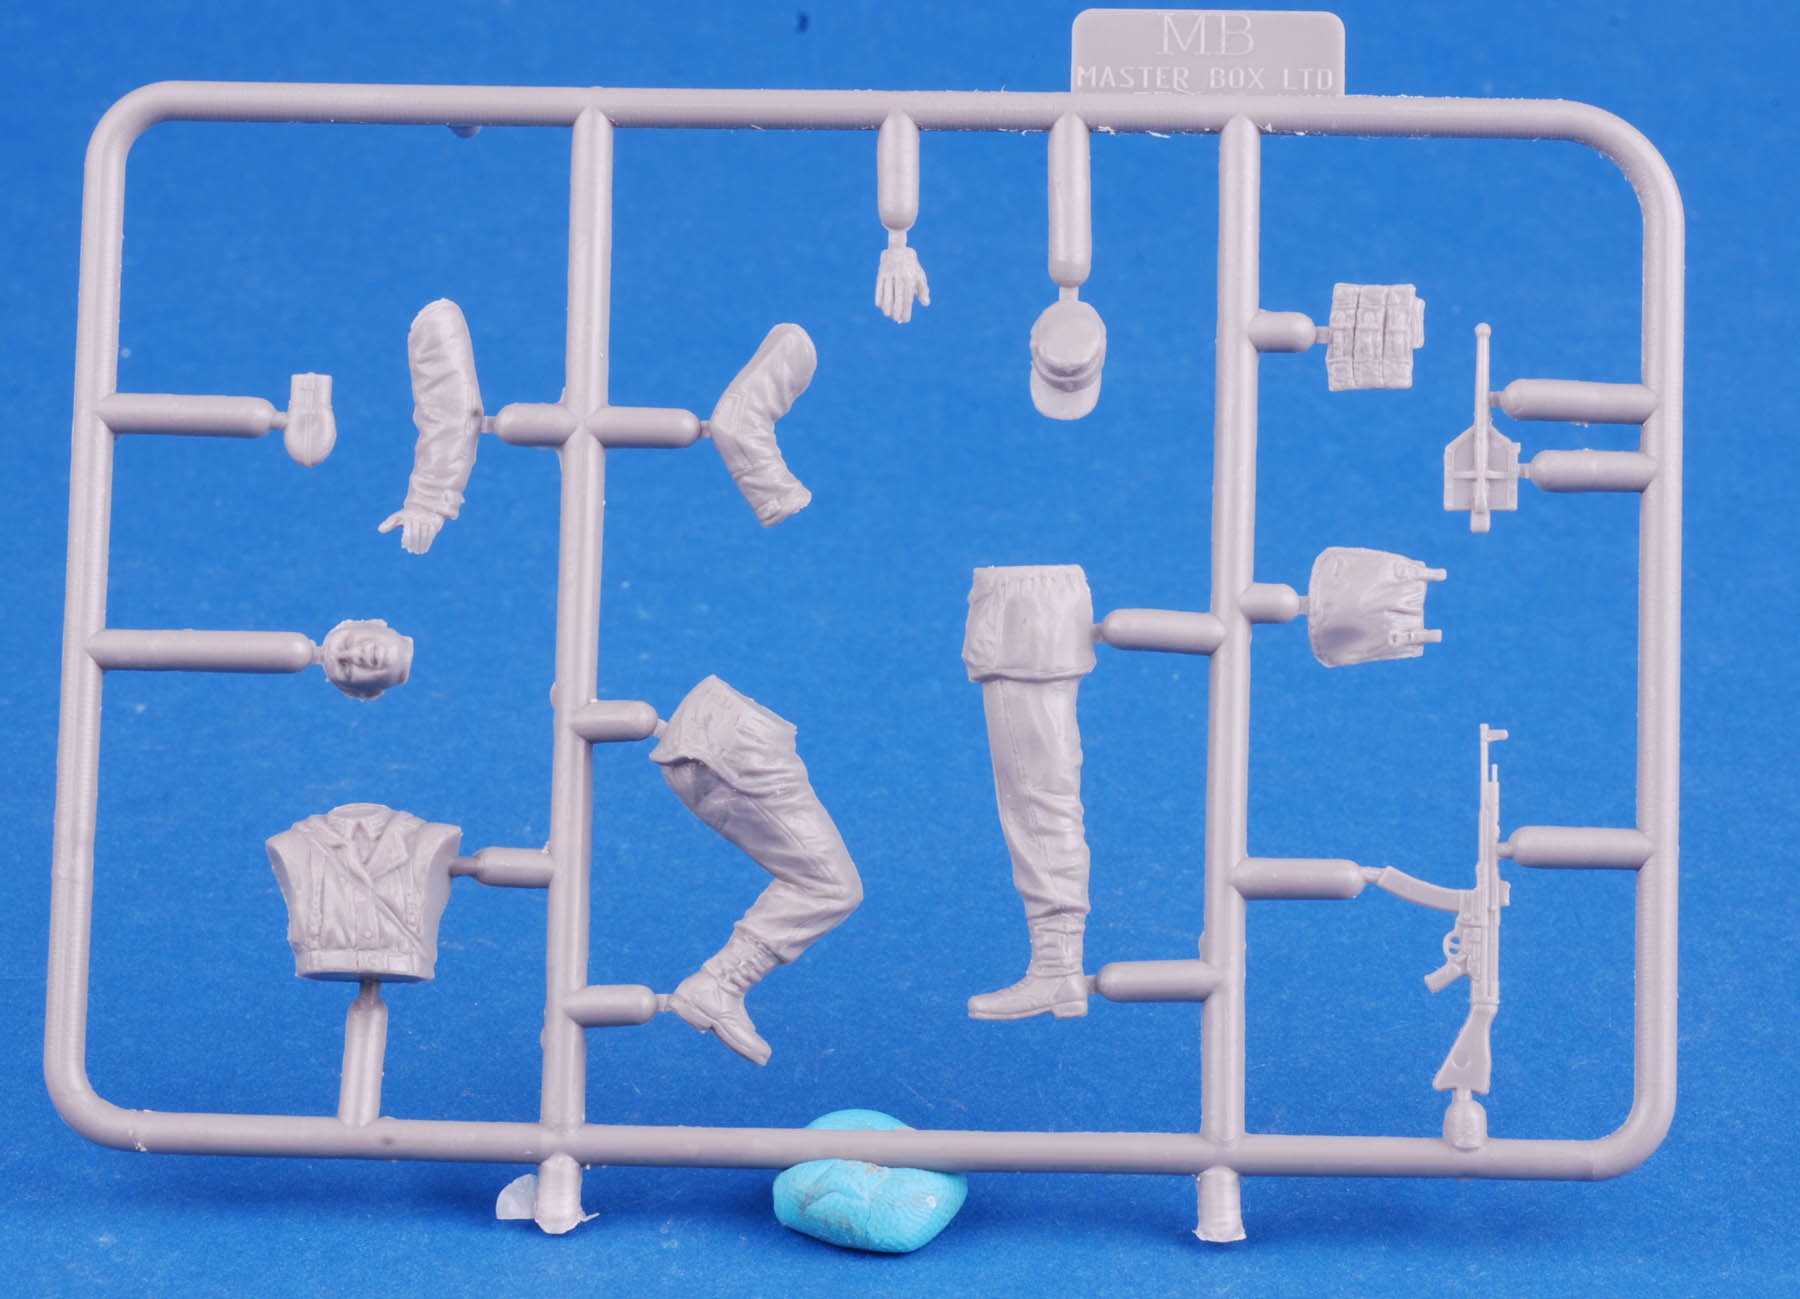
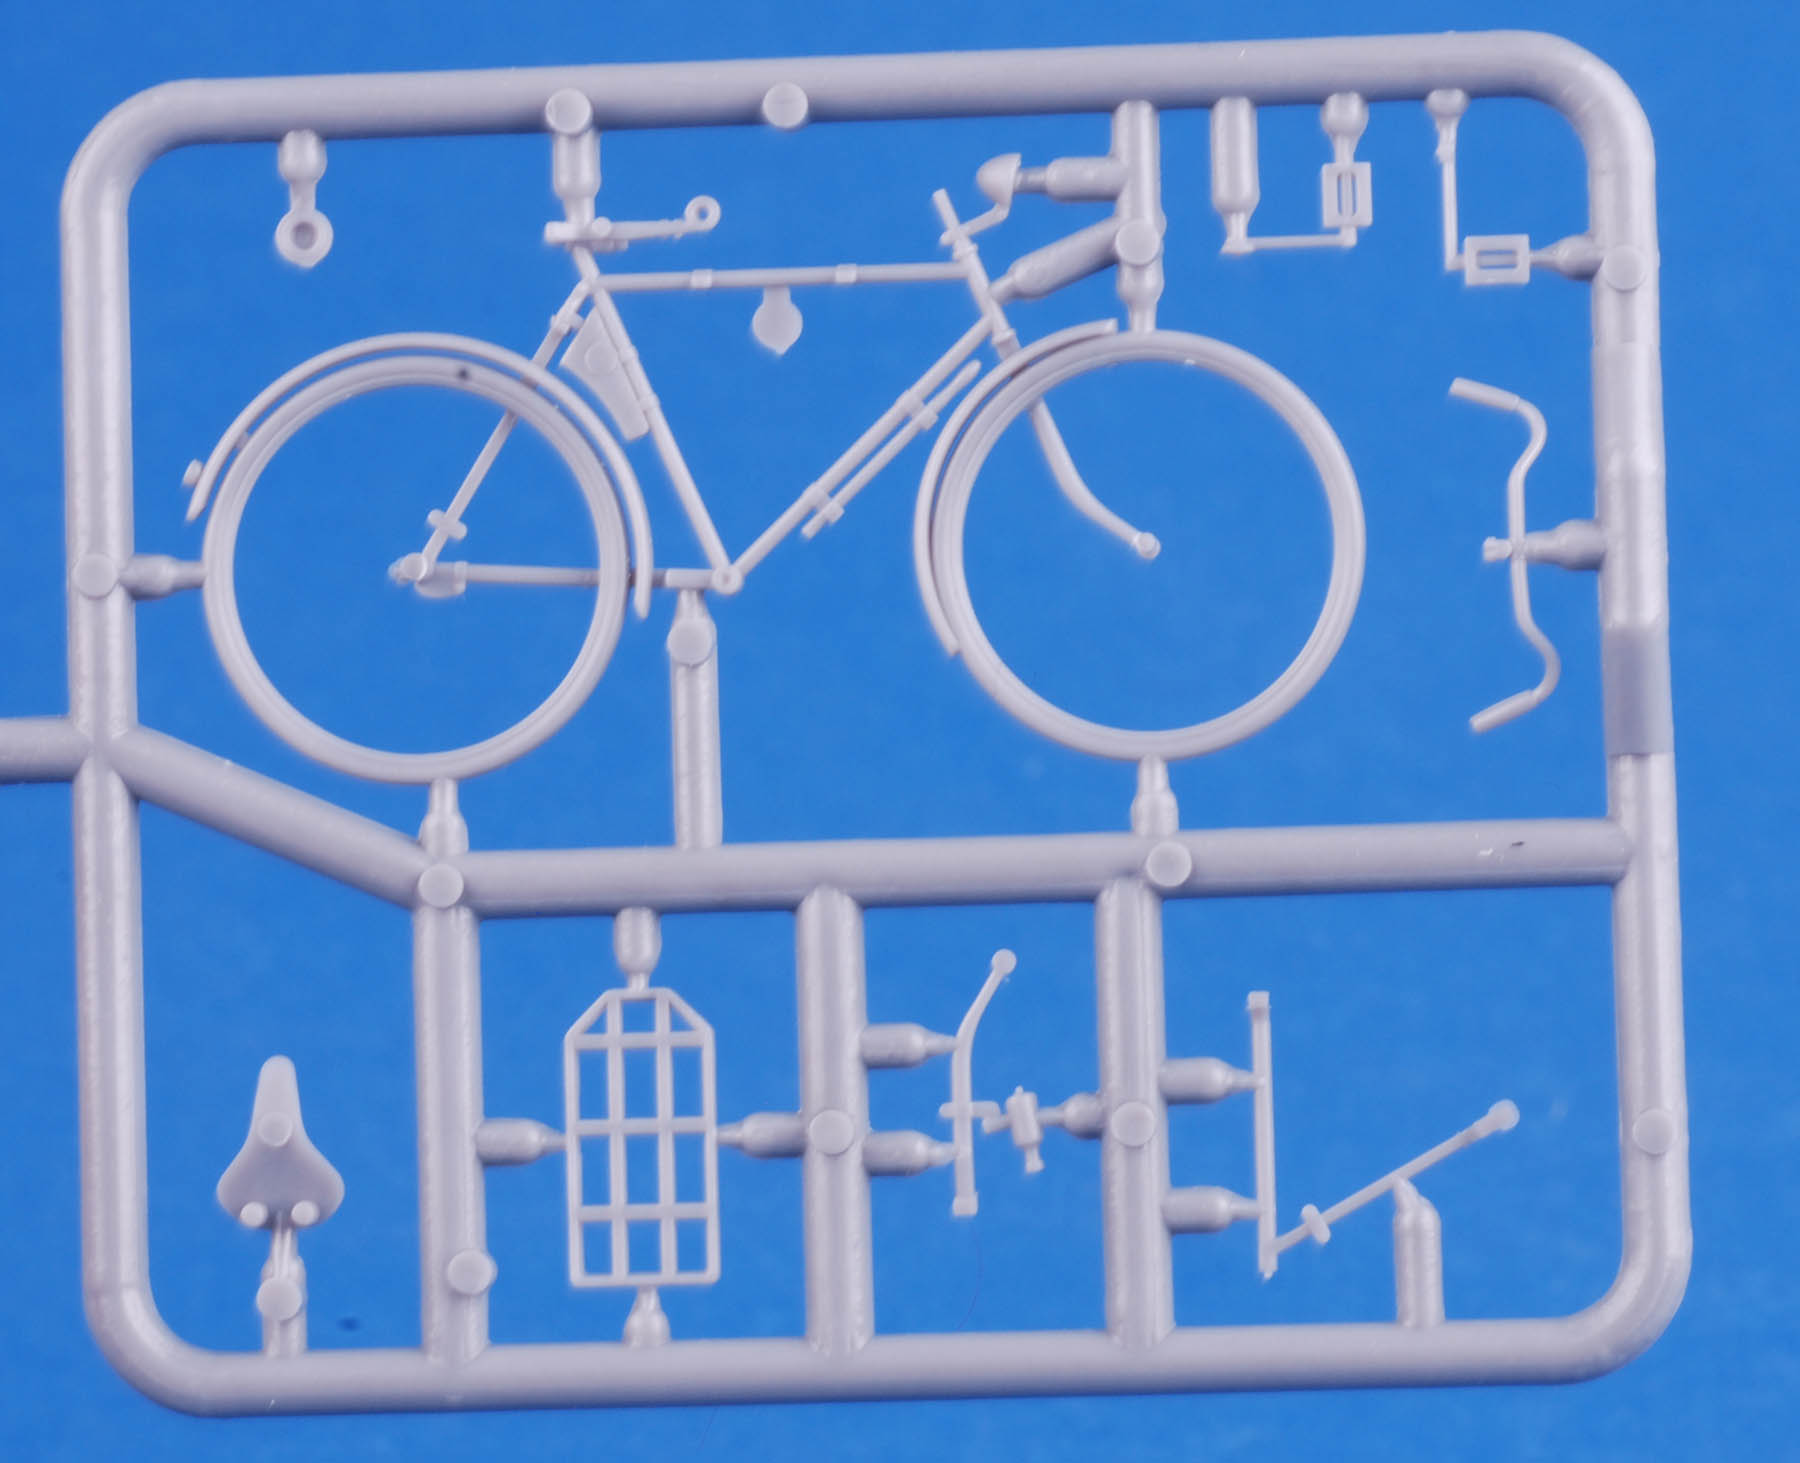
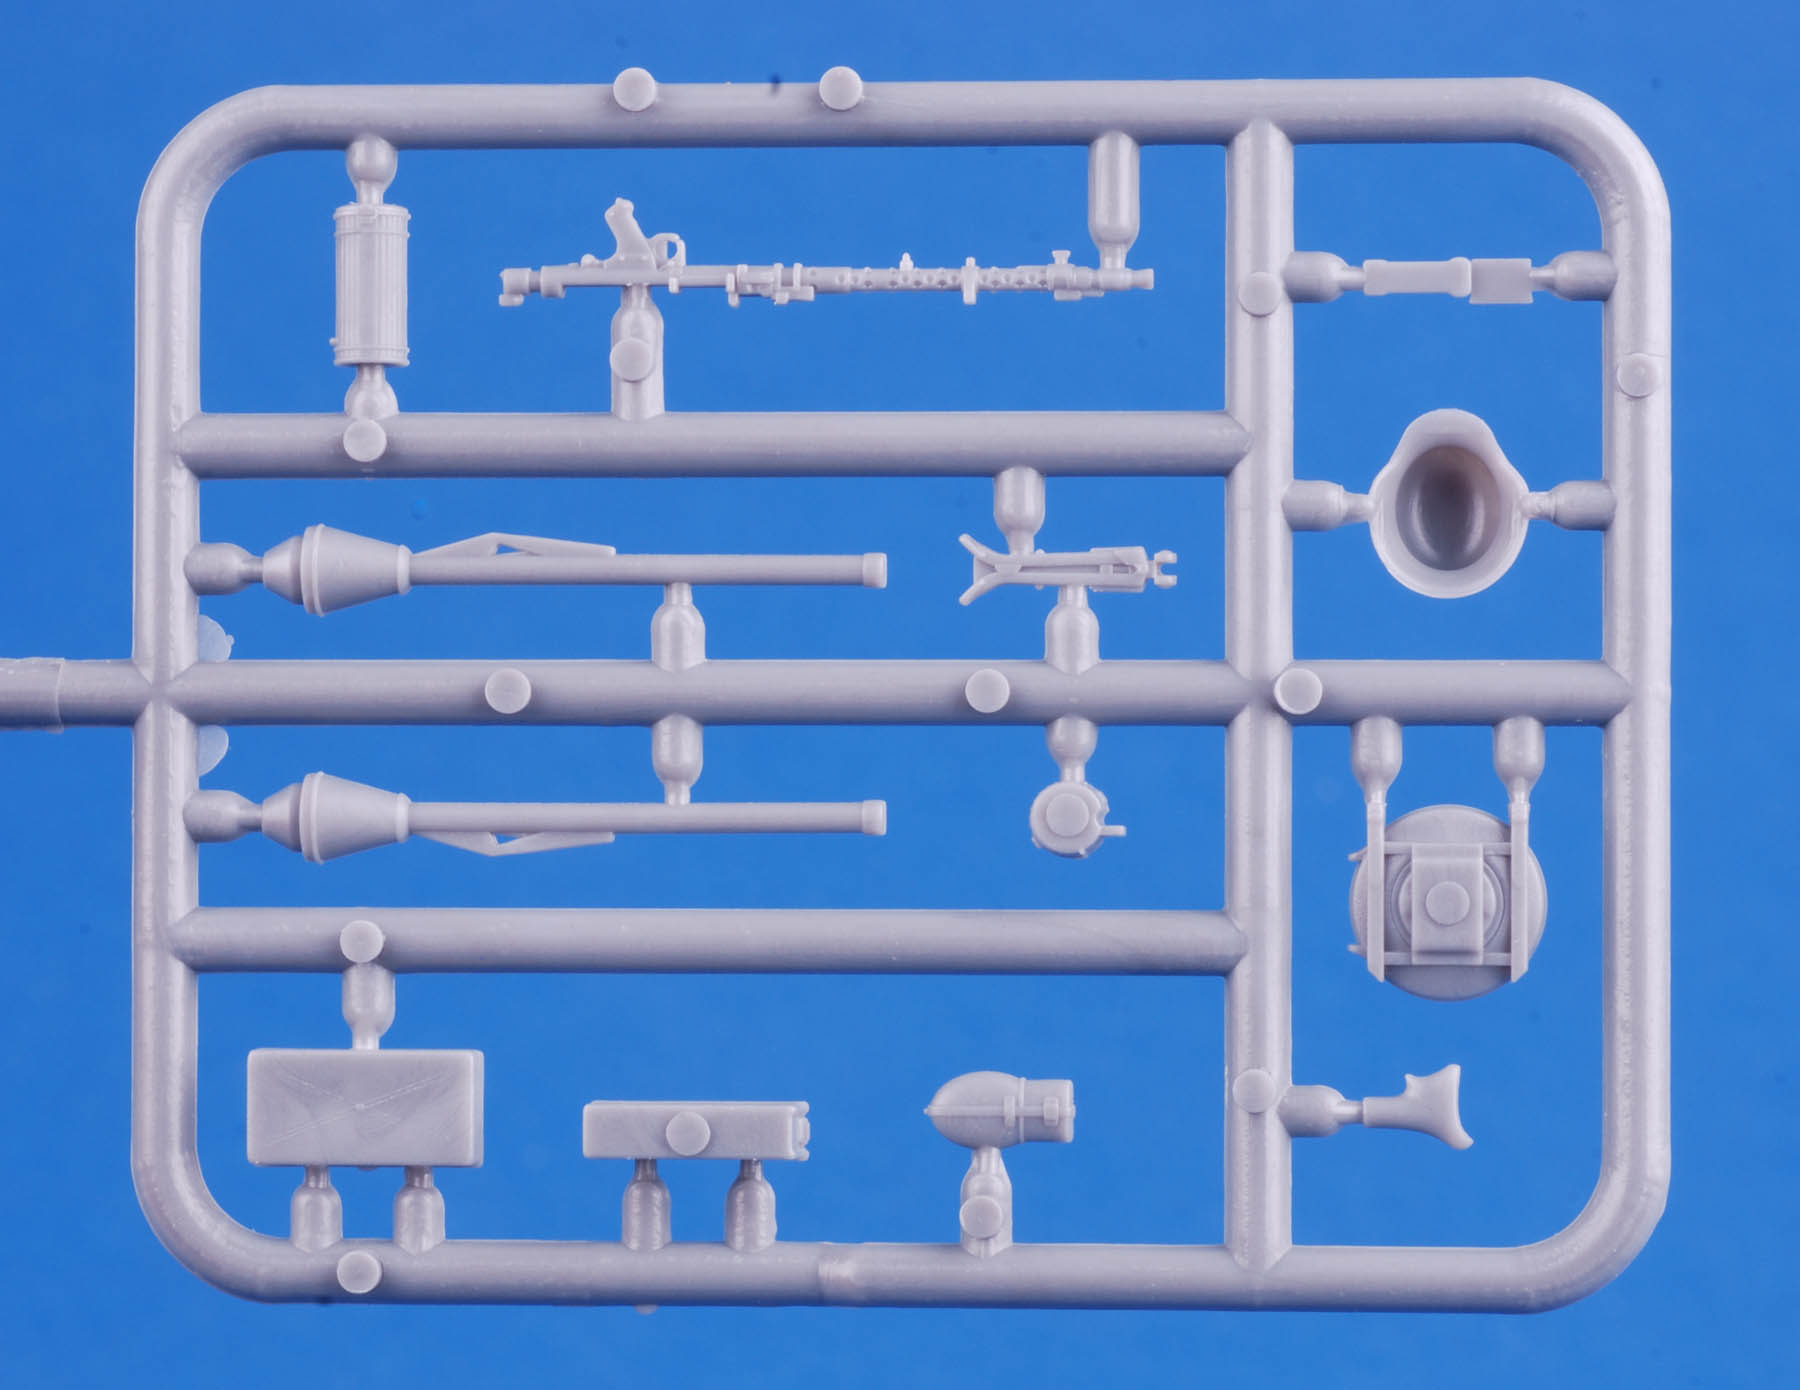
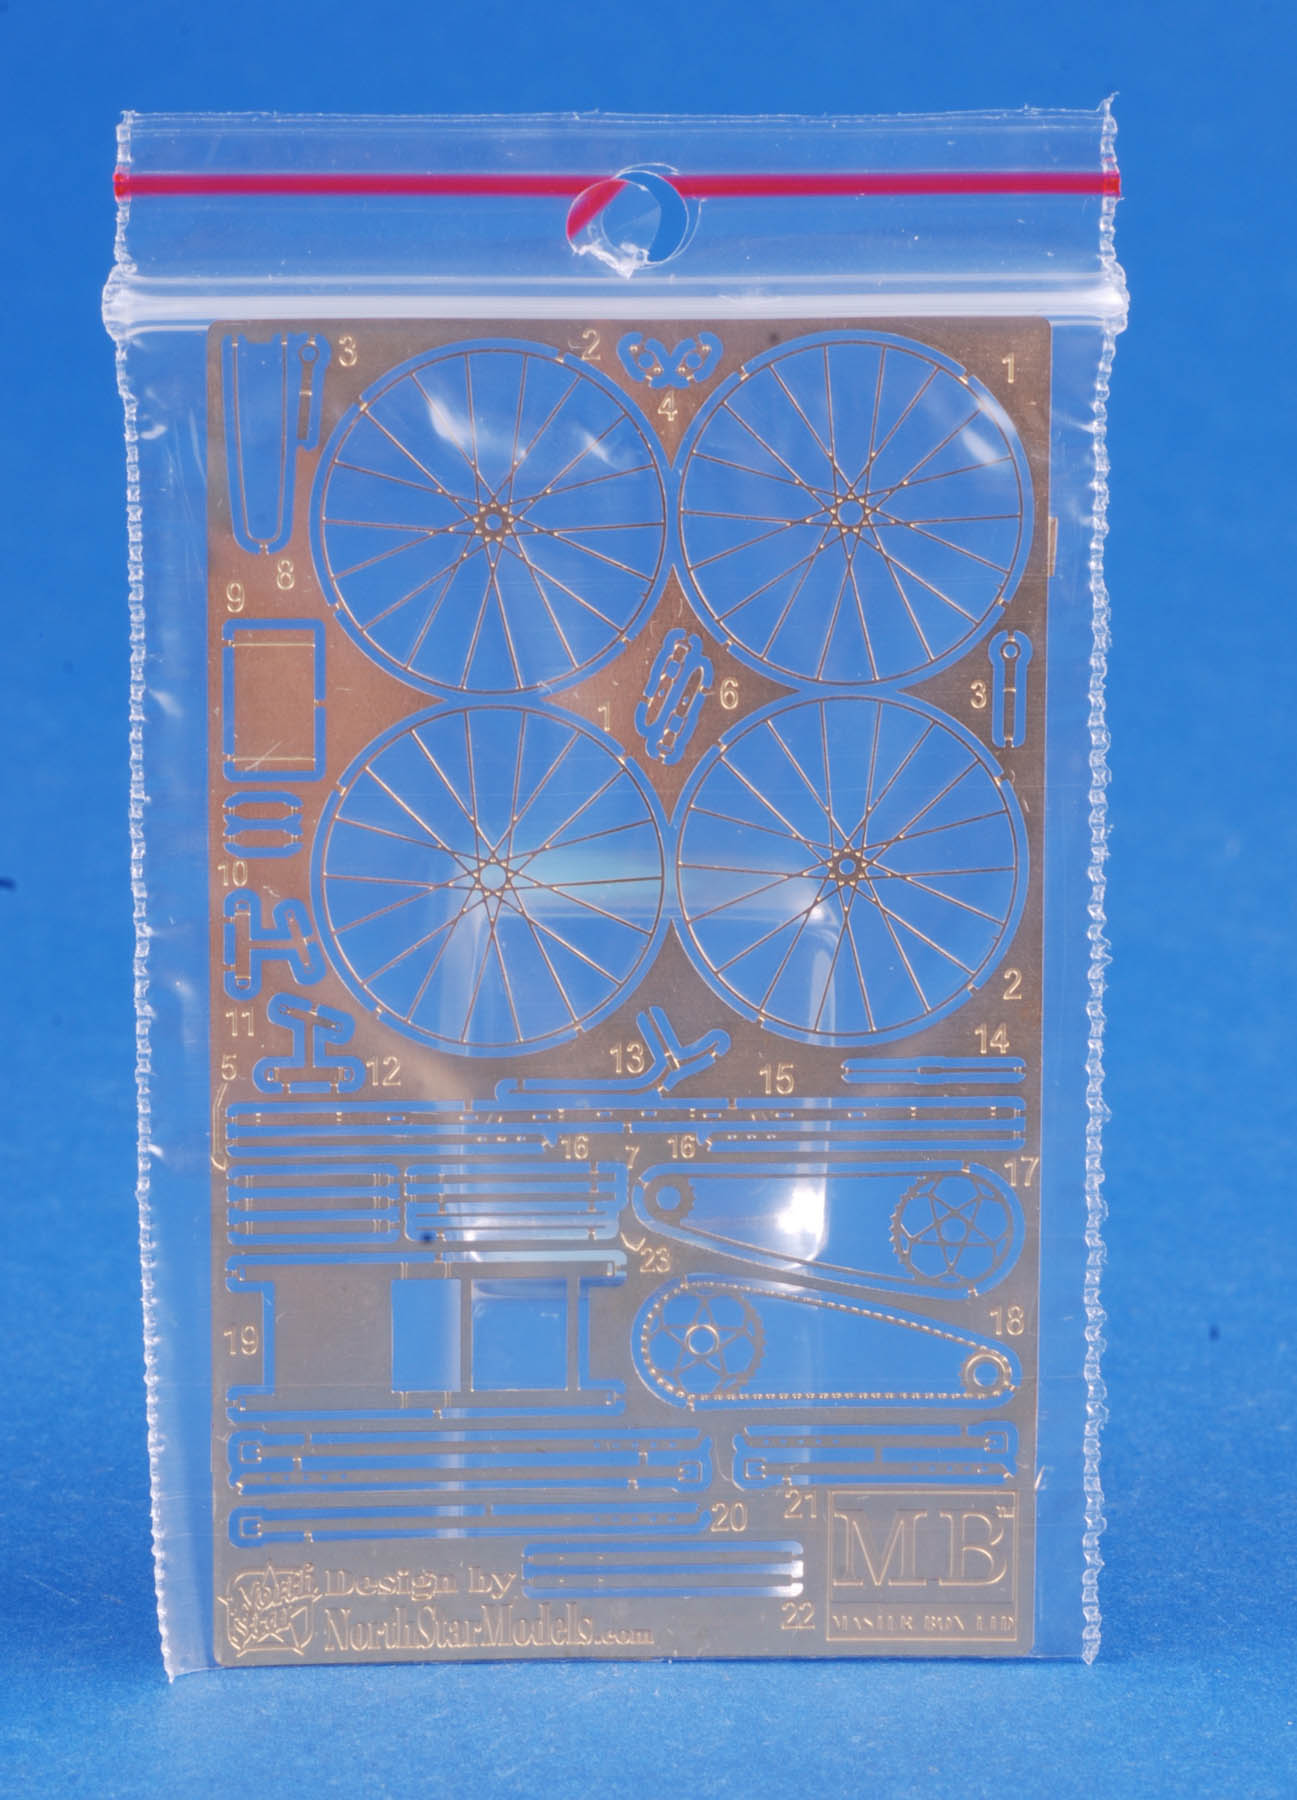
We just received a huge box of new samples from Dragon USA that included new kits from Dragon, Master Box, Bronco and Mini Art.
Let's get started with the Dragon and Master Box Items...
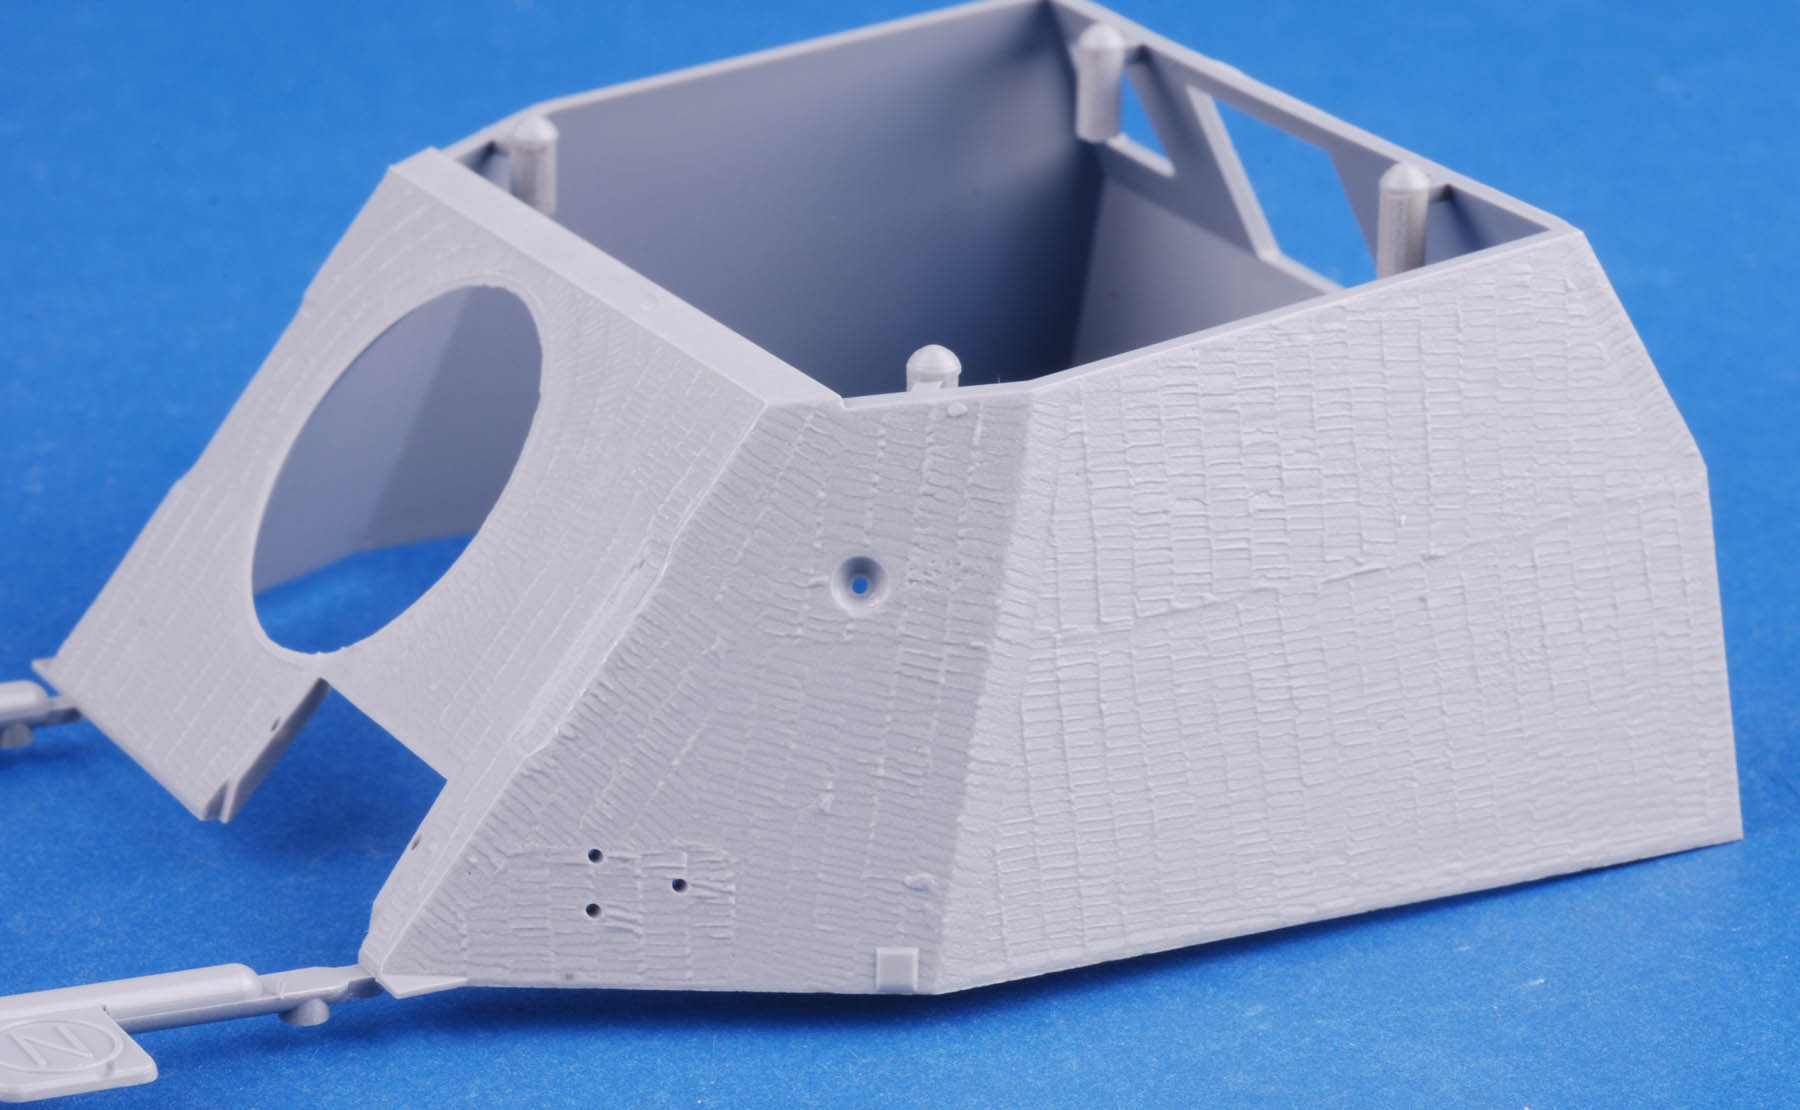
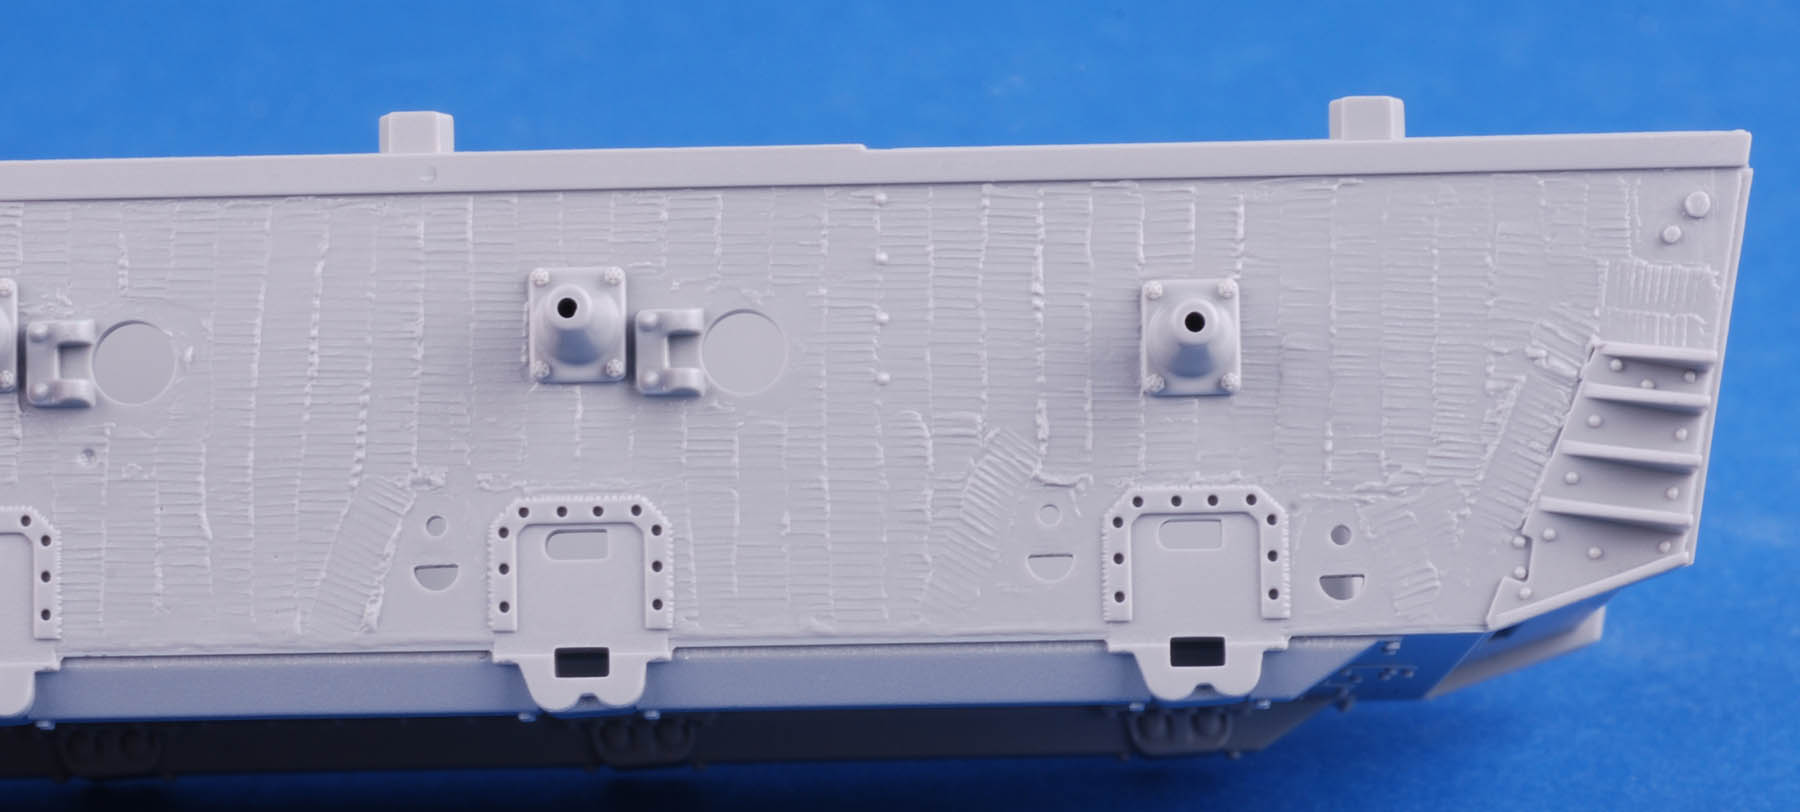
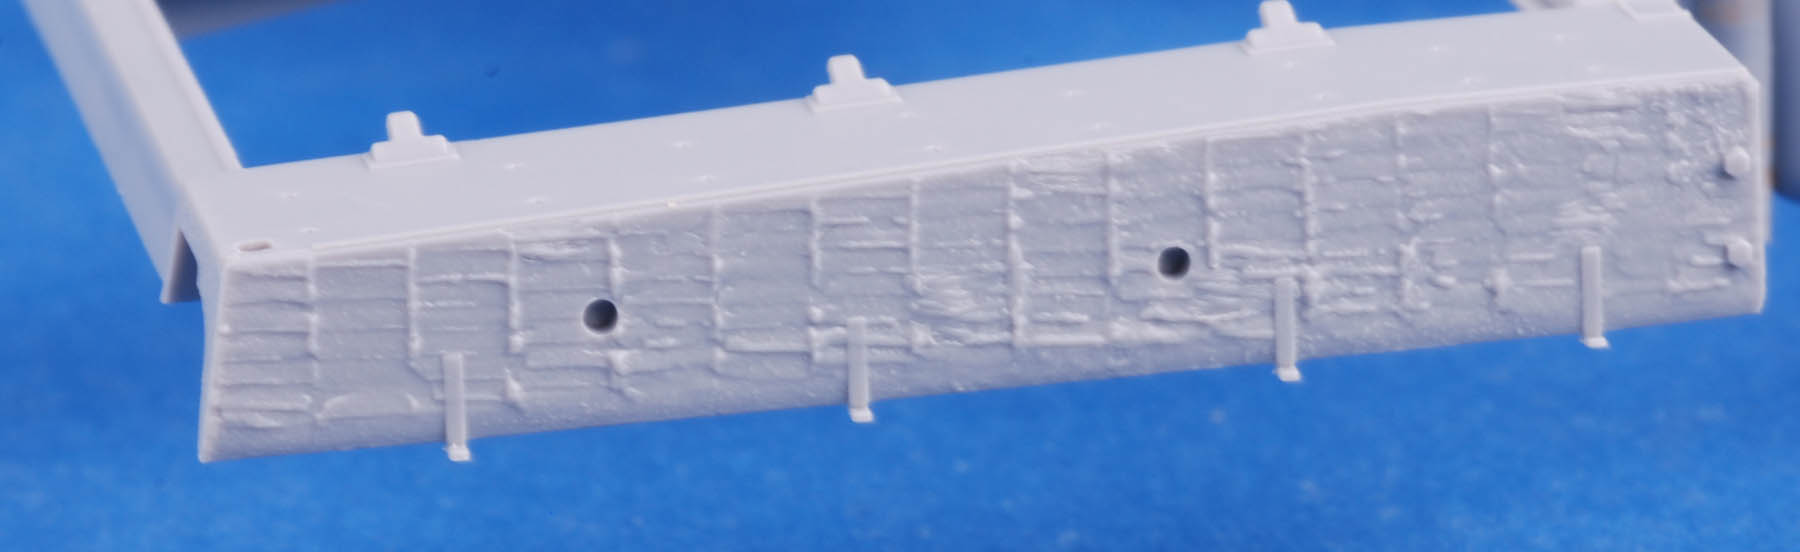
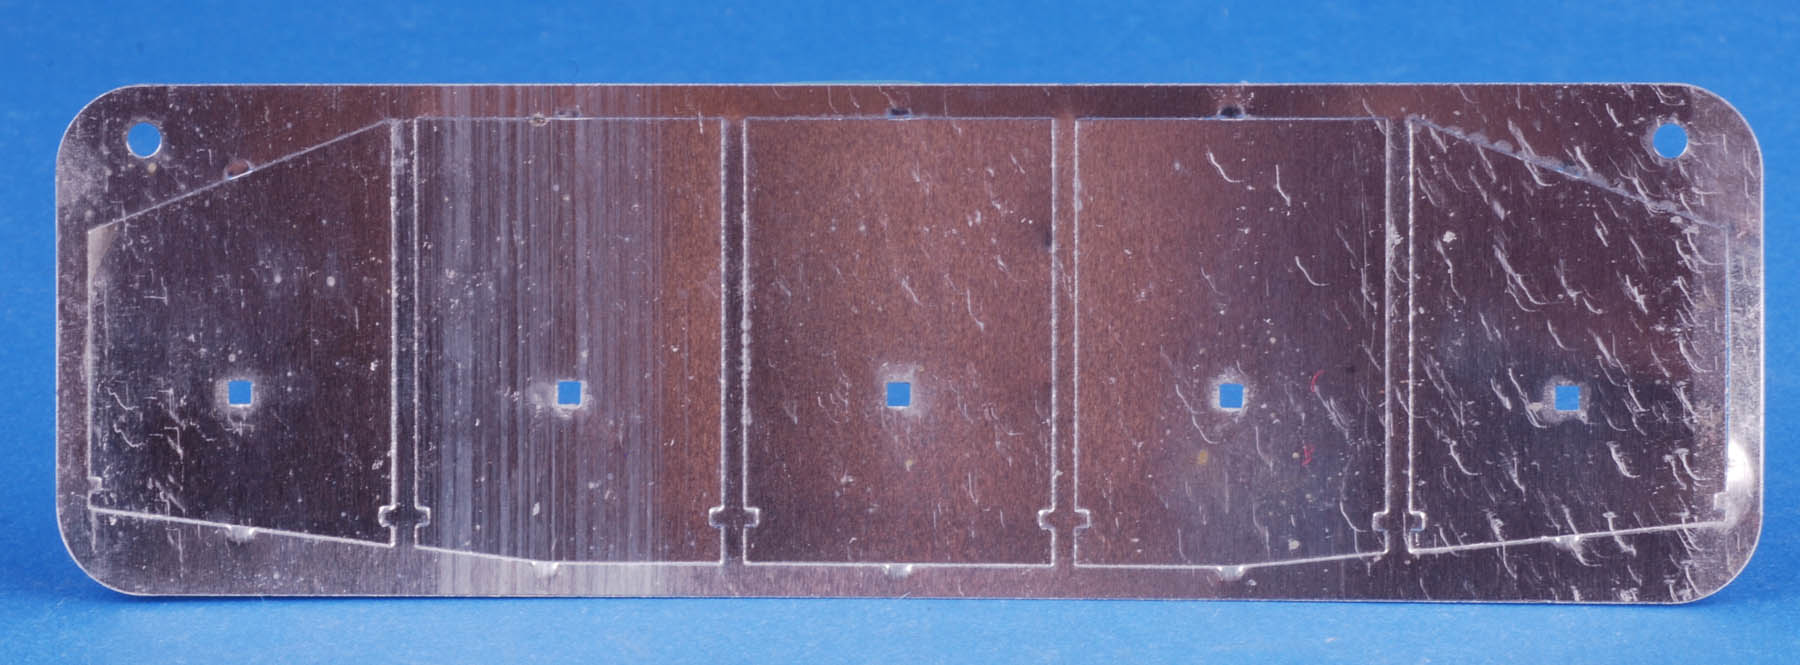

A Few Tips for Photo Etch Parts by Jeff
Any questions, comments or cutdowns can be directed to jeff@ampersandpubco.com
1. Removing PE from the fret.
I like to use an X-Acto with a No. 10 blade. This was shown to me by another modeler.
A small piece of glass is handy for leaning on so the PE fret is not deformed during the removal process.

The curved blade allows you to use a gentle rolling motion to cut the part and it spares the tip of your No. 11 blades, which will frequently snap off.
The blades get dull quickly, so change blades often!

2. Trimming
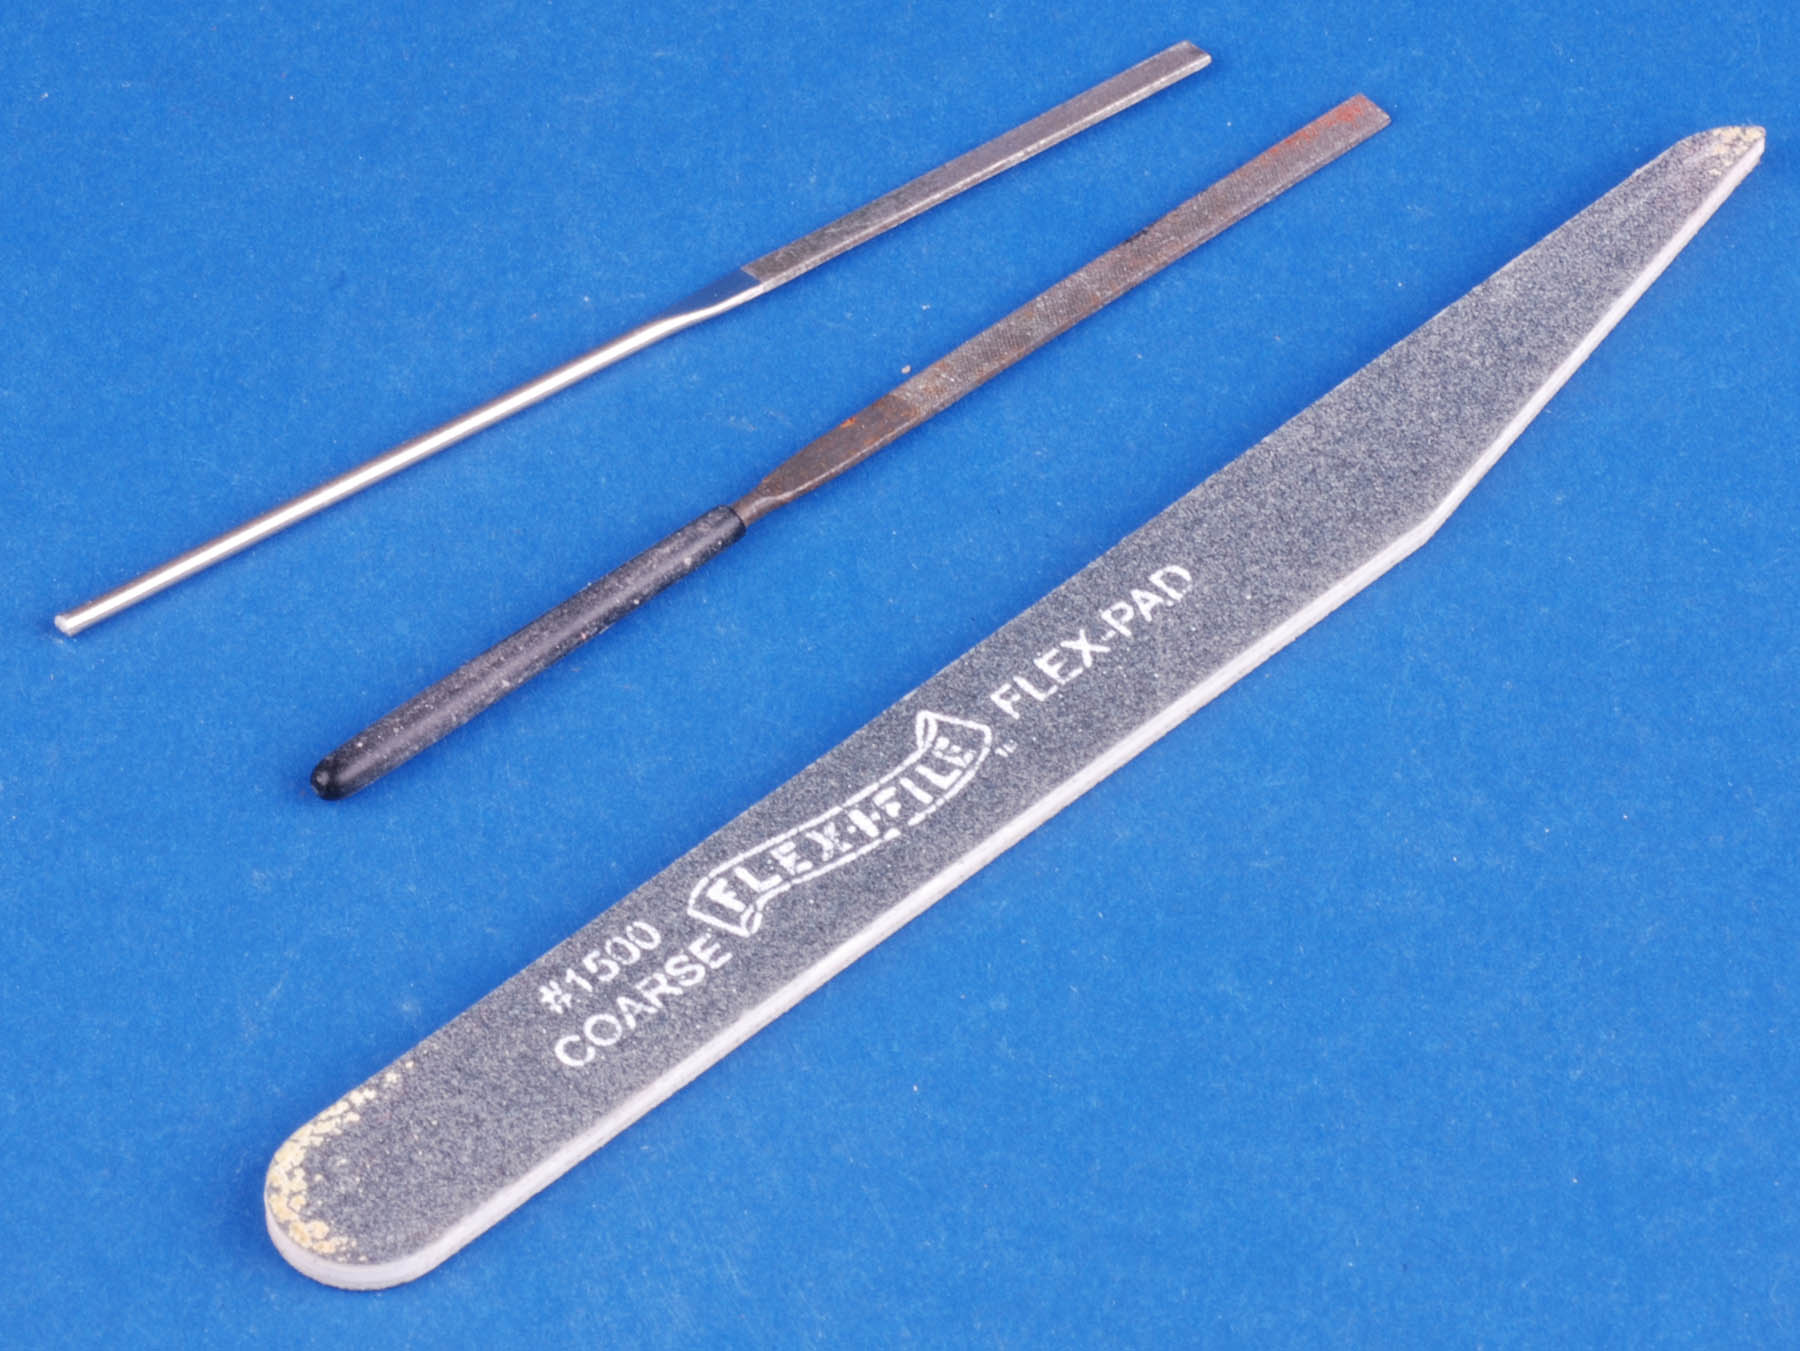
Most of the time, there is a small attachment point that has to be carefully removed. A Flexifile can be handy for doing this, although it will wear out quickly. Small metal jeweler files are hard to find these days, but they work best. Make sure to hold on to the part securely with tweezers or pliers so it does not deform while getting rid of the attachment point. This takes some patience and practice.
3. Manipulating Parts
Sometimes those little brass bits are difficult to pick up, even with tweezers, without deforming them. A little ball of Blu-Tac at the end of a toothpick can be helpful for this.

3. Attaching PE Parts
Super glue is the traditional method for attaching PE parts.
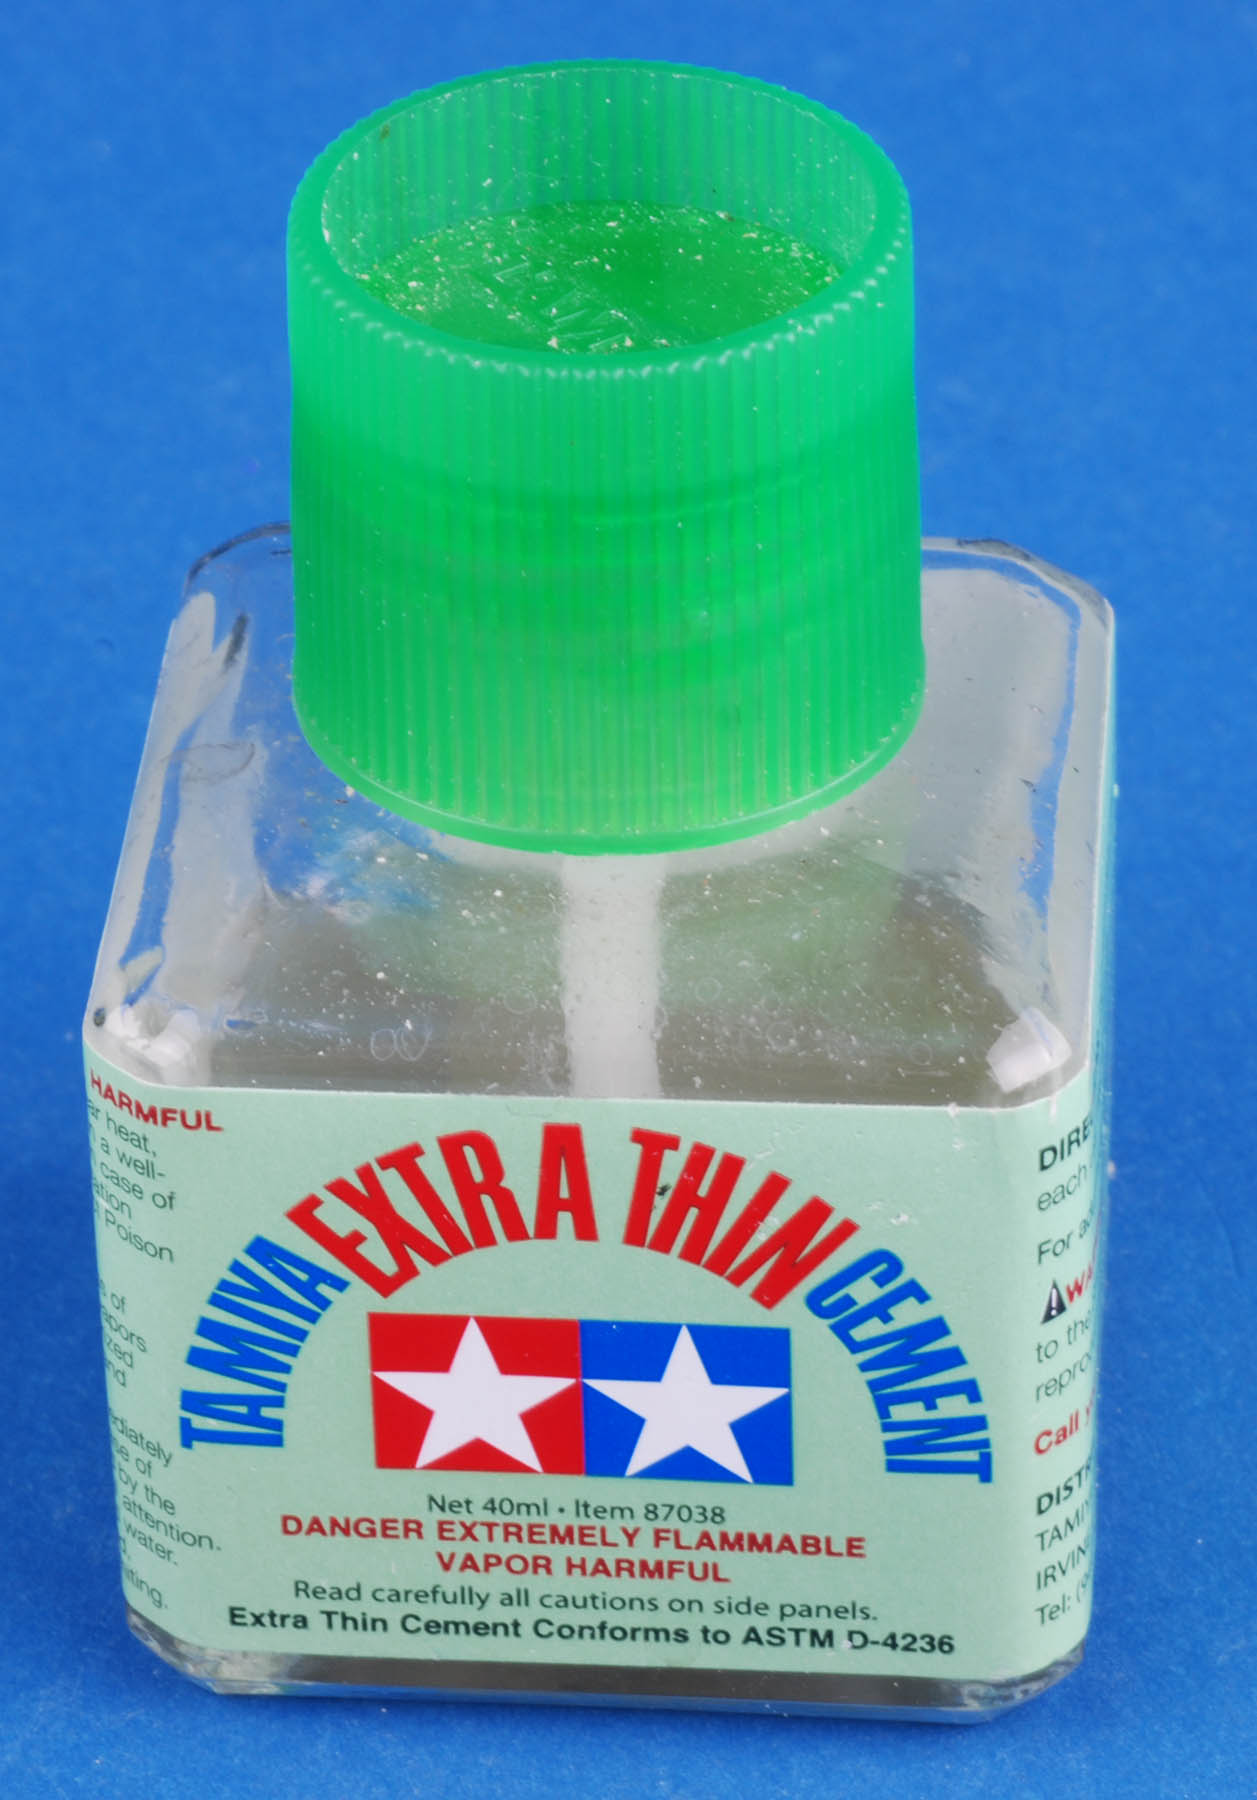
I use this method too, but first I like to tack them down a bit. Regular liquid cement can be used for this on styrene. Apply enough liquid cement to soften up the surface, then just push the PE part into place with light pressure. Add a little more cement afterwards to hold the part in place.
Pledge Floor Polish can be used to secure small PE parts too! Just apply a little with a small paintbrush and wait for it to dry. Any excess can be cleaned up with Windex.

I still use CA glue to make sure my parts are nice and secure after placing them using liquid cement. When attaching PE parts to resin, CA is the only real way to do it.
Here's are a few tips on CA Glue:
- I usually make a small puddle on my piece of glass and then use thin styrene (.020 or thinner) rod as an applicator. When the end becomes a round glob of congealed glue, I just cut it off. Stretched sprue works just as well.
- I usually use the super thin variety of CA glue as it runs under and around parts and leaves minimal residue.
- You can get CA glue at the local hardware store for much less than the hobby shop glues and it's the same stuff. Pat and I get the multi-pack of small tubes from Home Depot or Lowes. Another benefit is if the glue in the tube goes bad (it no longer adheres things), just open a new tube!

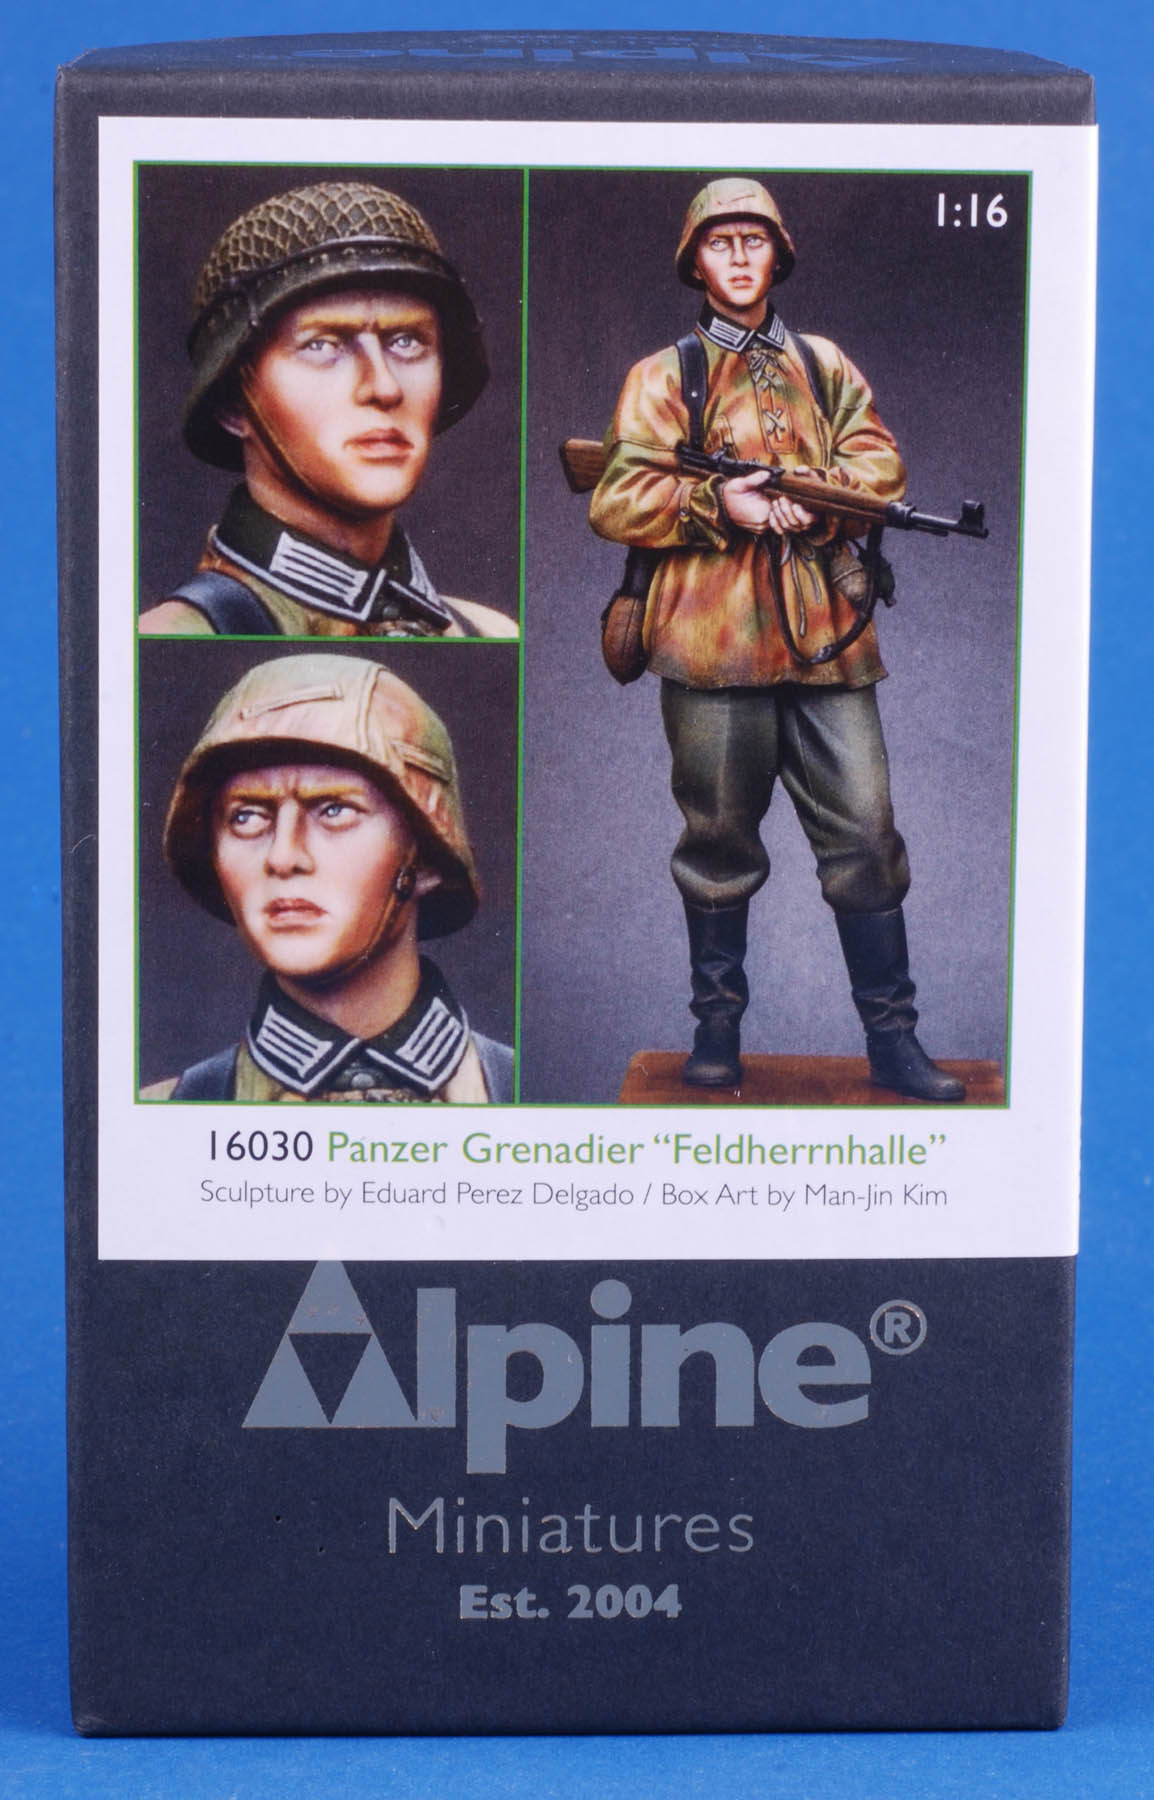
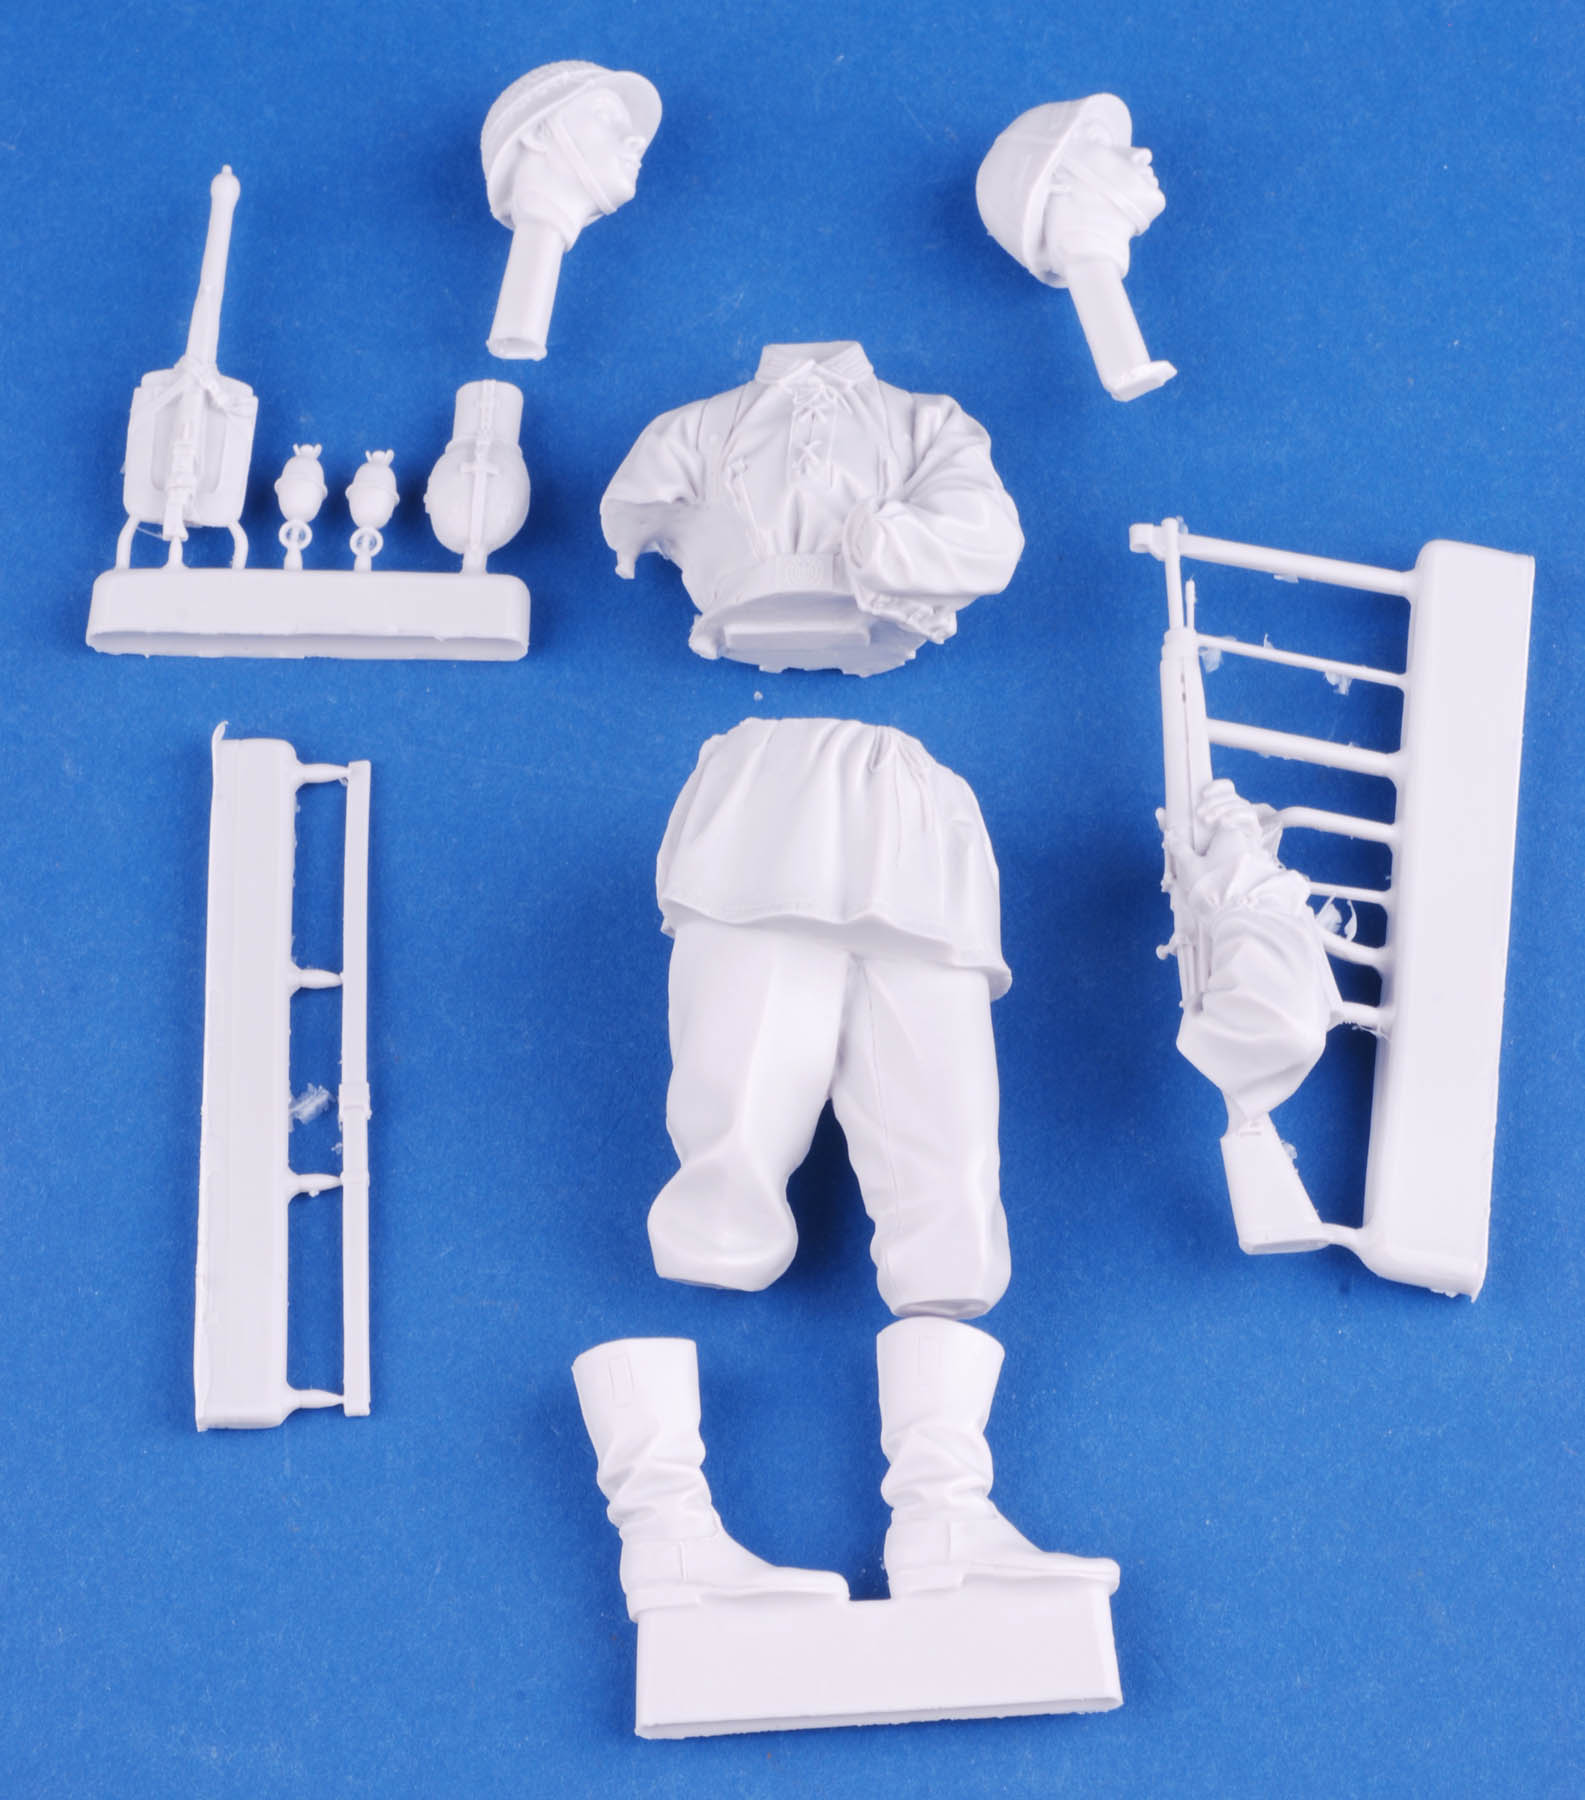
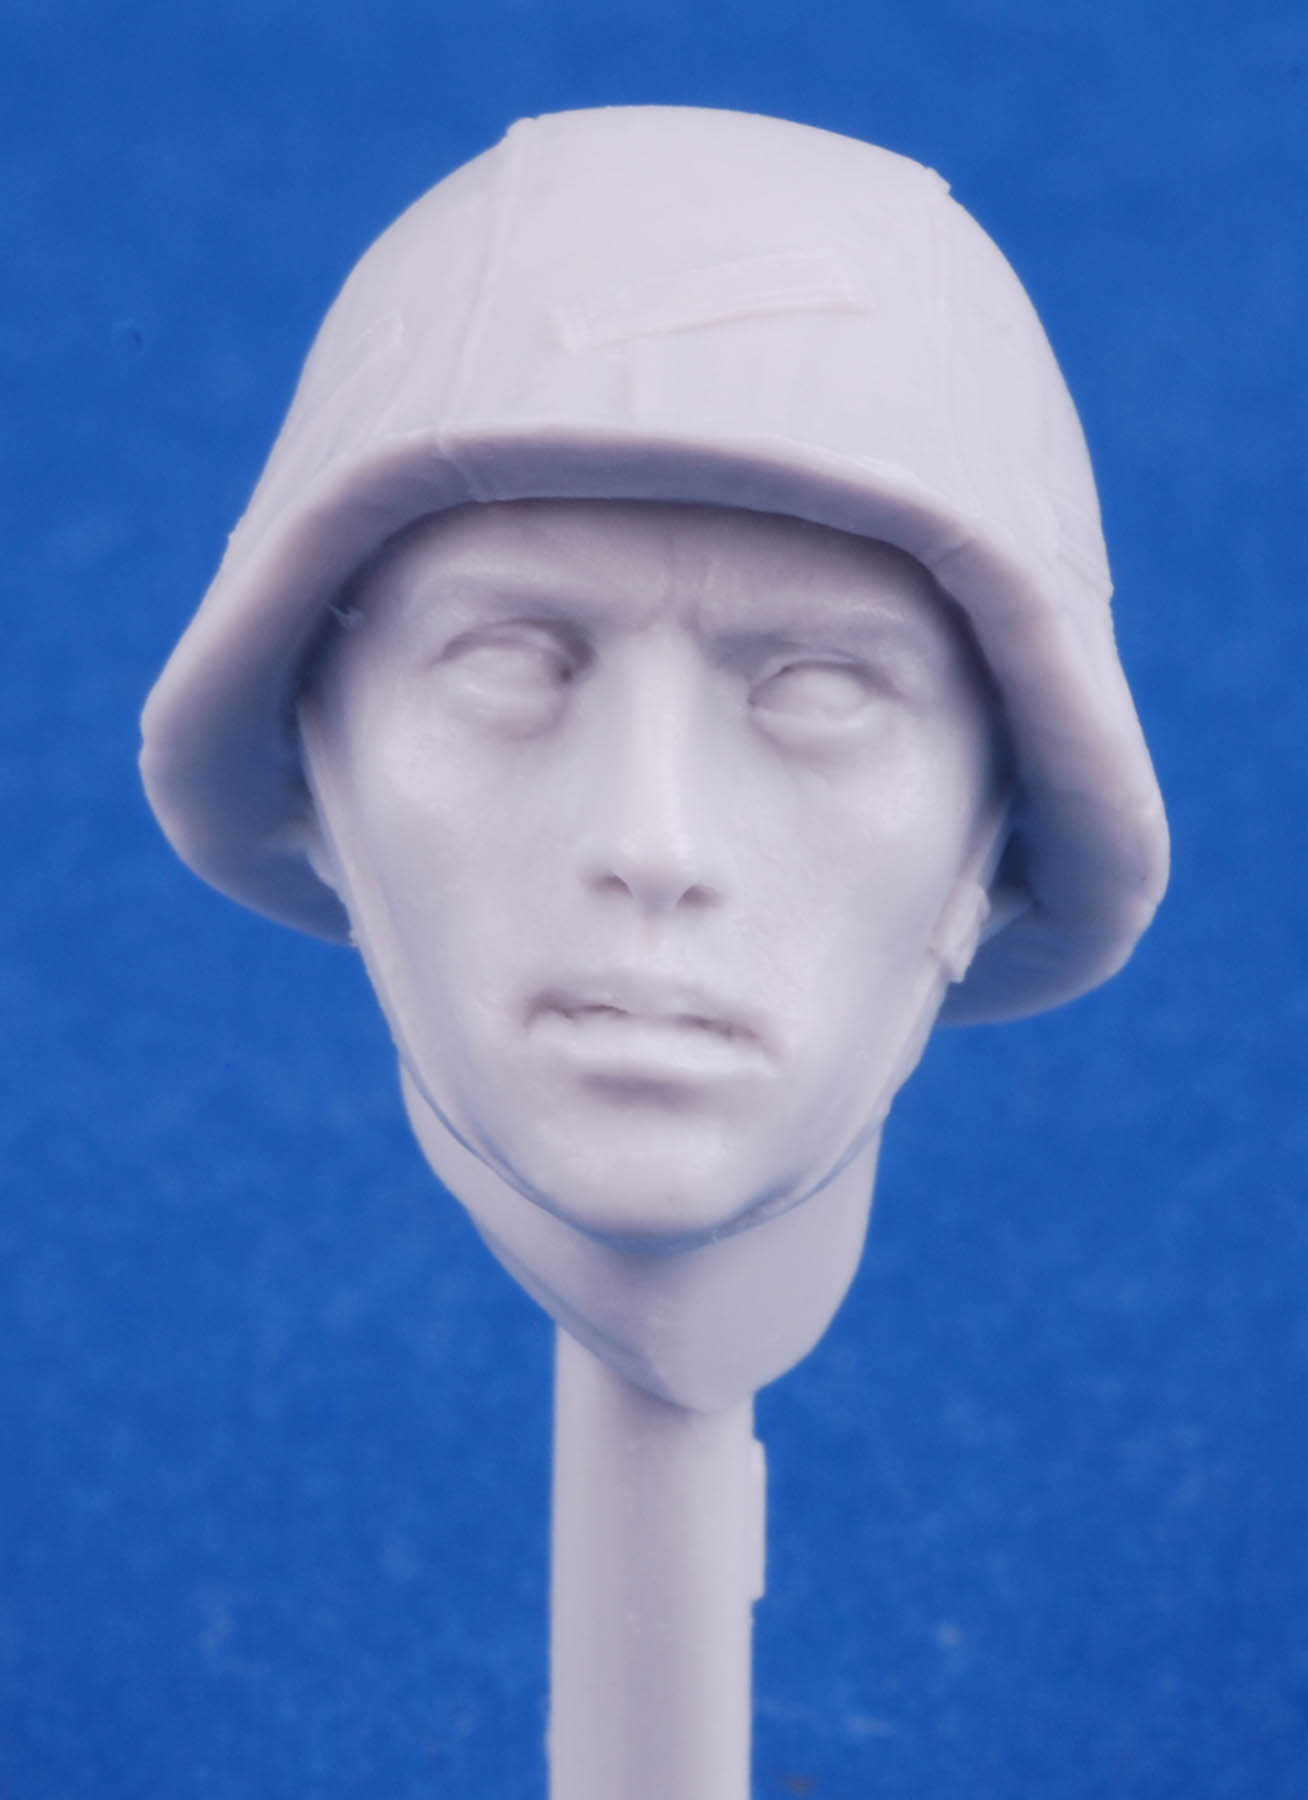
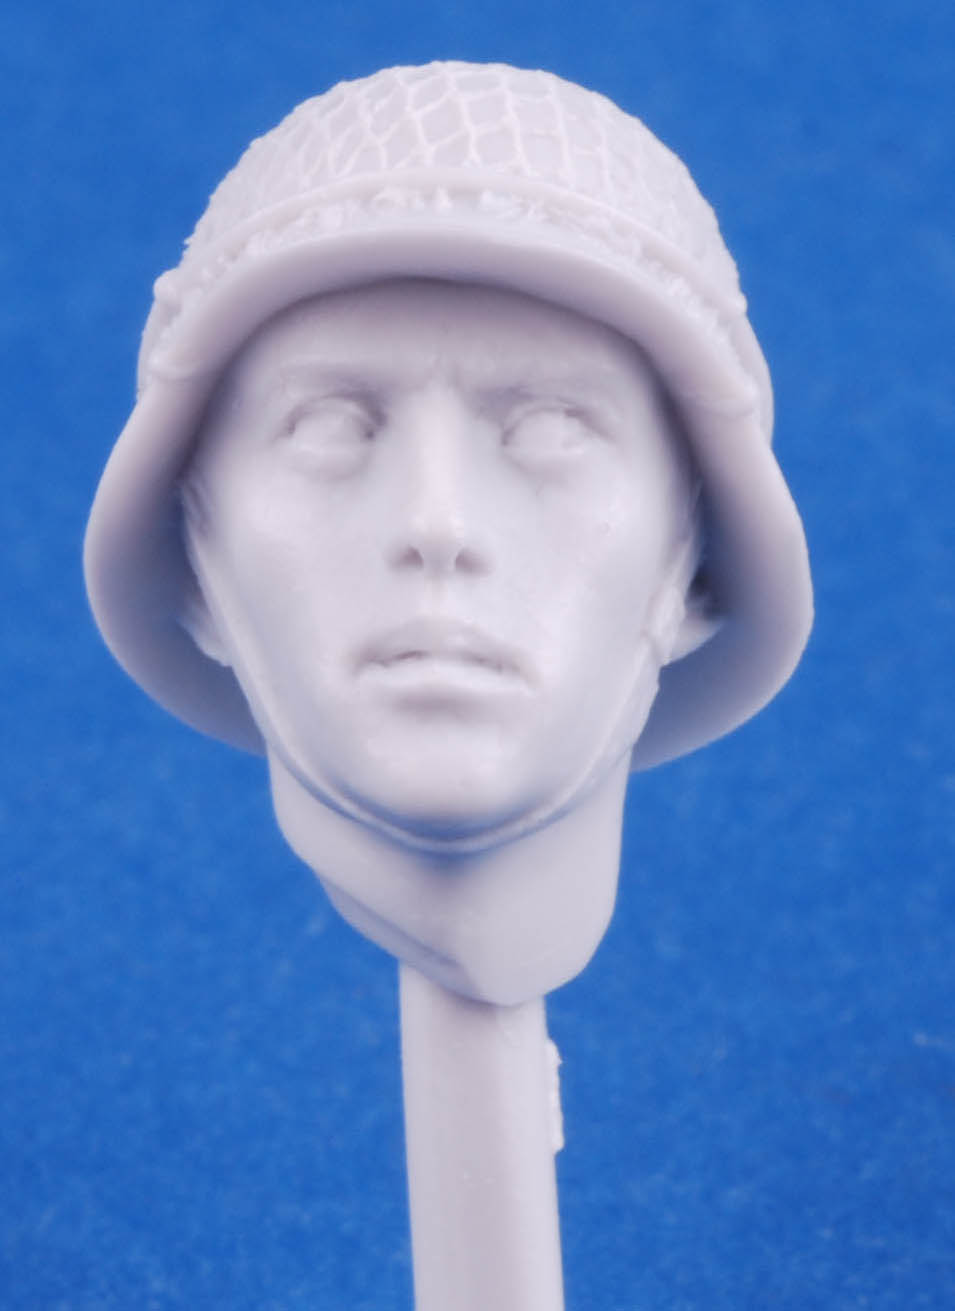
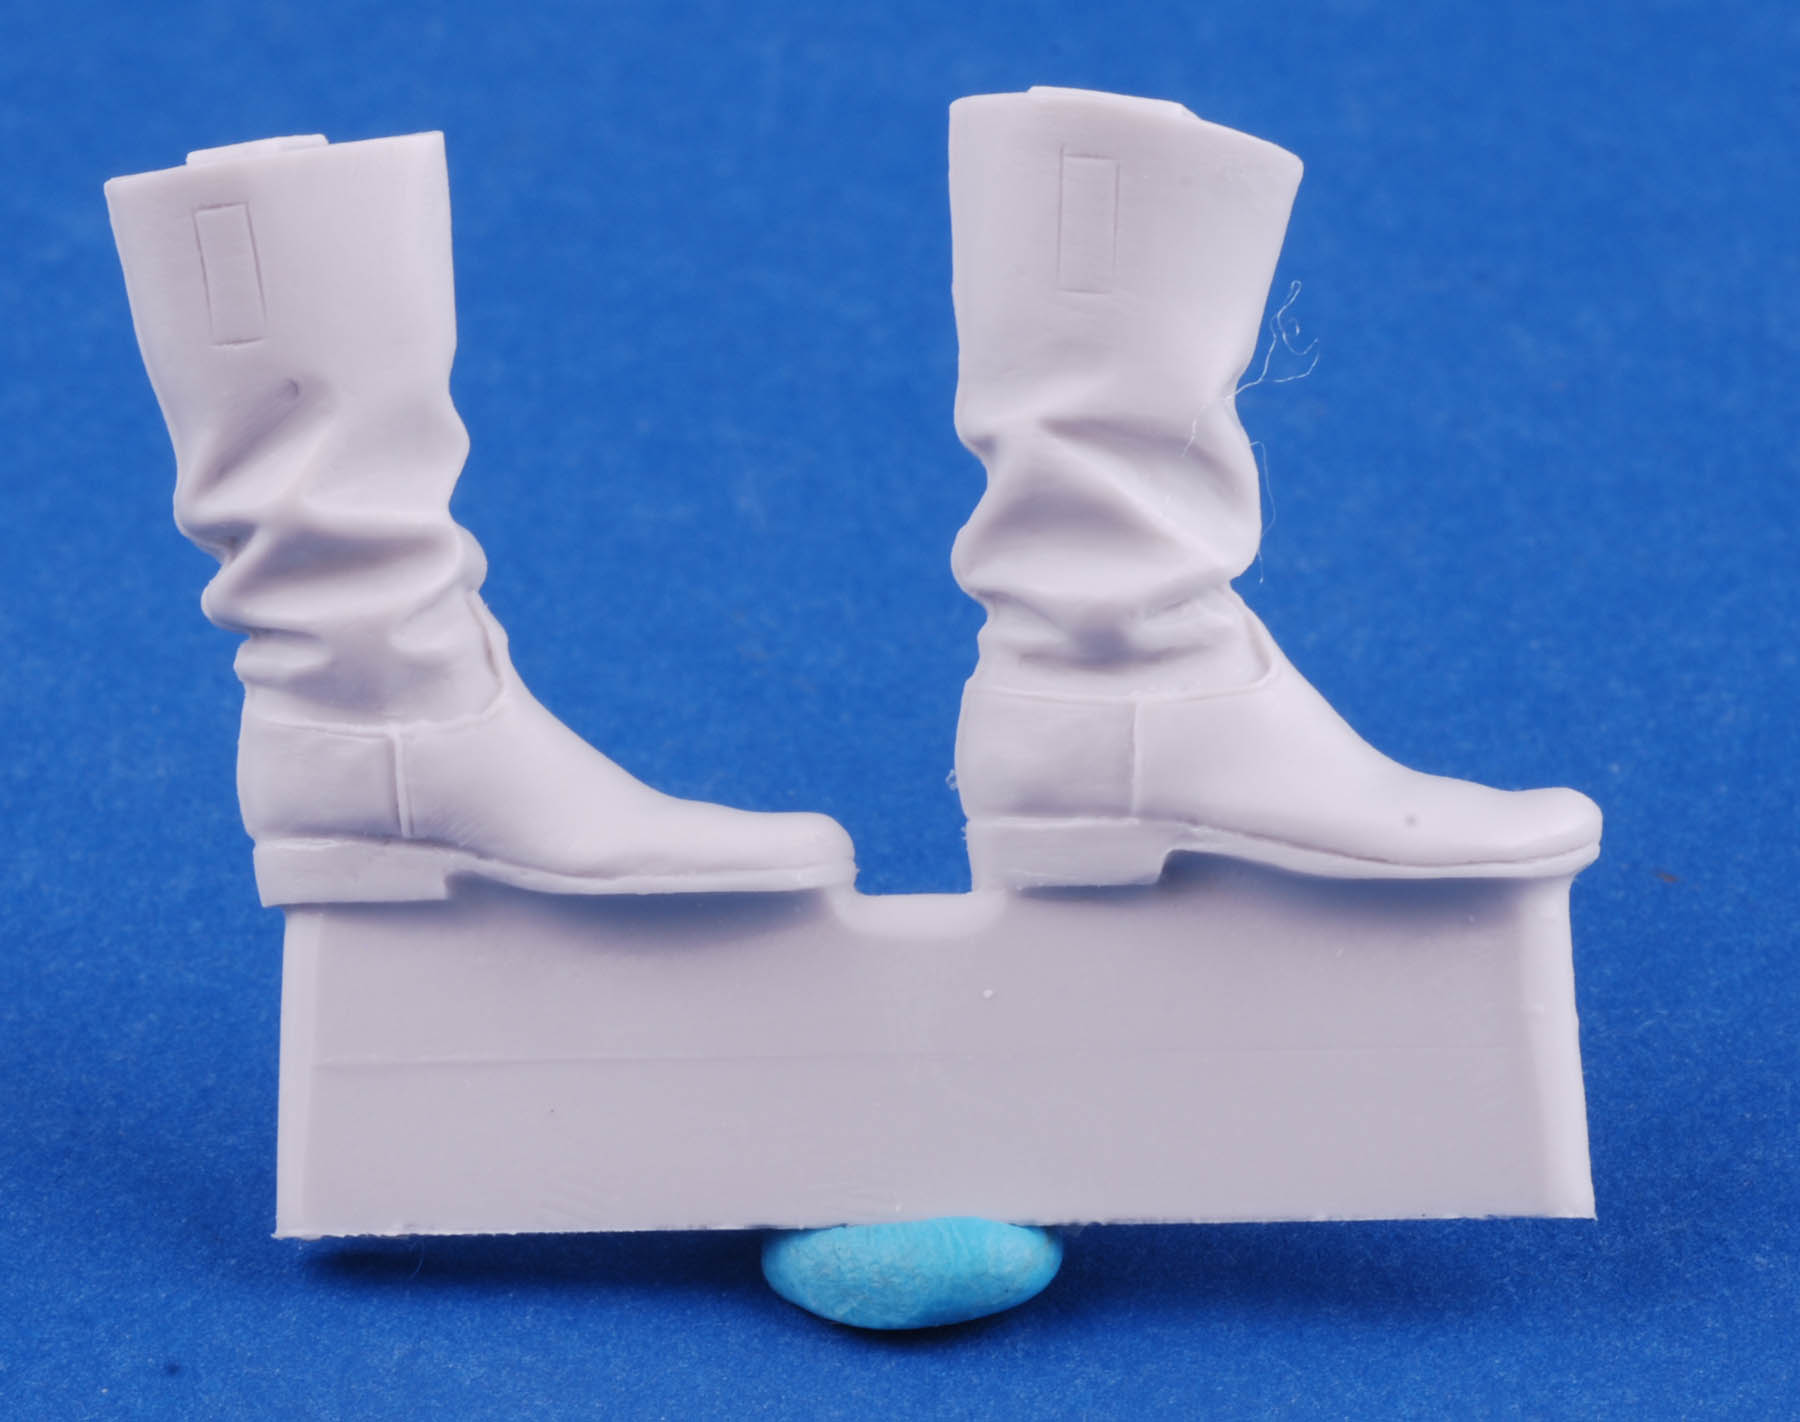
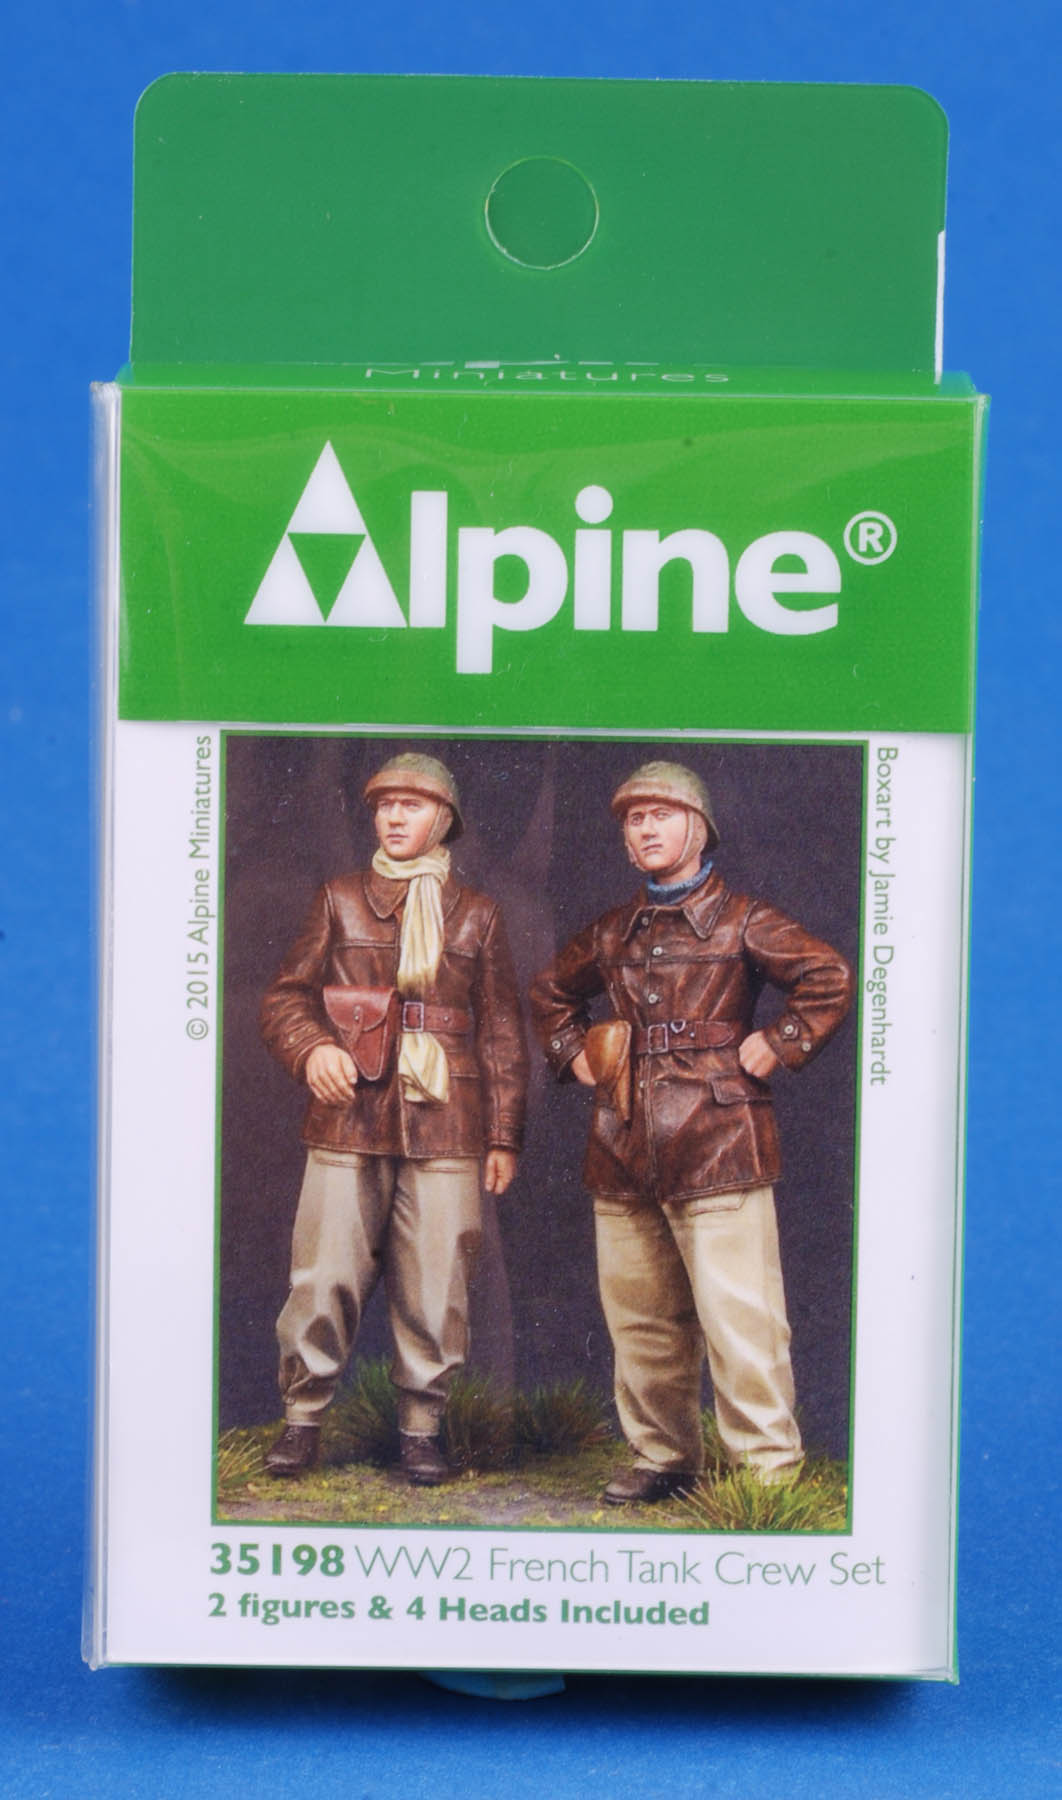
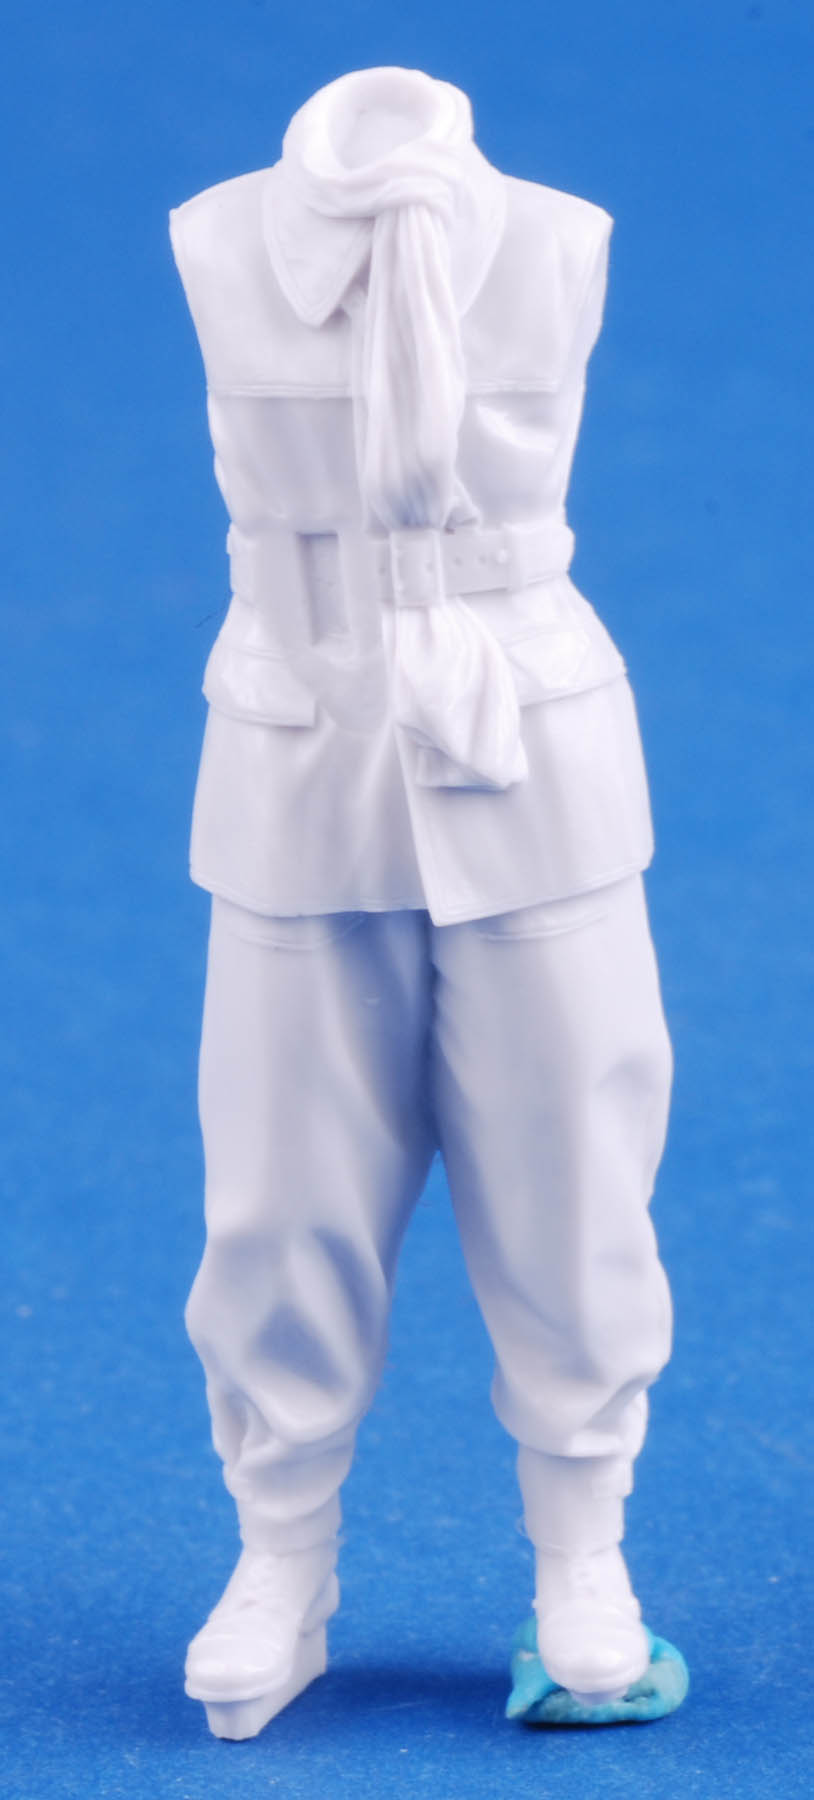
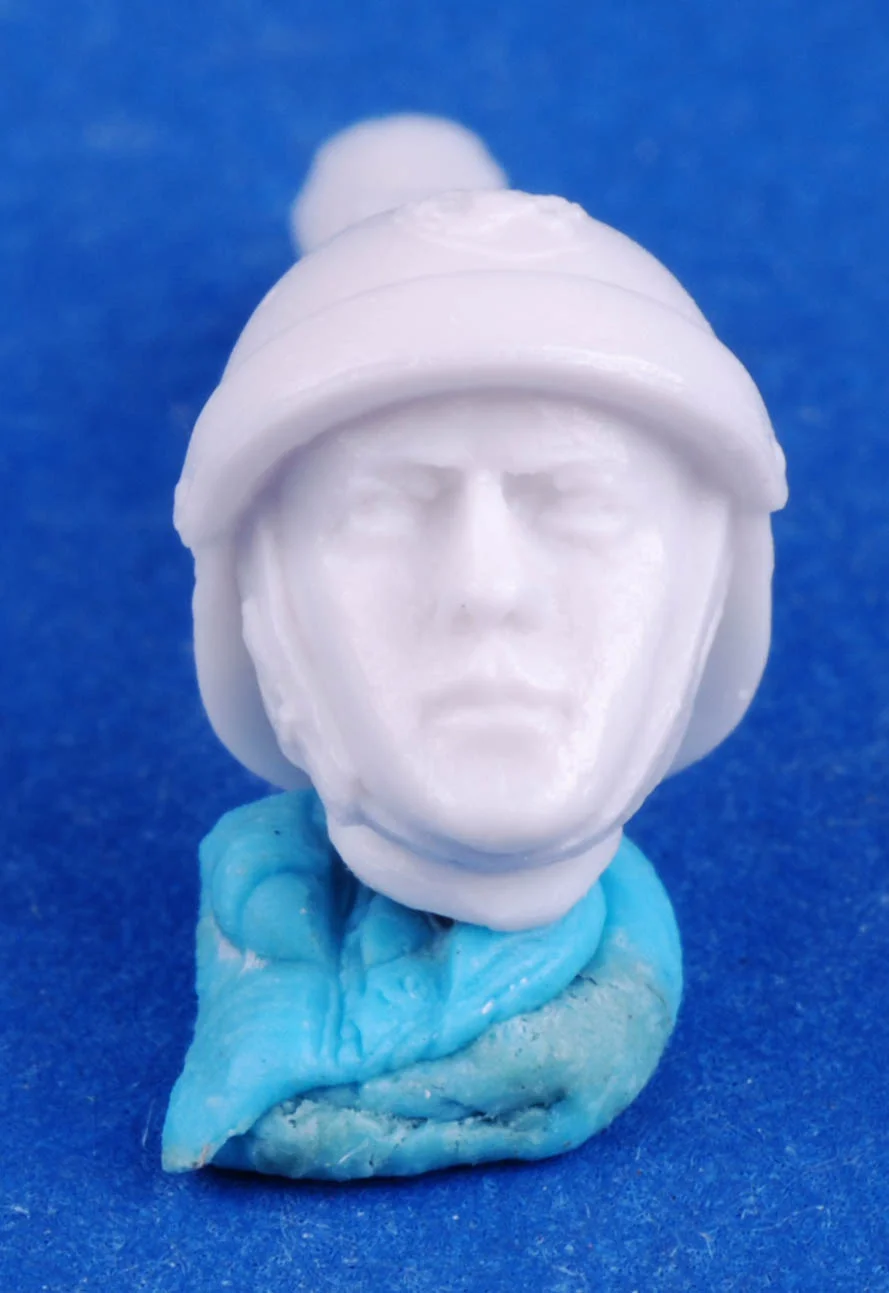
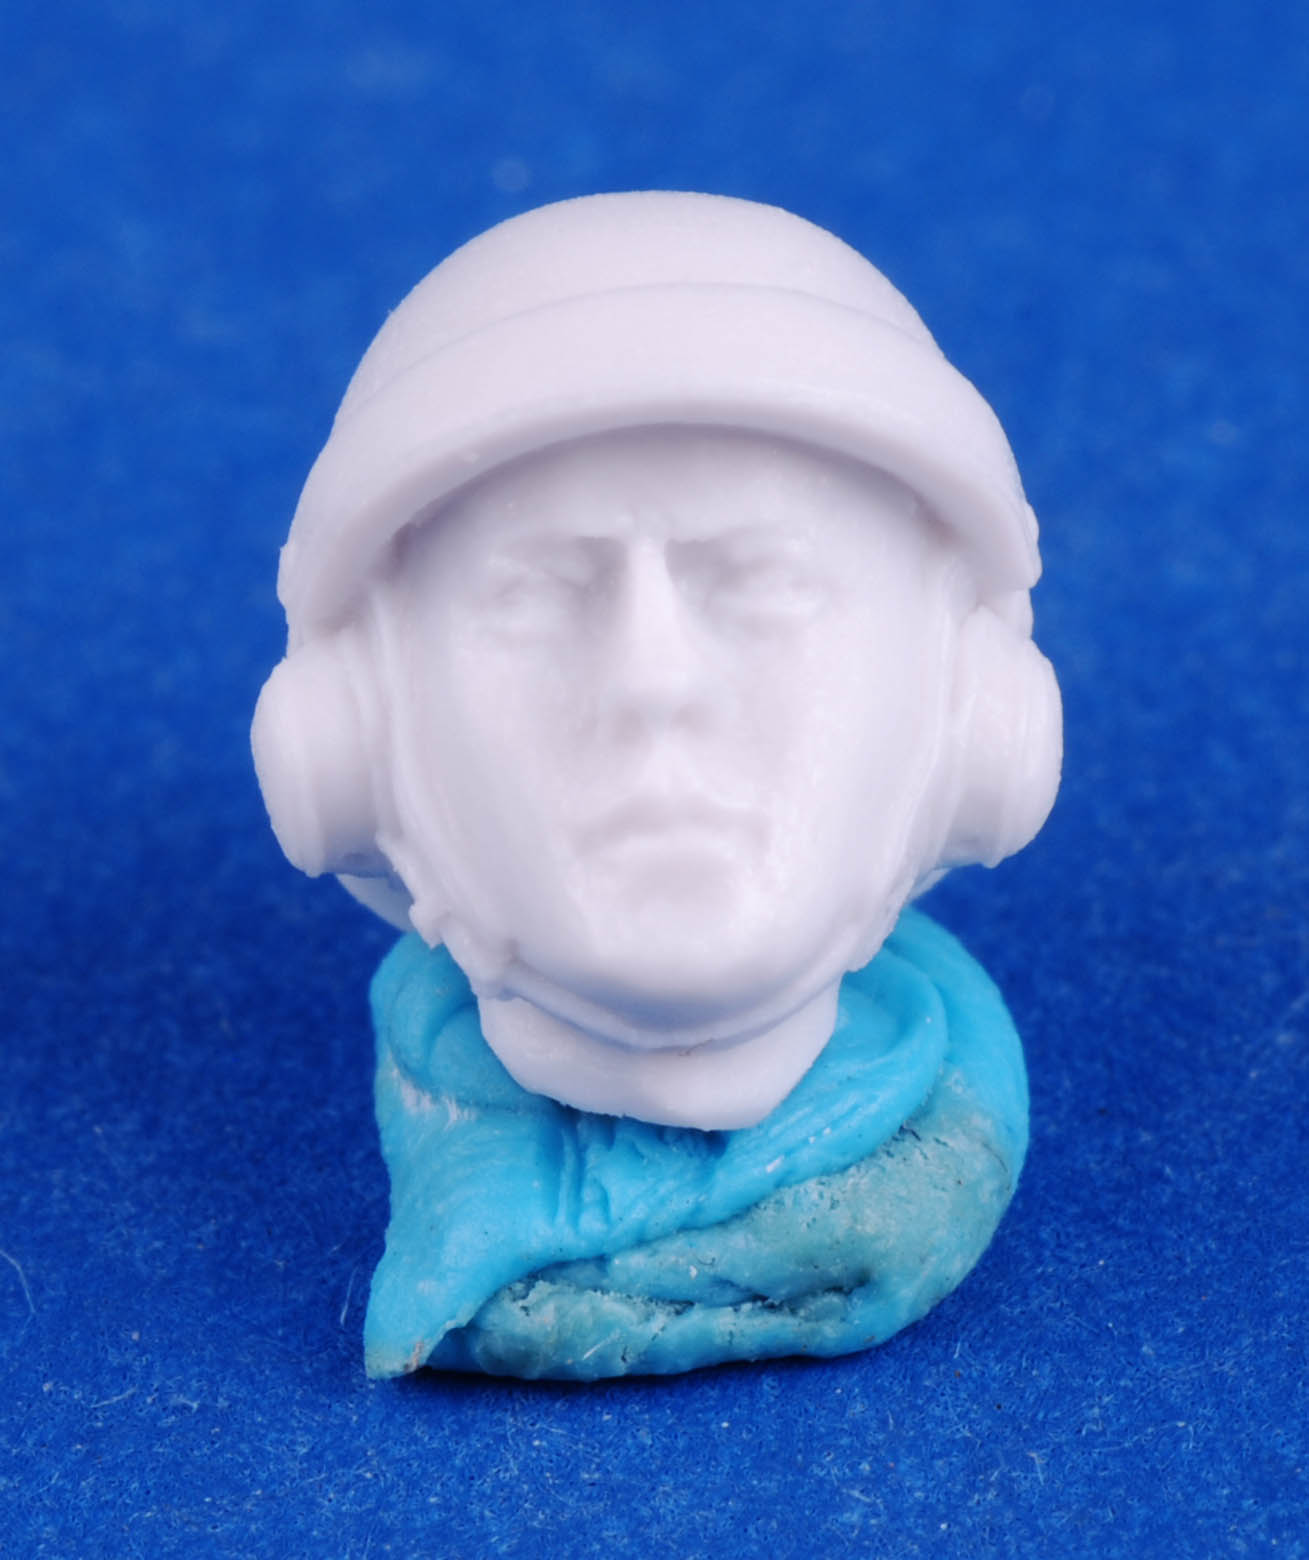
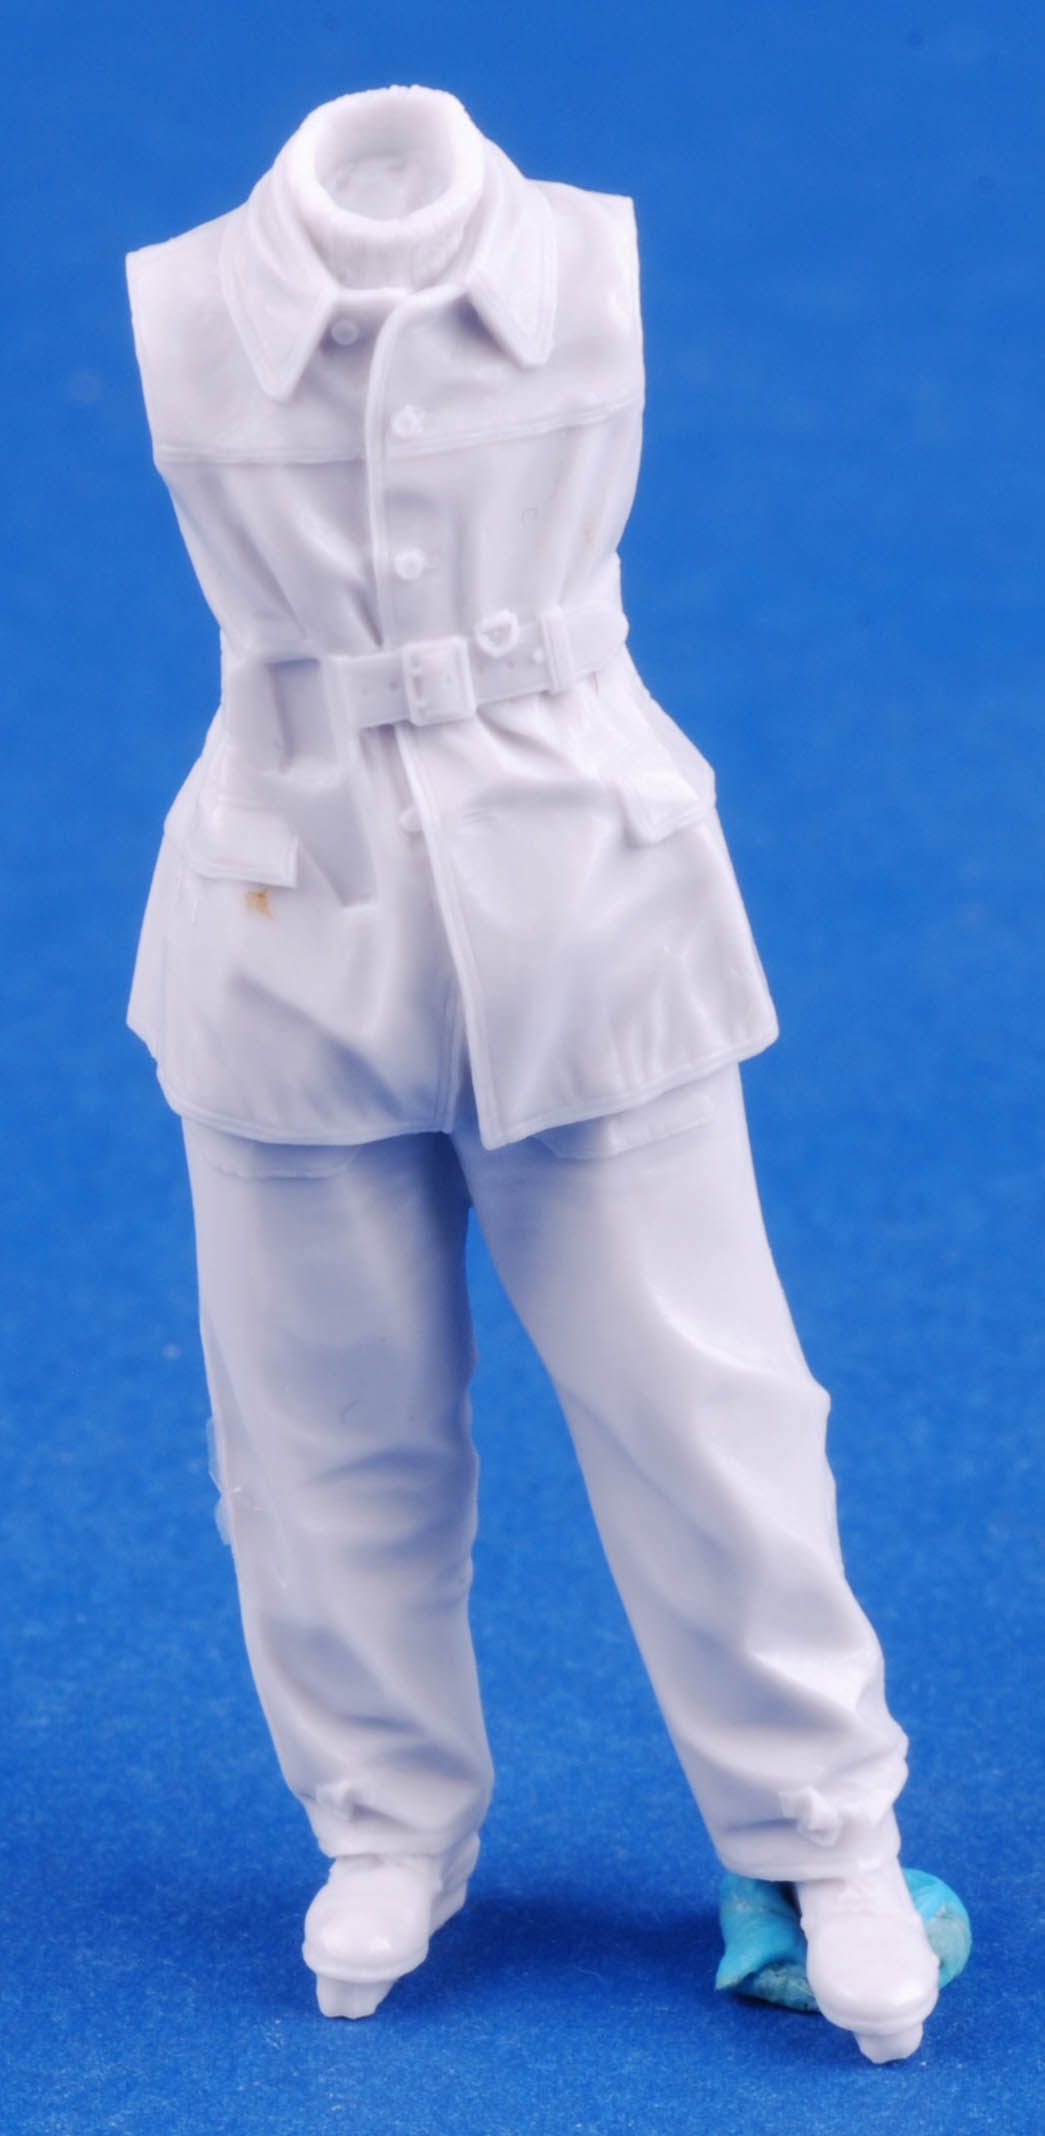
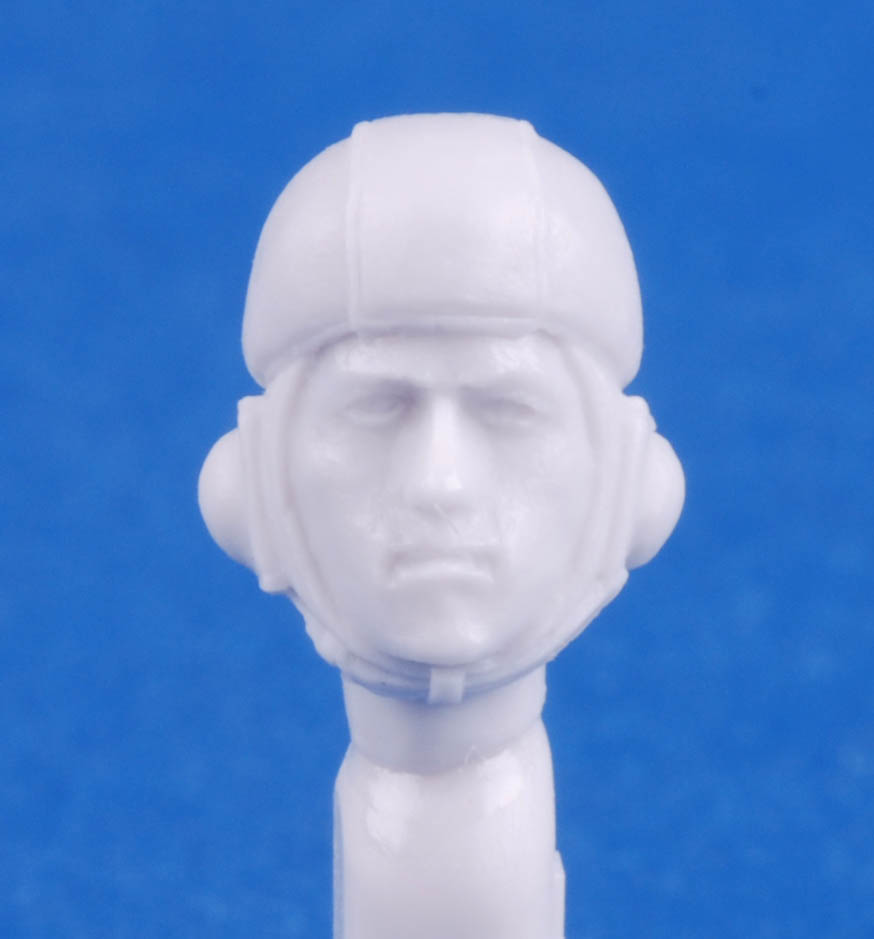
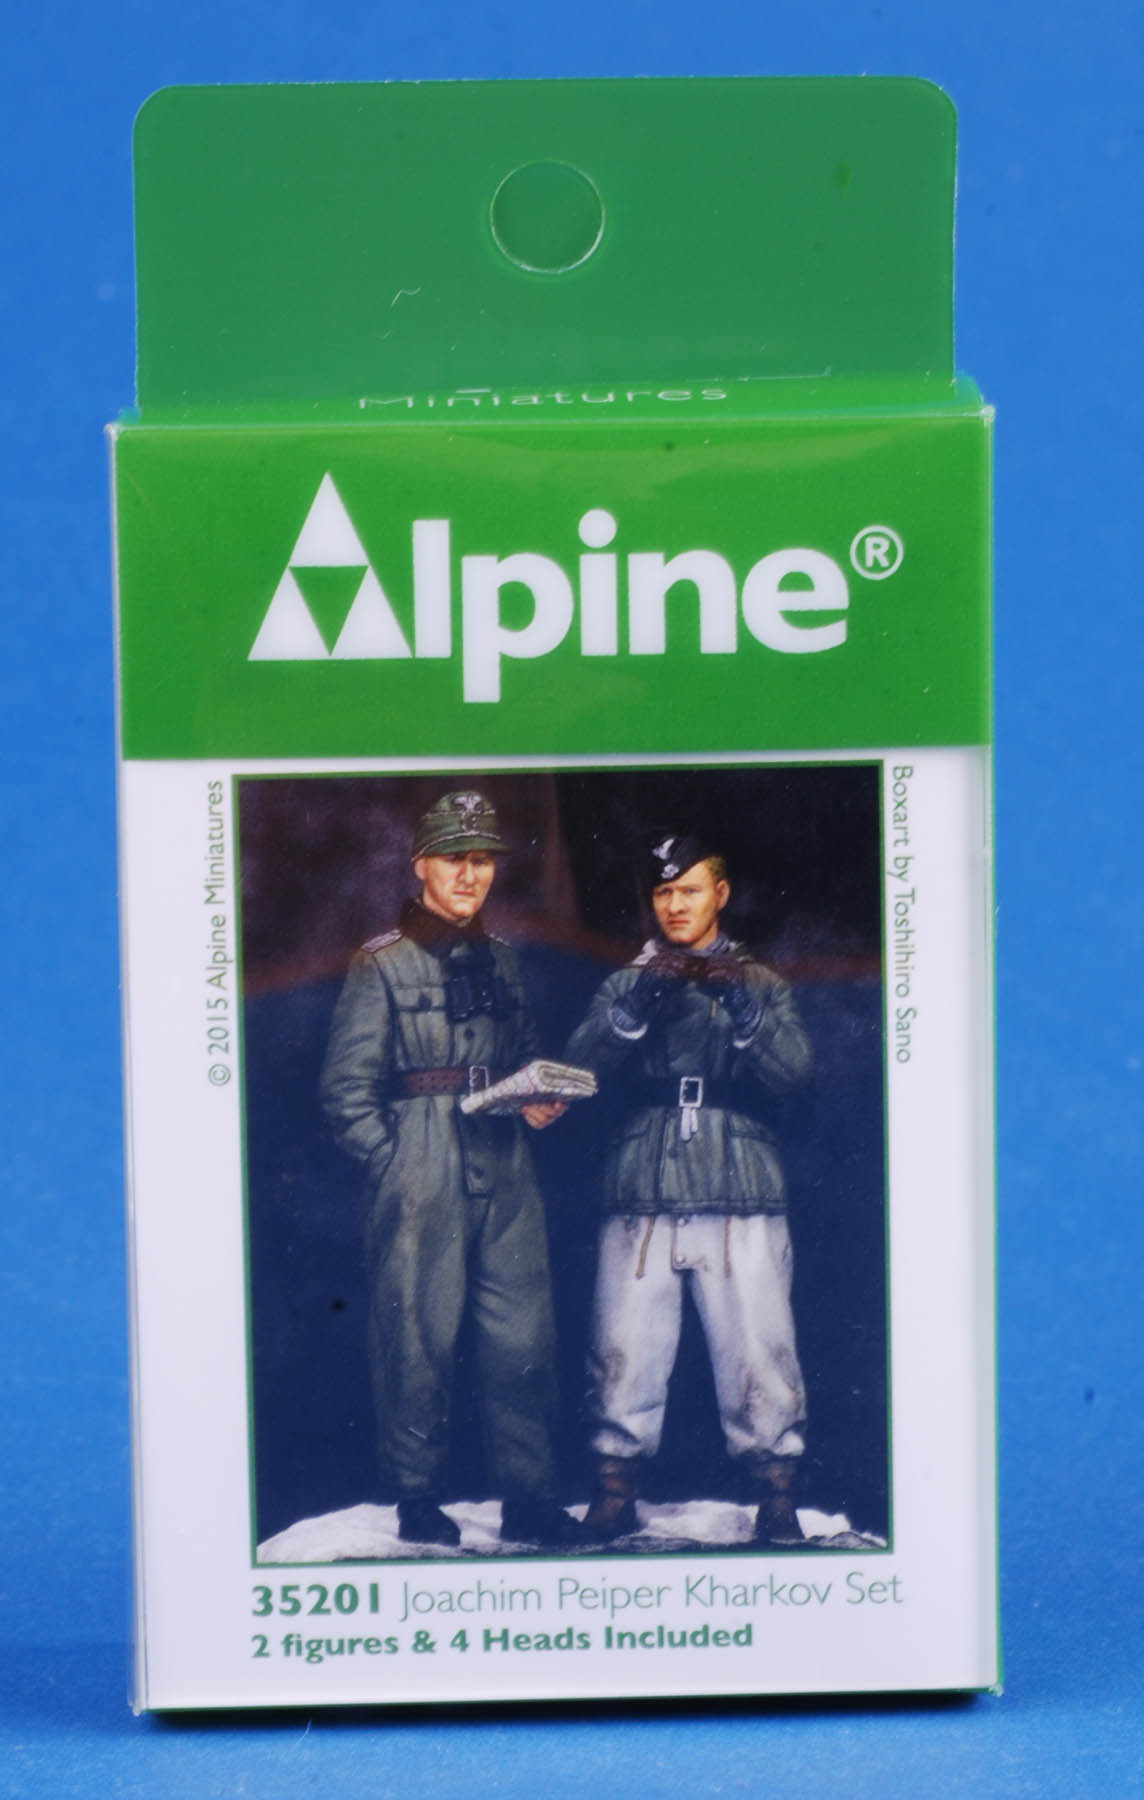
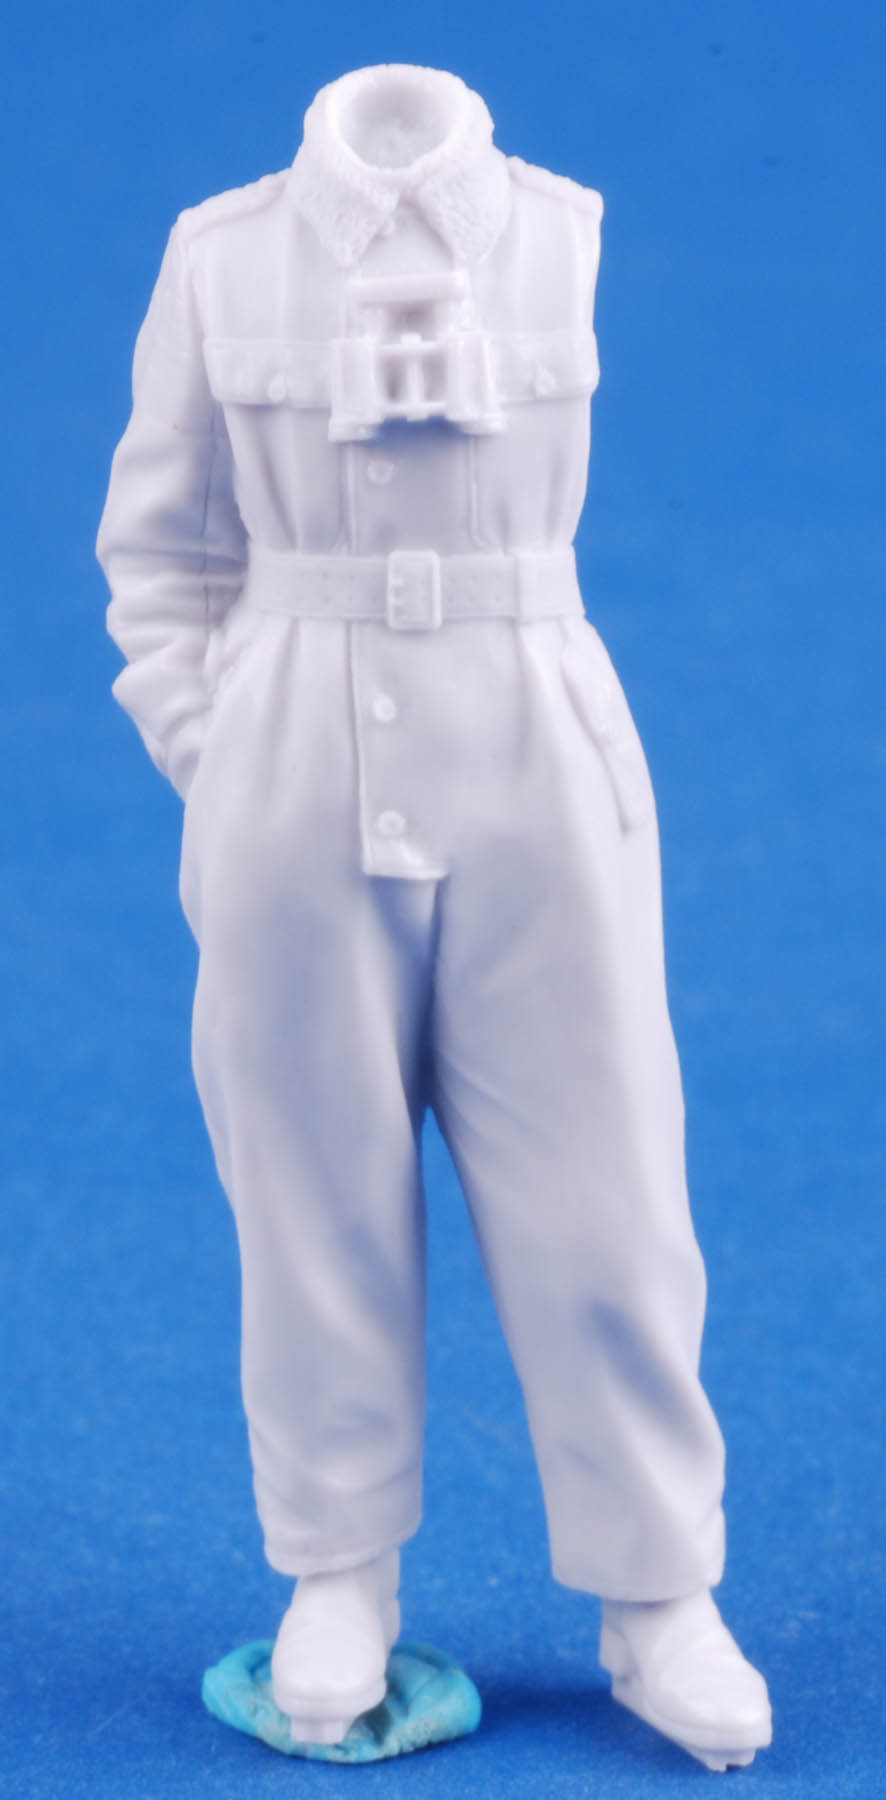
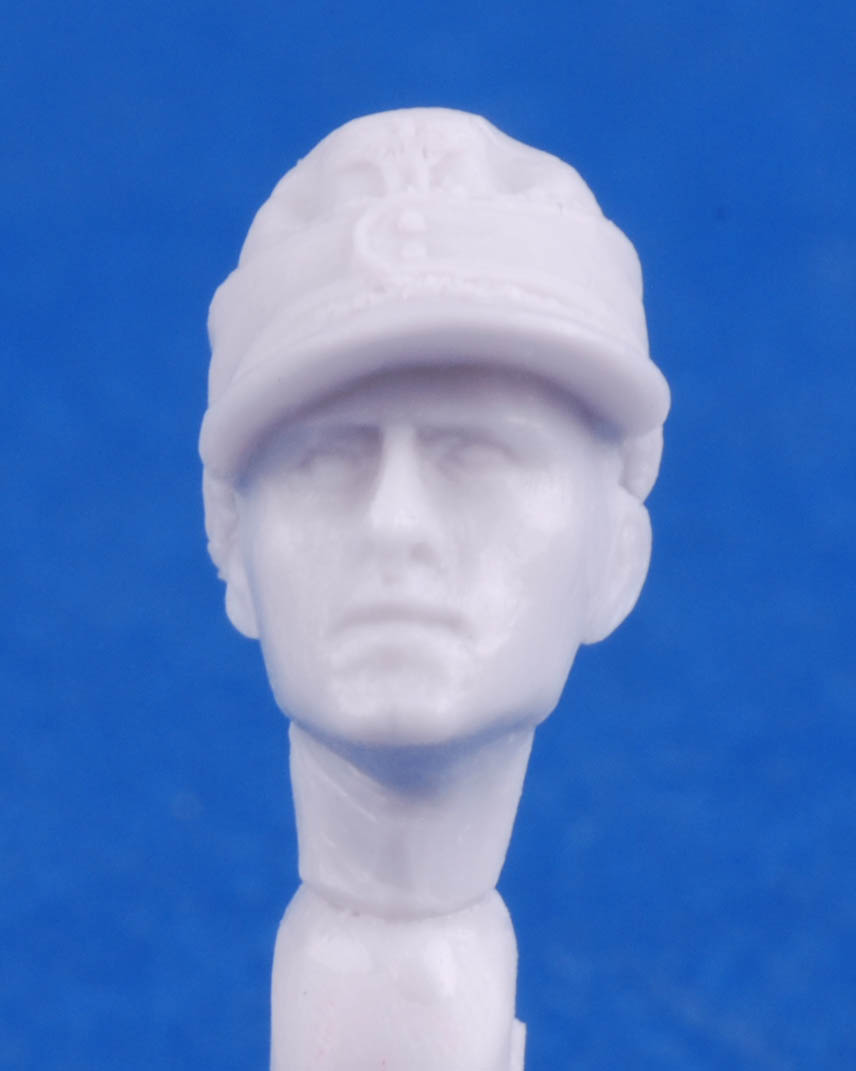
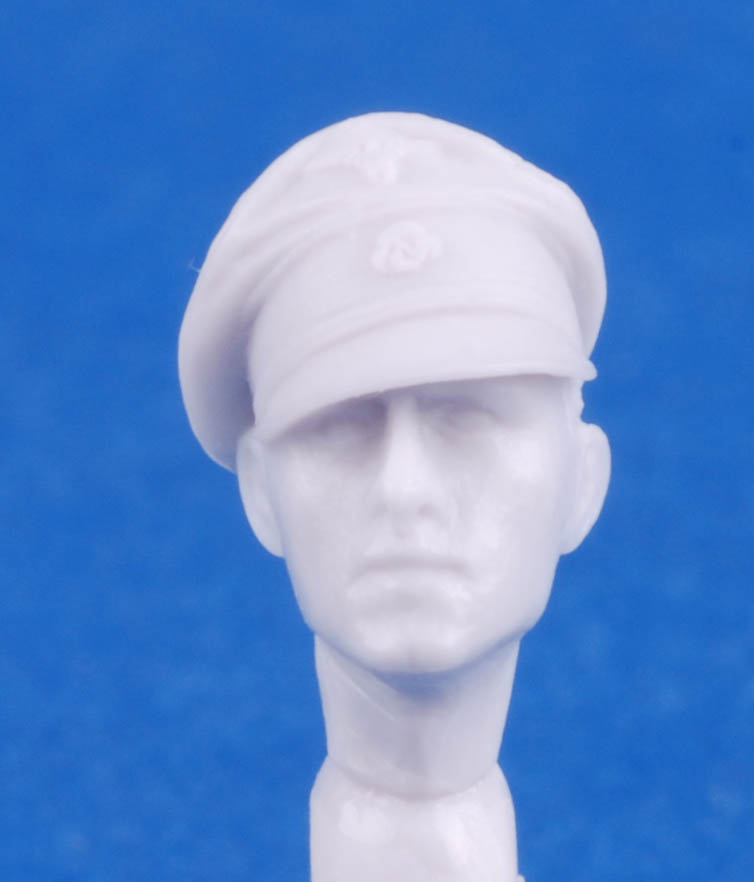
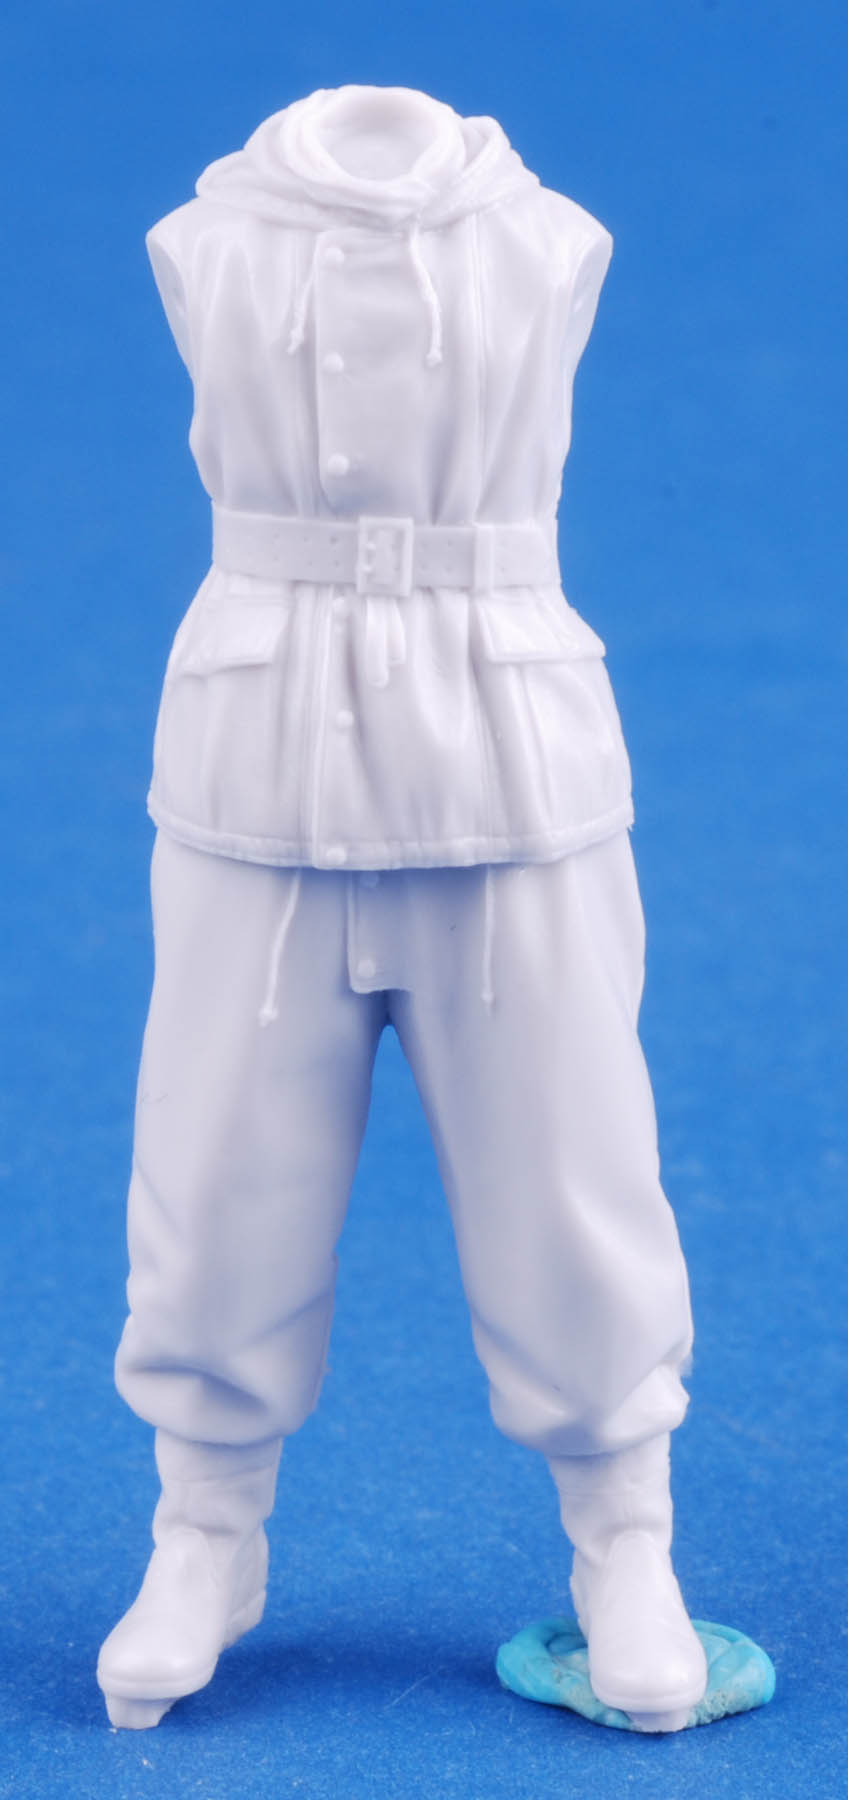
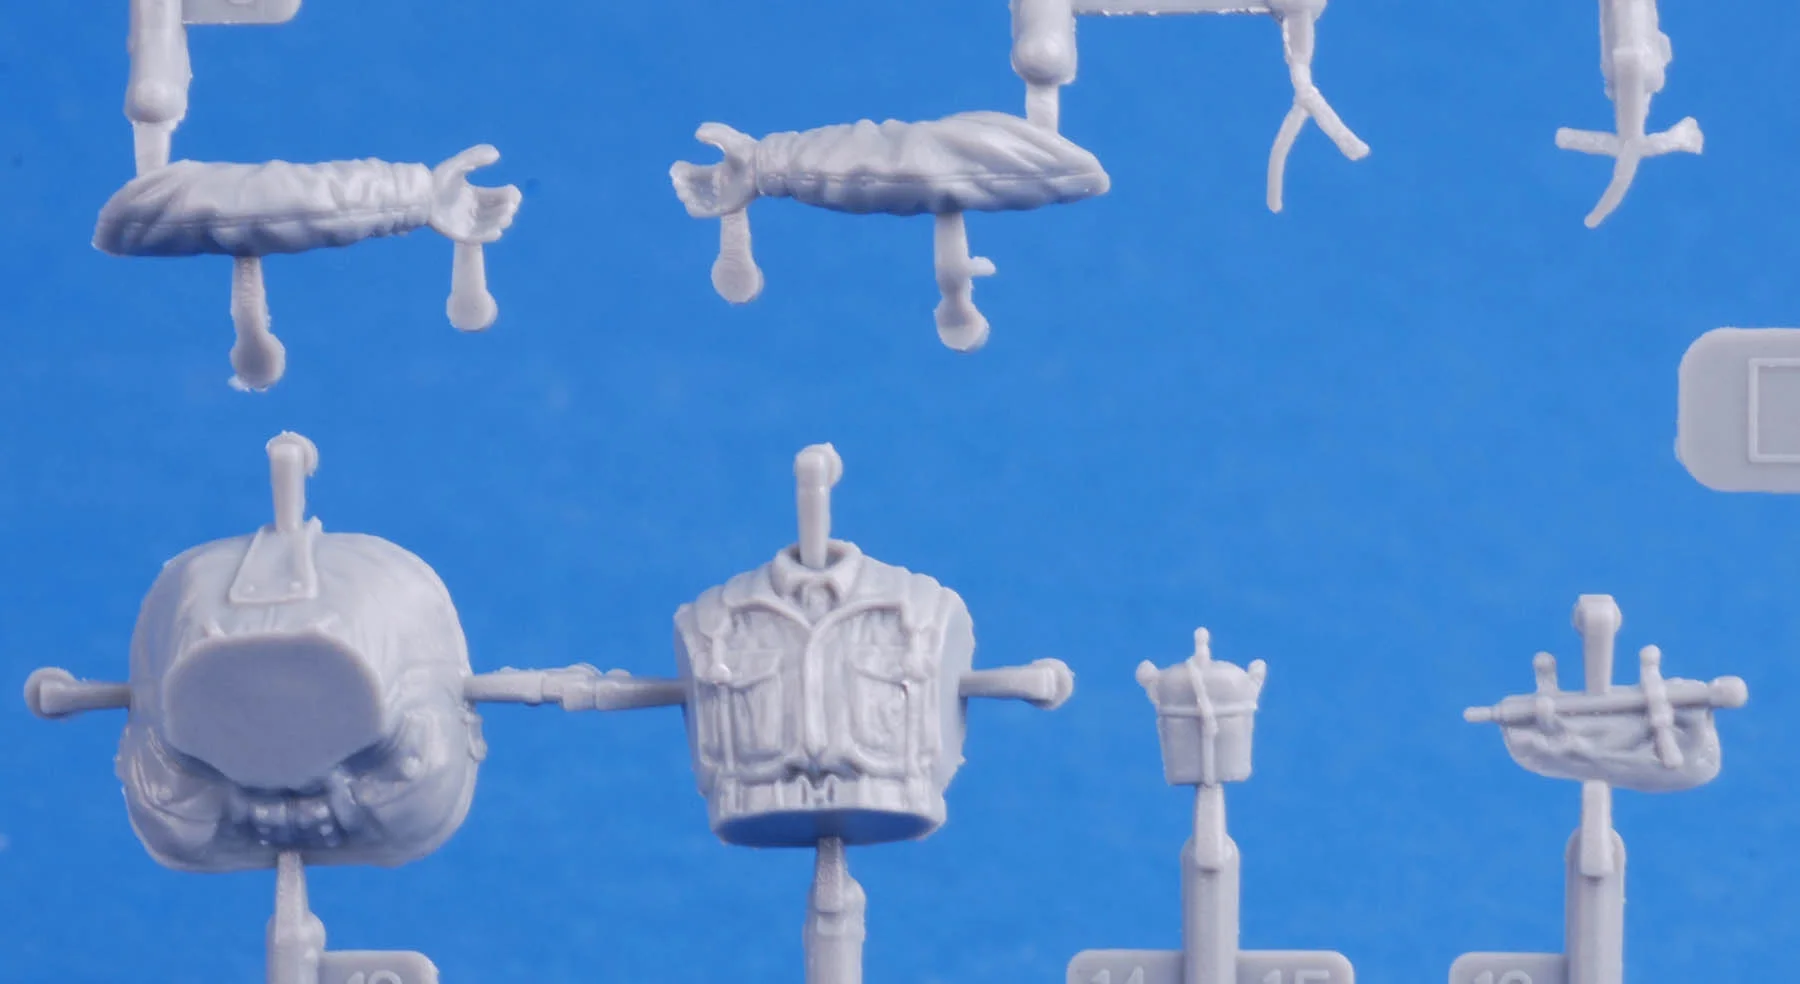
A Closer Look at the New Figures from Alpine
www.alpineminiatures.com