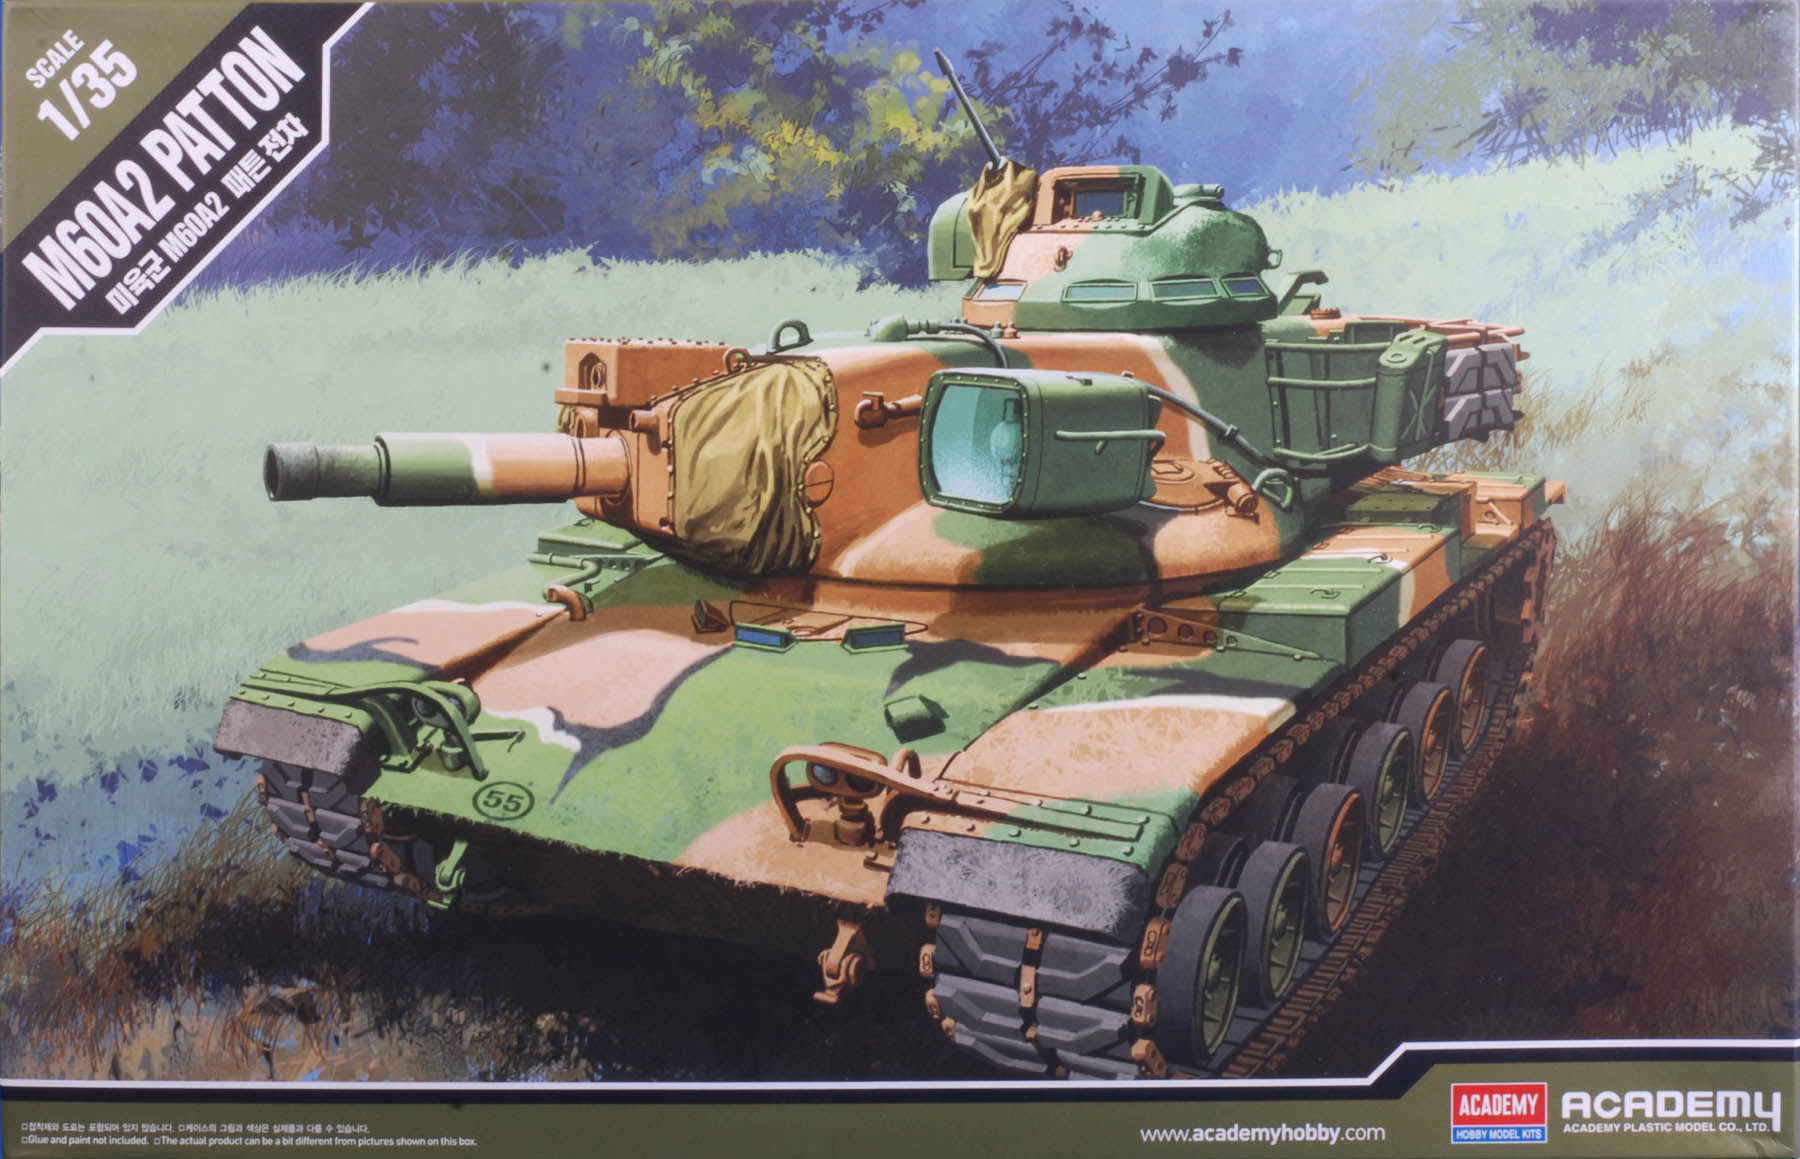
New from Academy M60A2 Patton

We recently received a sample from Model Rectifier Corporation of

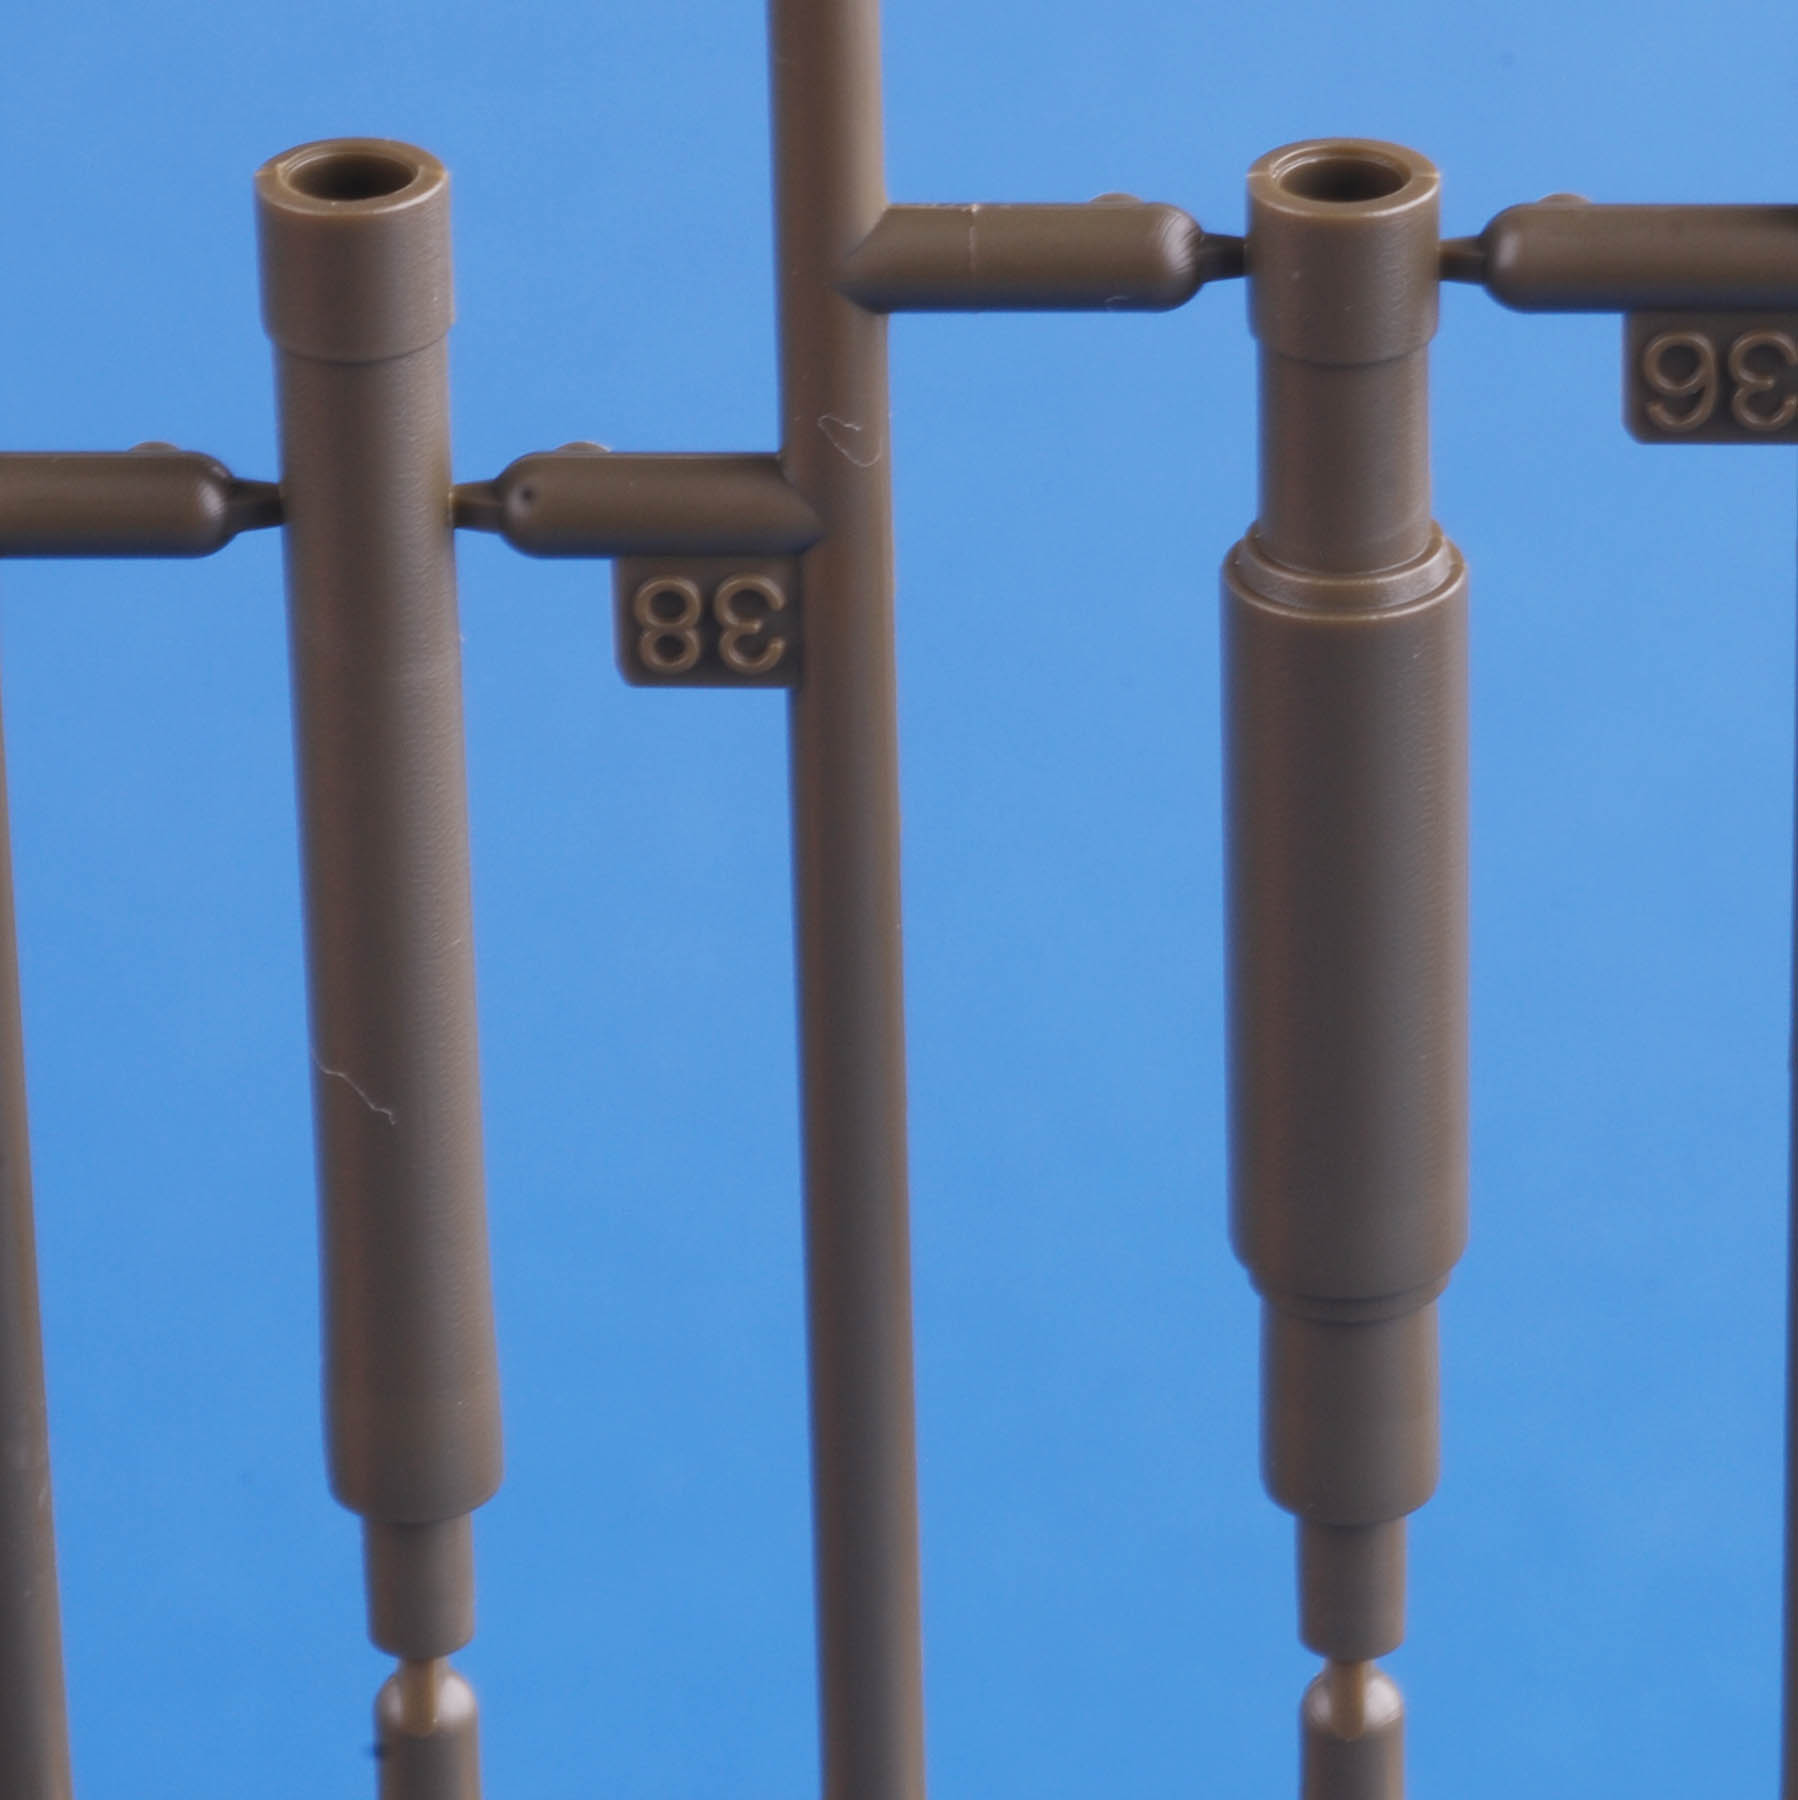
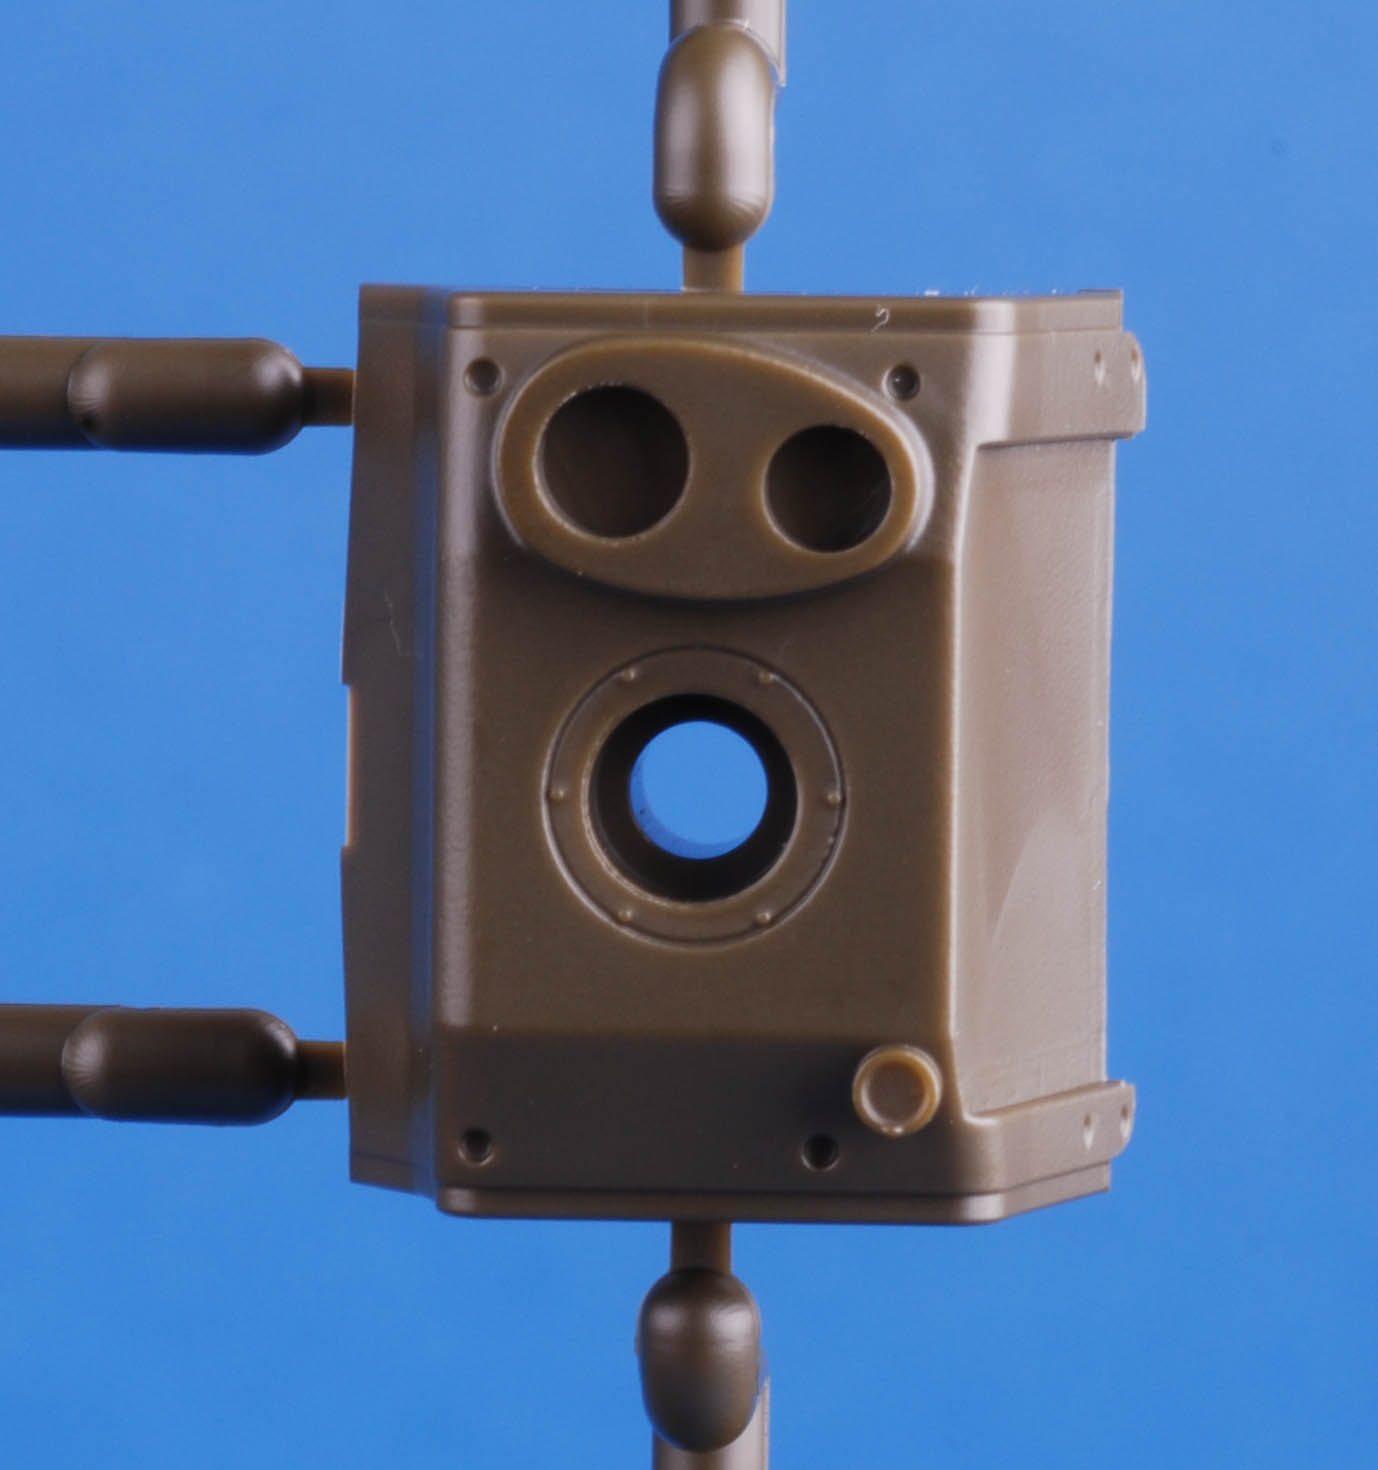
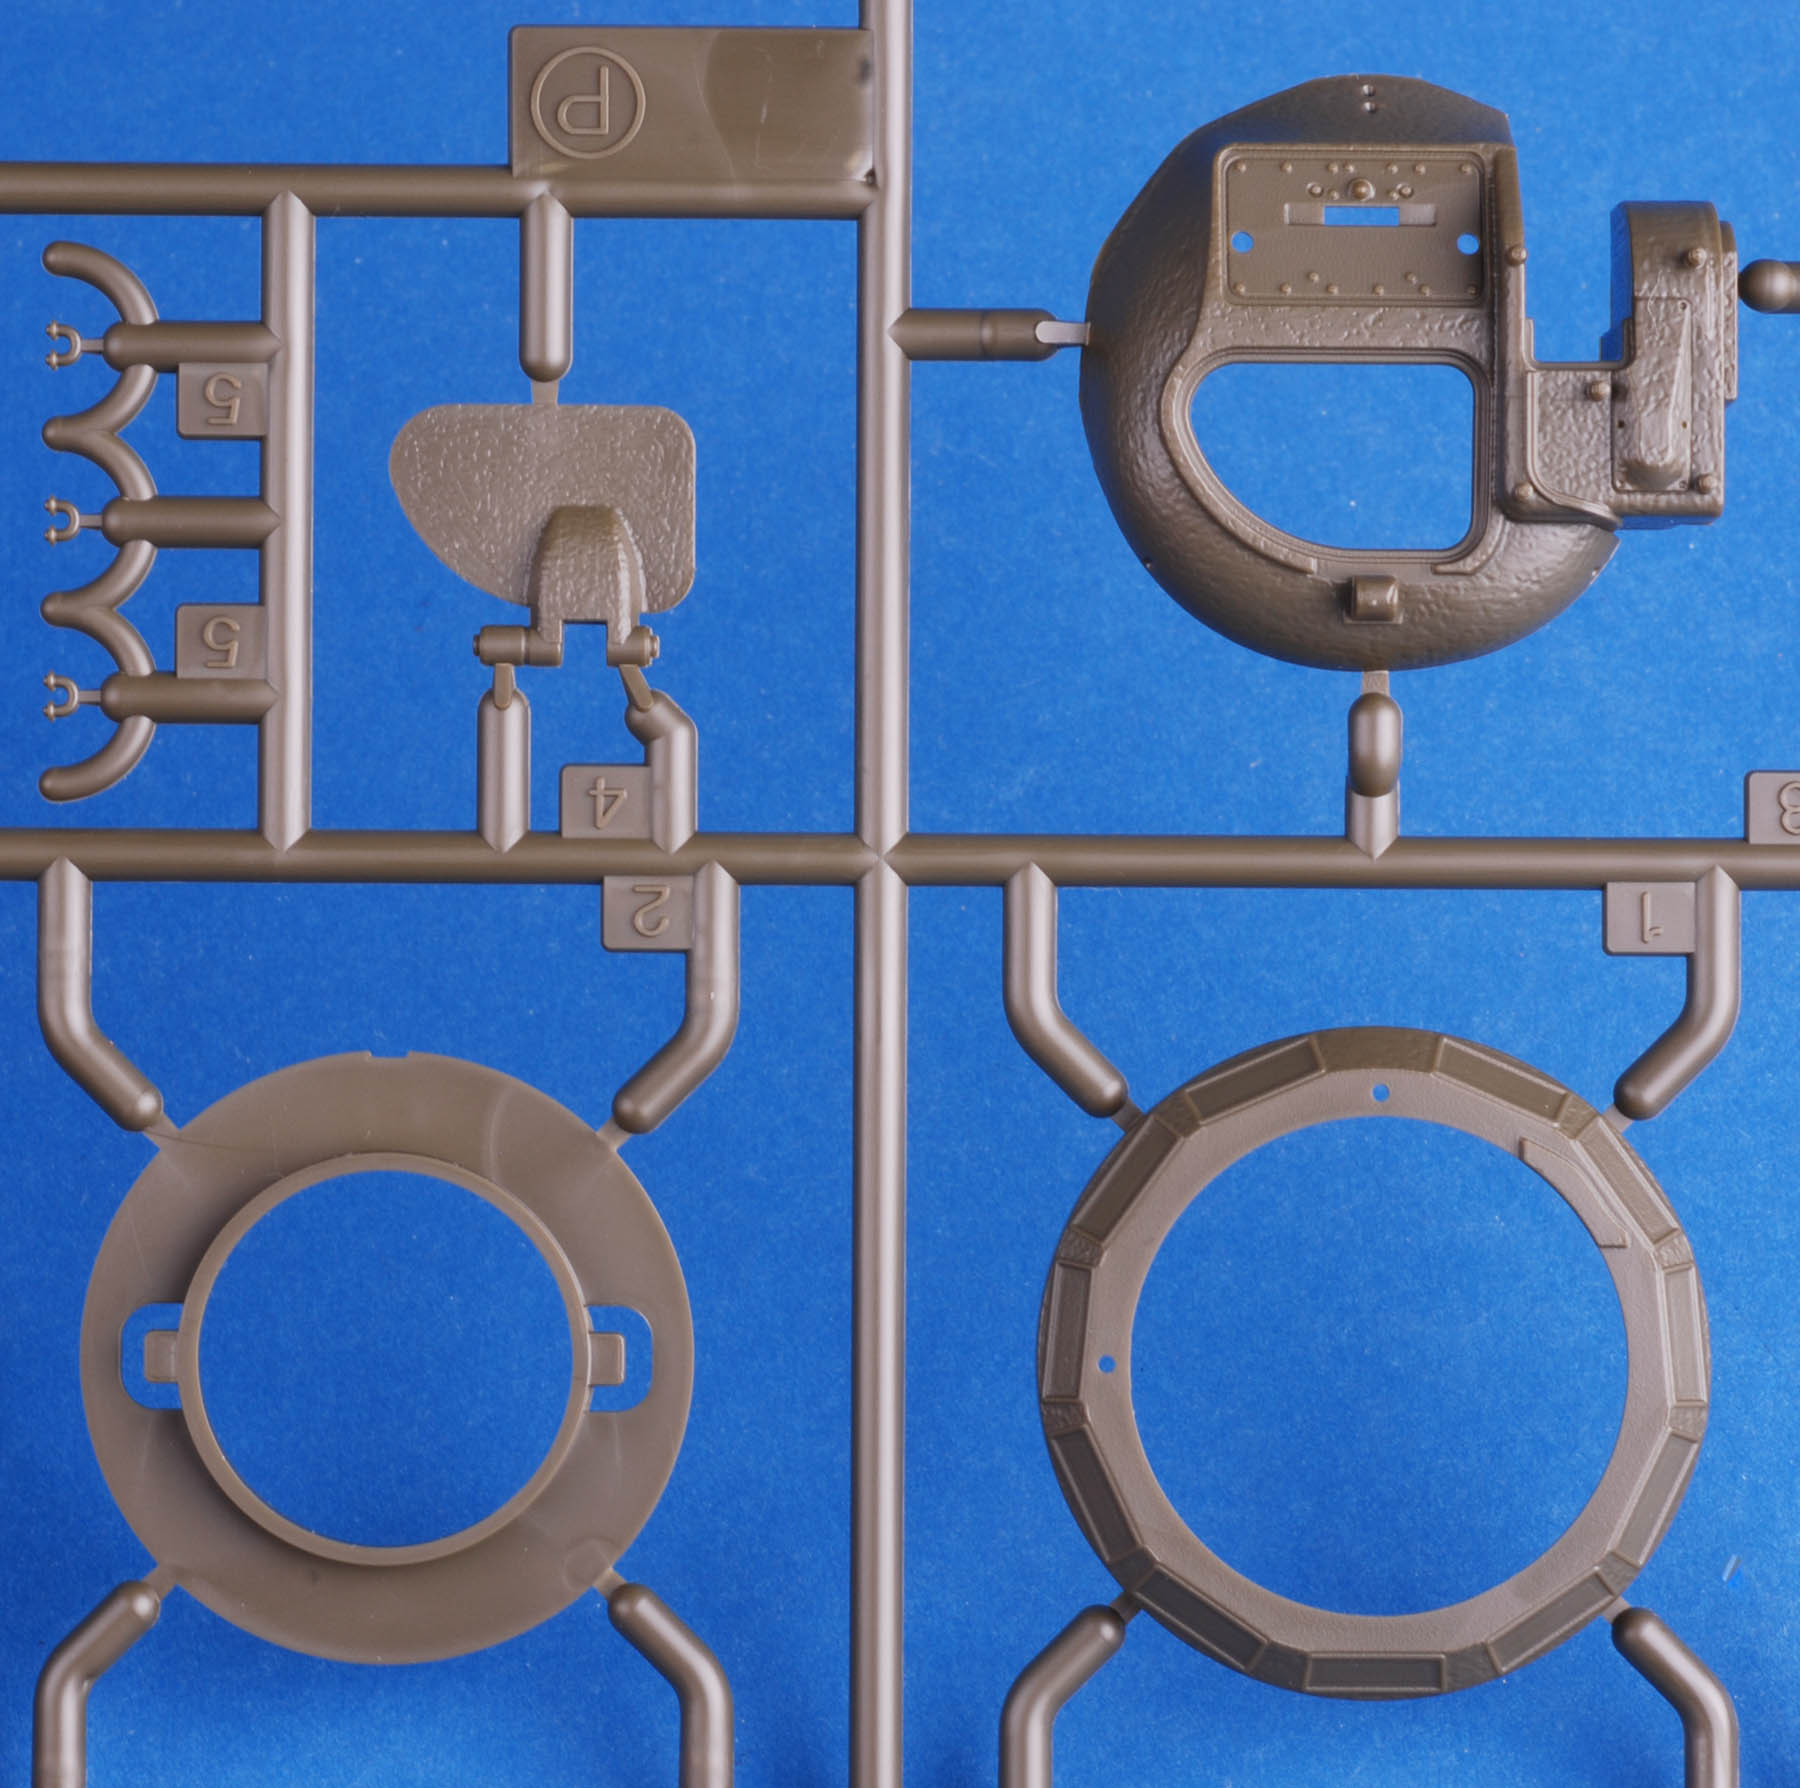
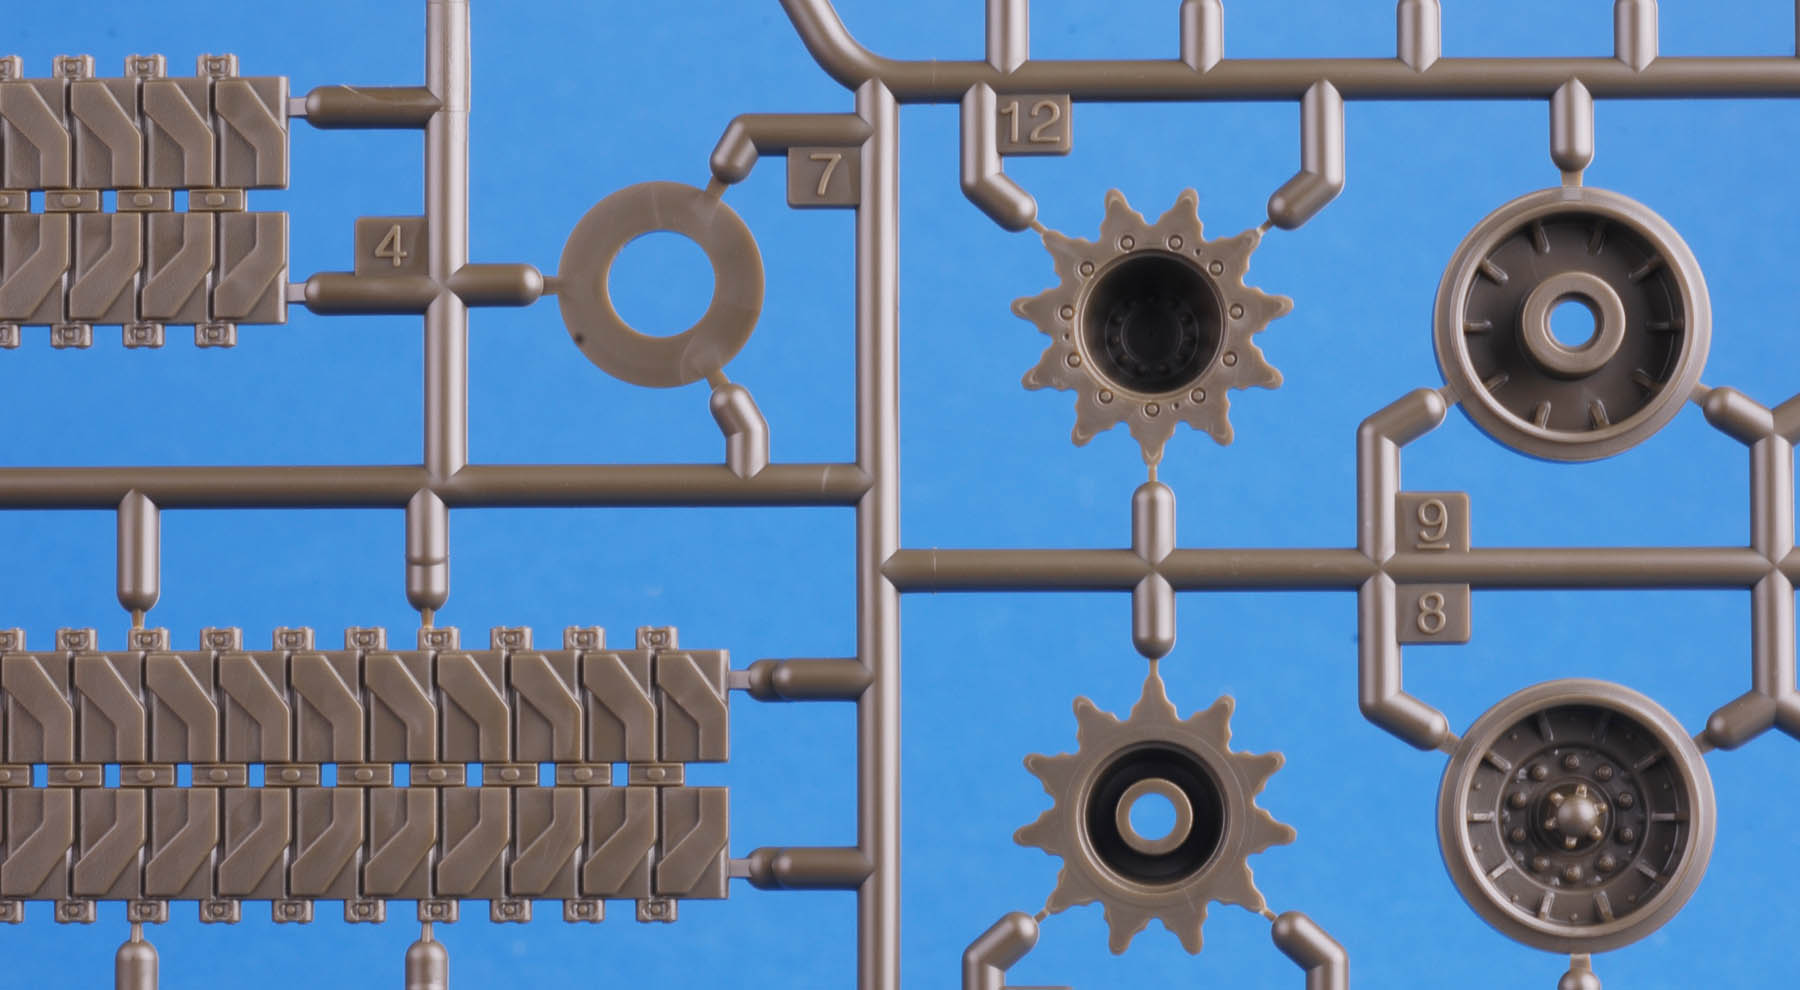
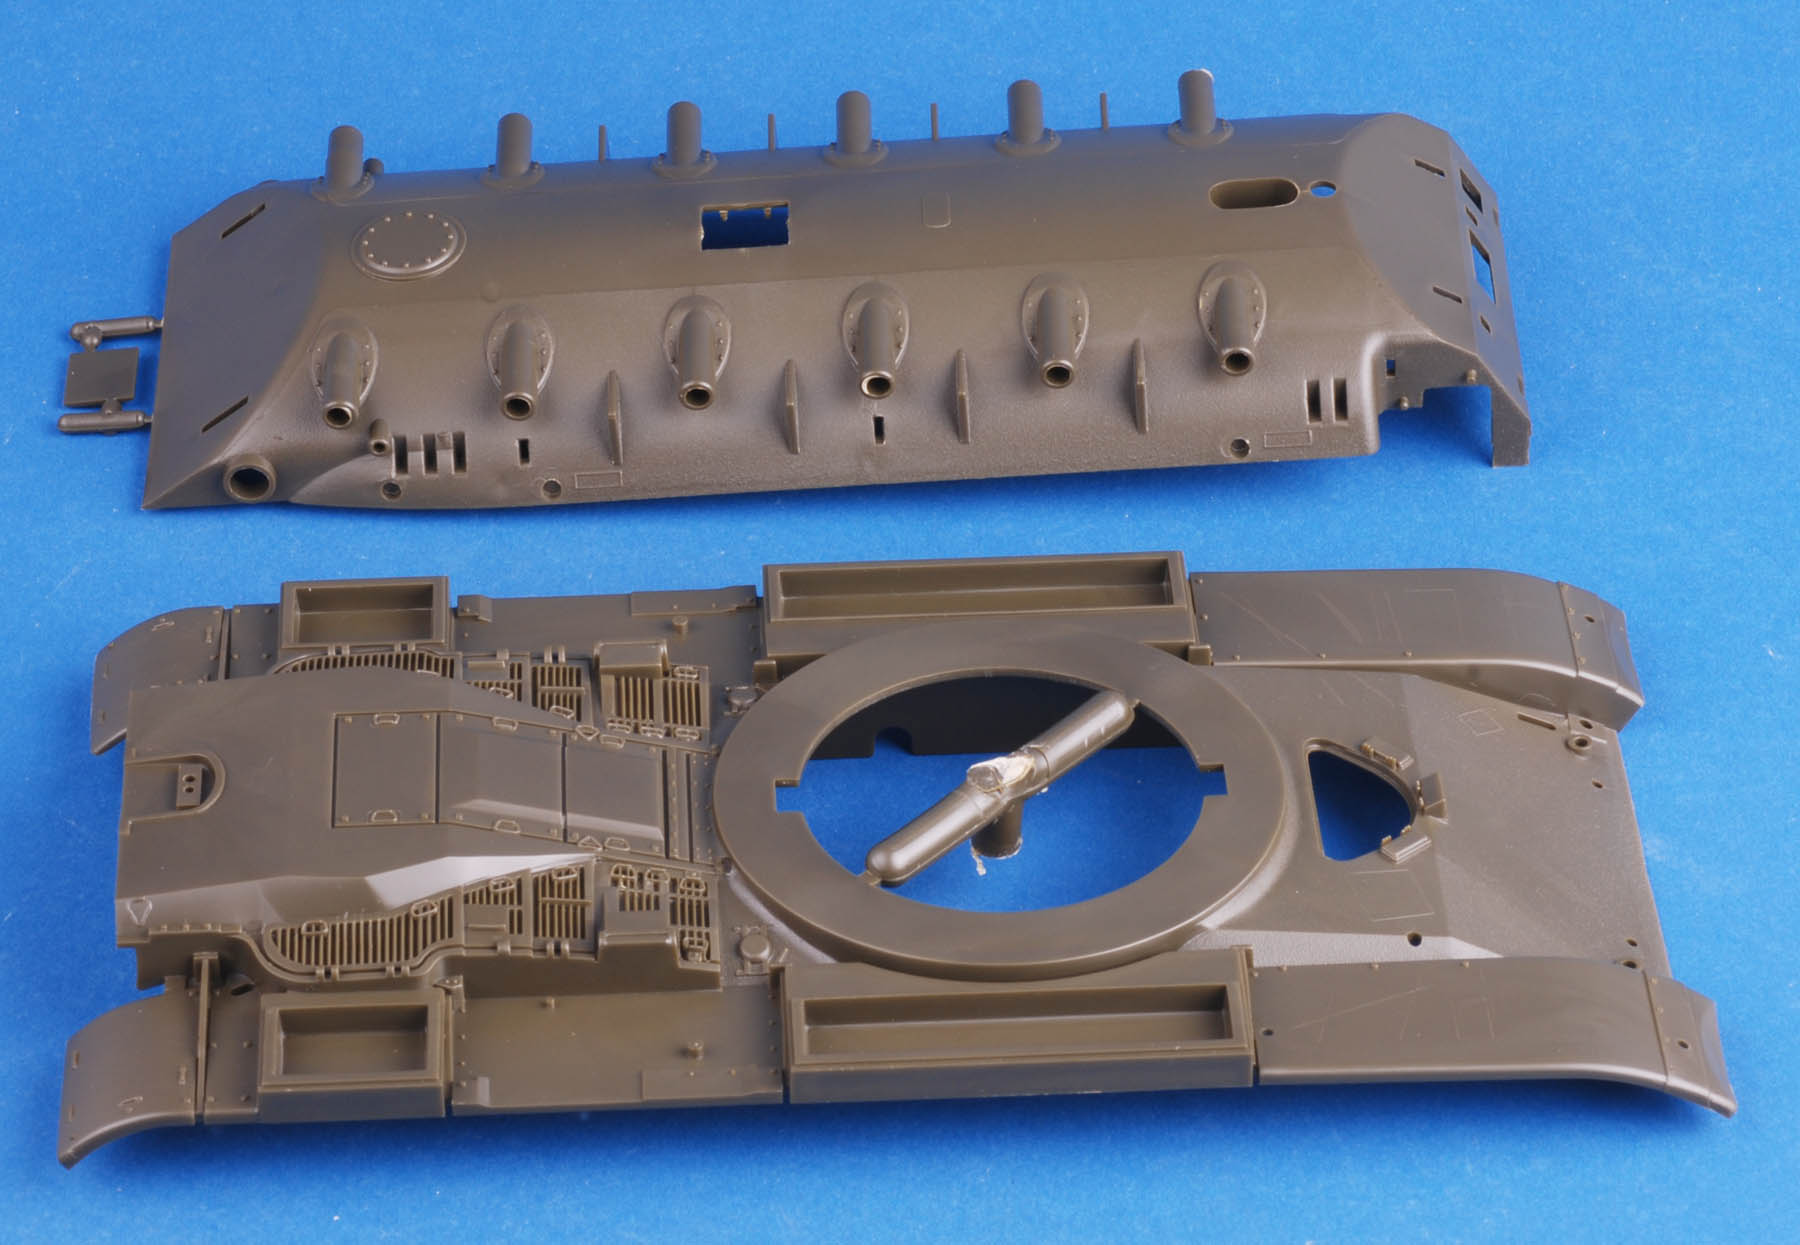
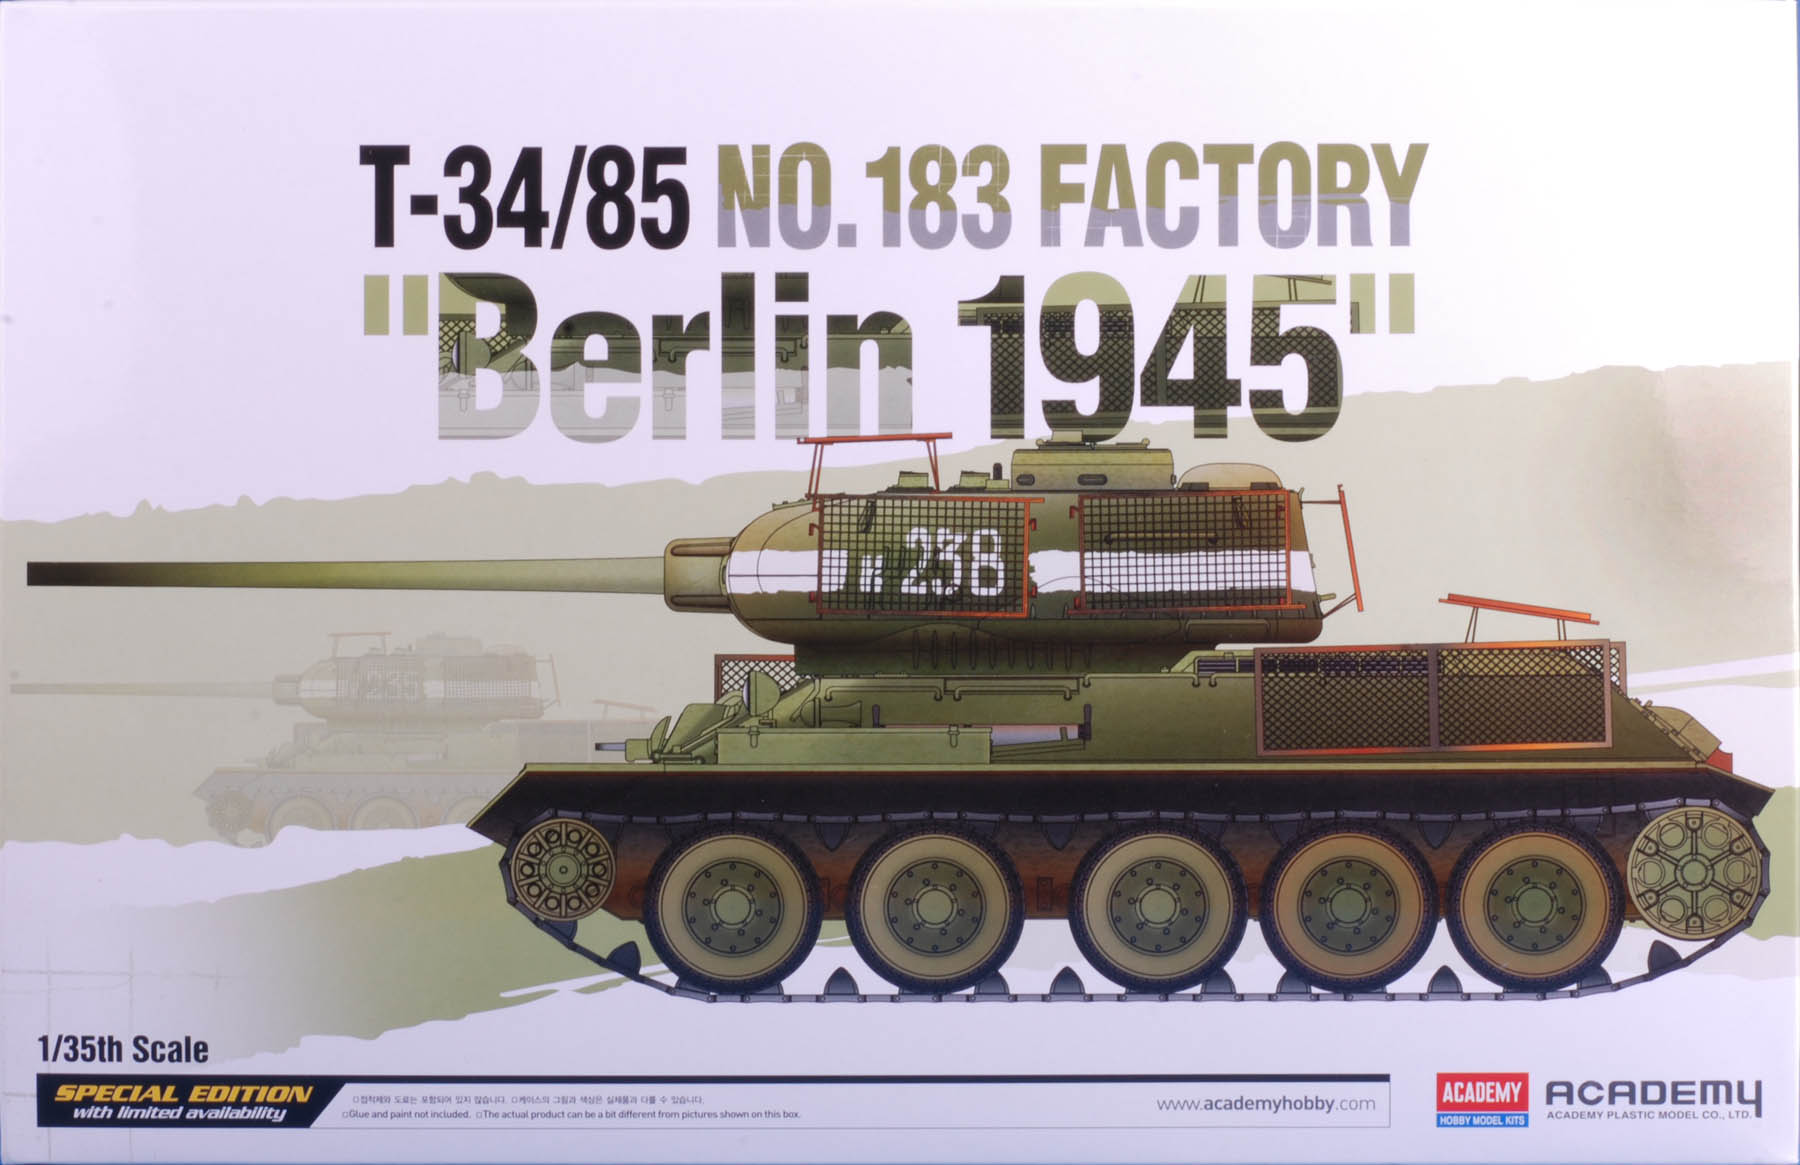
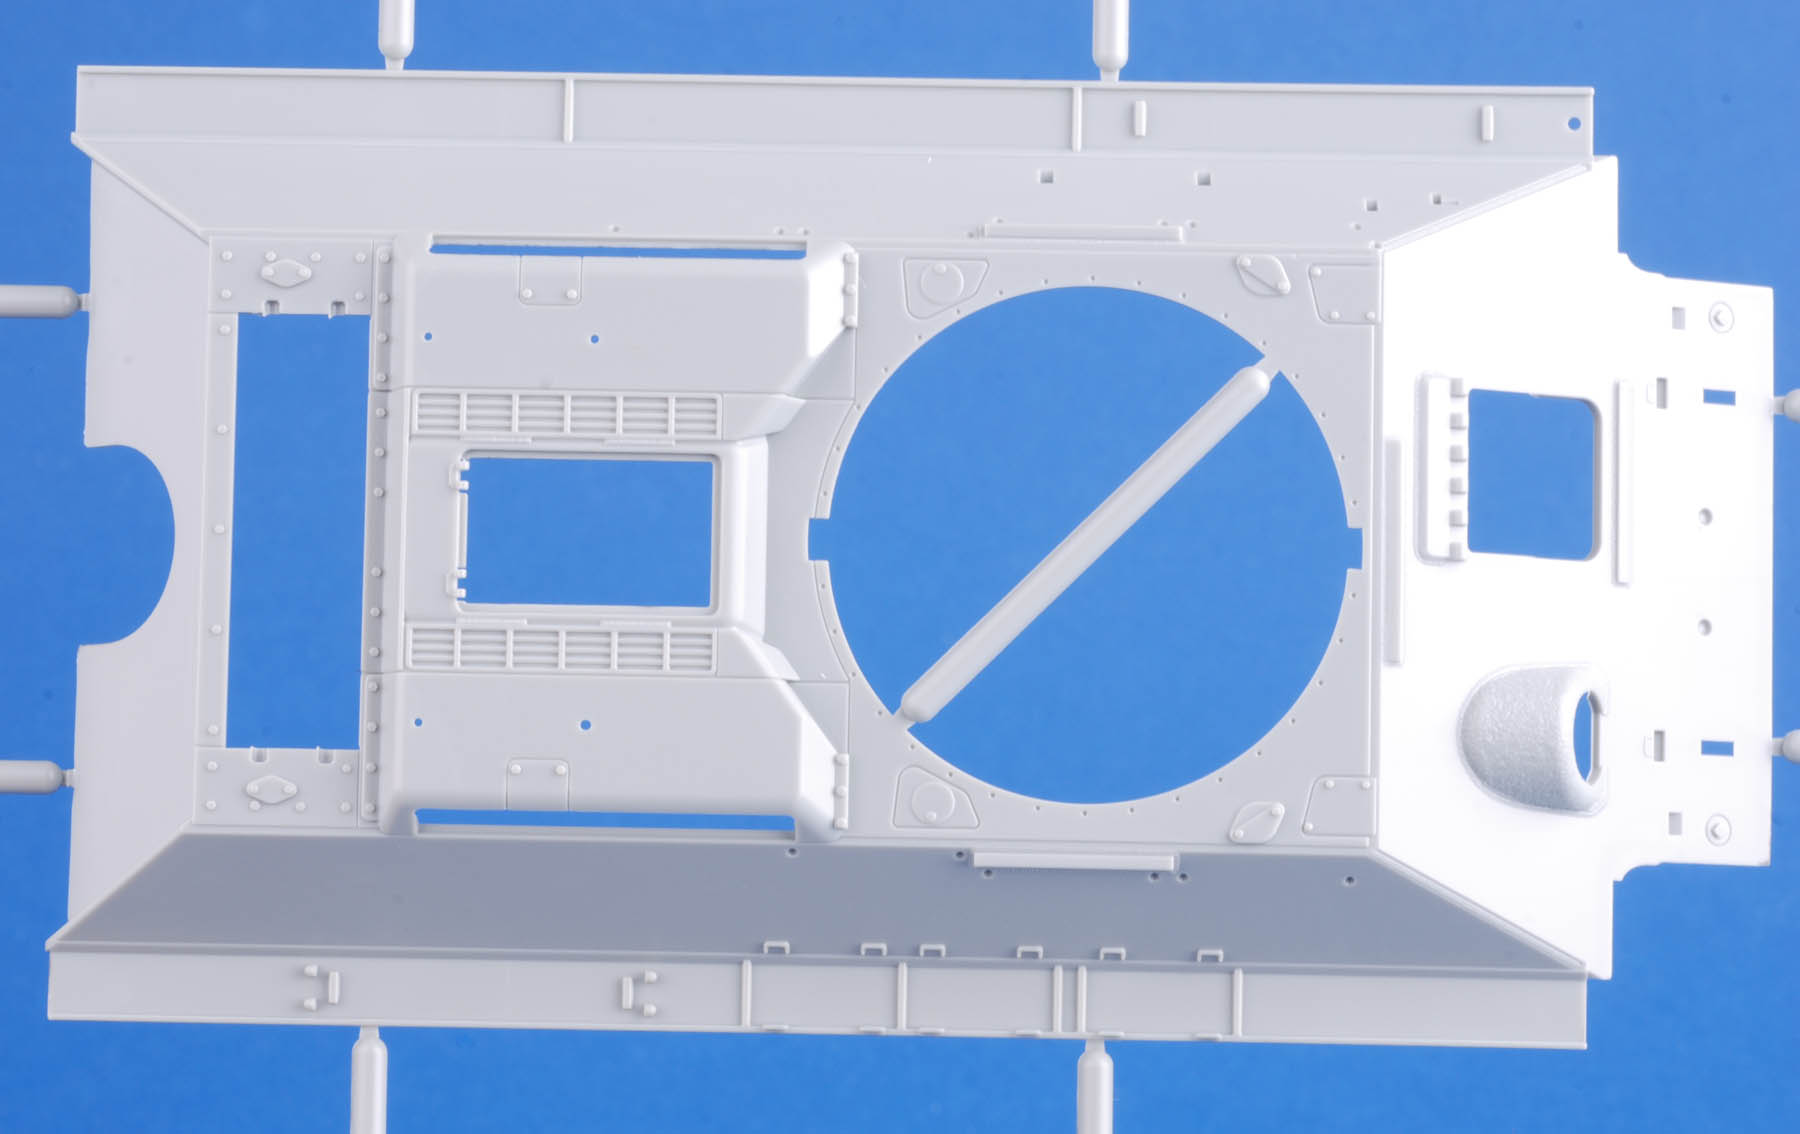
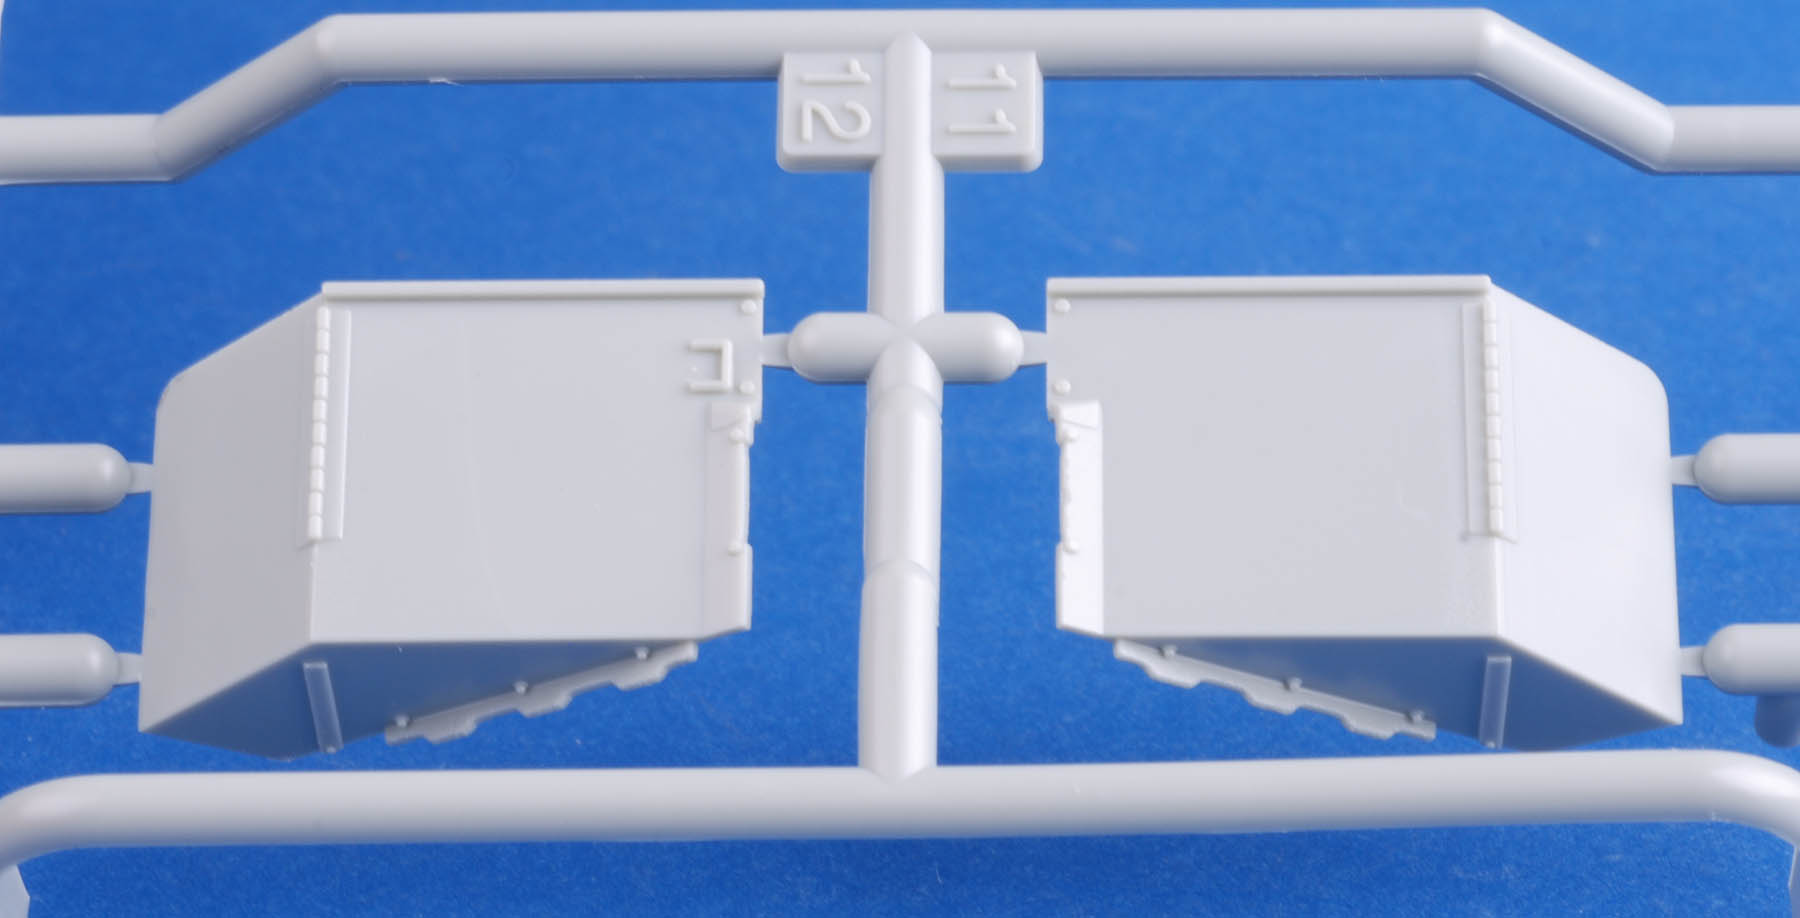
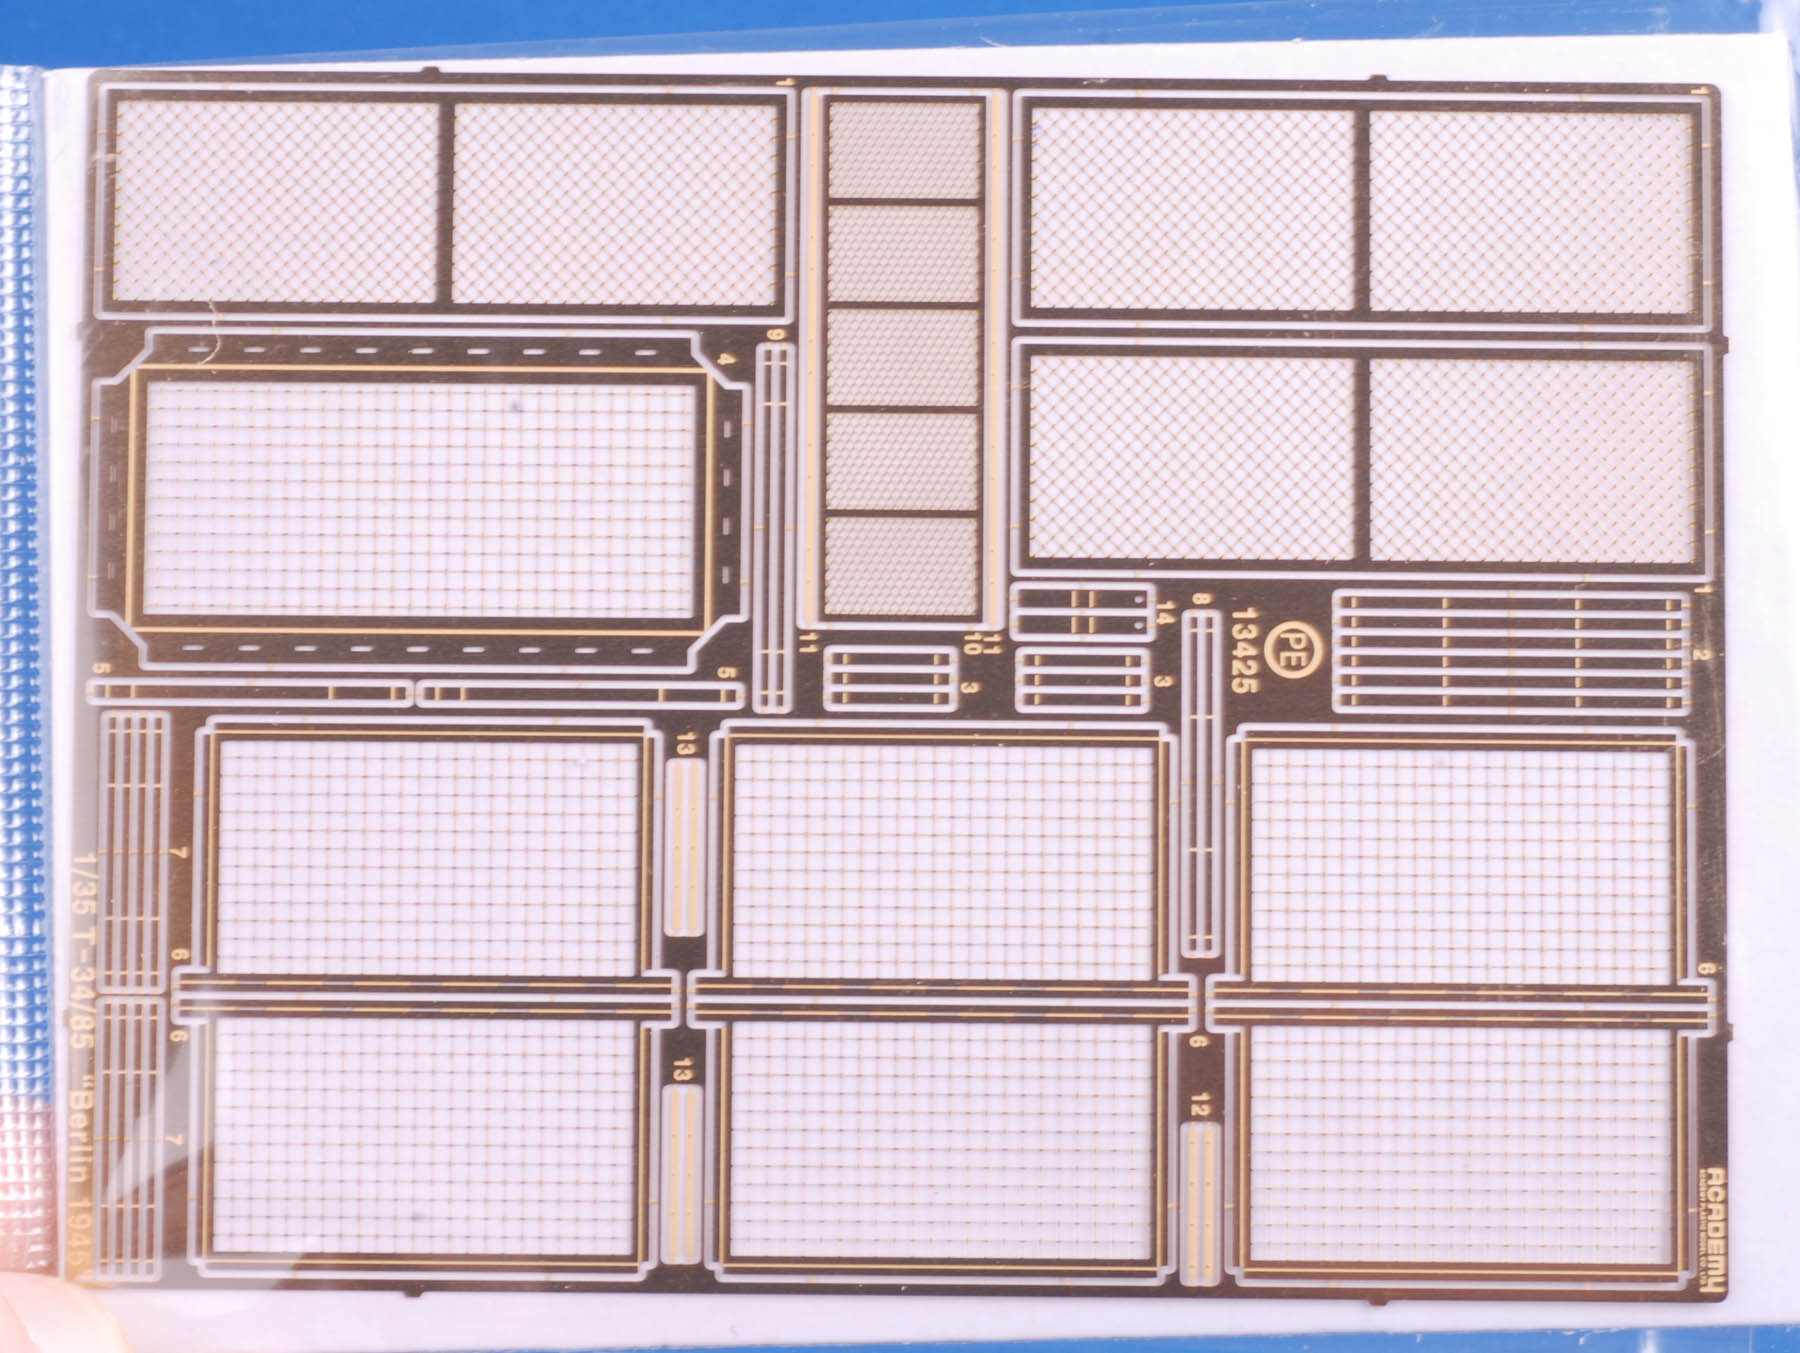
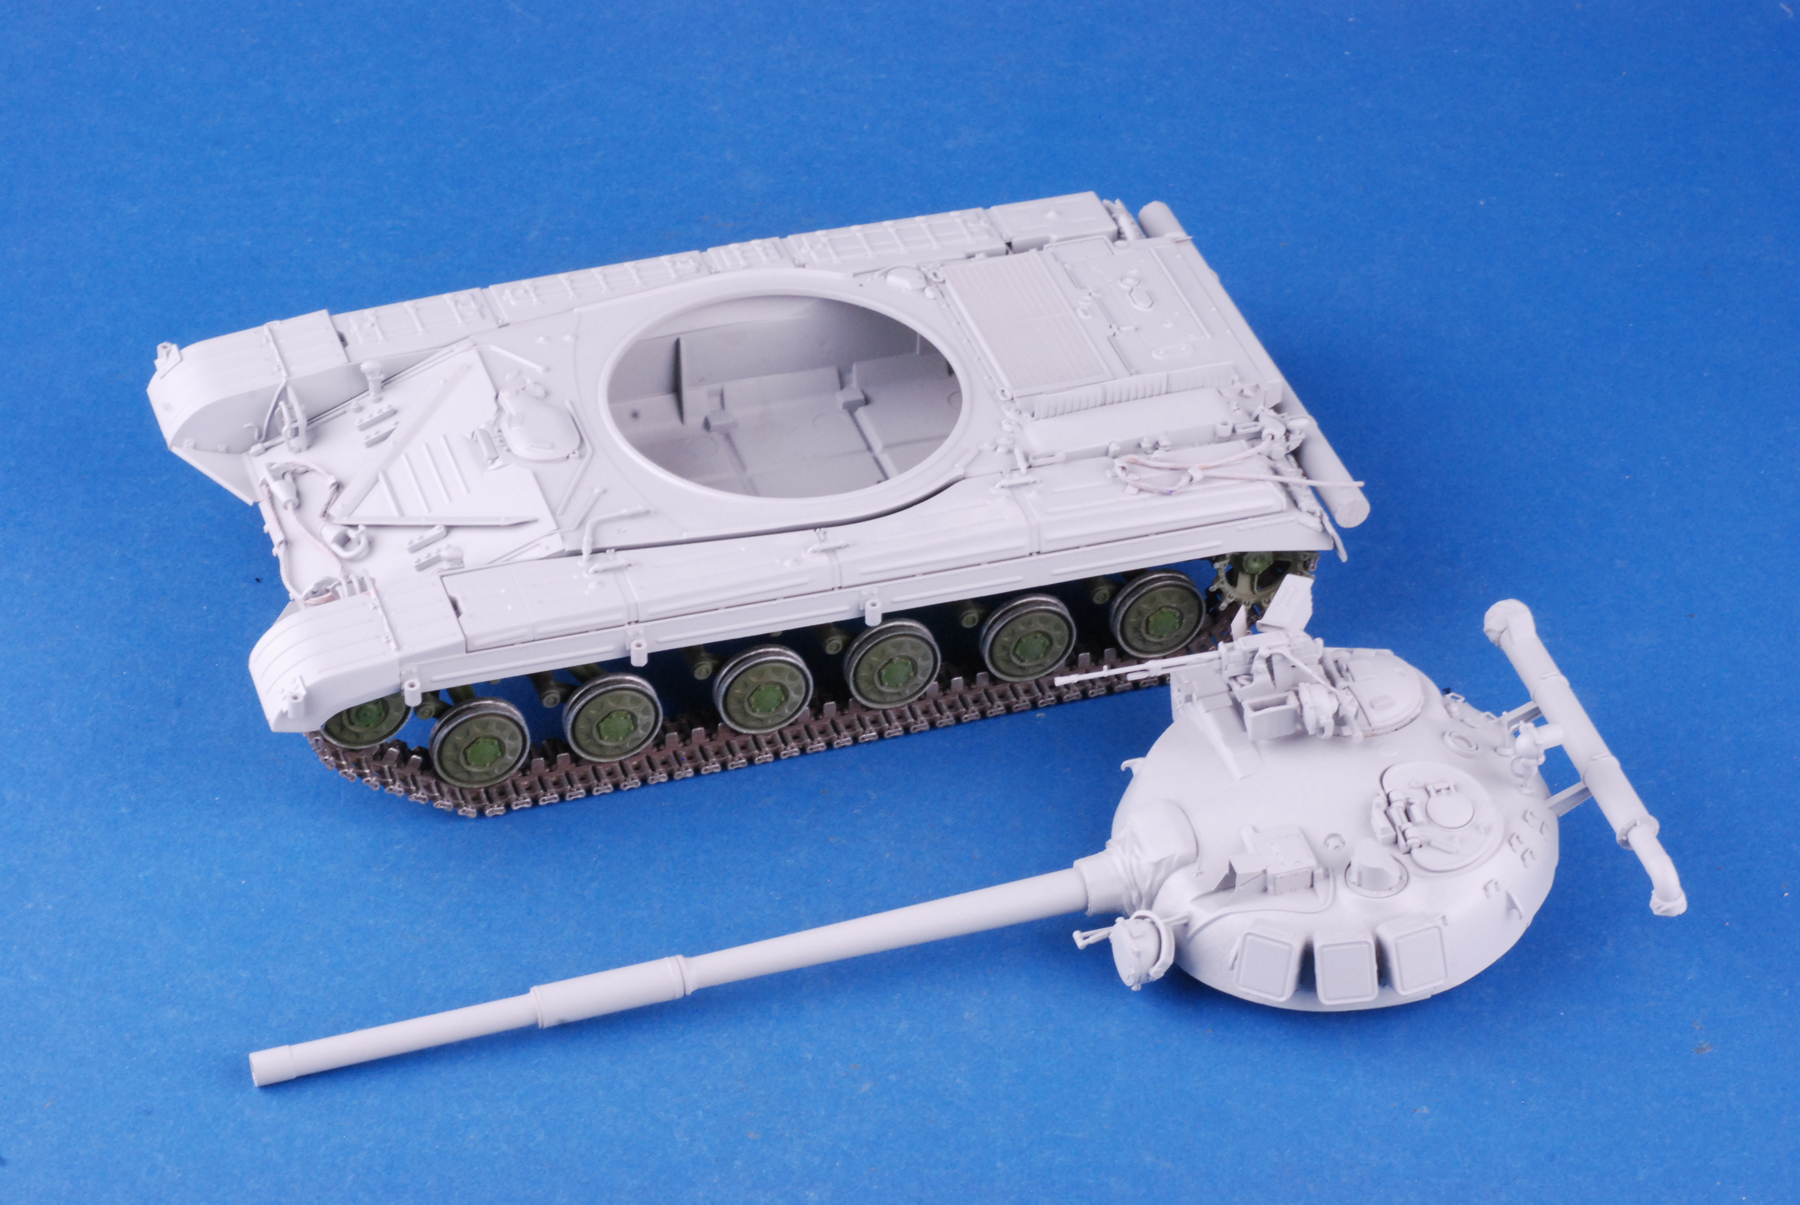
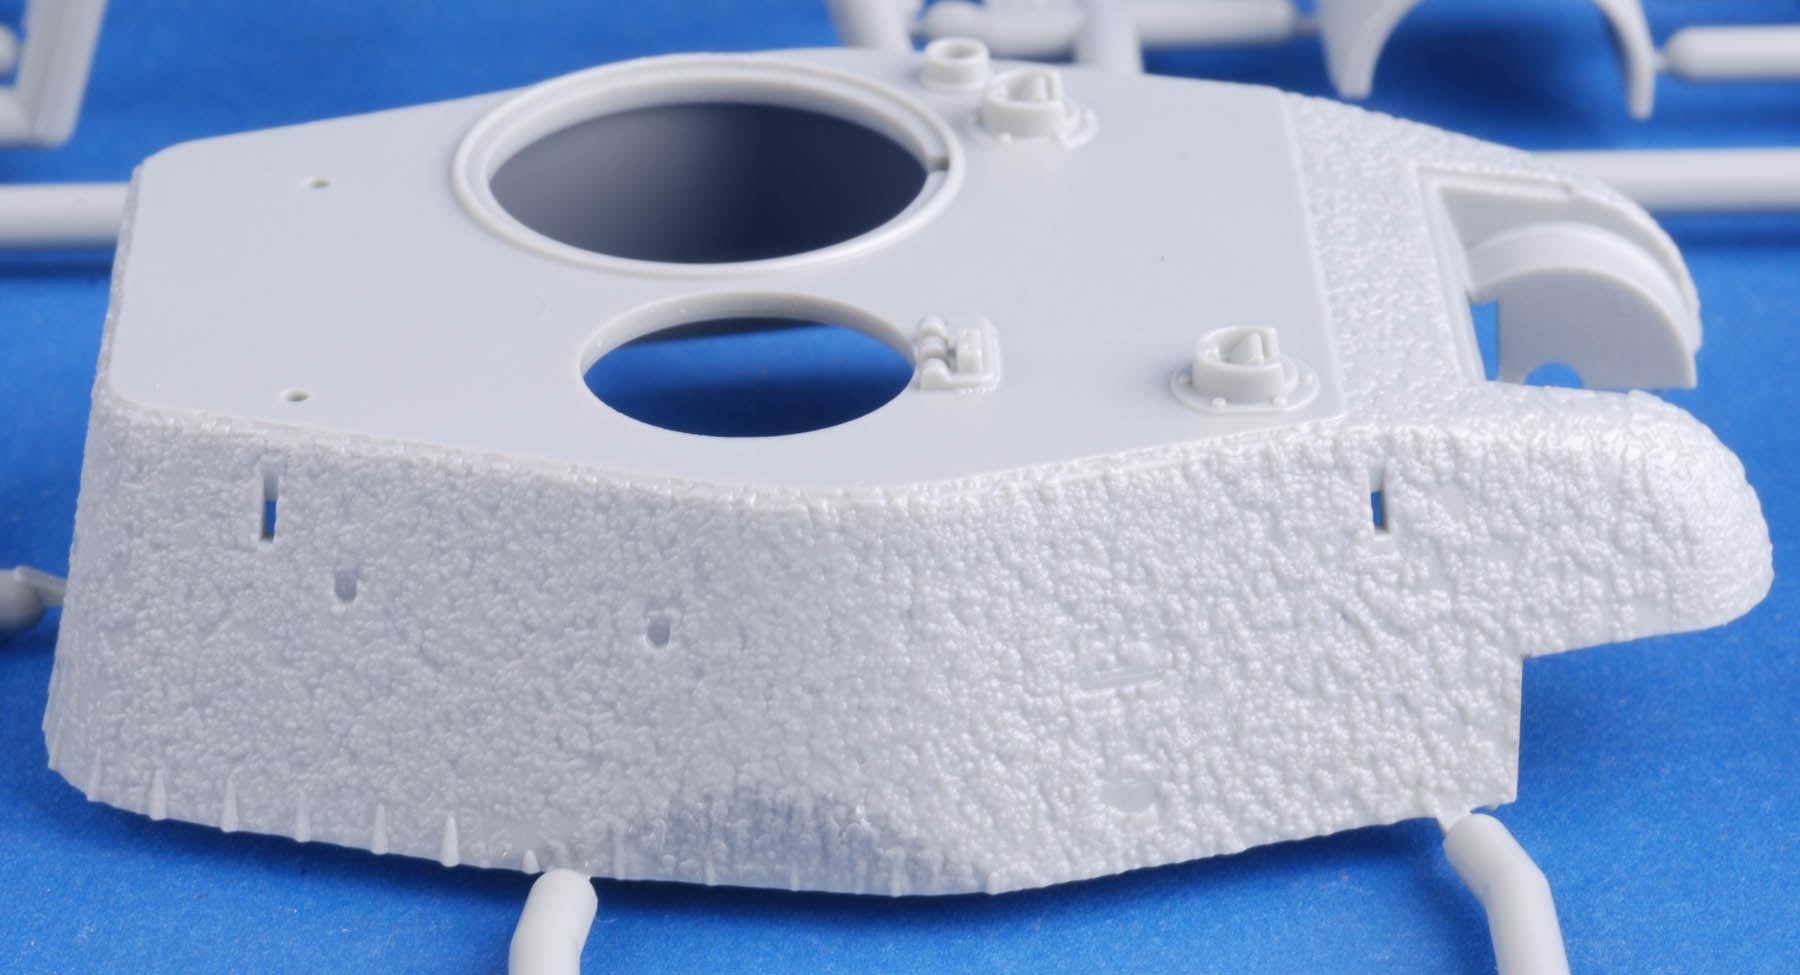
13296, M60A2 Patton

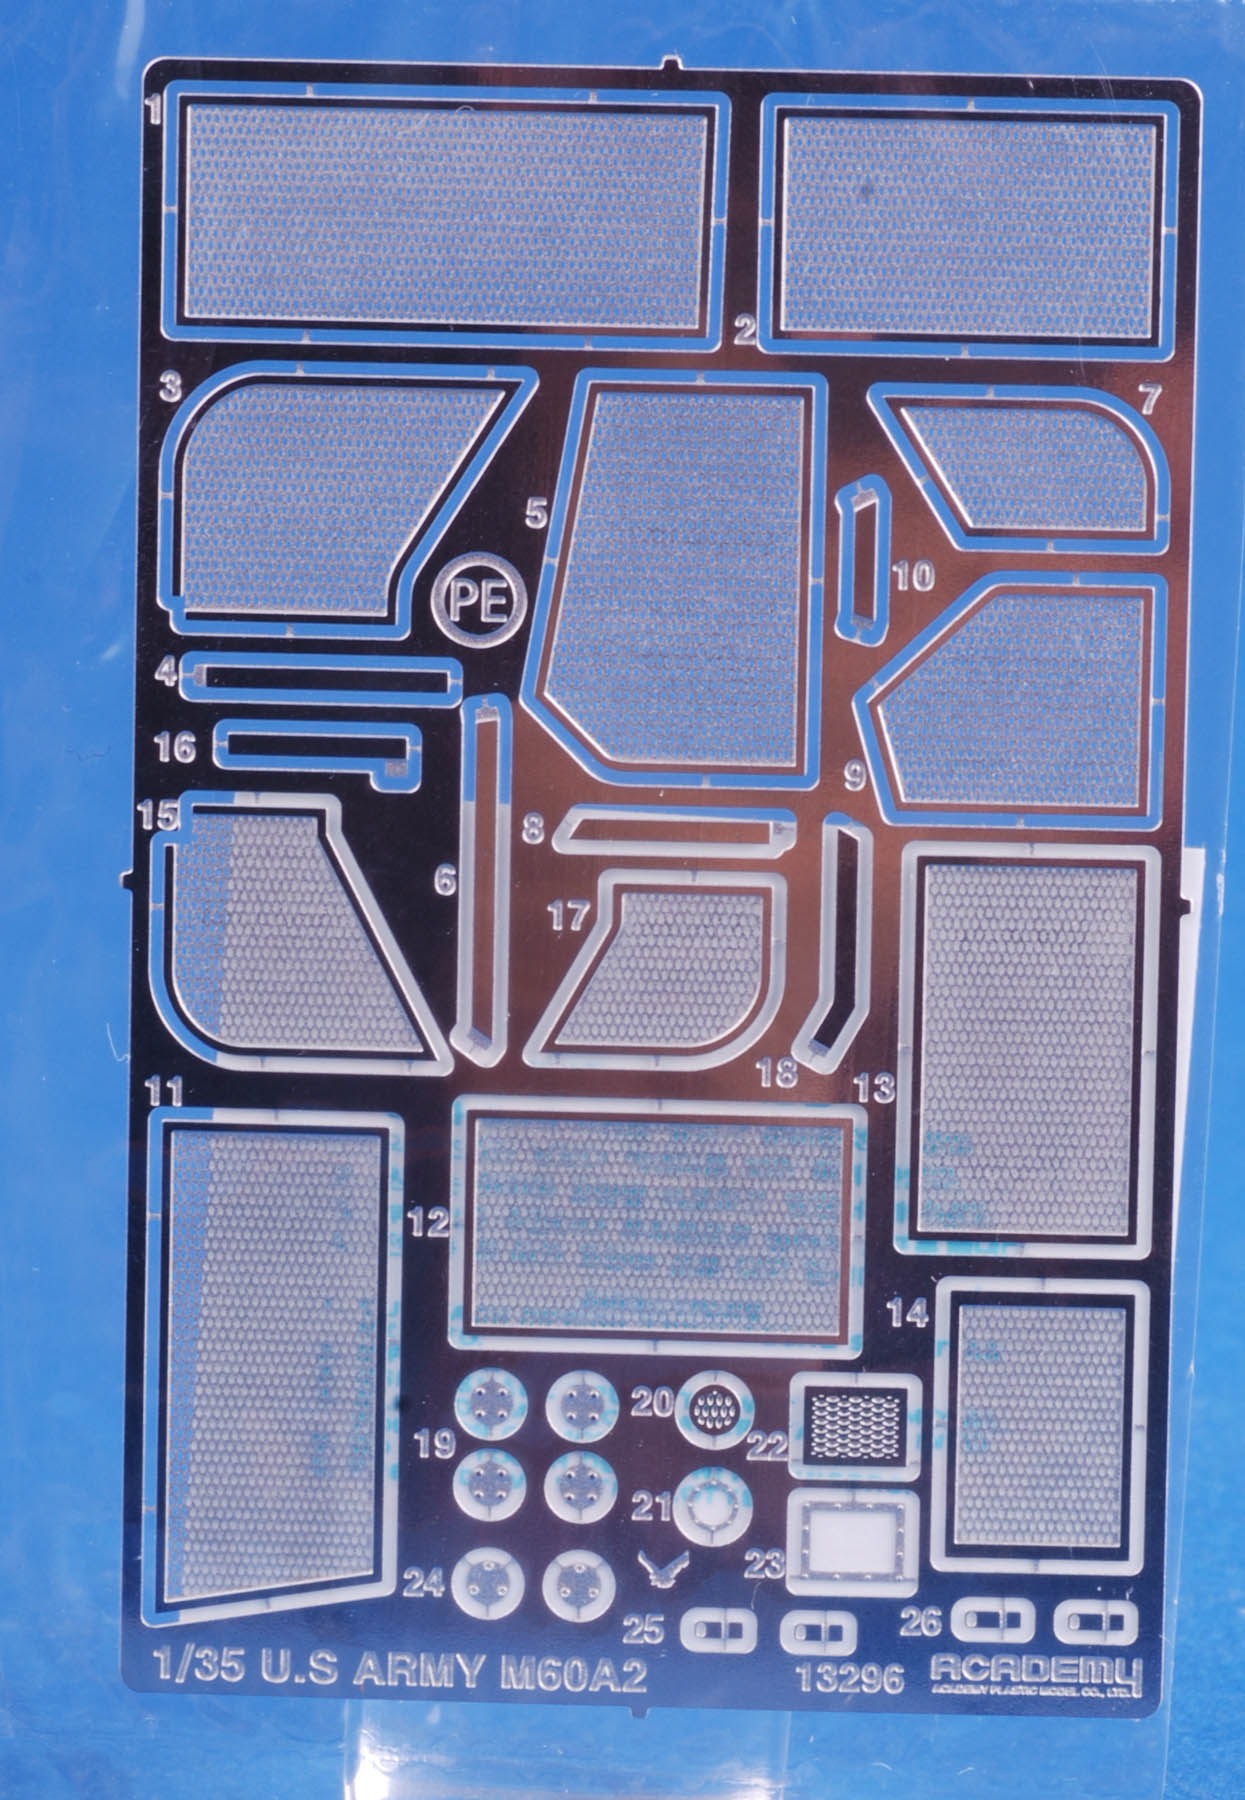
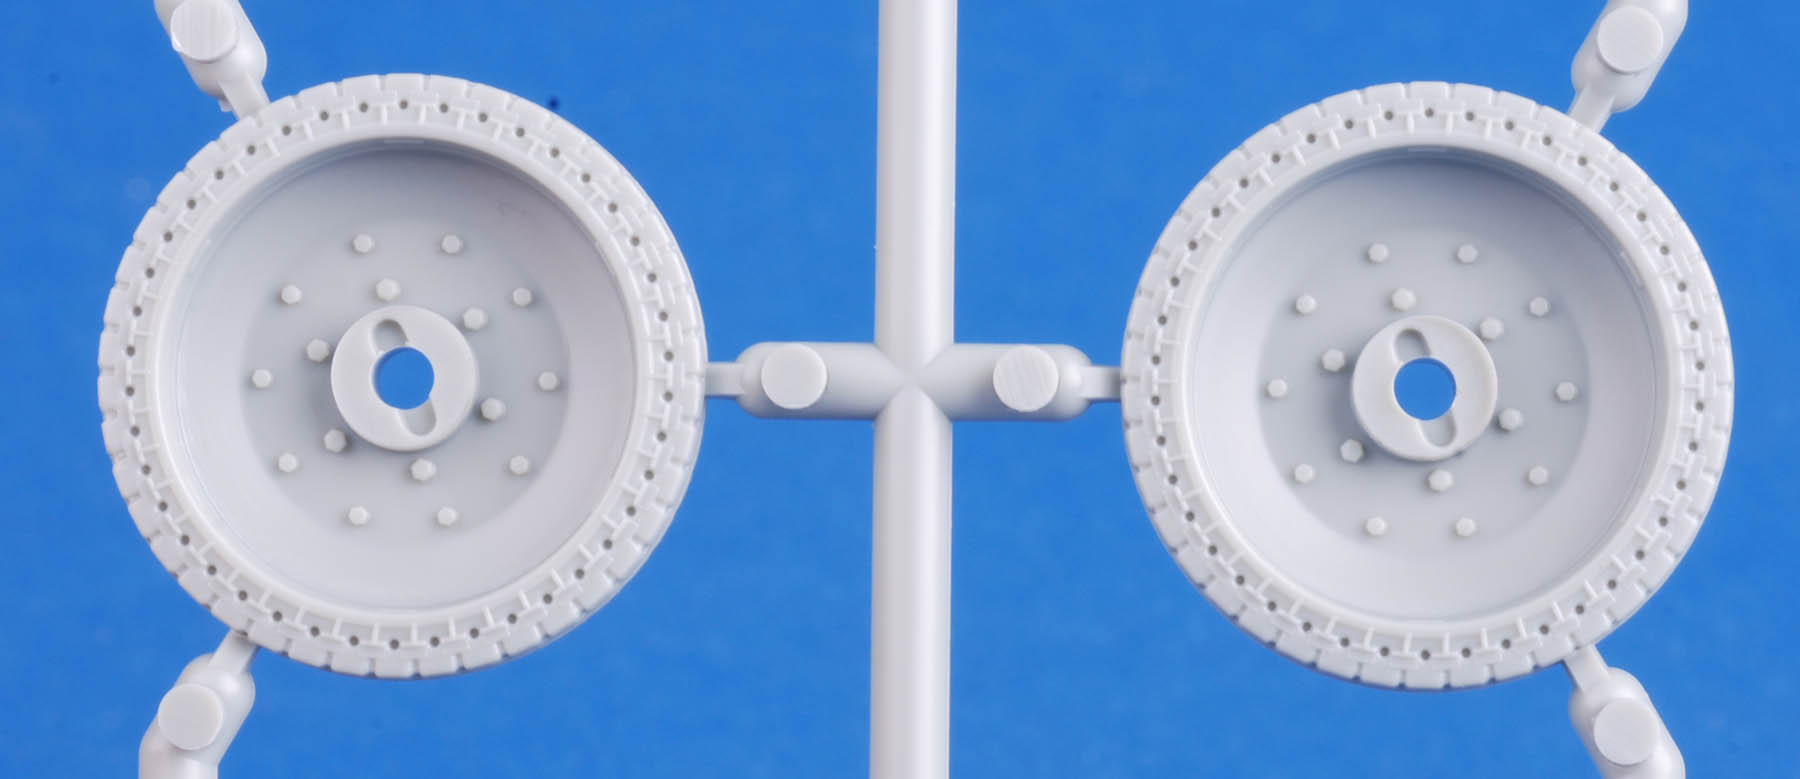
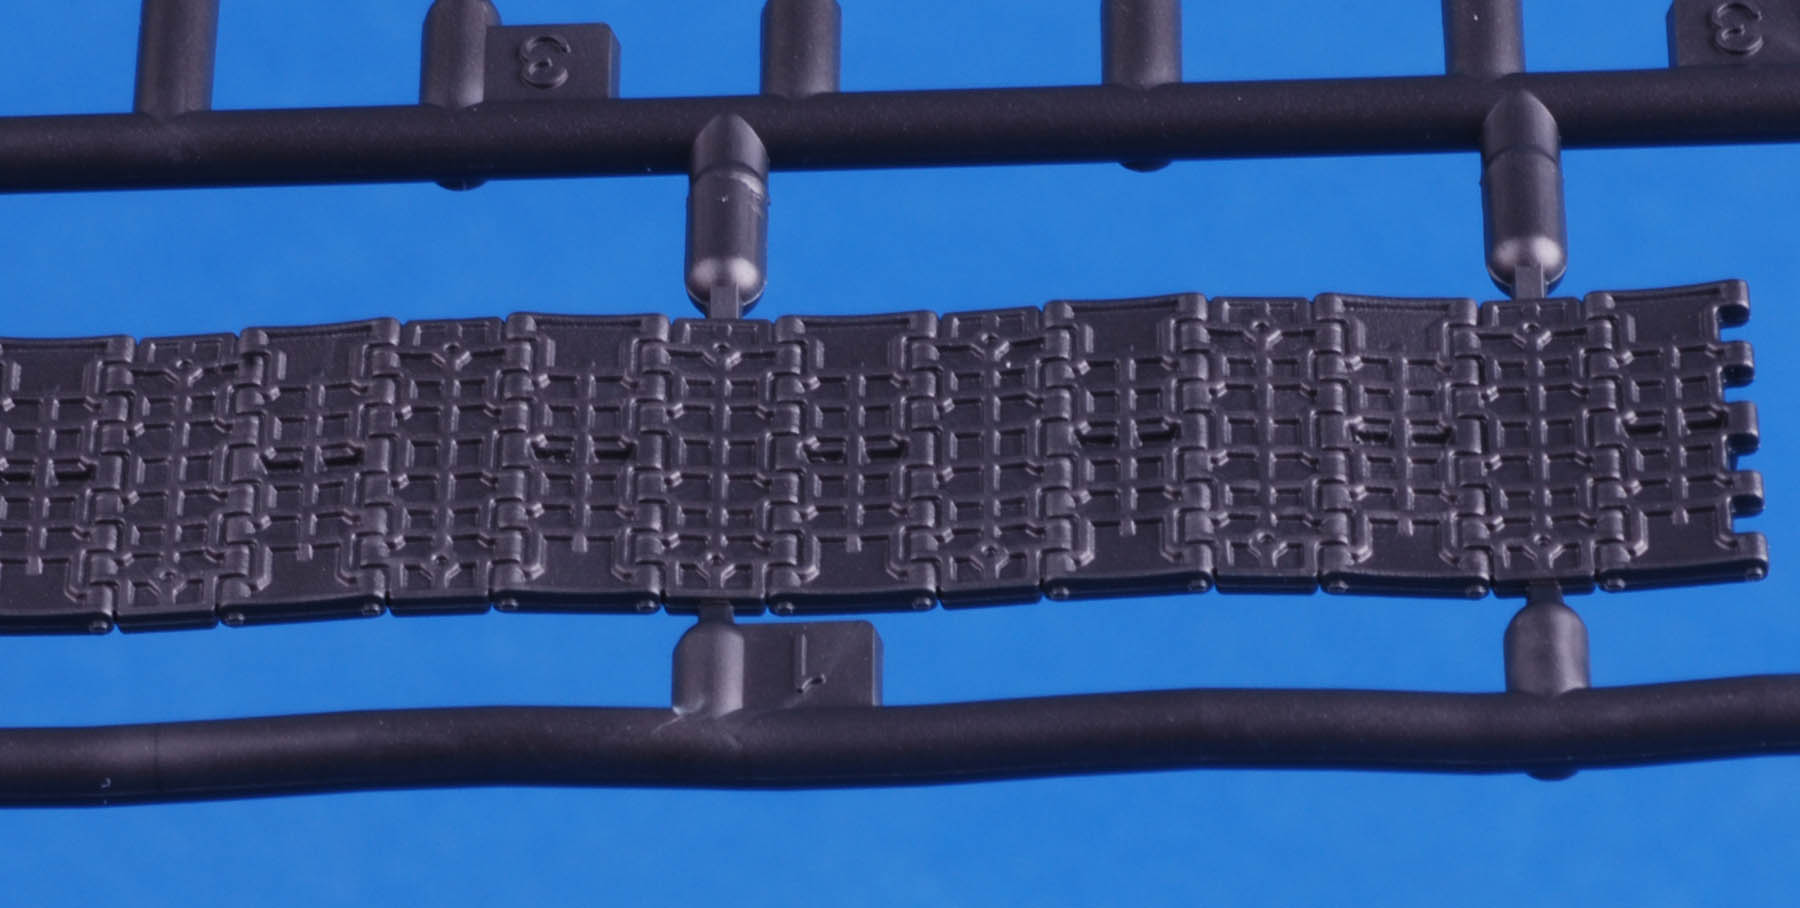
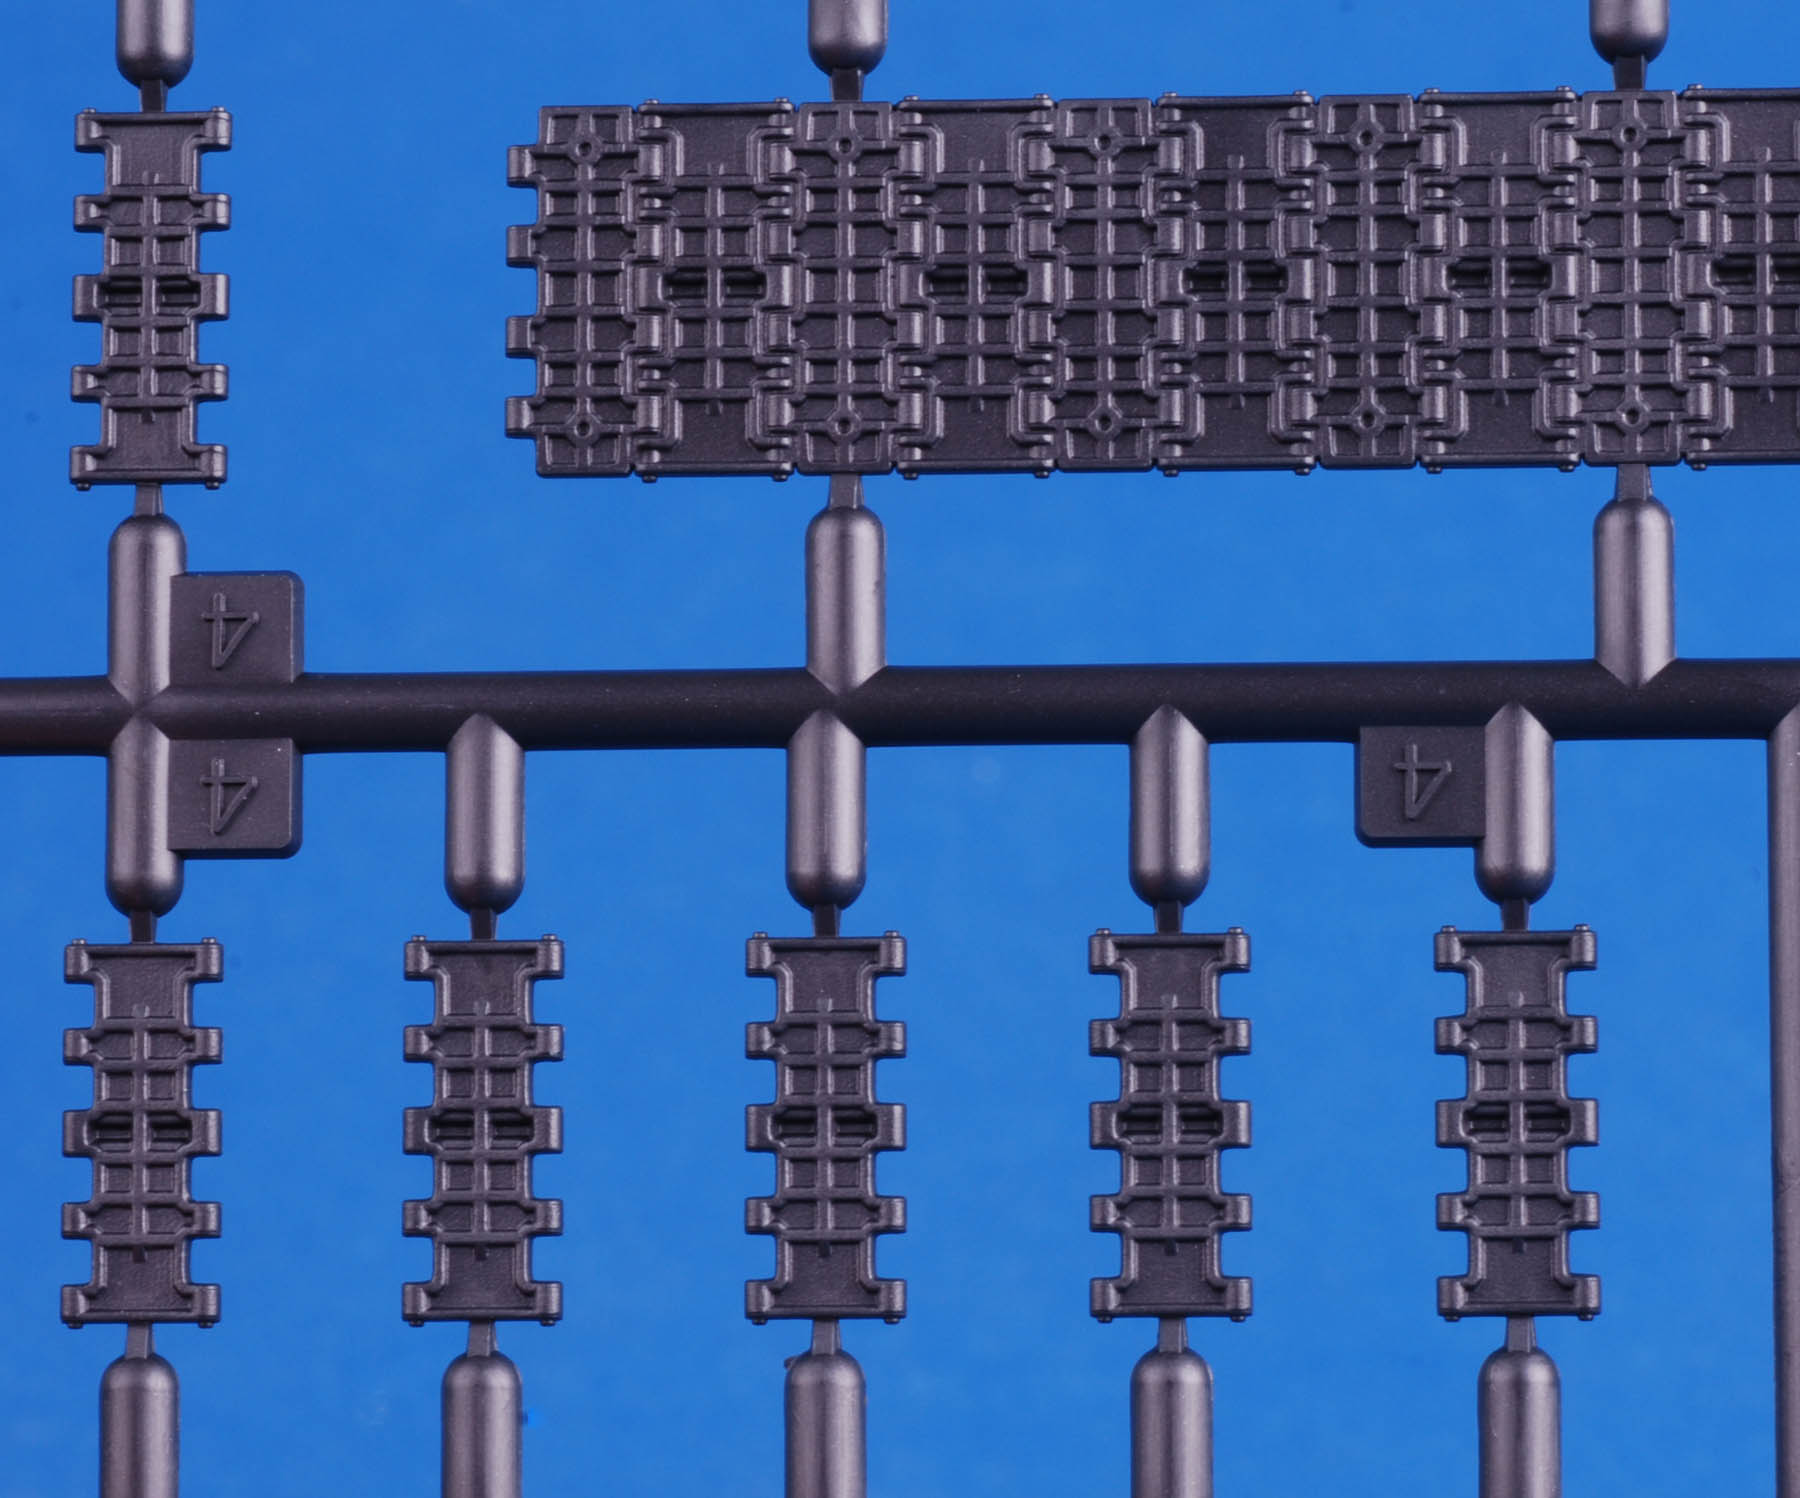
The kit has new parts for the turret including PE for the bustle rack, aluminum wheels and link and length tracks.

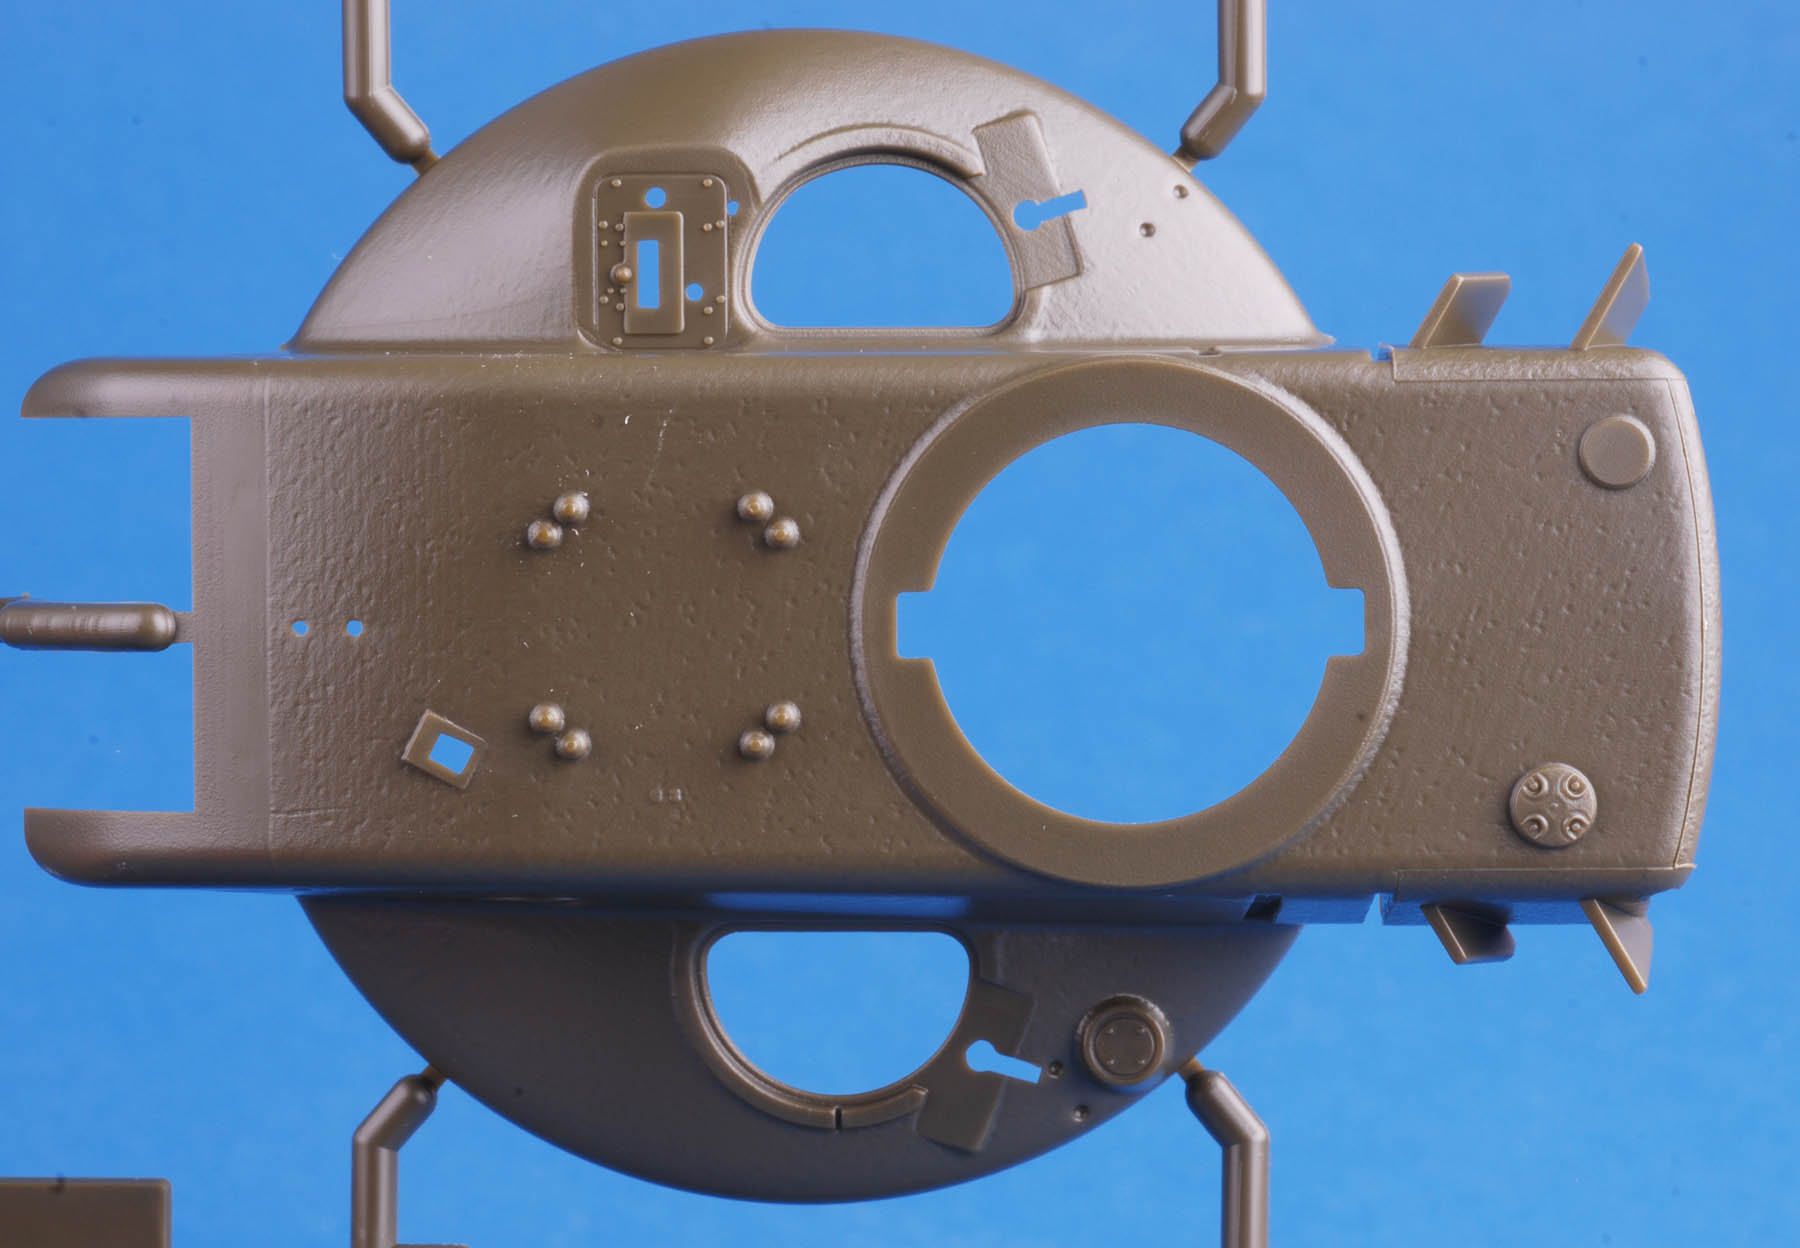
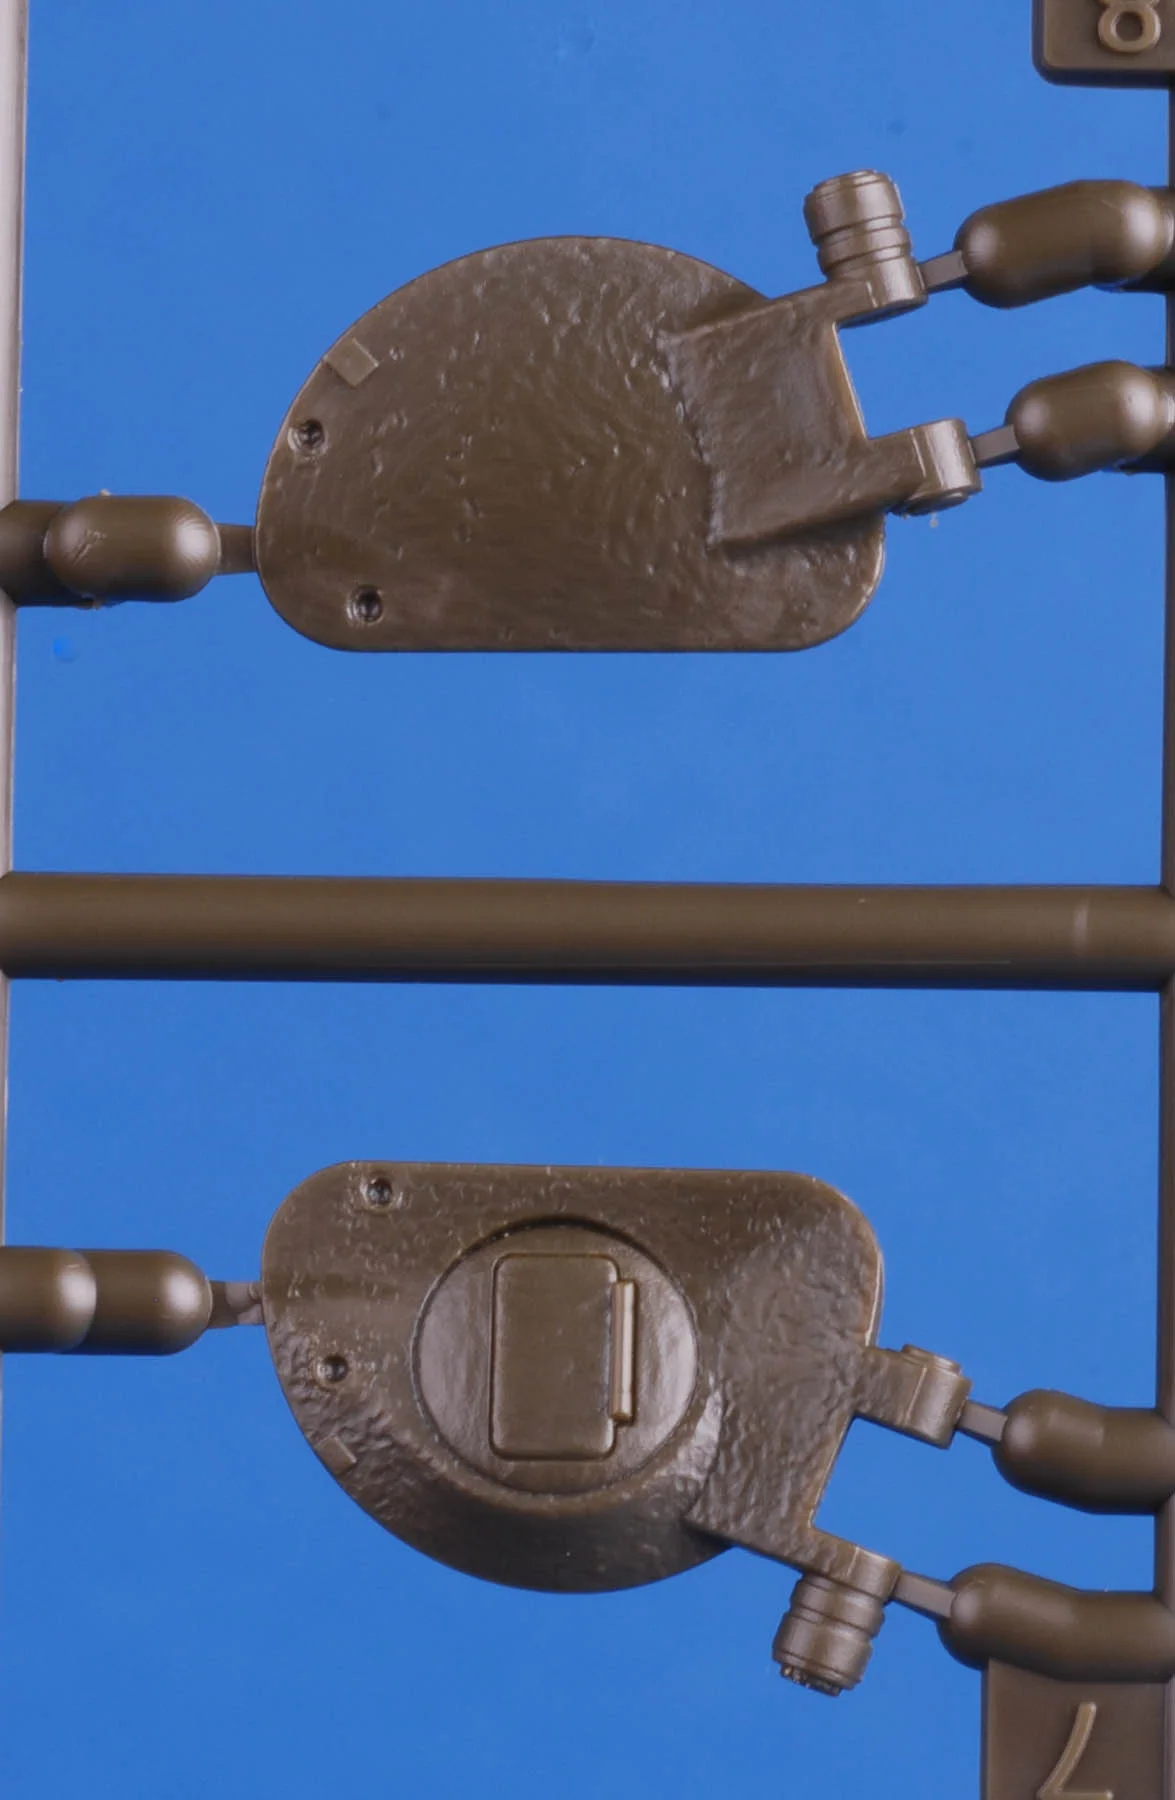
The hull parts will be familiar as they are from earlier releases:


Sparmax Airbrushes

We recently received an update from the UK Company Airbrushes.com on this airbrush from the famous air compressor company Sparmax.

https://airbrushes.com


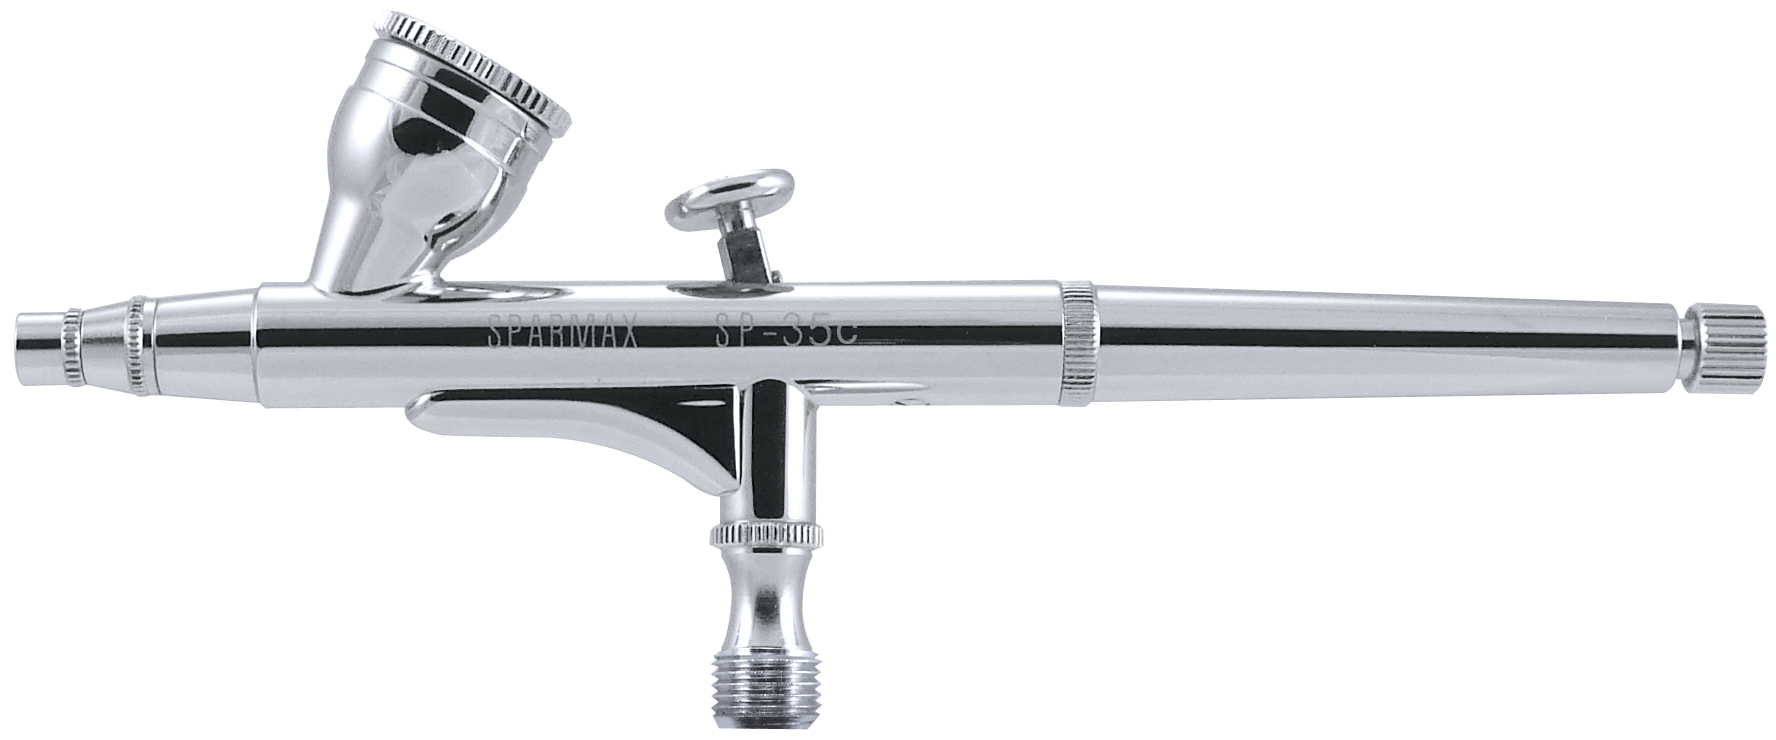
Sparmax SP-35C

The SP-35C is a dual-action airbrush for full control of air and fluid – press the trigger down for air and back for fluid. But the airbrush can be converted into a simpler single-action action airbrush by fitting the alternative valve, which allows the air through all the time and you only pull back to control the amount of fluid. This is not to be confused with the other type of single-action where the button operates the air only and a pre-set amount of fluid is immediately drawn through the airbrush.


The SP-35C airbrush features:


    Gravity-feed with 0.7oz (2ml) fixed cup with lid

    Dual-action airbrush with Single-action valve included – converts the airbrush from a dual-action to a single-action airbrush (simple installation guide included)

    Internal-mix

    0.35mm nozzle and needle set up

    Fine detail to 1" (0.35mm to 25mm) spray pattern with the one size nozzle

    Ergonomic handle design with a Pre-set colour flow control

    Extra Crown Cap included

    Cleaning brush included

    Replaceable internal PTFE solvent-proof needle packing for use with solvent-based paints

Update From Dragon USA! Some re-issues and also some new stuff!

A New Haul of Stuff from Hauler.

www.hauler.cz

 1:72 AFV PE parts                  

HLH72043,  T-34 CRANE---conversion kit for T34 kits

HLH72044,  Sd.Kfz 250/1 AusfB (MK72)---PE set for MK 72 kit

HLH72045,  Ukraine police shield (4pcs)---PE set of four police shields

HLH72046  M60 A3 (Revell kit)---PE set for Revell kit

1:48 AFV PE and conversion sets                      

HLX48363,  Pz.38 (t) Ausf.E/F (TAMIYA)---PE set for Tamiya kit

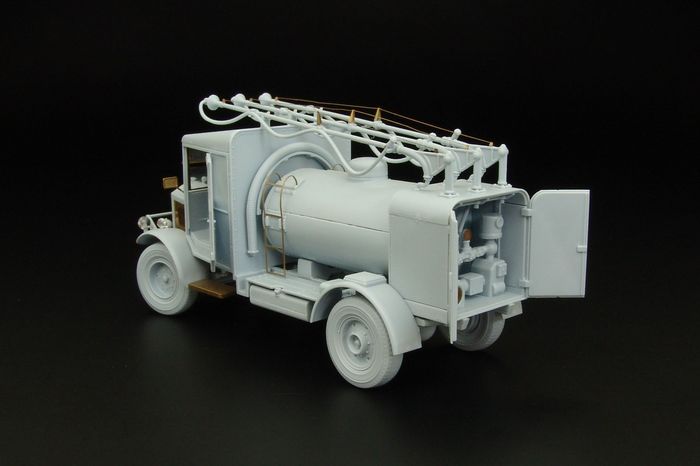
HLX48364,  Albion 3-point fueller (AIRFIX)---PE set for AIRFIX kit

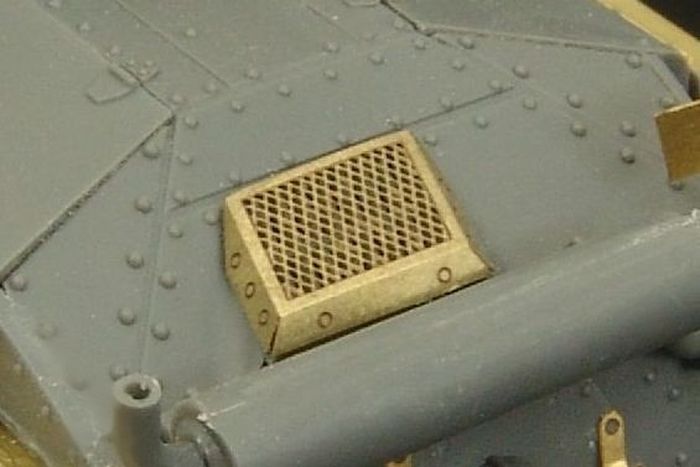
HLX48365  Pz.38 (t) Ausf.E/F GRILL set (TAMIYA)---PE set for Tamiya kit            

1:35 AFV universal sets                       

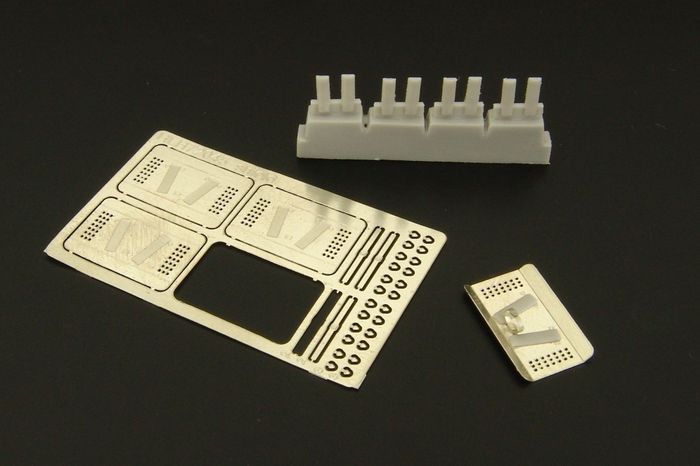
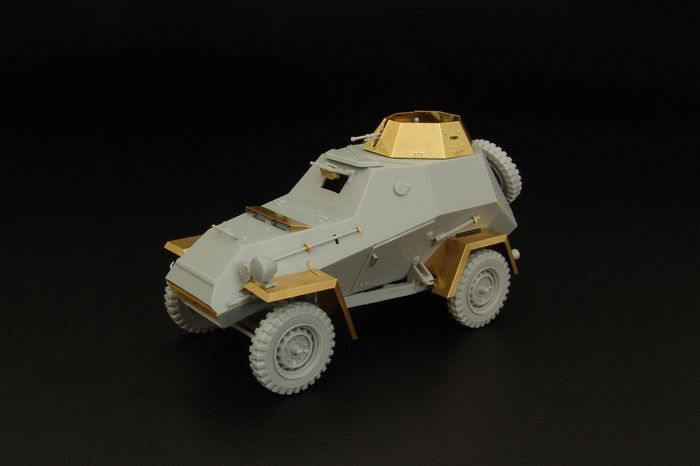
HLU35084,  BA-64 (MINIART)---PE set for MINIART kit

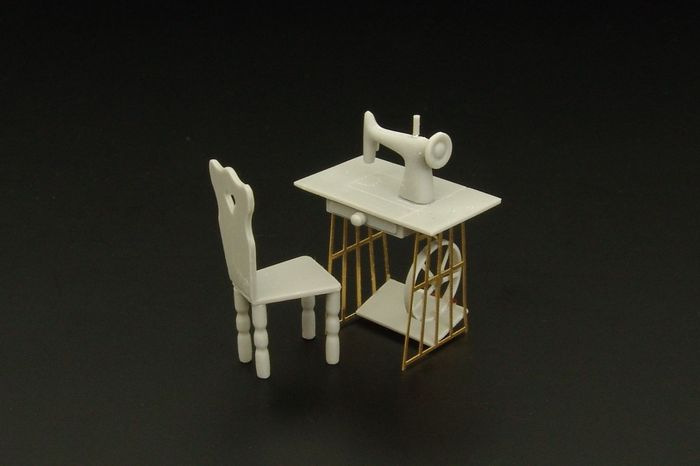
HLU35085,  Singer sewing machine---PE/ resin set of WWII sewing machine


New Armor from Trumpeter!

Coming in December. We received our information from Stevens International. http://www.stevenshobby.com/

MRAP in 1:16 Scale!

930, 1/16 US M-ATV MRAP (Mine Resistant Ambush Protected) VehicleTrumpeter continues in their 1/16 large scale series with this all-new Oshkosh Mine Resistant Ambush Protected (MRAP) All Terrain Vehicle (M-ATV). Designed in 2009, it has been used in…

930, 1/16 US M-ATV MRAP (Mine Resistant Ambush Protected) Vehicle
Trumpeter continues in their 1/16 large scale series with this all-new Oshkosh Mine Resistant Ambush Protected (MRAP) All Terrain Vehicle (M-ATV). Designed in 2009, it has been used in regions of poor roads and extreme terrain, such as Afghanistan and Iraq. The vehicle has been extremely popular, being exported to numerous countries with over 10,000 units having been manufactured in just six years. Kit consists of over 240 parts, including photo-etch.
 

2345, 1/35 Soviet Limber 52R 353M Mod 1942NEW VARIANT with NEW TOOLING This limber was used for 76.2mm regimental and divisional artillery, and also served as a caisson. It was generally towed by 4-horse teams. Kit consists of over 80 parts, includi…

2345, 1/35 Soviet Limber 52R 353M Mod 1942
NEW VARIANT with NEW TOOLING This limber was used for 76.2mm regimental and divisional artillery, and also served as a caisson. It was generally towed by 4-horse teams. Kit consists of over 80 parts, including photo-etch and rubber tires.

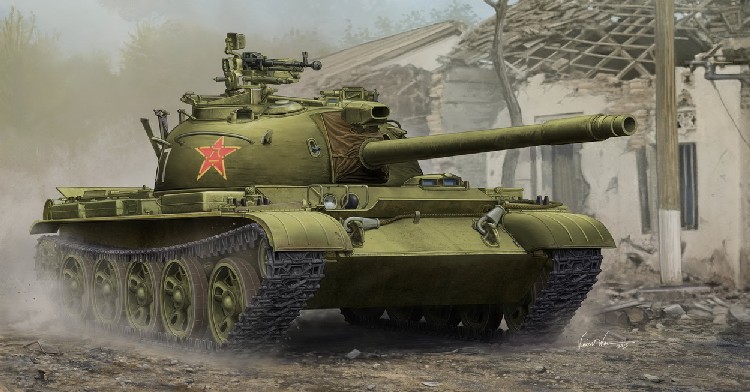
5537, 1/35 PLA Chinese Type 62 Light TankNEW TOOL The PLA Type 62 is a Chinese light tank that was developed in the 1960s based on the Chinese Type 59. The Type 62 boasted a reduced gun caliber, lighter armor, and less electronic equipment in order …

5537, 1/35 PLA Chinese Type 62 Light Tank
NEW TOOL The PLA Type 62 is a Chinese light tank that was developed in the 1960s based on the Chinese Type 59. The Type 62 boasted a reduced gun caliber, lighter armor, and less electronic equipment in order to reduce its operating weight. Kit consists of over 390 parts, including individual track links and photo-etch.

5545, 1/35 Soviet T-10 Heavy TankNEW TOOL The T-10 was a Soviet heavy tank of the Cold War, the final development of the KV and IS tank series. During development, it was called IS-8 and IS-9, and began production in 1952. The biggest differences fr…

5545, 1/35 Soviet T-10 Heavy Tank
NEW TOOL The T-10 was a Soviet heavy tank of the Cold War, the final development of the KV and IS tank series. During development, it was called IS-8 and IS-9, and began production in 1952. The biggest differences from the IS-3, were a longer hull, seven pairs of road wheels, a larger turret mounting a new gun with fume extractor, an improved diesel engine, and increased armor. T-10s were deployed in independent tank regiments belonging to armies, and independent tank battalions belonging to divisions. Kit consists of over 310 parts, including copper cable, metal gun barrel, photo-etch and individual track links.

Dry Transfer and Decal Application by Jeff

Tips for Dry Transfers

1. When applying a dry transfer, use Tamiya tape to hold the transfer film firmly in place while applying it.

2. Using a pencil to rub it on is better than using a burnishing tool. The pencil marks show where you have applied pressure and where you haven't.

3. If you need to make a dry transfer conform to detail on the model, rub it on to a piece of decal paper and apply it just like a decal.

4. Old dry transfers can go bad. Sometimes they will just fall apart when application is attempted. Make sure to test an unneeded marking out on a piece of scrap.

5. Protect your transfers after application! Always spray some varnish over them before staring the weathering process.

Tips for Decals

1. Prep your surface. I like the old standby: Pledge Floor Polish. This is a no brainer. You can find this product in any supermarket, Walmart or Target. It's best to spray it over the entire model in thin, even coats. Use as many thin coats as is needed to achieve a smooth surface, especially in the areas where the markings are applied. Clean up any runs right away with a corner of a paper towel. Let it dry thoroughly before continuing. Vallejo also makes a satin varnish that seems to work well with their paints.

Lacquer varnishes like Testors Glosscote can do weird things to both acrylic and enamel paint so stay away from those.

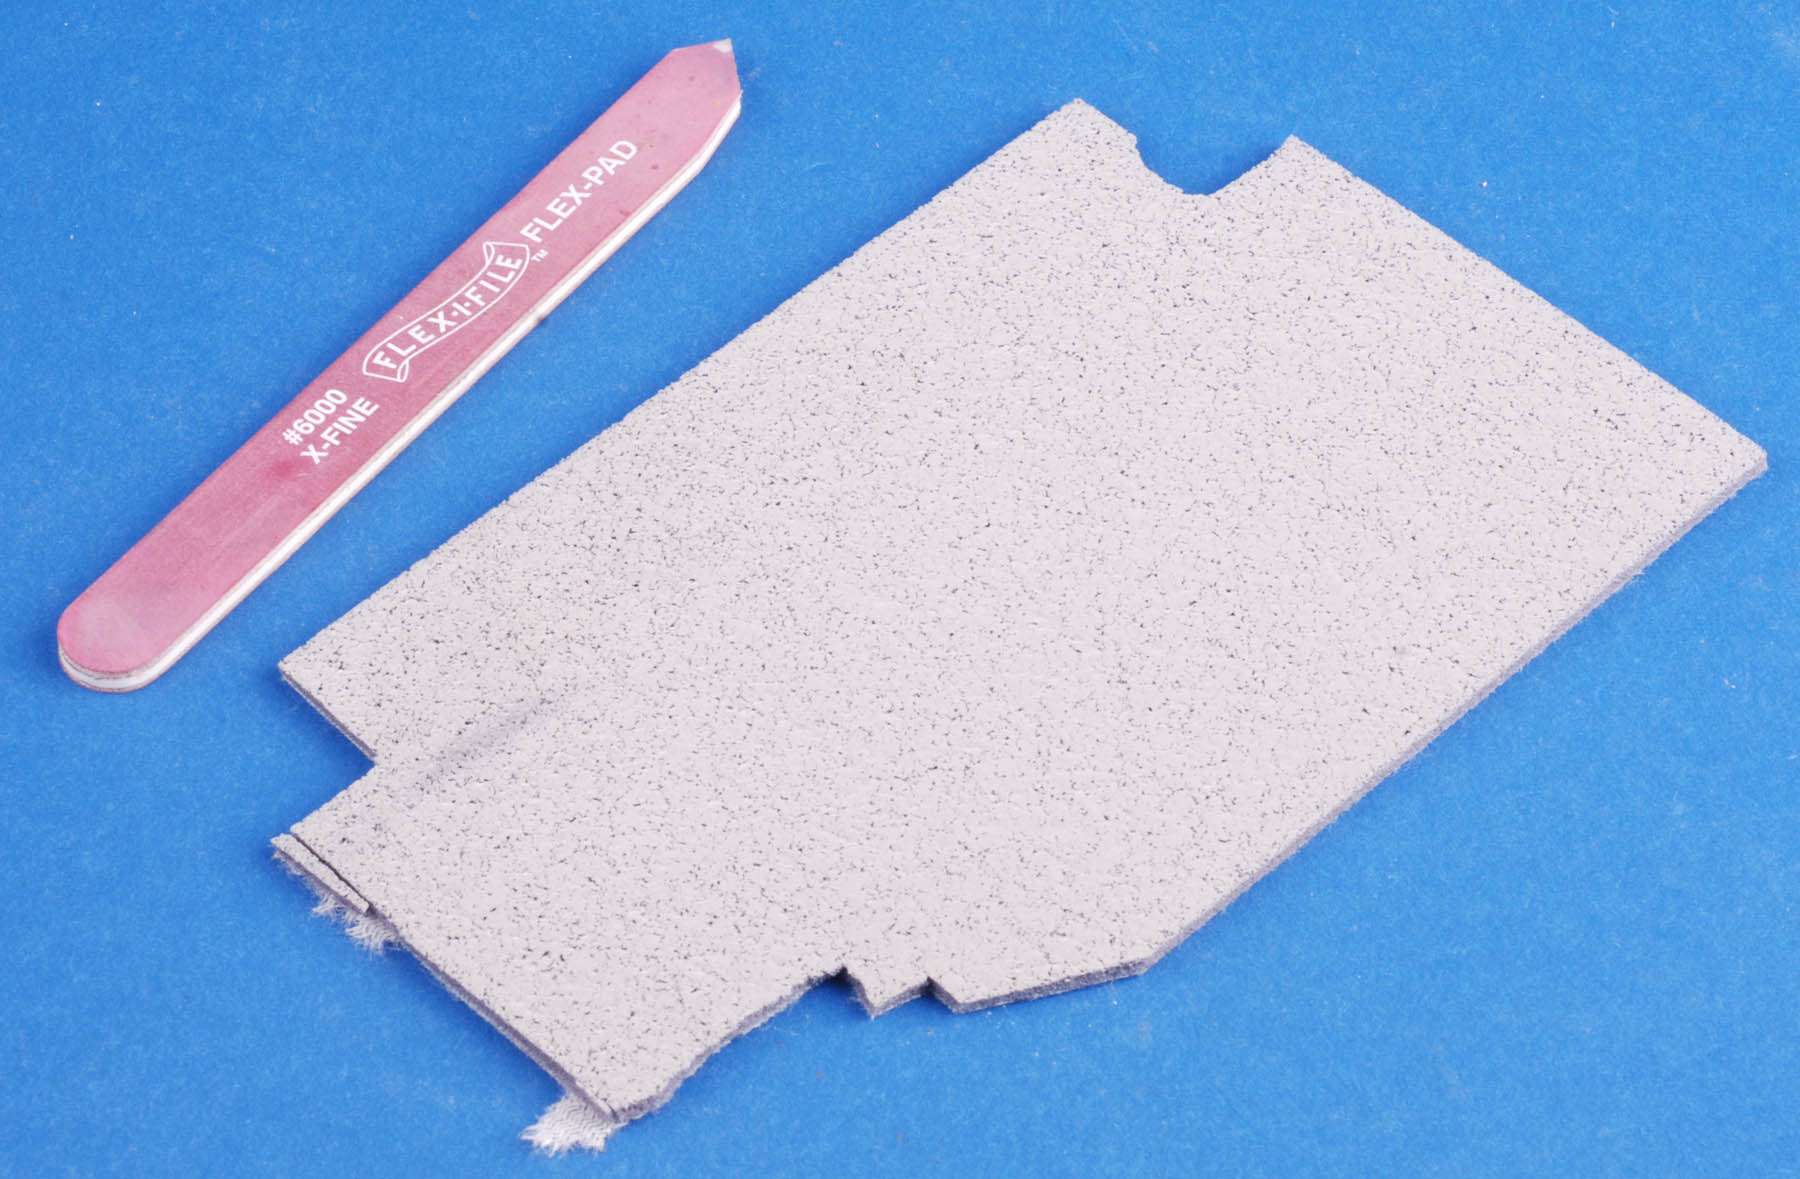
2. Make sure your surface is smooth. Here in South Florida, the high humidity can sometimes cause flat paint to dry a bit gritty. Any paint splatters can show up later as tiny bumps in the surface of your decals. It's pretty easy to get rid of these imperfections without damaging the paint by using a super fine sanding stick or foam sanding pad. Foam sanding pads can be found at any auto parts store with body work supplies. Mine is 3000 grit. Wet sanding with very light pressure works best. Clean up residue with water only! Re-apply Pledge to get things shiny again.

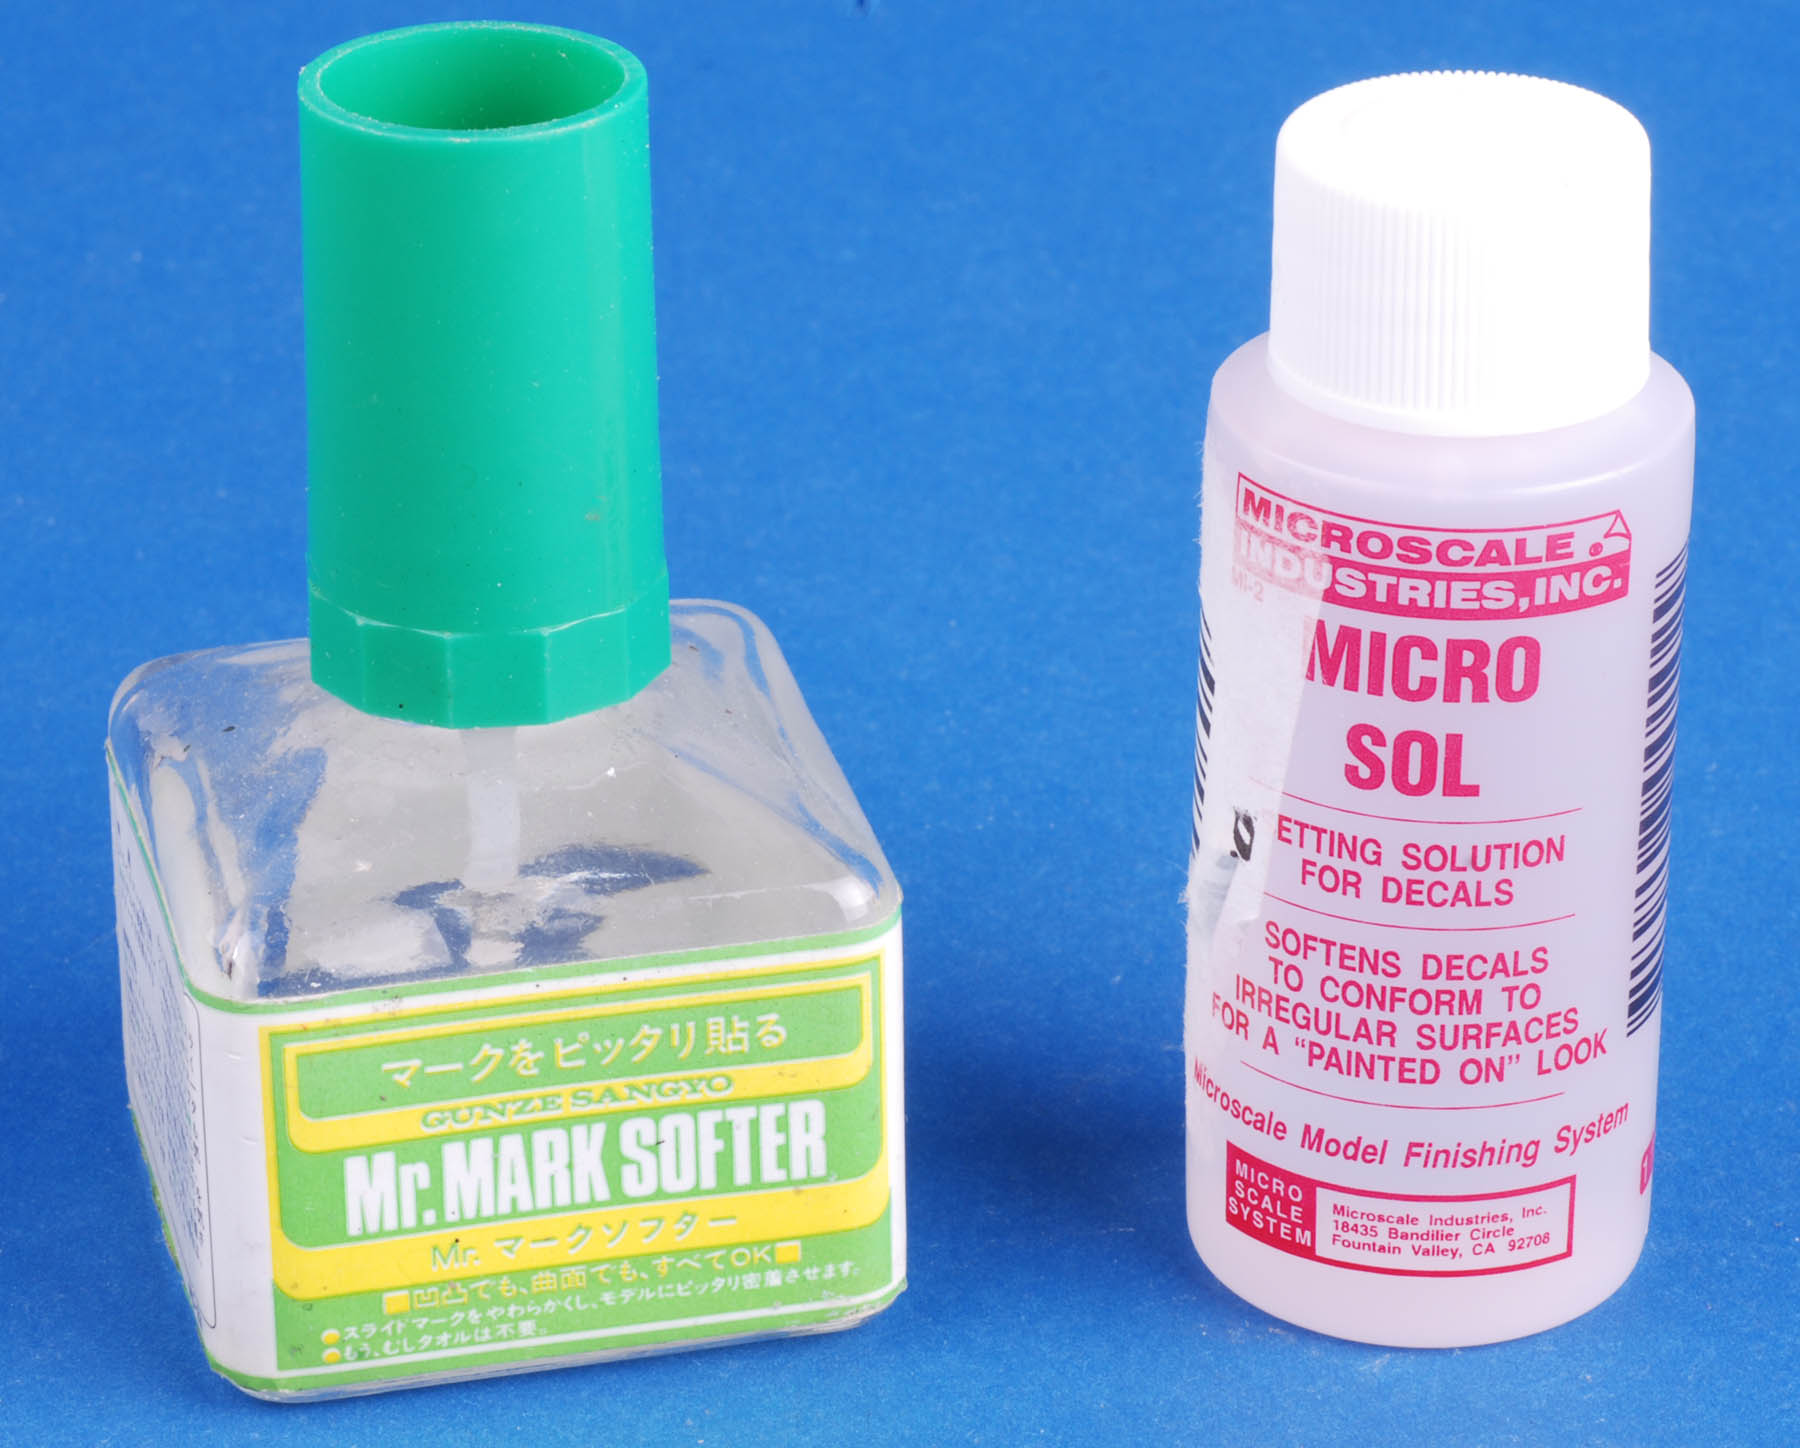
3. Mr. Mark Softer is my favorite decal softener. I do not use the brush in the cap any more. It applies too much softener at one time. Micro Sol is another good one for stubborn decals. I dilute this with water before applying though as this product can sometimes make decals crinkle up permanently. Patience is the key at this point. Multiple, light applications of softener are more effective than flooding the decal with softener.

If a decal does not want to conform, do not be afraid to cut it. Make sure you use a fresh blade and the decal is totally dry before doing this!

If the decal softener starts to melt your layer of Pledge, don't panic. Let every thing dry out overnight. Sometimes the Pledge polish will dry with a little white deposit. This goes away when you apply another layer of Pledge.


4. Protect your markings with another smooth, even application of Pledge floor polish once you are satisfied.

5. Apply your washes and filters at this stage.

6. Before applying any dirt effects, apply a flat varnish. My favorite is Vallejo Matte Varnish diluted with water. The water prevents clogging in the airbrush. Apply thin coats as needed to get rid of any shine on the model.

Any questions, comments or cut downs can be sent to jeff@ampersandpubco.com

New 1:35 Figures from Alpine

http://www.alpineminiatures.com


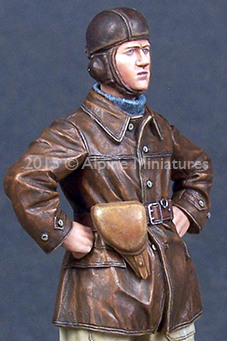
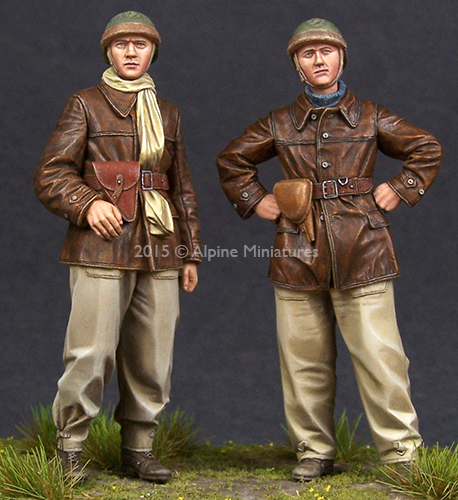
35196, WW2 French Tank Crew #1

35197, WW2 French Tank Crew #2

35198, WW2 French Tank Crew Set  (2 figs)

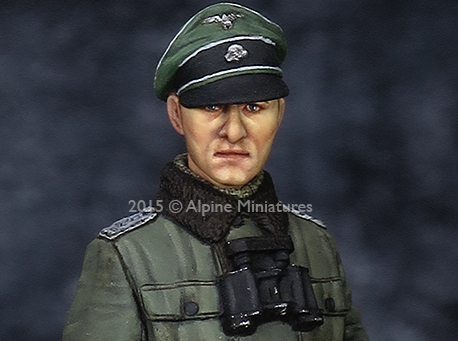
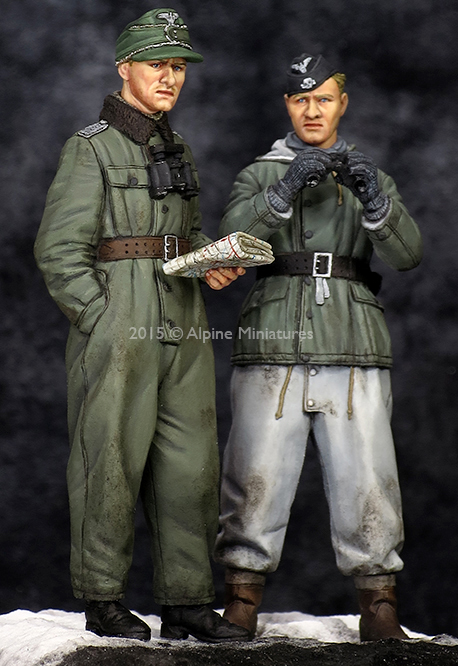
35199, Joachim Peiper in Kharkov

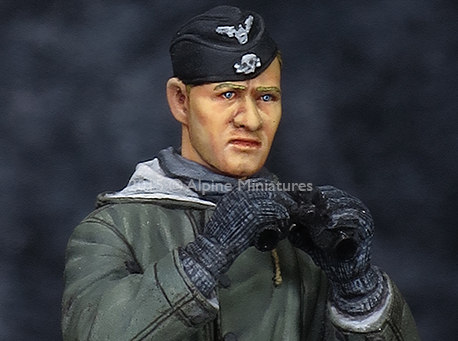
35200, SS Panzer Crew Winter

35201, Joachim Peiper Kharkov Set  (2 figs)

New AFV Club and Hobby Fan Items from Merit International!

http://merit-intl.com

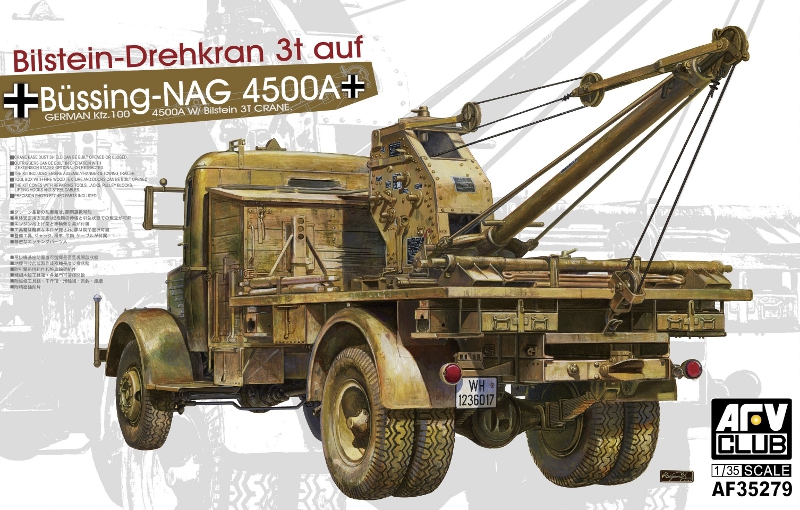
AF35279, German Kfz. 100 Bussing Nag 4500A with Bilstein 3t Crane

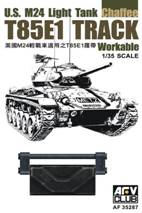
AF35287, US M24 Chaffe light tank T85E1 workable track links

Hobby Fan HVF-729, Wiesel-1 Tank crew (2 Resin Figures)

Easy Paint and Finish Steps By Jeff

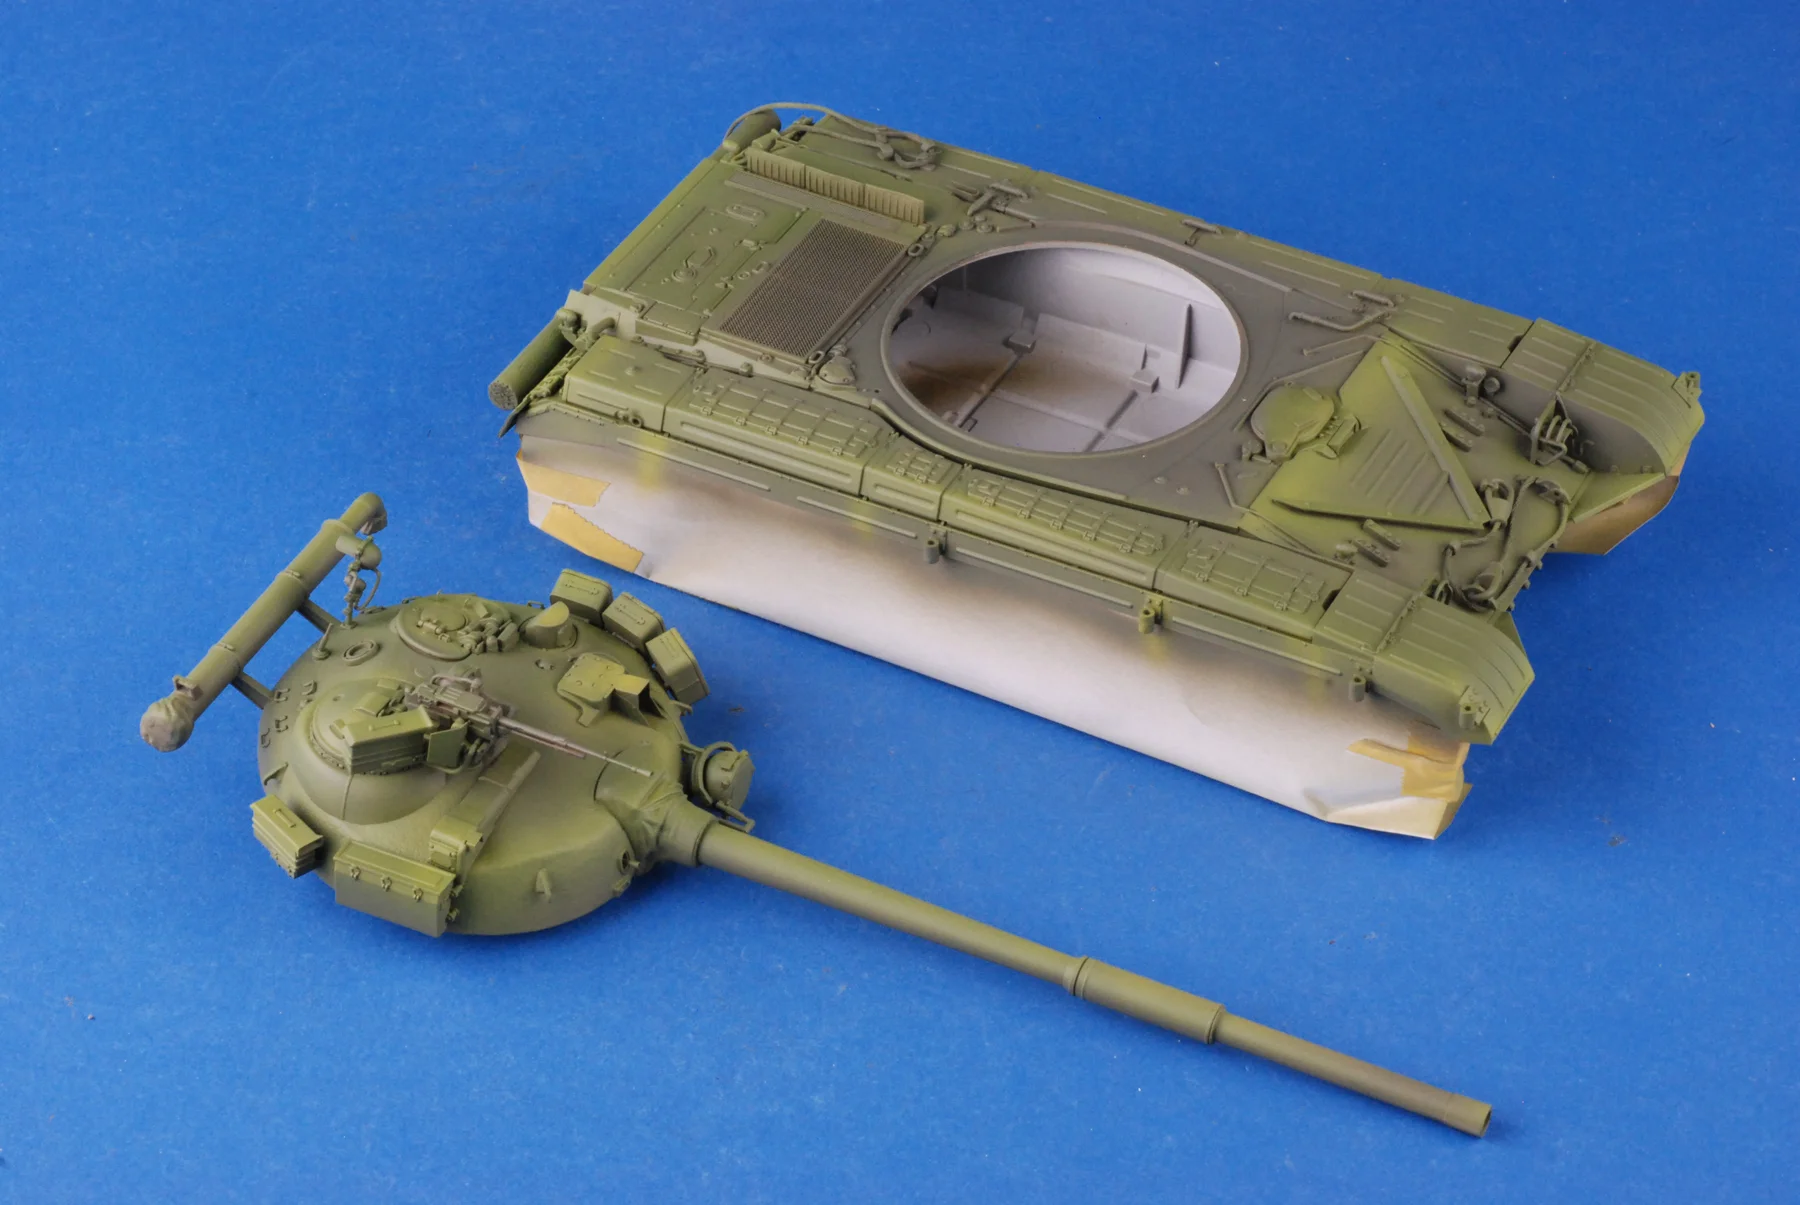
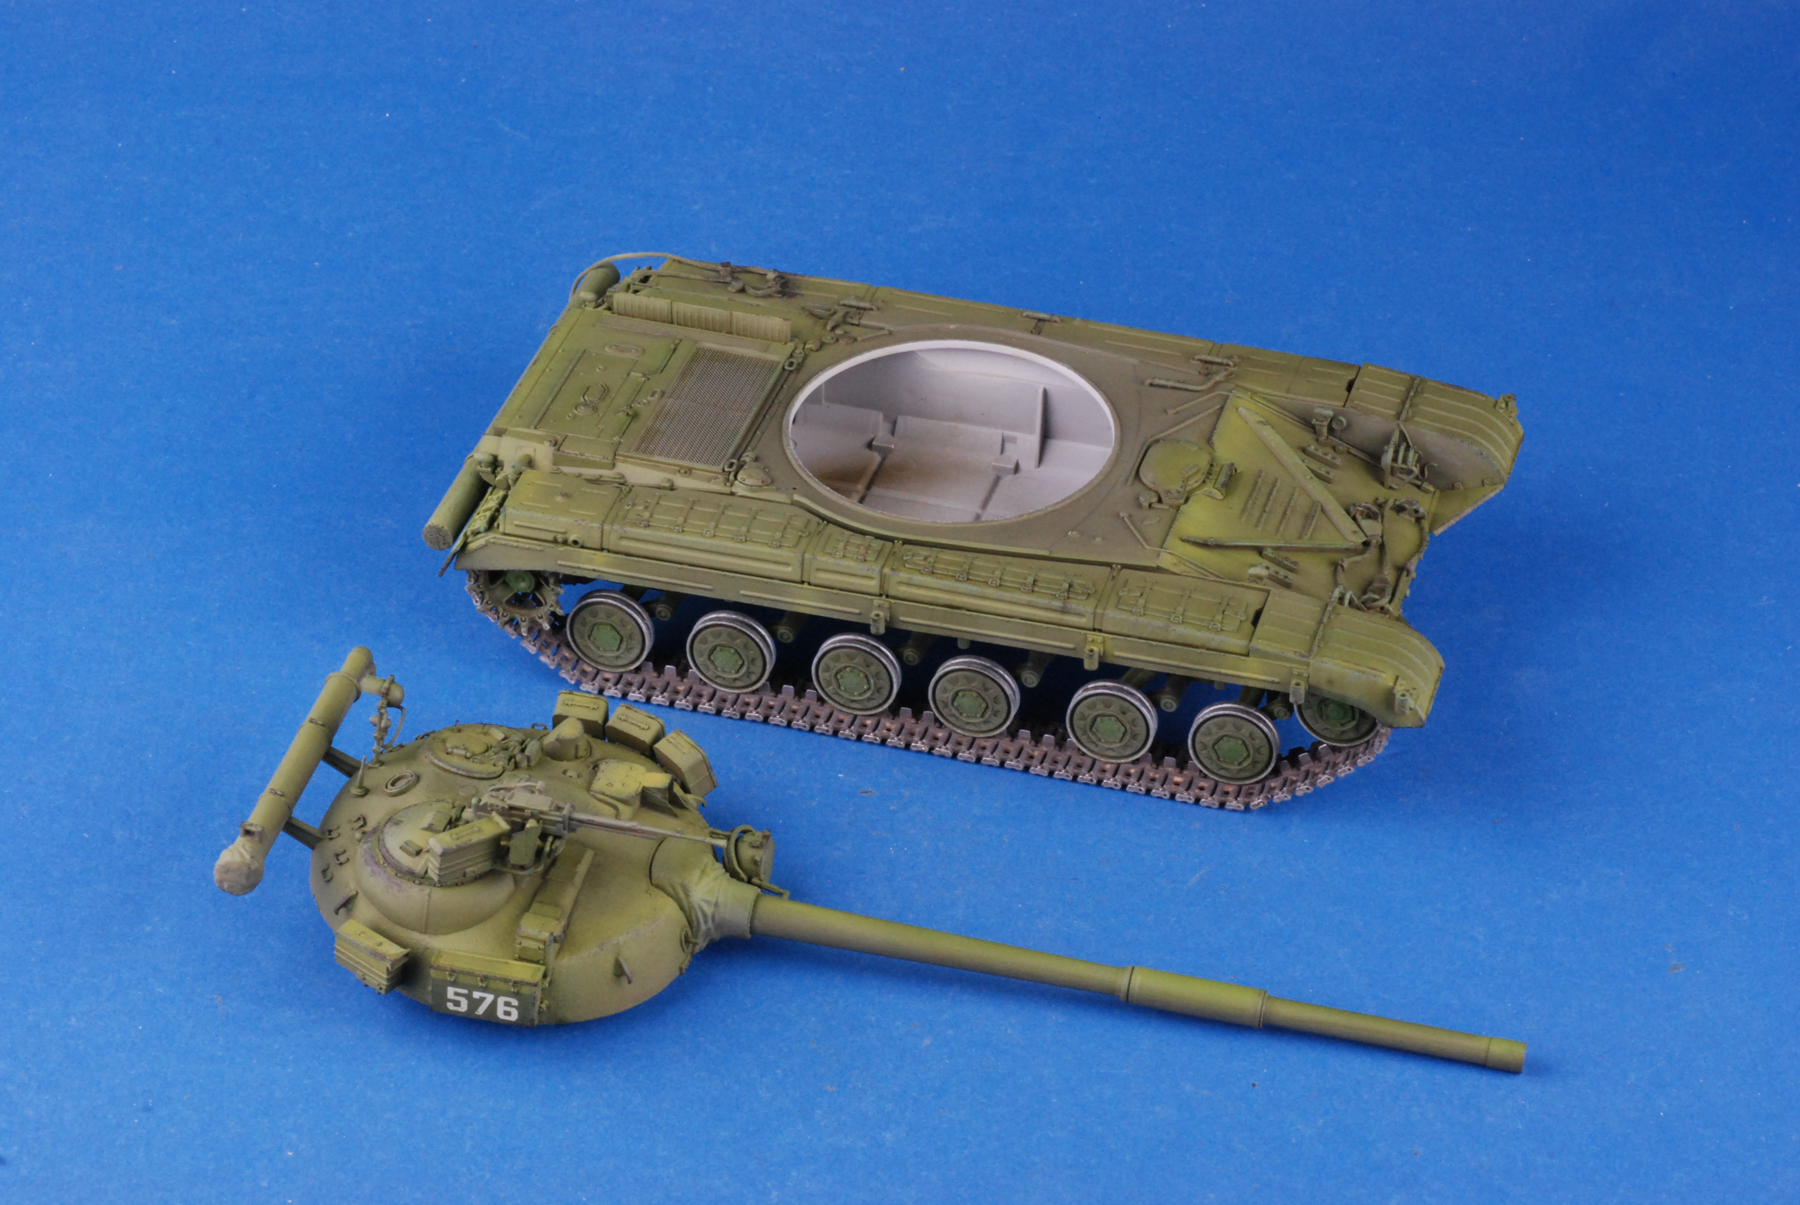
1. When it comes to AVFs with skirts, I generally paint the lower hull, running gear and tracks after they are assembled and then mask this area off with paper and tape before moving on to the upper hull and turret.

2. Using a sandable primer such as Mr. Surfacer or Tamiya Grey helps to find minor flaws and establishes a firm foundation for coloring. Stay away from enamel-based primers. They will lift or wash away when petroleum-based thinners are used during the weathering process.

T-64 Paint 001.JPG

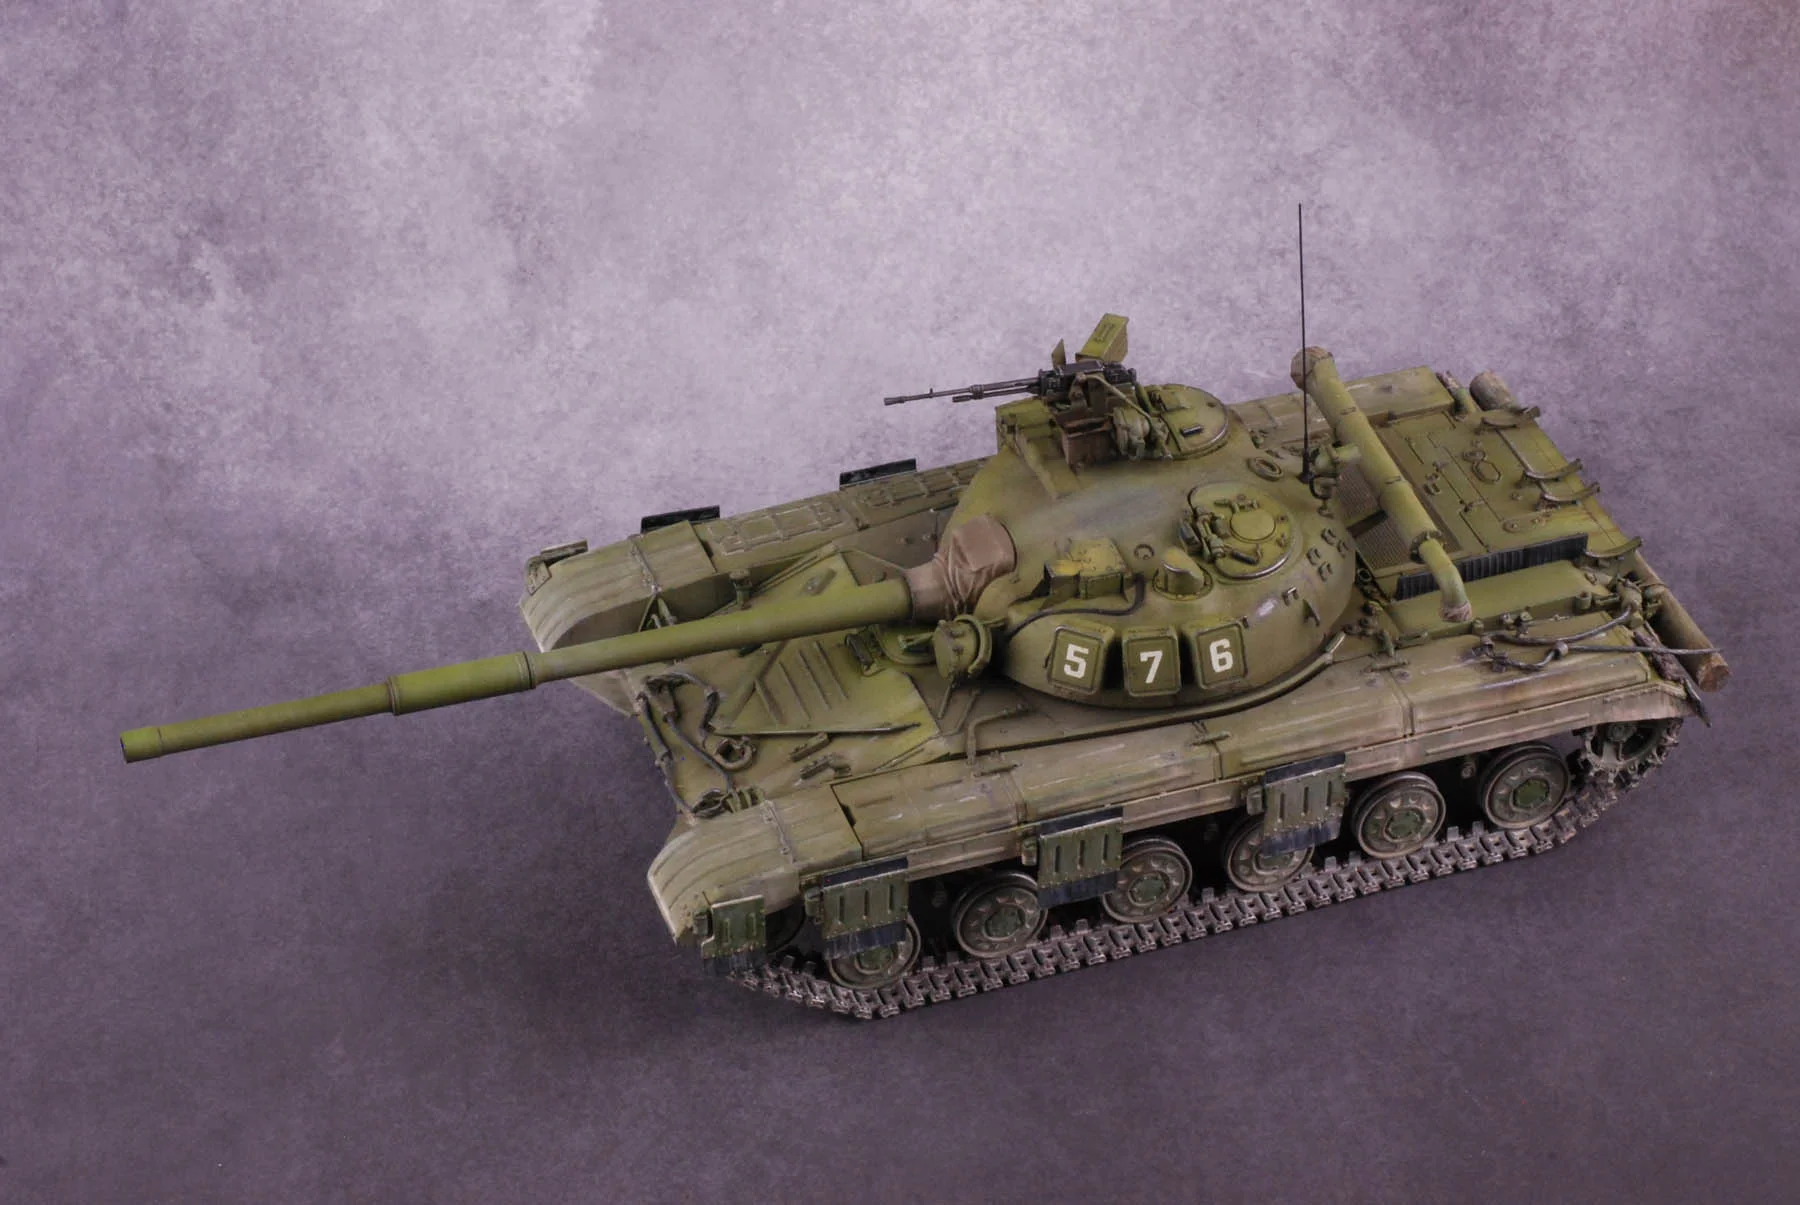
3. Adding basic color and highlights. For the T-64, I used Vallejo AFV Painting System 78.408 for this T-64 and just followed the directions on the back but the same basic principles are always in play.

Start with a shade darker than the basic color. From there, add the base color overall, still leaving some of the shadow area showing. Highlights come next using two or sometimes three shades. Last of all, protect the paint! I like to use Pledge (It used to be Future) floor polish for this. It also provides a smooth surface for decals.

4. Apply markings. Mr. Mark Softer is my favorite for this. It seems to work best on a wide variety of manufacturers. I still keep some Solvaset handy though as it comes in handy for some stubborn decals. Always apply a layer of Pledge over the decals when the application process is complete.

5. Chips and Scratches. For basic scratching, I generally apply the highest highlight shade with a foam sponge. For wear down to the bare metal, I use Vallejo SS Camouflage Black Brown just like anyone else.

6. Detail Painting. I like to use Vallejo Acrylics for this. I keep a small cup of Windex handy to fix any mistakes.

7. Dot filter and streaking. I use oil paints diluted with Turpenoid almost exclusively for filters. Turpenoid is generally easier on the paint than Mineral Spirits or White Spirits and I have less problems with paint lifting or washing away.

This is not to say that commercially available filters aren't effective but I'm an old guy and stick to waht works for me.  I usually let the model dry for 24-48 hours before moving on

8. Detail Wash. Again, I like to use oil paints diluted with Turpenoid for this. My favorite colors are Raw Umber, Olive Green and Sepia.

9. Vallejo Flat. I generally apply some Vallejo Flat varnish thinned with water to get rid of any gloss and to protect the work I have already done before applying the dirt effects.

T-64 Paint 003.JPG

9. Add dirt. There are lots of great options out there for adding dirt effects these days but I still like to use a slurry of pigments, oil paints and Turpenoid for this. One important thing I have learned lately is that paint thinners such as Turpenoid and Mineral Spirits tend to make the pigment colors appear lighter when they dry while using pigment fixer makes them dry a little darker.

Any questions, comments or cutdowns can be addressed to jeff@ampersandpubco.com

Tips for Airbrushing with Vallejo by Jeff

Since we are on the subject of Vallejo today, let's talk a little bit about running latex-based paints through an airbrush. These methods apply to AK Interactive and Ammo of Mig paint as well.

1. Prime! These paints stick best to other paint. Our favorite here is good old Mr. Surfacer 1200 since it is sandable. Vallejo makes a nice latex-based primer in a variety of colors. So does AK and Ammo. The Tamiya spray primers and colors also serve as a great primer.

2. Always thin the paint. Even with model color, a few drops of airbrush thinner improve flow and prevent clogs. Vallejo 71.261 is our favorite. AK and Ammo also make a similar thinner. For Model Air, one drop or thinner to three drops of paint is a good ratio. For Model Color, around 50/50 works best.

3. Only put small amounts of paint in the cup. Latex-based acrylic dries quickly and will leave a skin of paint in the airbrush that causes clogs, so only load a few drops of paint at a time.

4. Keep your airbrush clean! Run some Airbrush Cleaner through before reloading the cup EVERY time! We like the Vallejo Airbrush Cleaner (199). AK, Ammo and Aztek all make a similar product. These cleaners work a lot better than Windex. It is best not to use alcohol based thinners for cleaning. They make the paint coagulate into a gooey, rubbery mess. Lacquer thinner can also be used, but remember that it is extremely toxic and can be absorbed through your skin as well as through your respiratory system, so take the appropriate precautions.

Any questions, comments or cutdowns can be directed to jeff@ampersandpubco.com



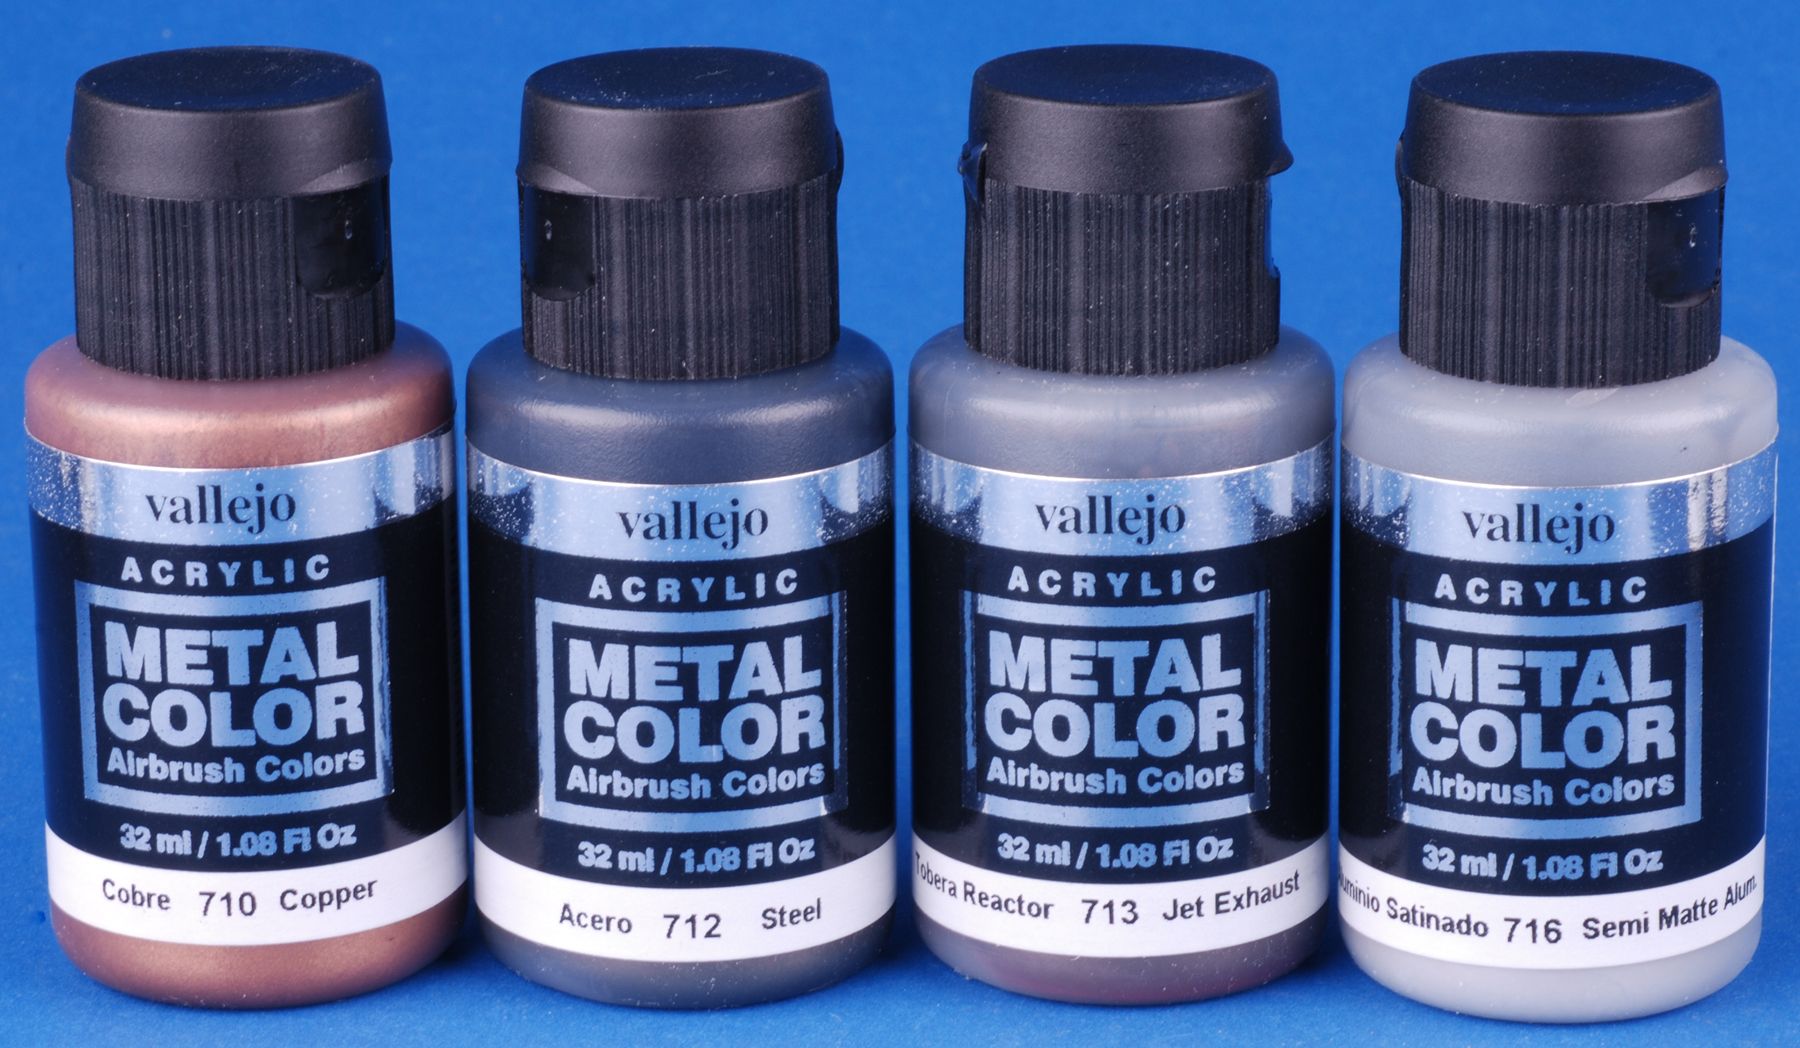
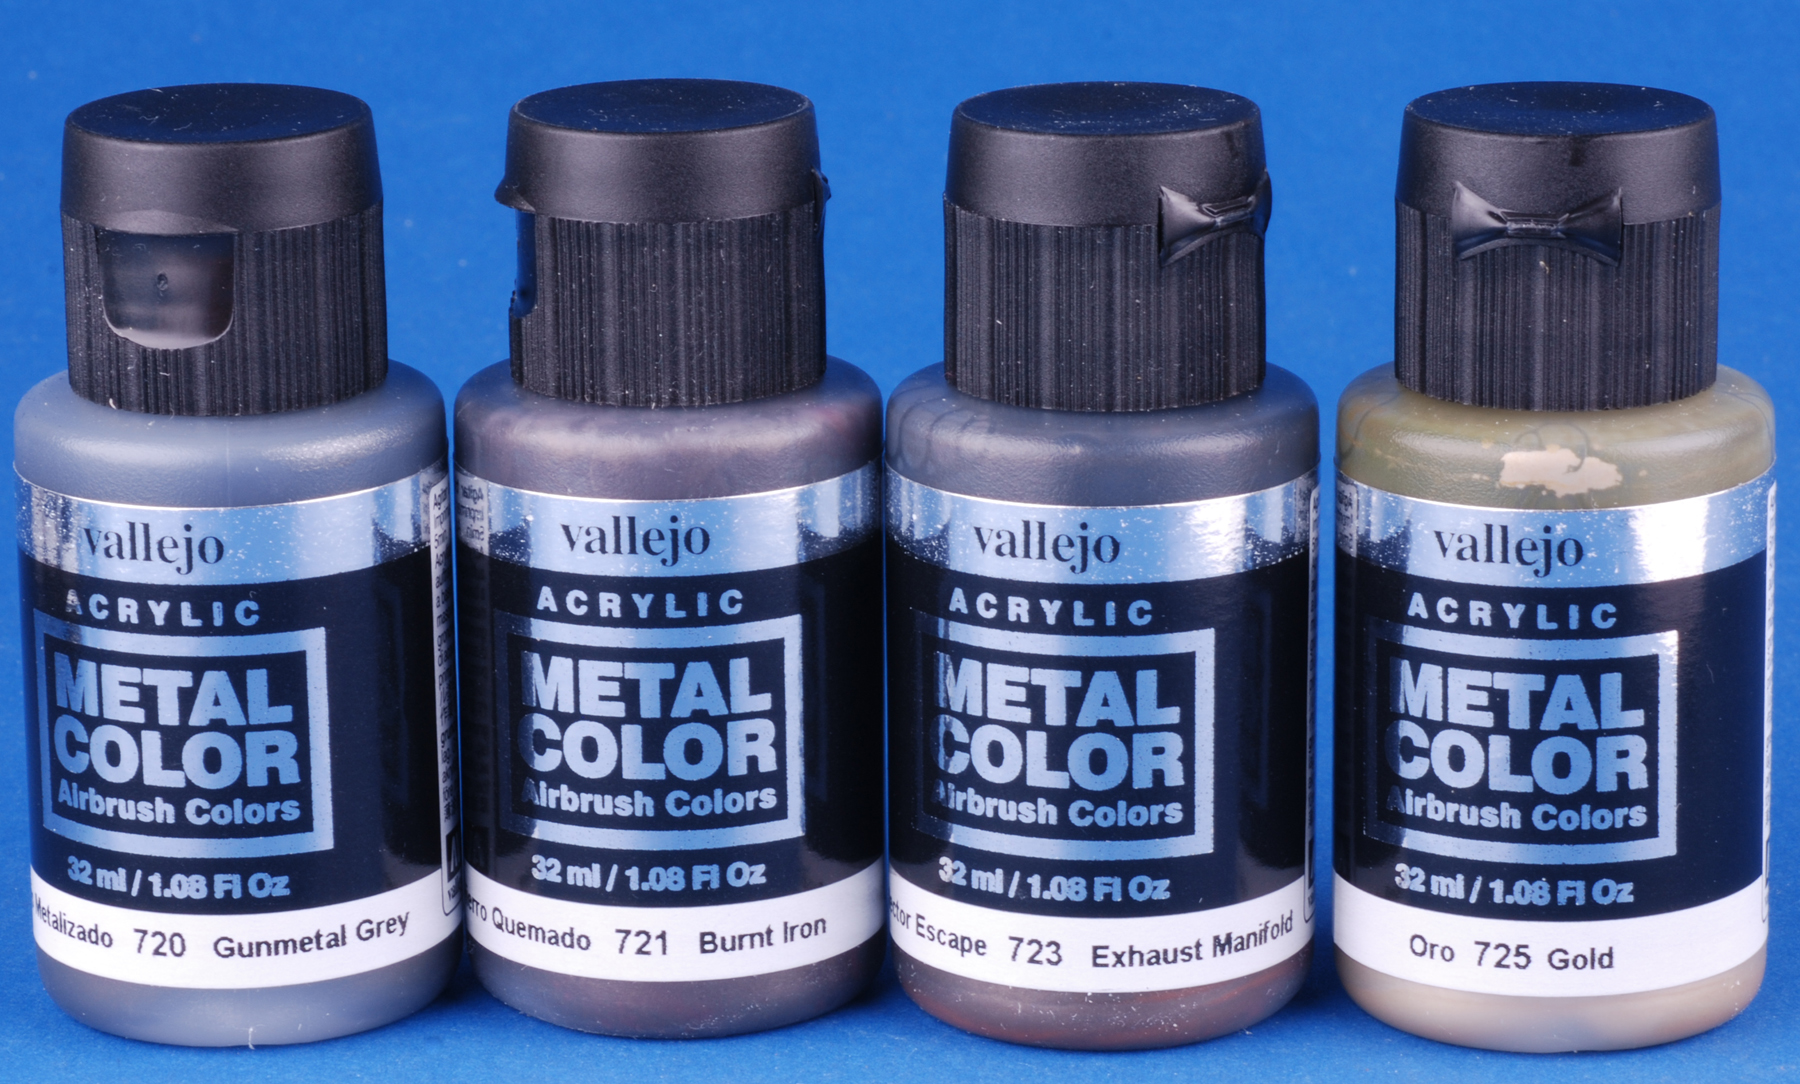
VALLEJO METALLICS!

Water-Based Metal Color from Vallejo

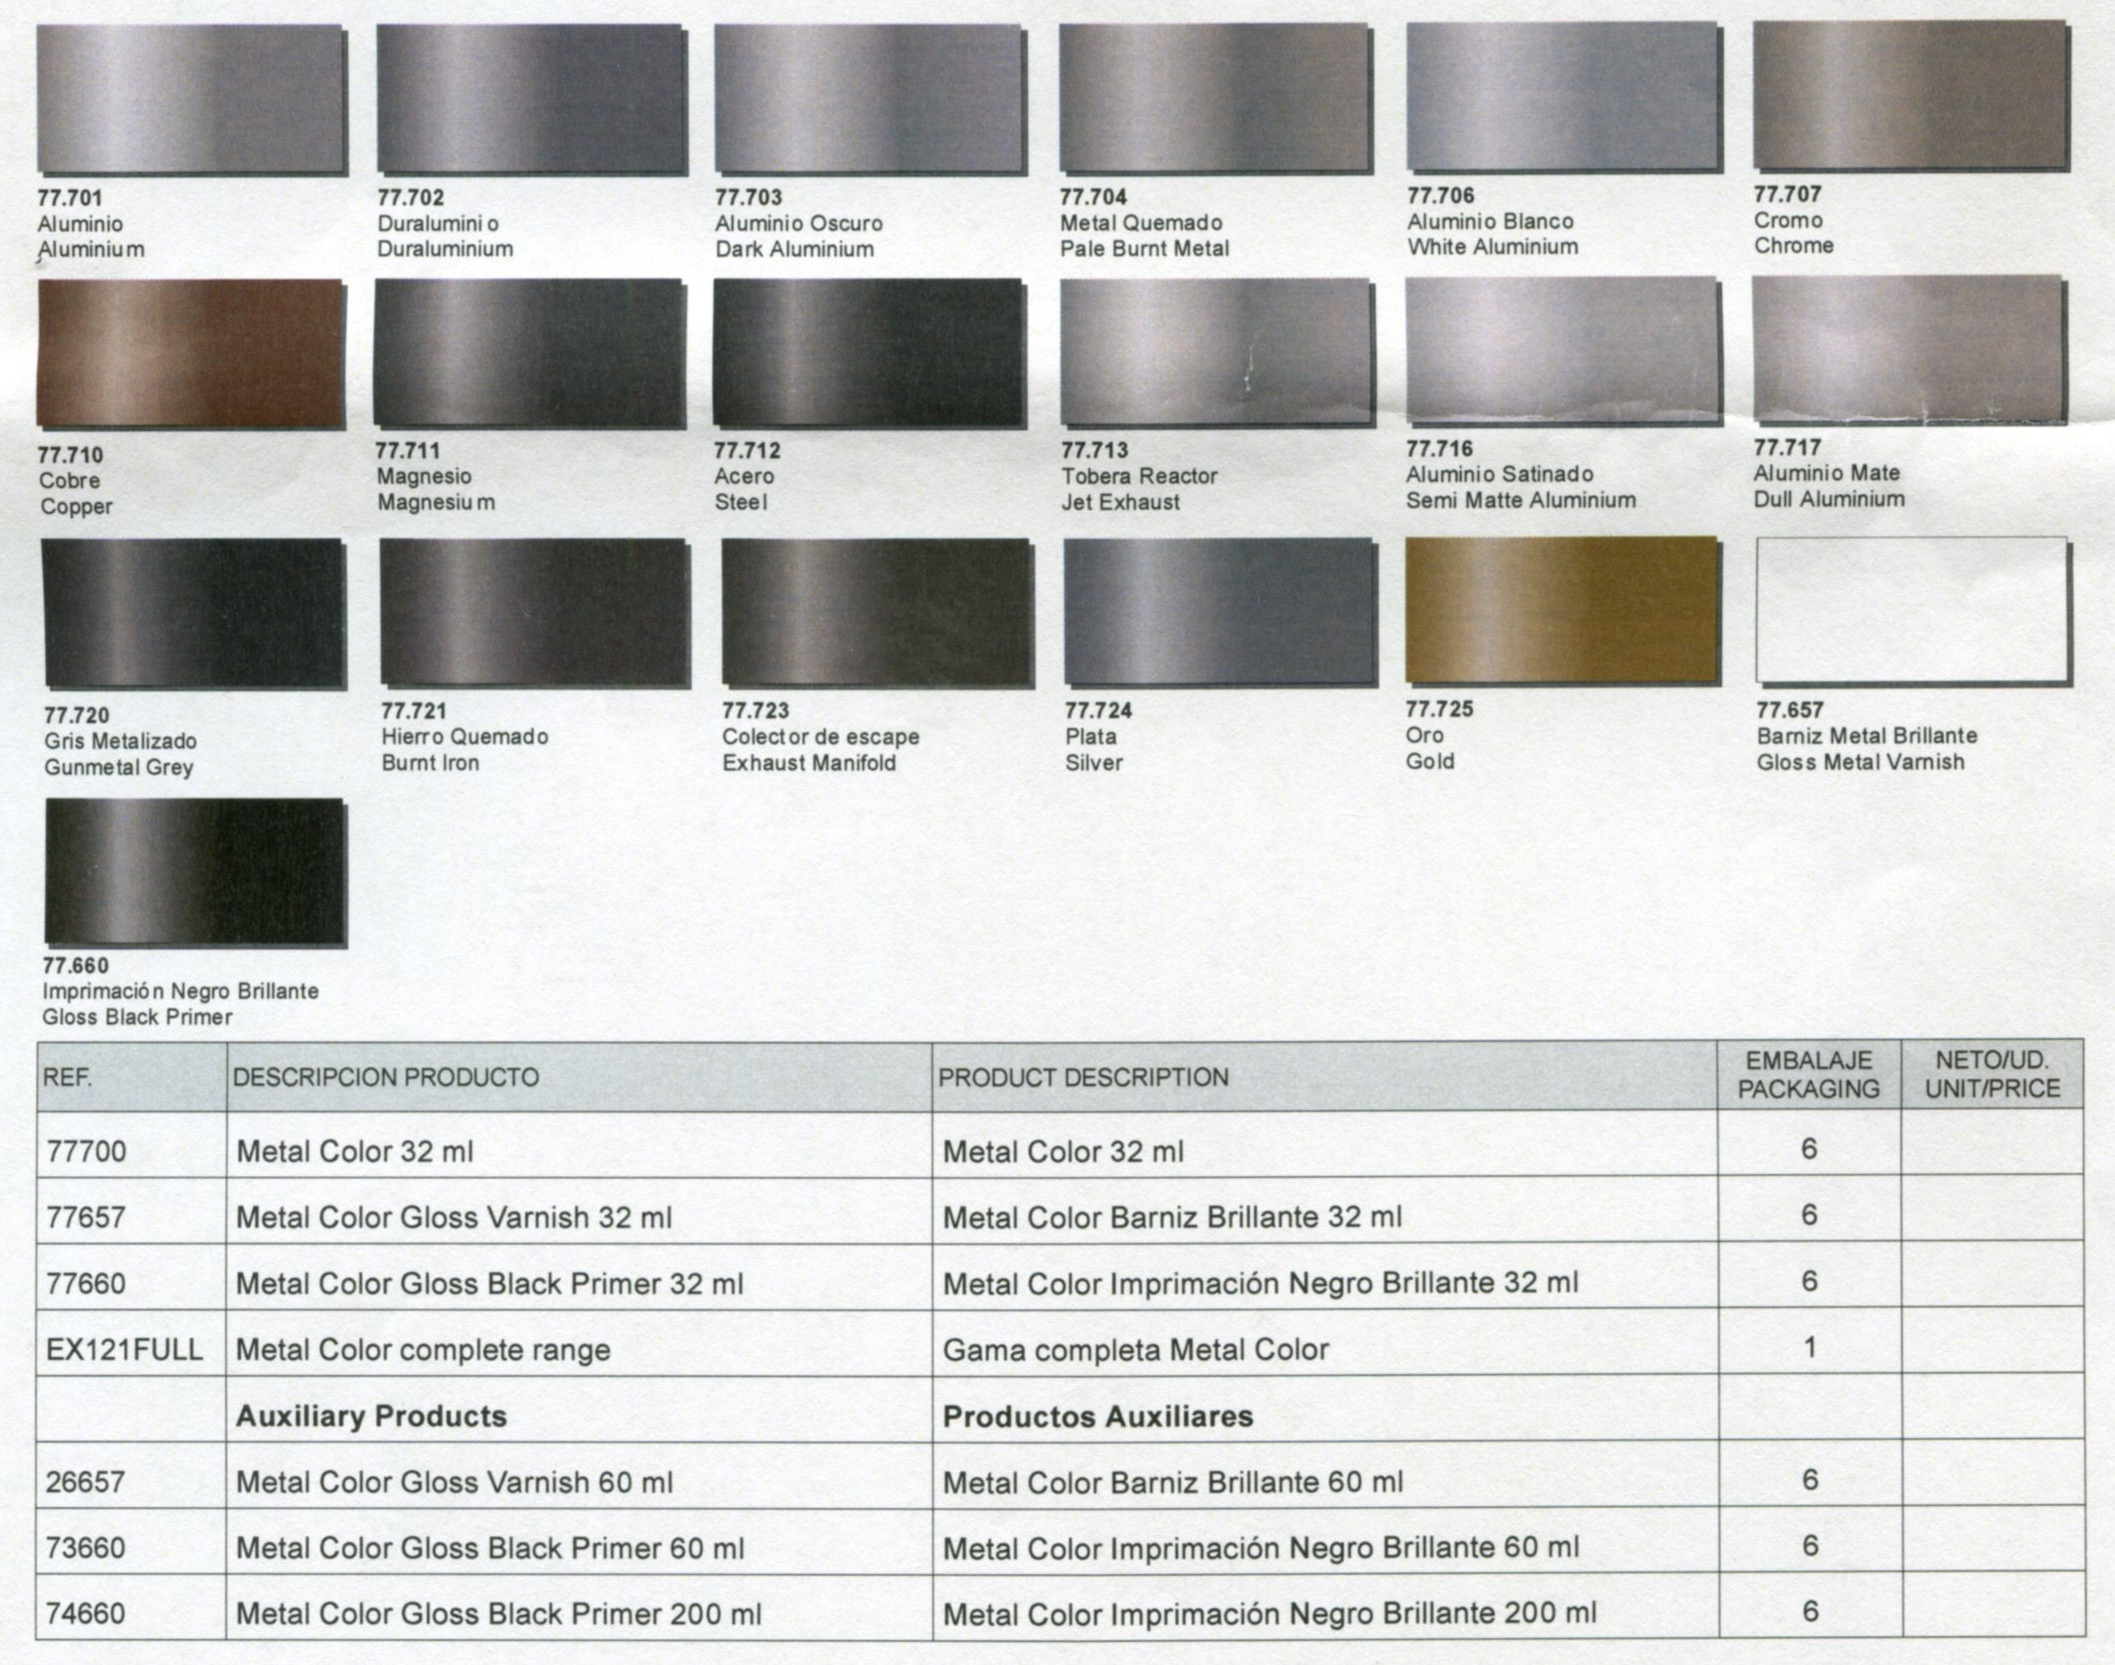
19 colors made for airbrushing.

Can be applied directly to plastic.

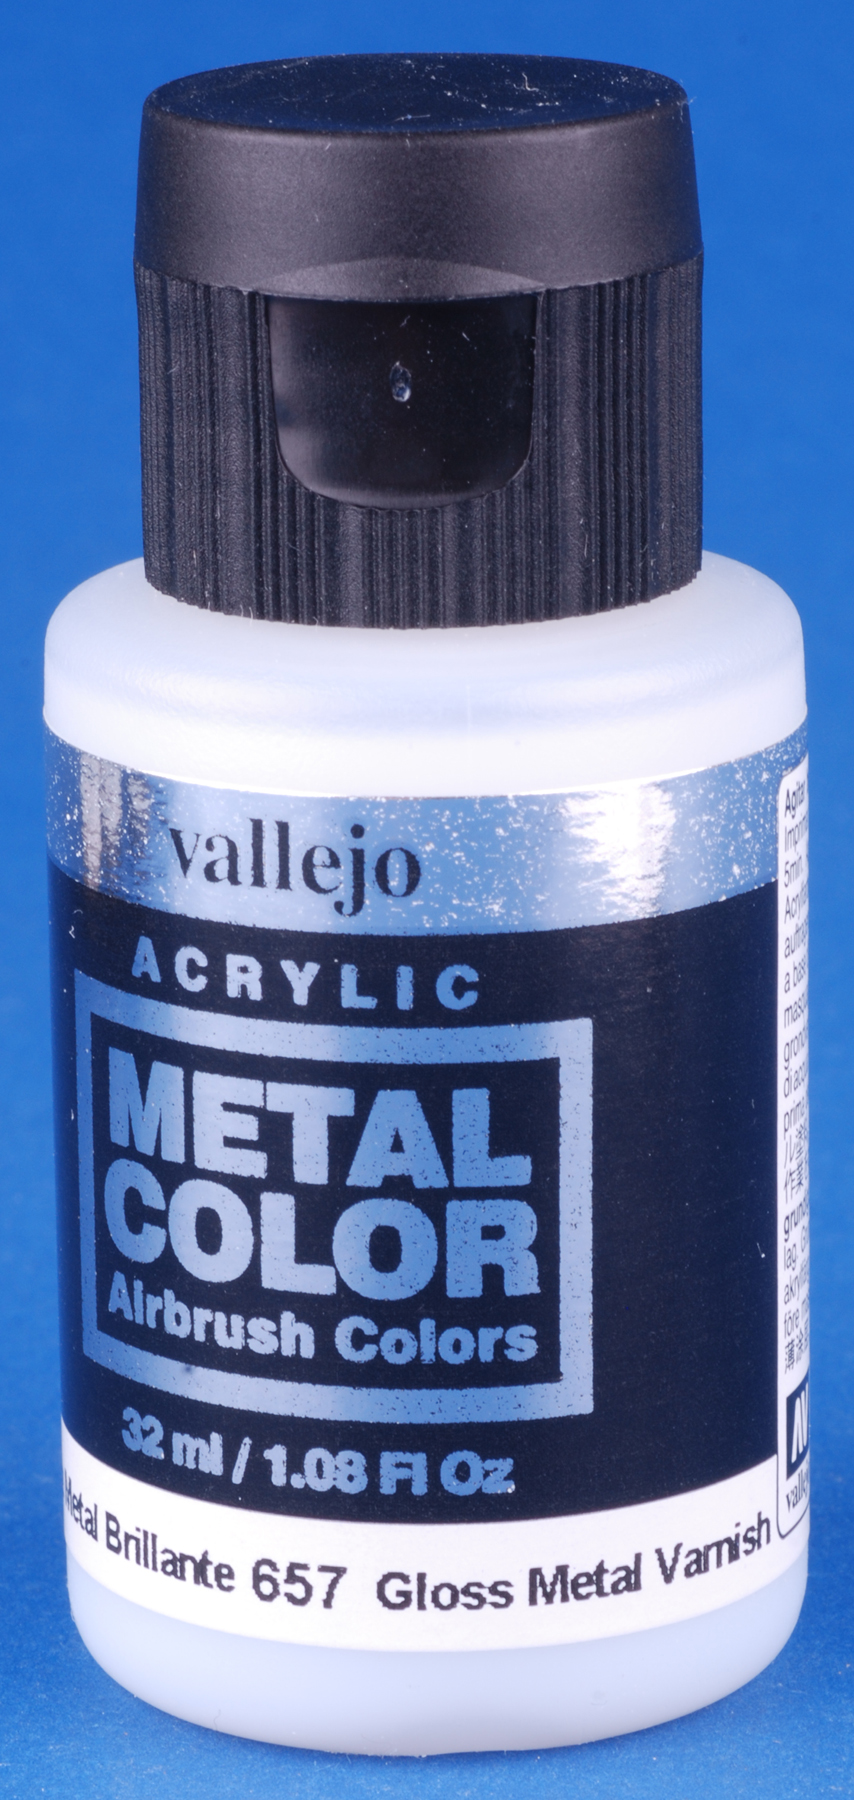
Vallejo recommends a gloss black primer (77.660) for Aluminum finishes


Here is what they sent us to add to our modeling arsenal. A color card is located below the photos.


New Paint Sets from Vallejo!

www.acrylicosvallejo.com
The guys at Vallejo have been releasing a lot of great color sets the last few years. They recently sent us a big package of samples.
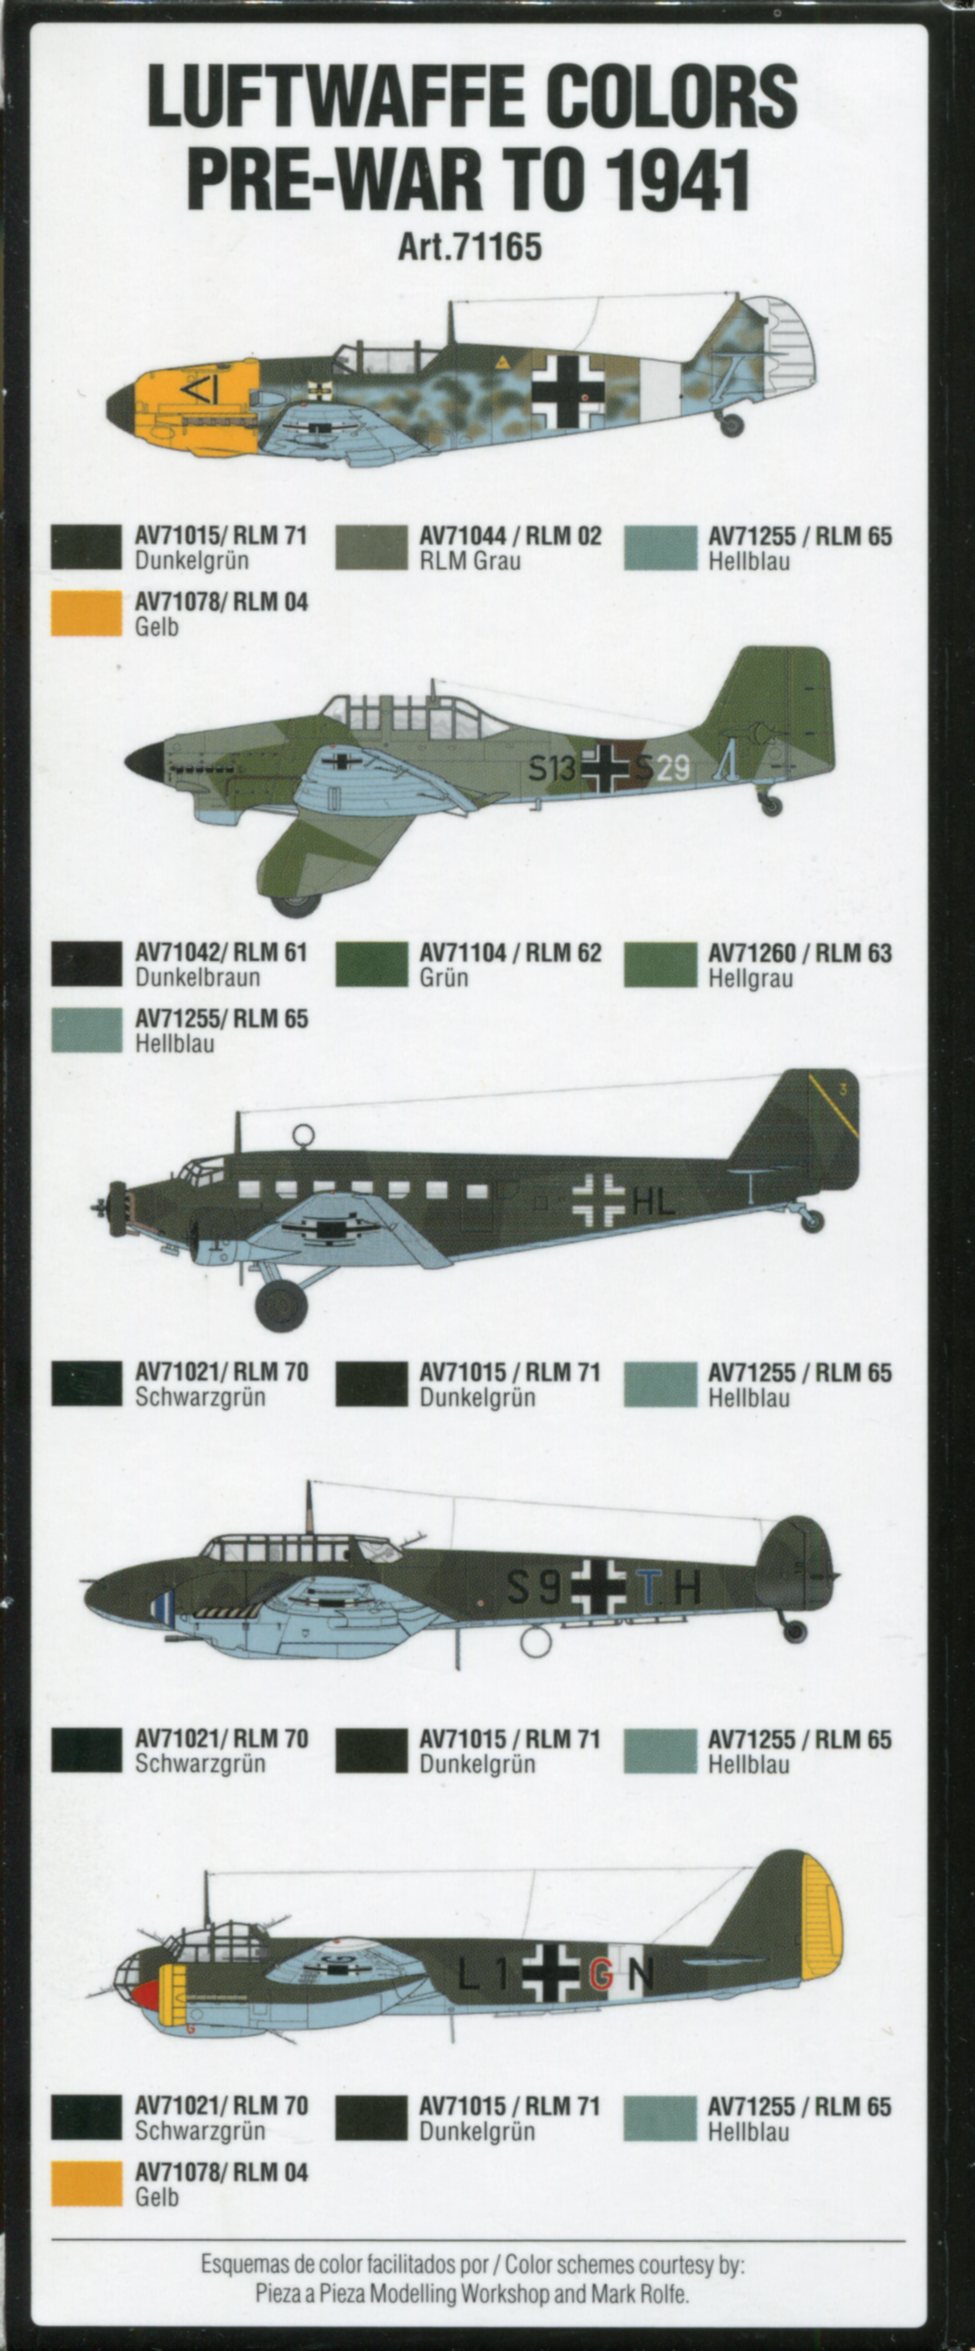
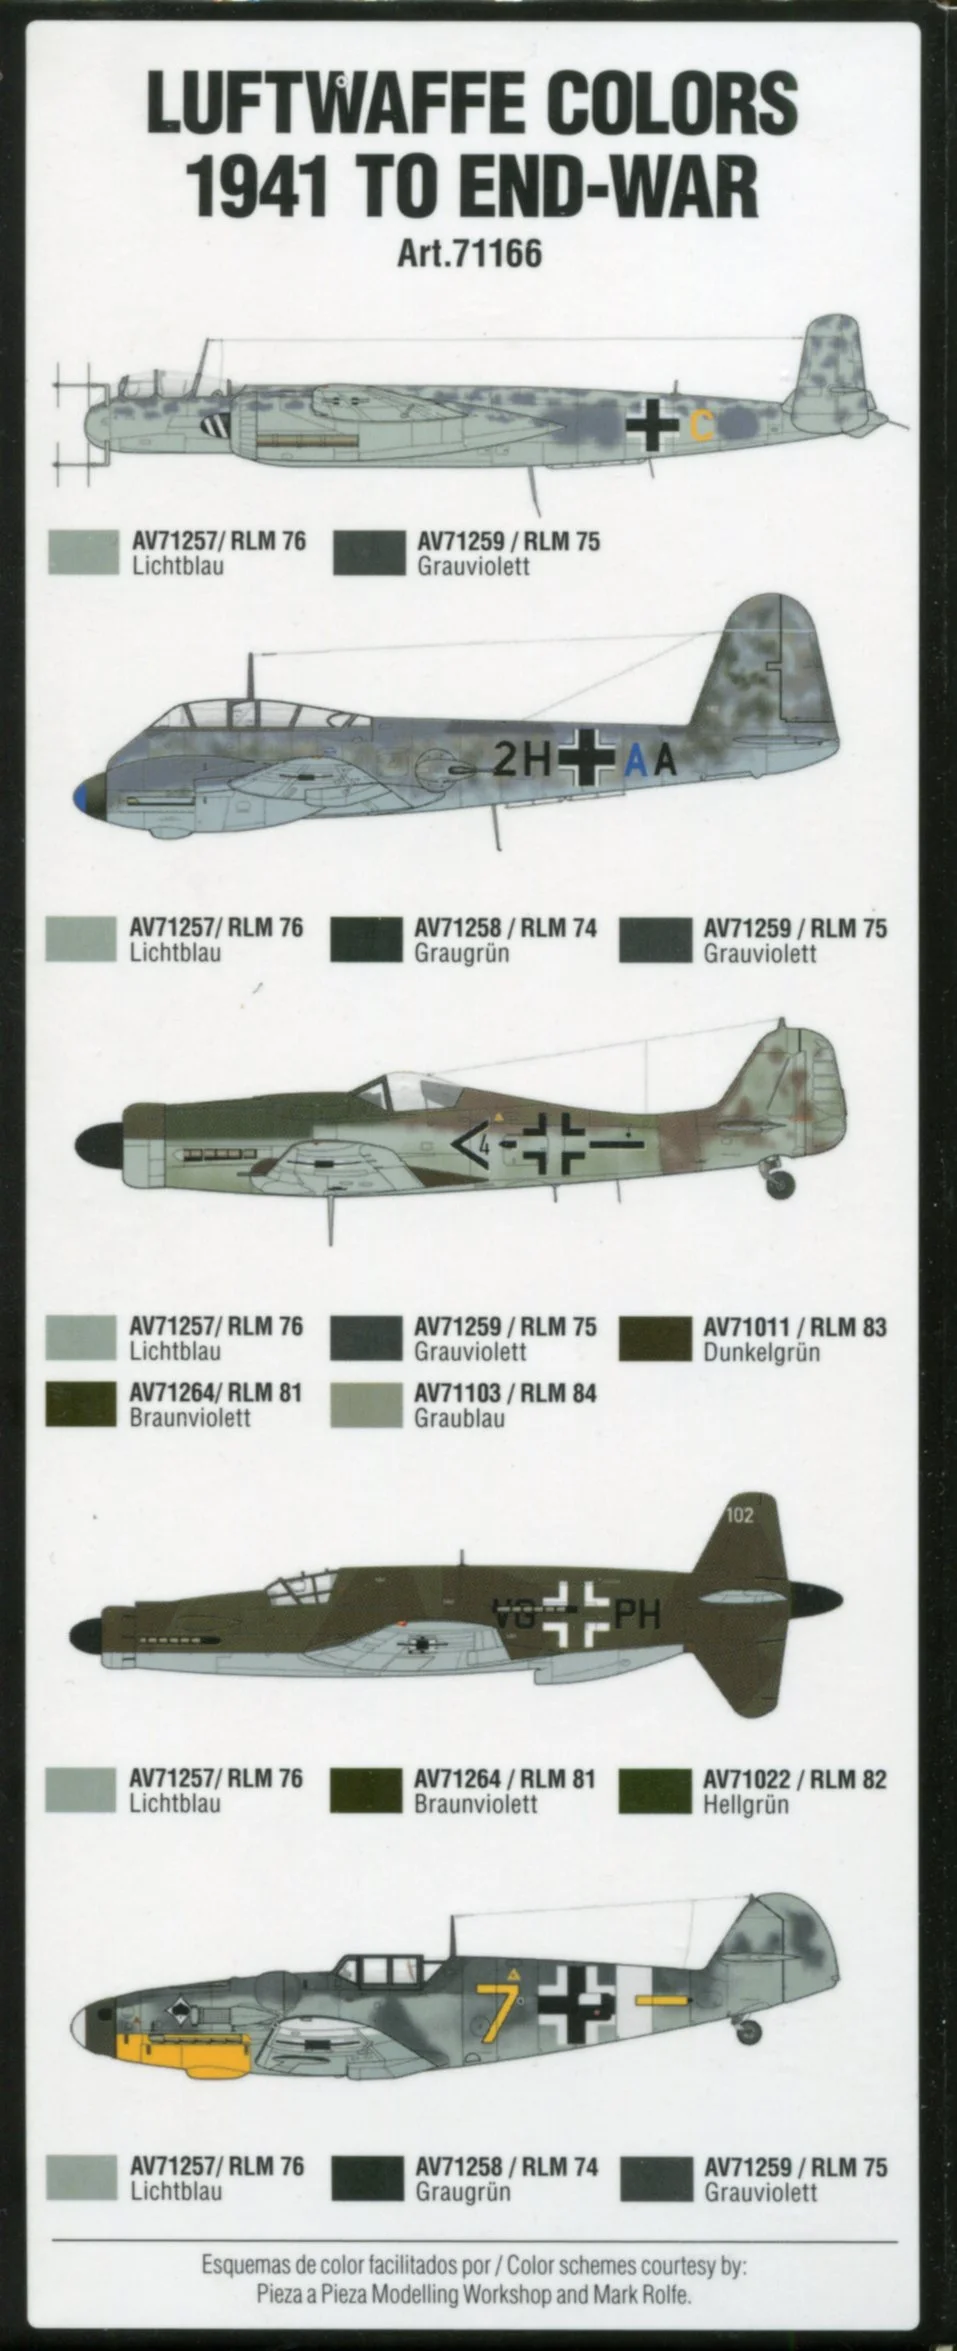
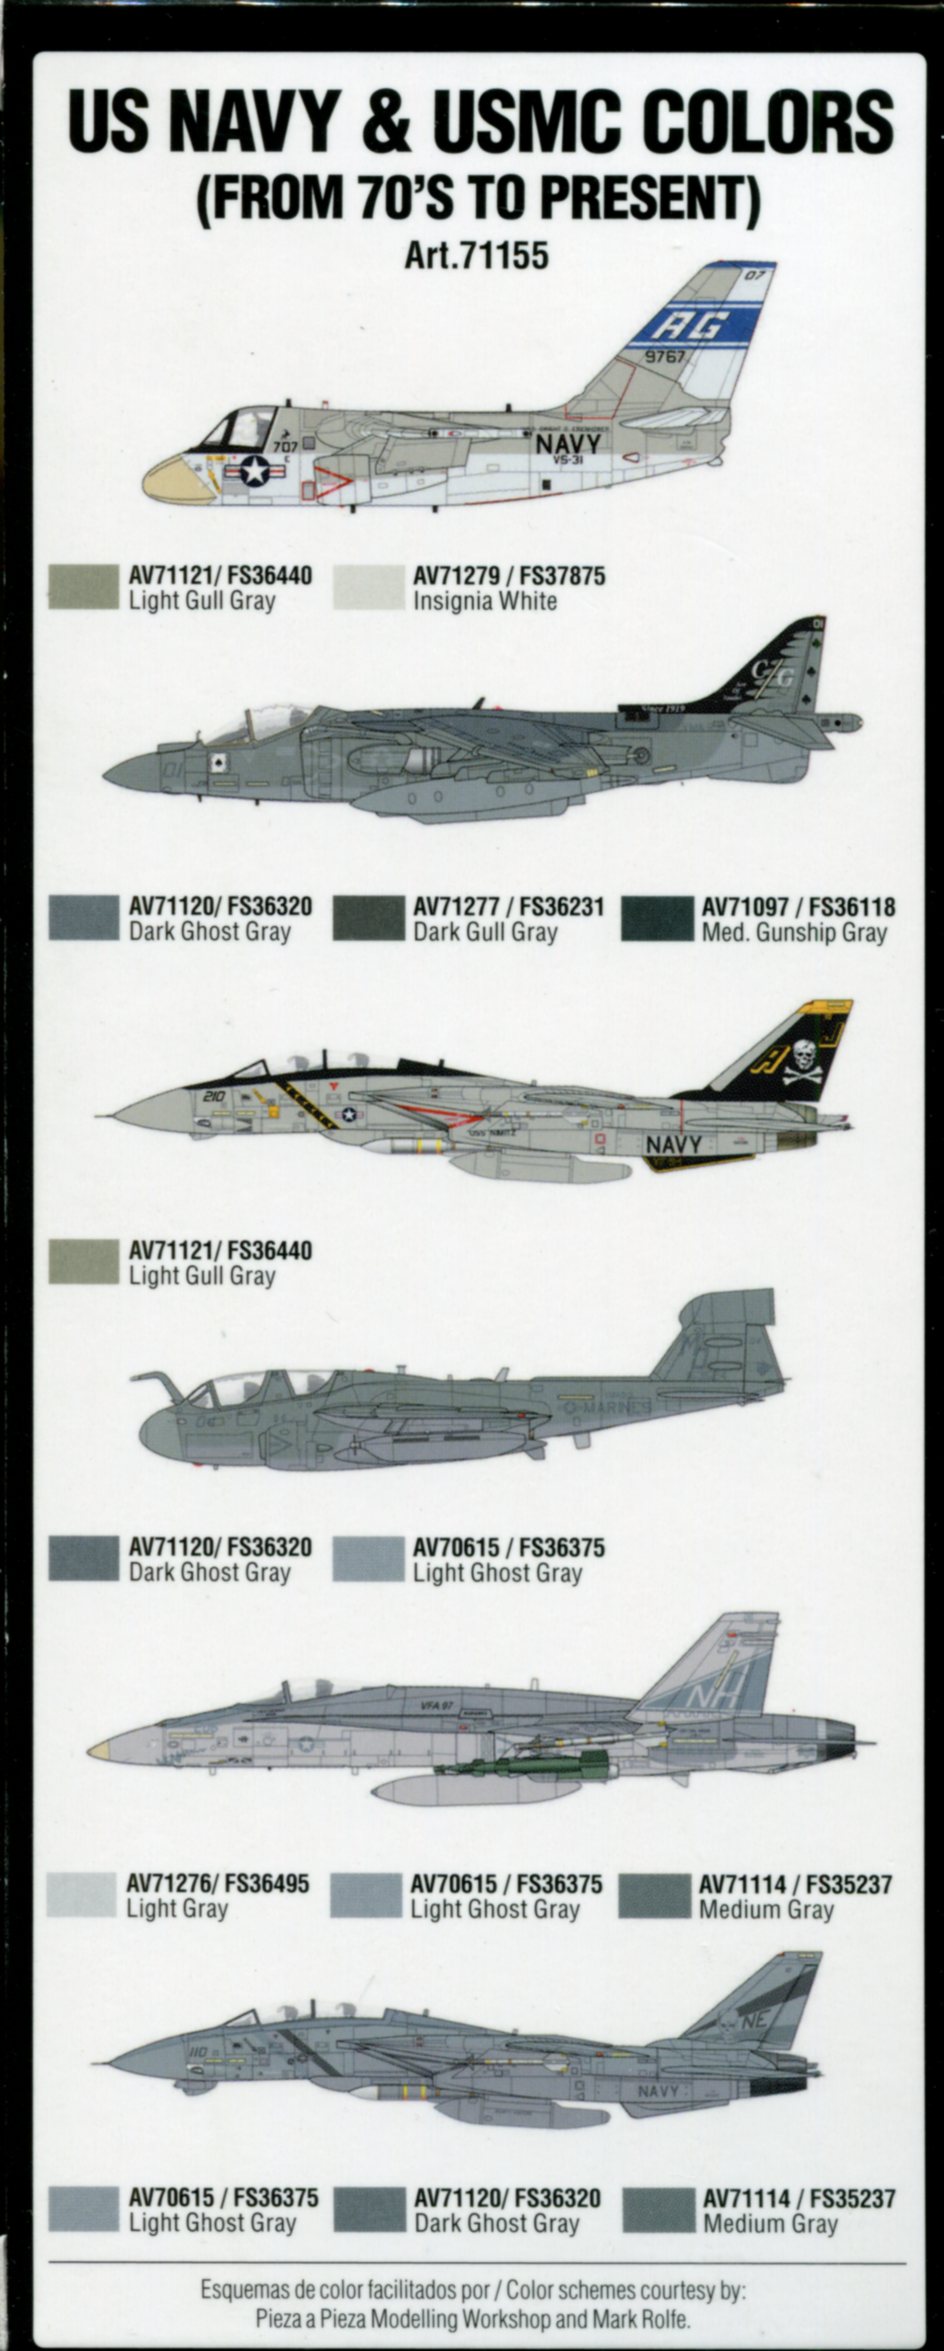
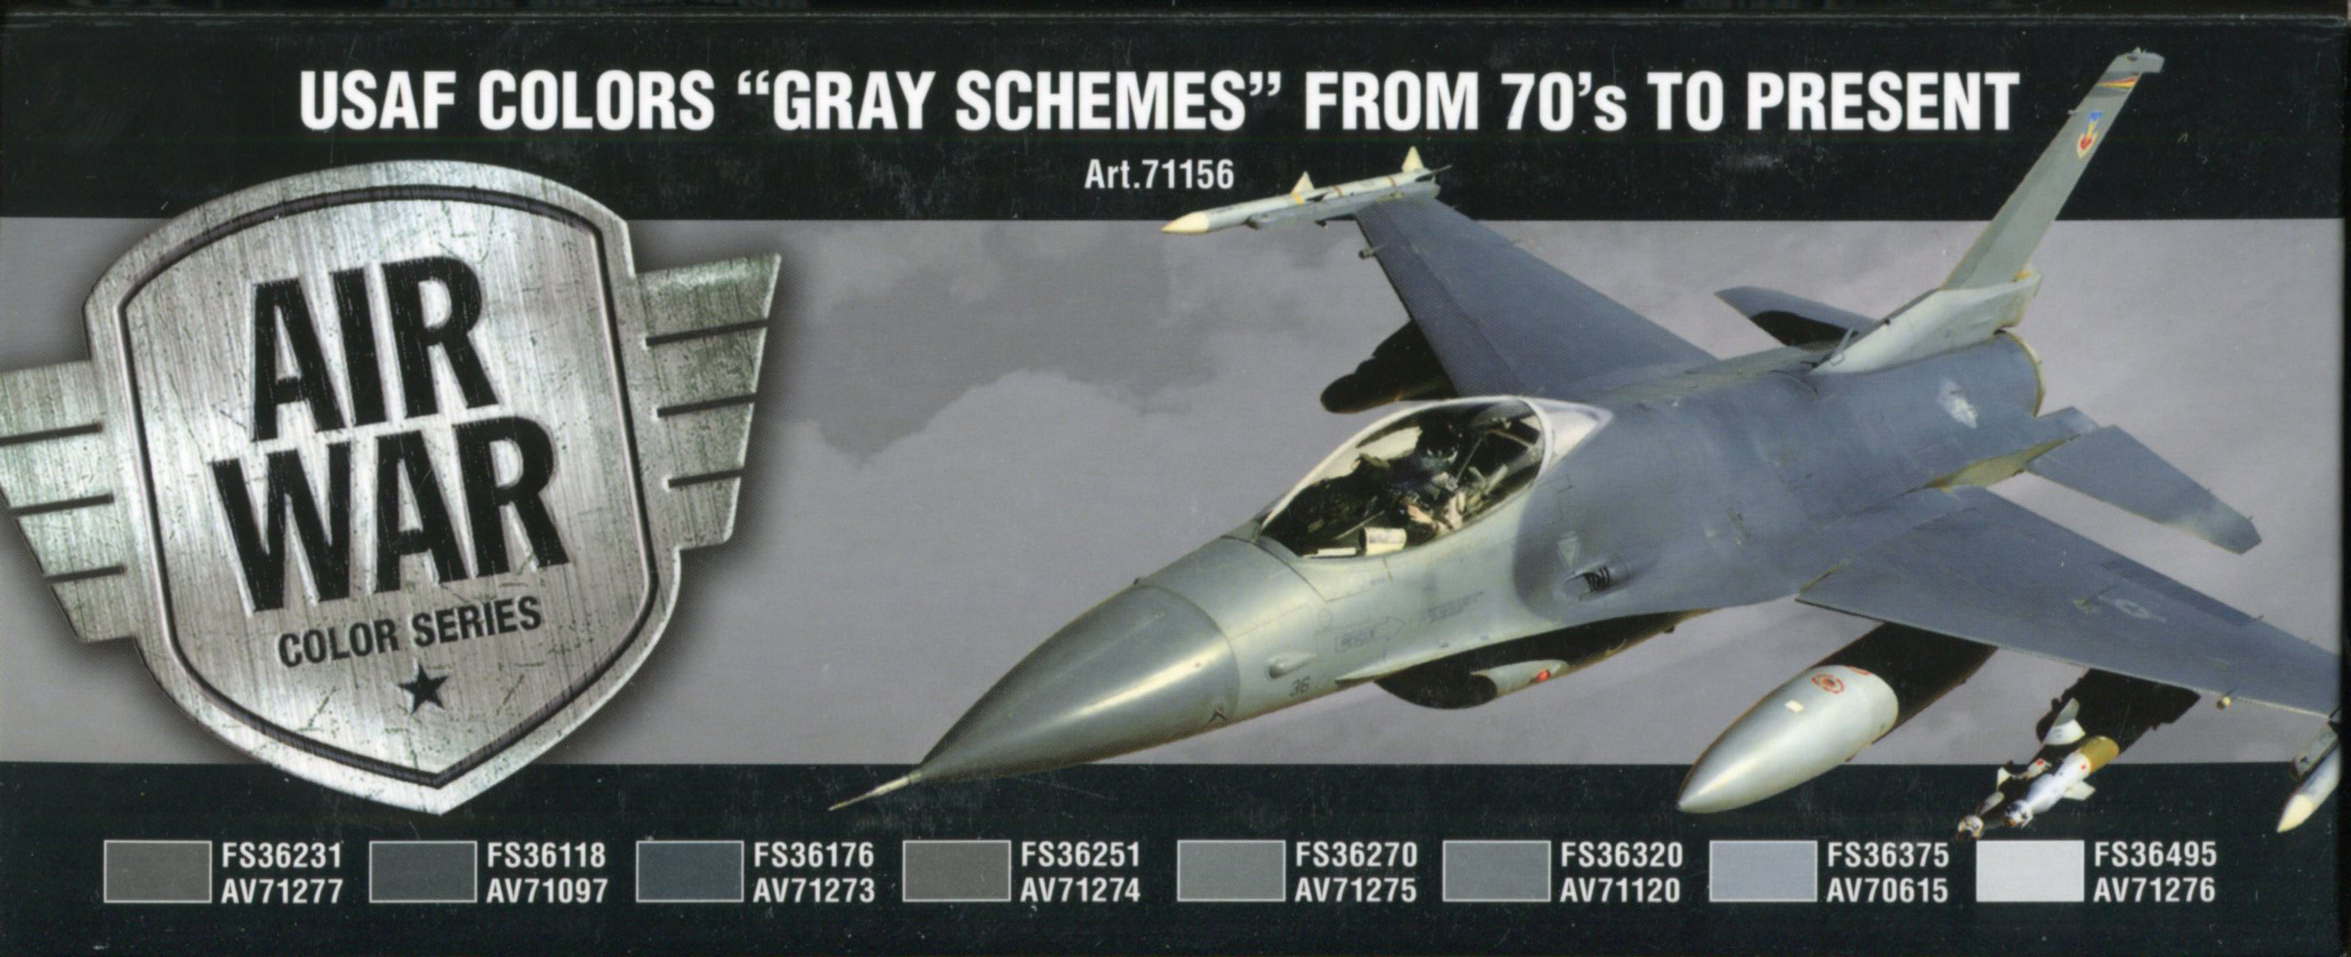
Some of these are for airplanes, a topic we don't normally cover here. However, we were impressed by the completeness of the color sets so we're going to show them off anyway! All sets include 8 bottles of paint. Some of them have a really nice foldout pamphlet that serves as a user guide.


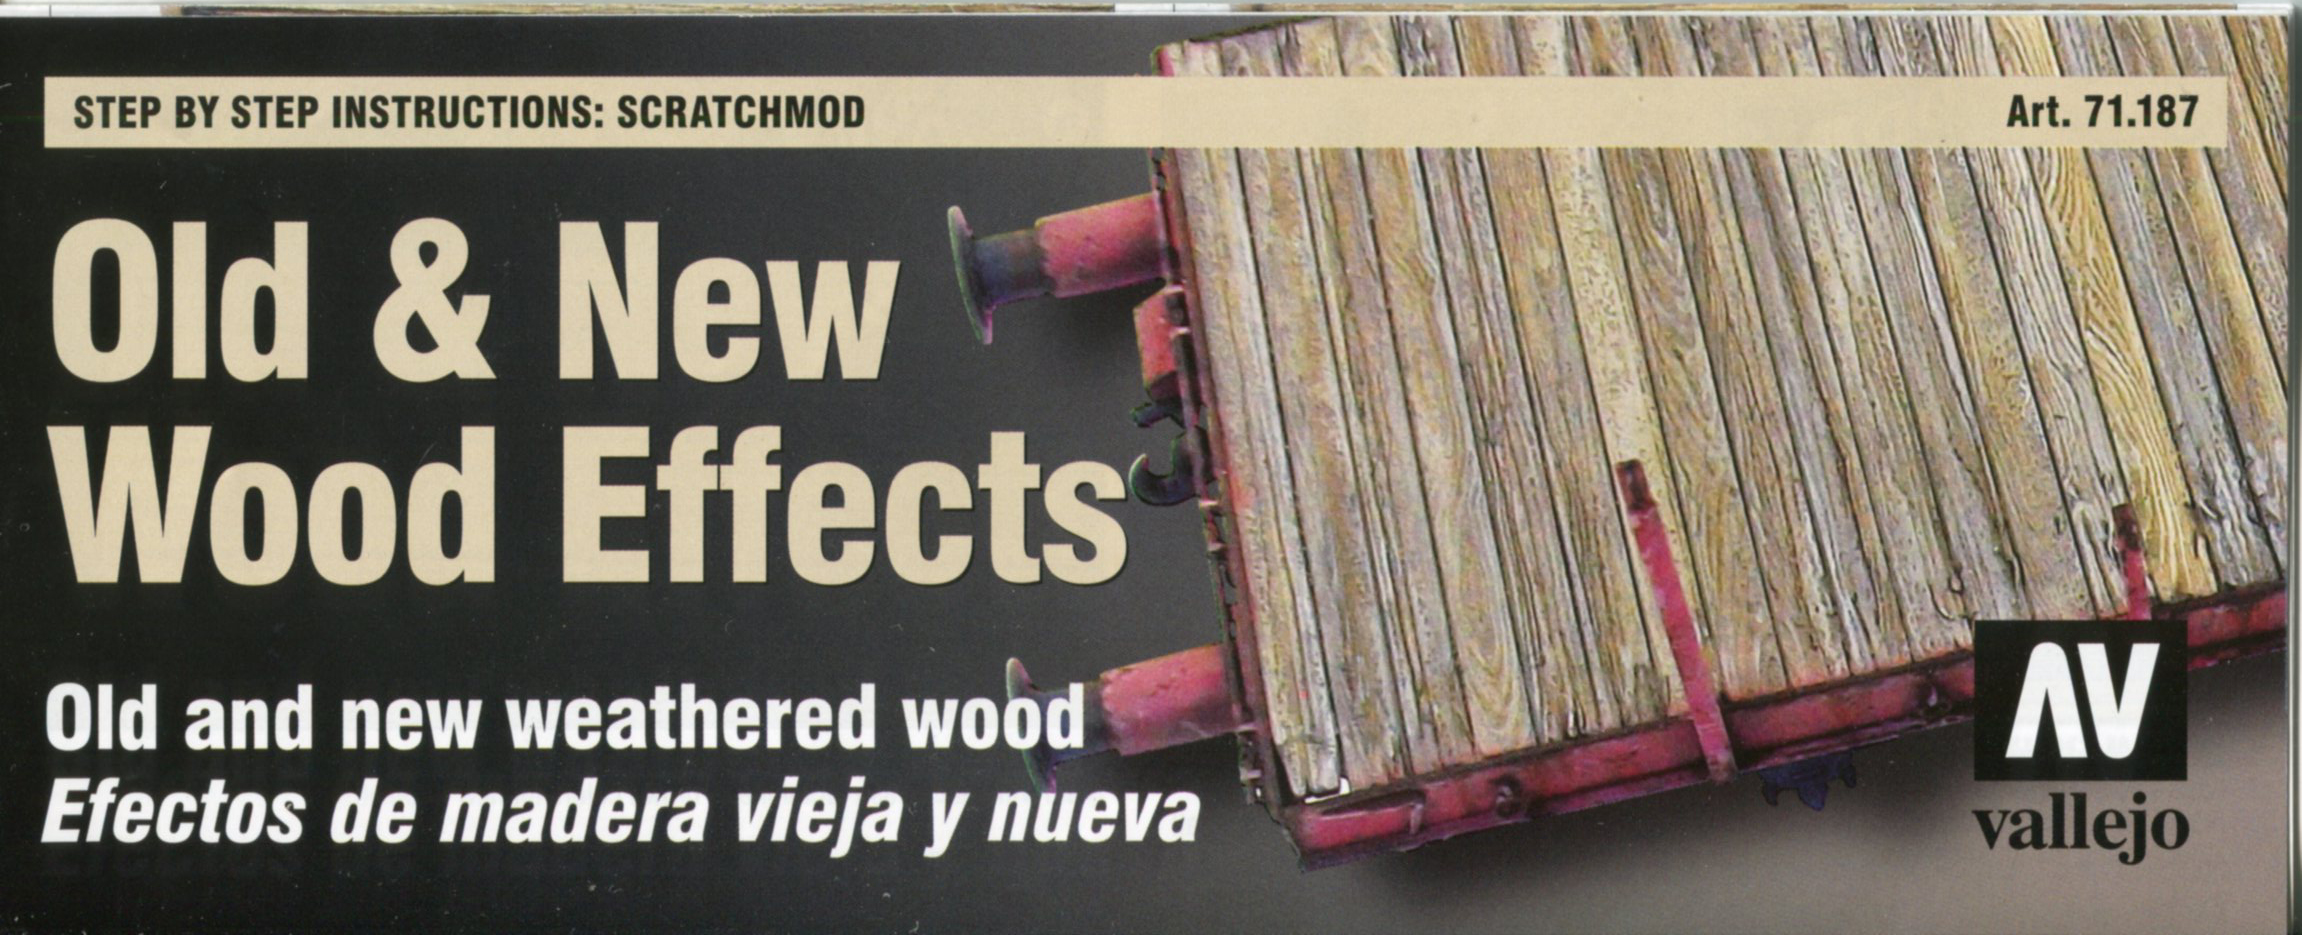
71.187, Old & New Wood Effects. This set comes with a pamphlet.

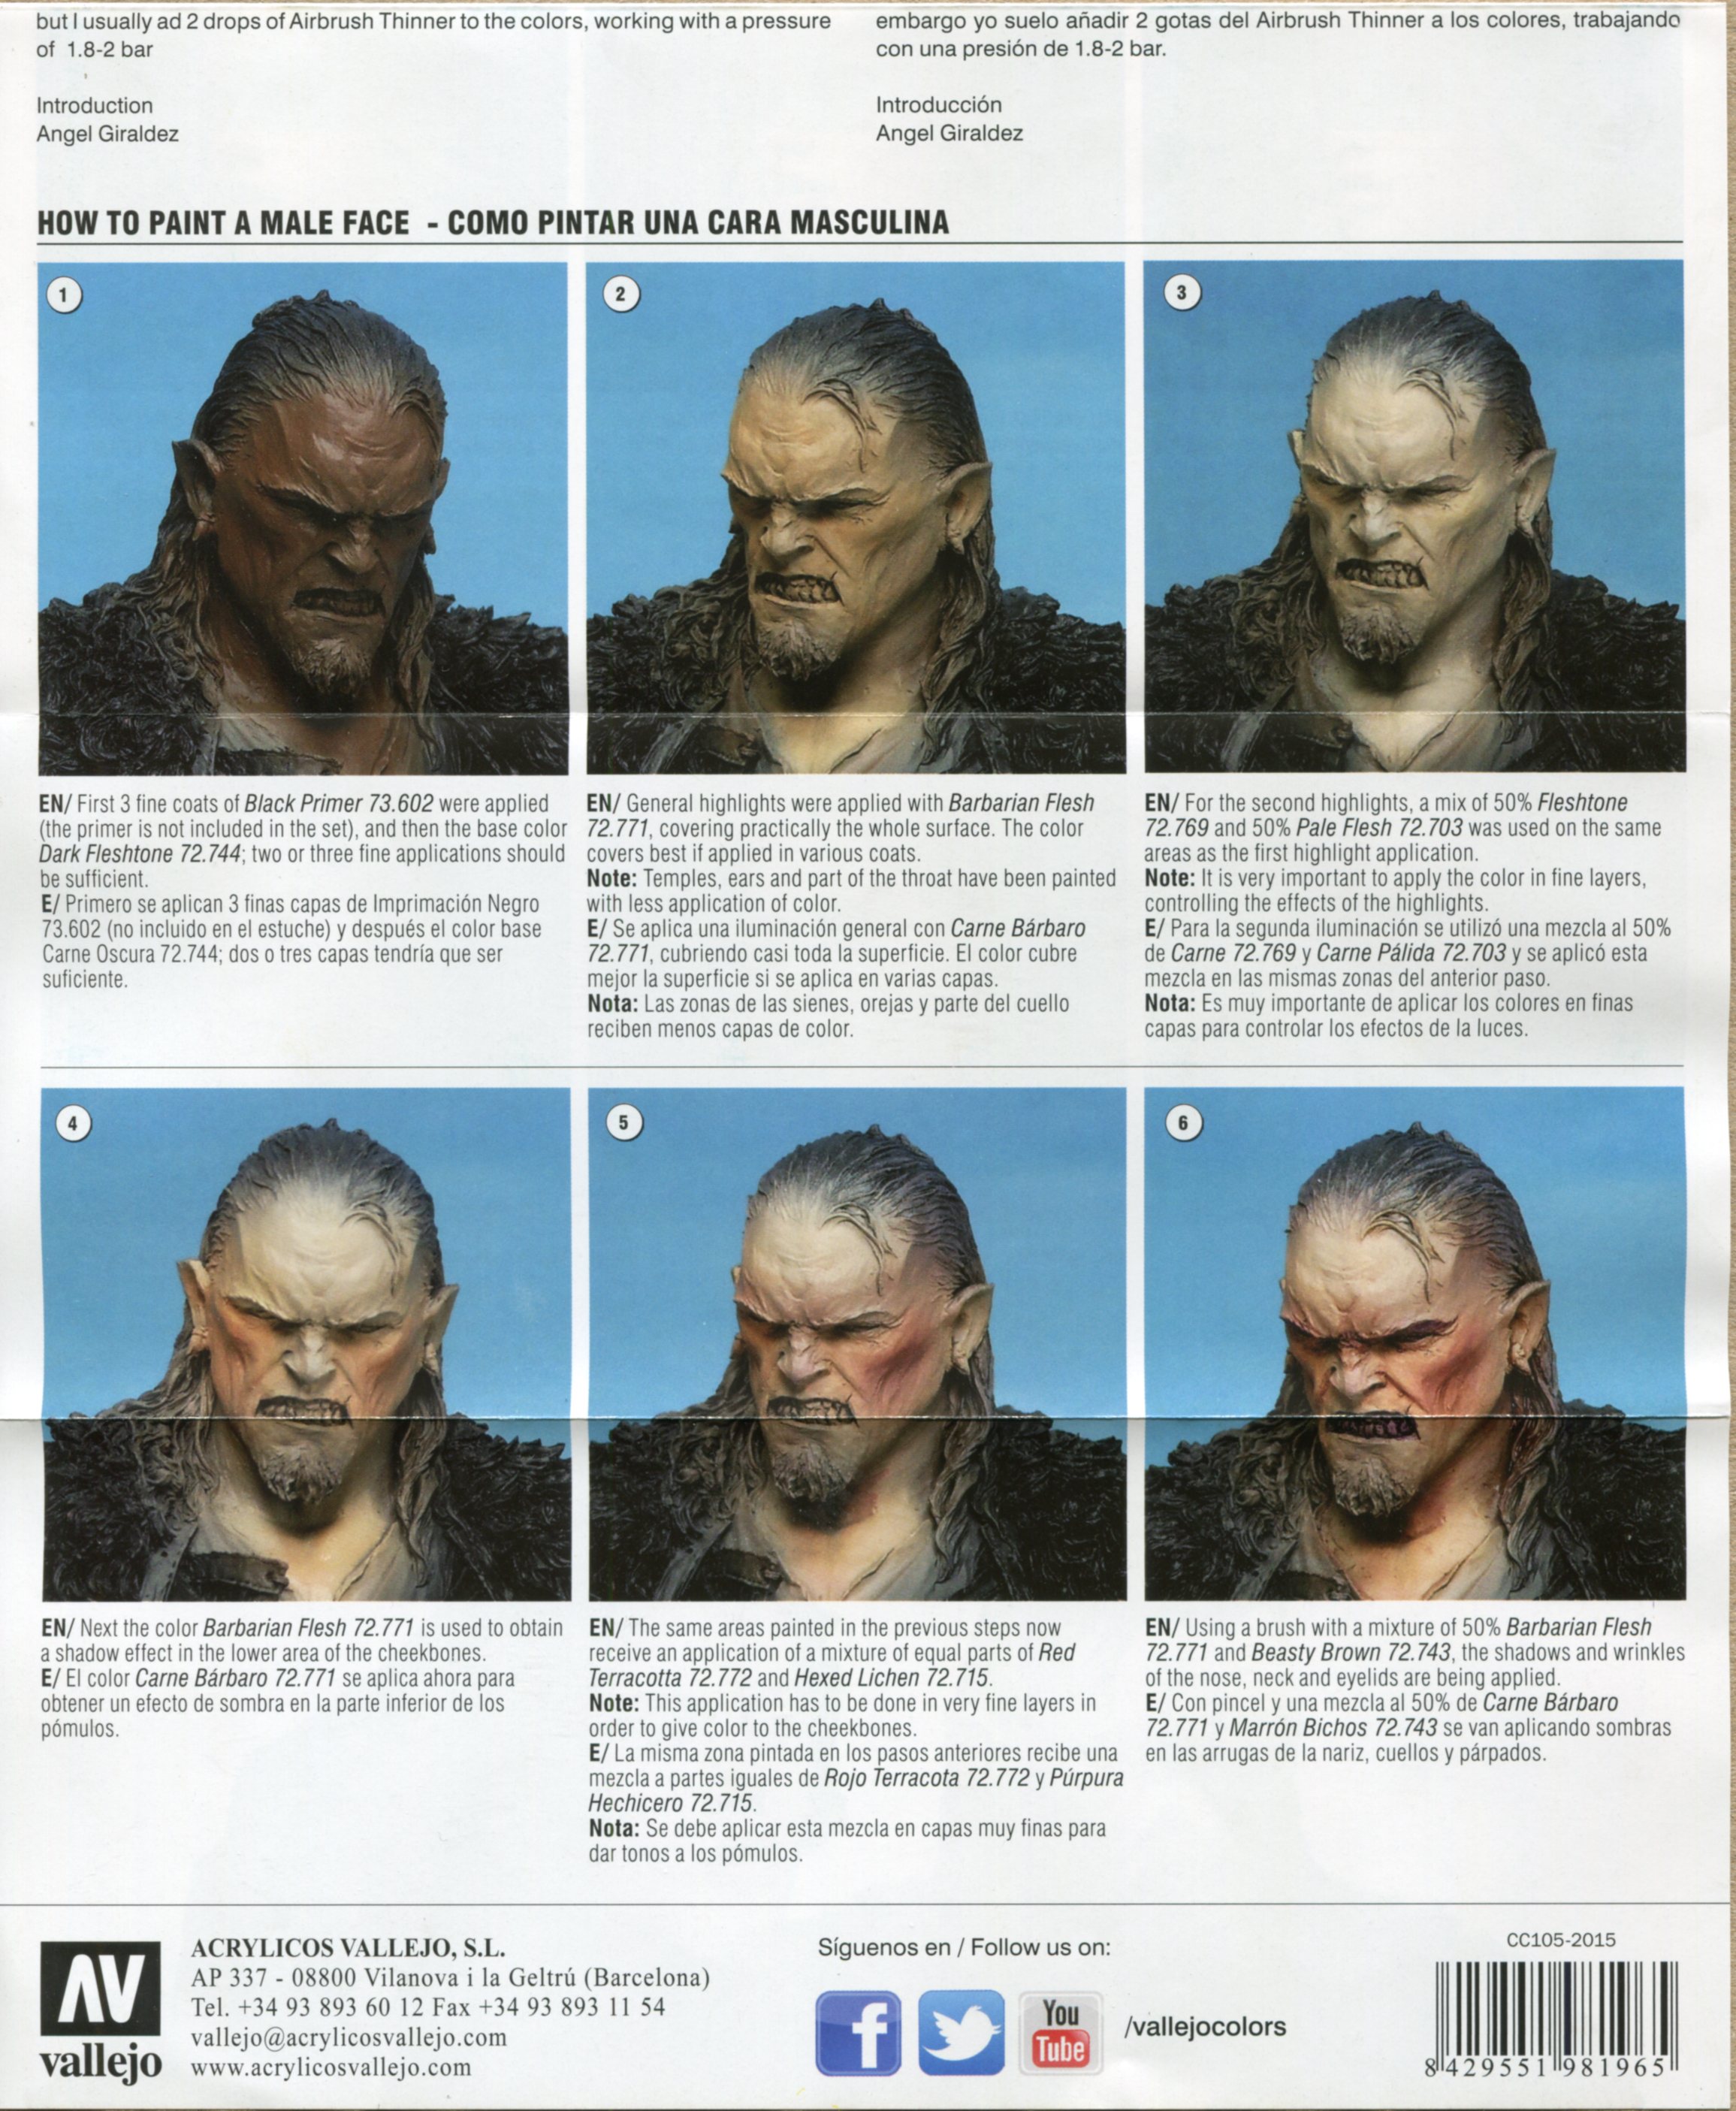
72.865, Game Air Face Painting. This set comes with a pamphlet as well. A note to figure painters- These are Model Air colors, so they are thinner than Model Color. This may be beneficial as applying thin layers of paint is integral to the acrylic flesh painting method.

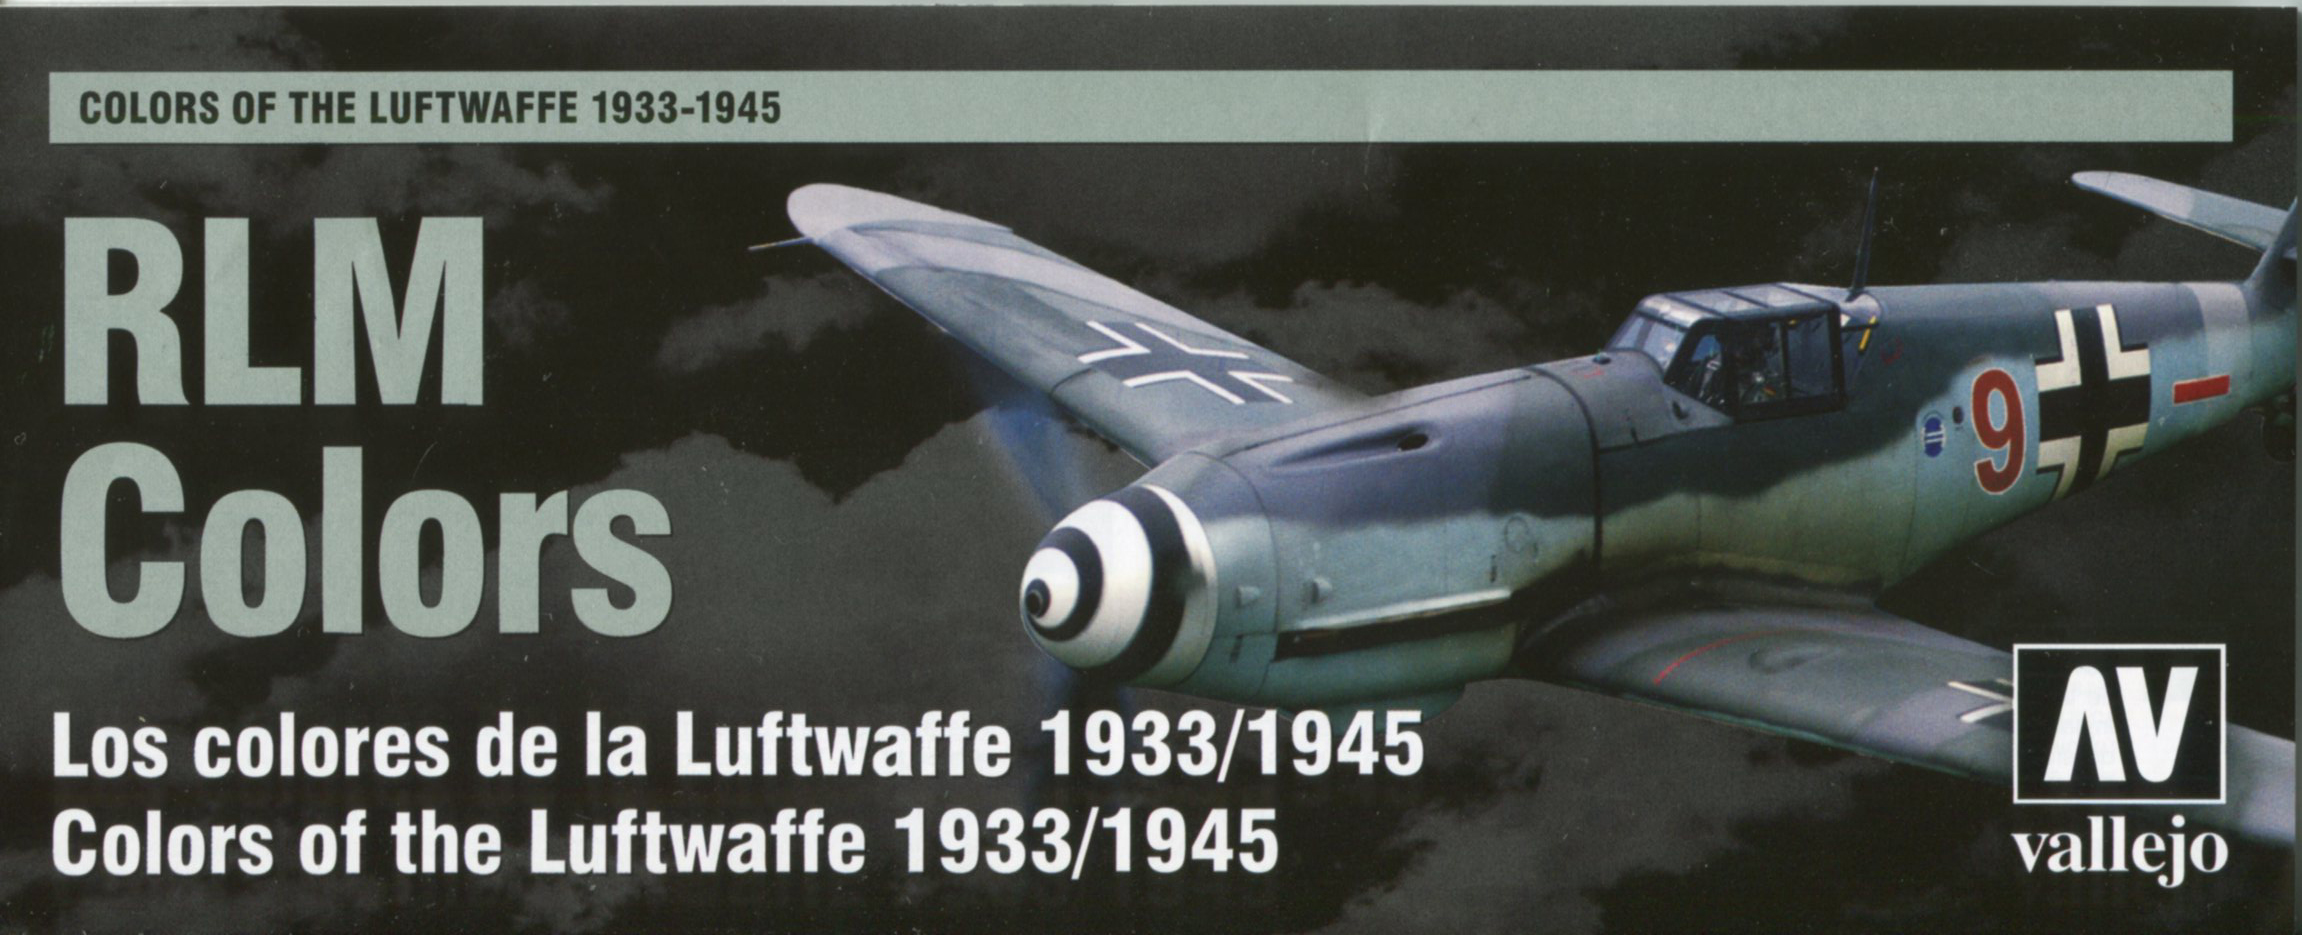
Three new Luftwaffe color sets...

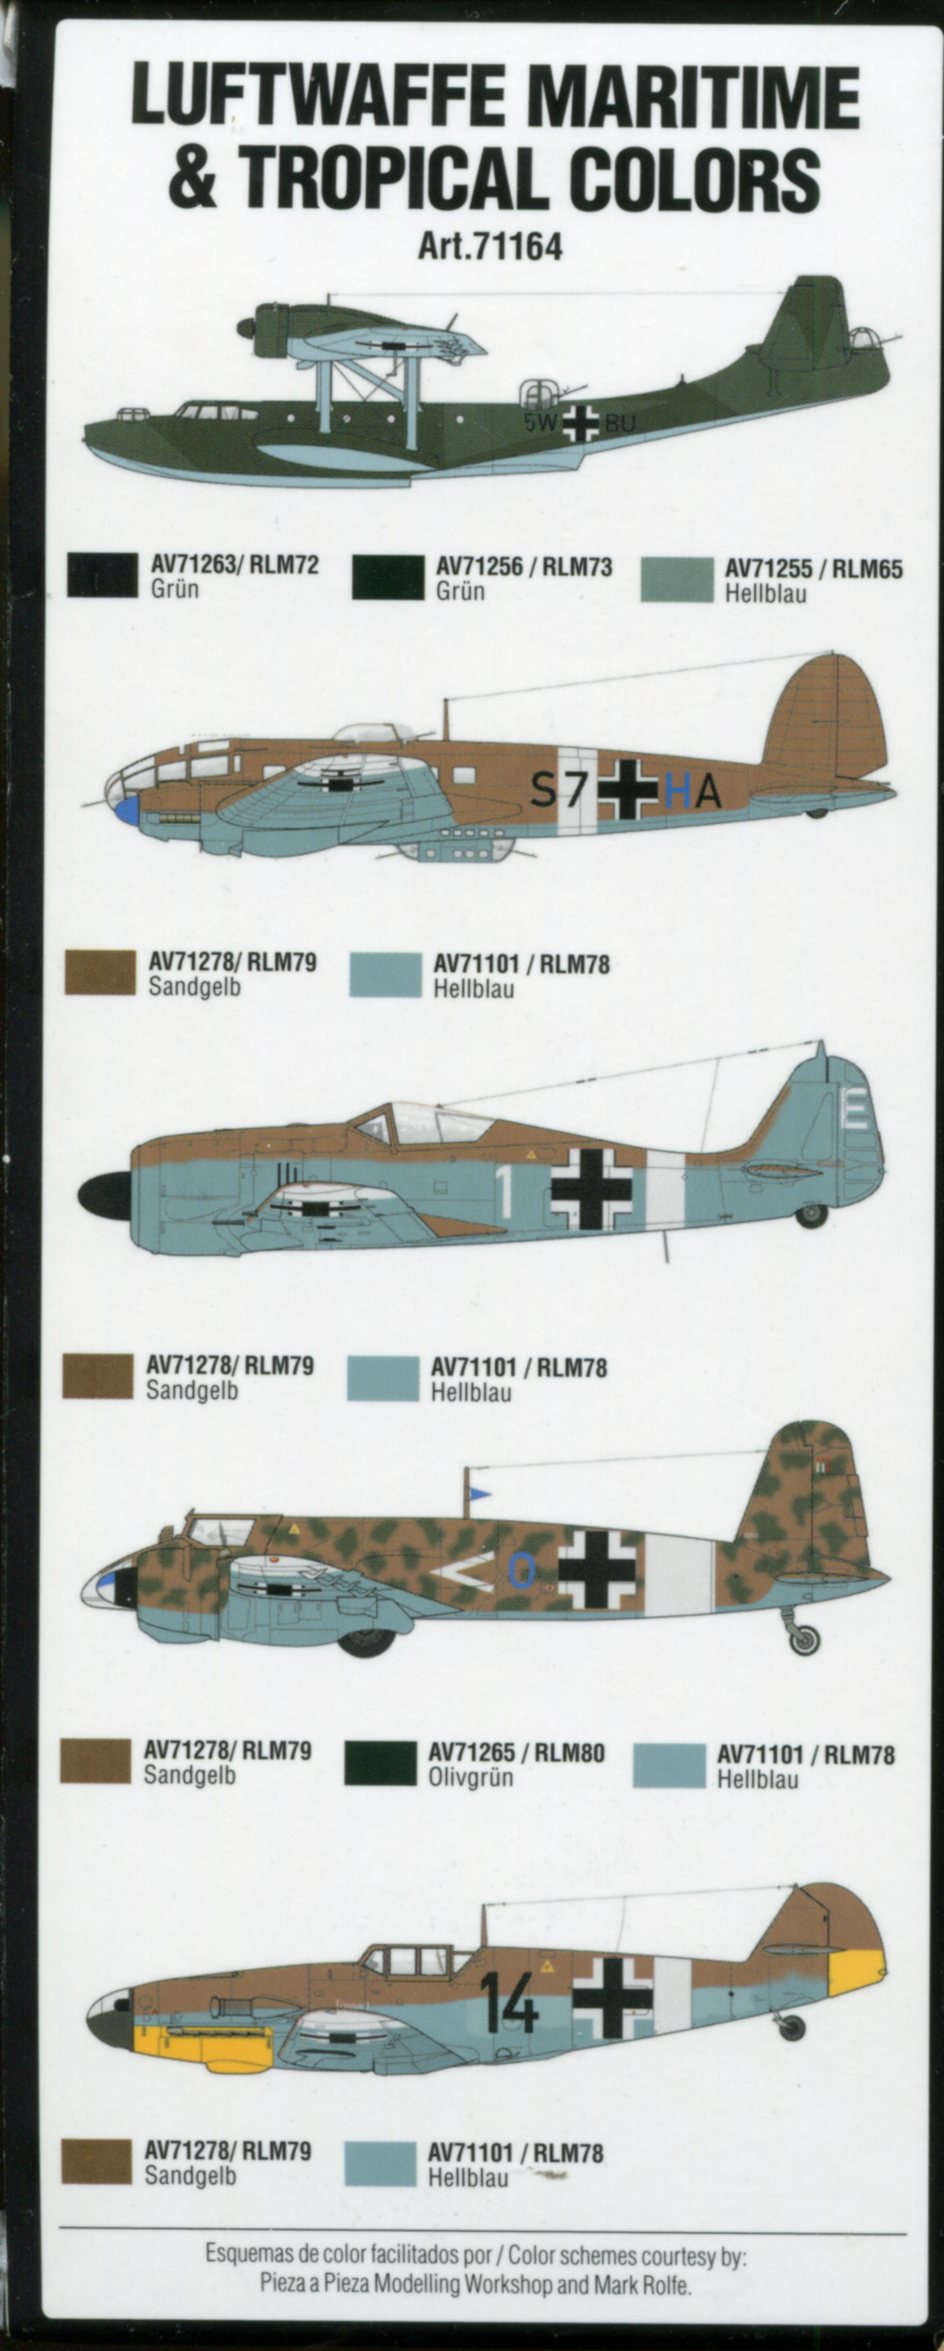
Each comes with a color guide, which looks really handy for those of us without knowledge of Luftwaffe color minutiae.

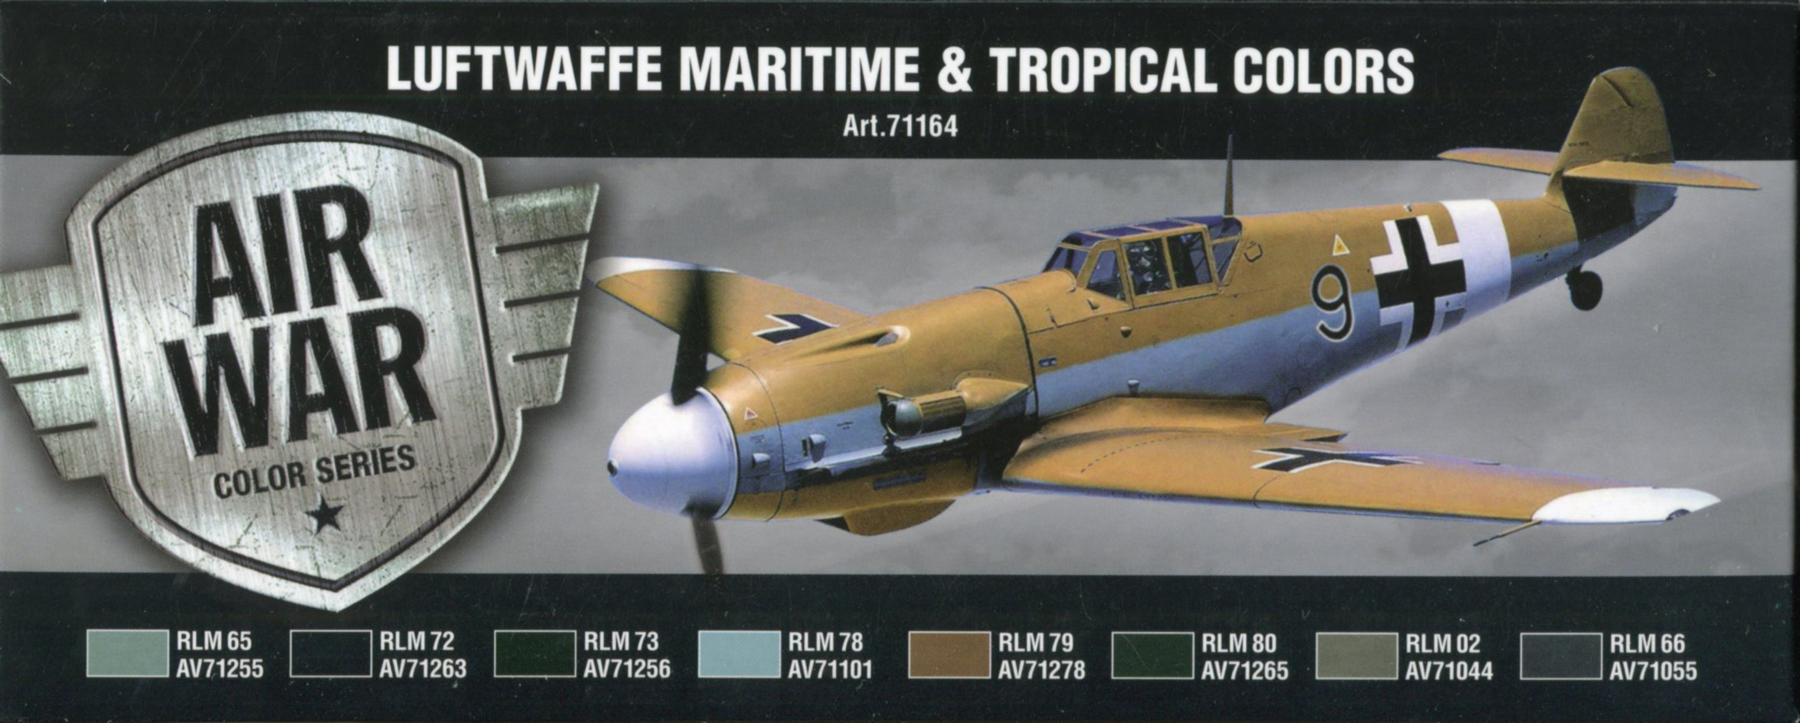
71.164, Luftwaffe Maritime & Tropical Colors.

71.165, Luftwaffe Colors Pre-War to 1941

71165 Front201.jpg

71.166 Luftwaffe Colors 1945 to End-War

Two sets of Modern U.S. Military Aircraft...

71.155 U.S. Navy & USMC Colors from 70's to Present
71.156, USAF Colors "Gray Schemes" from 70's to Present